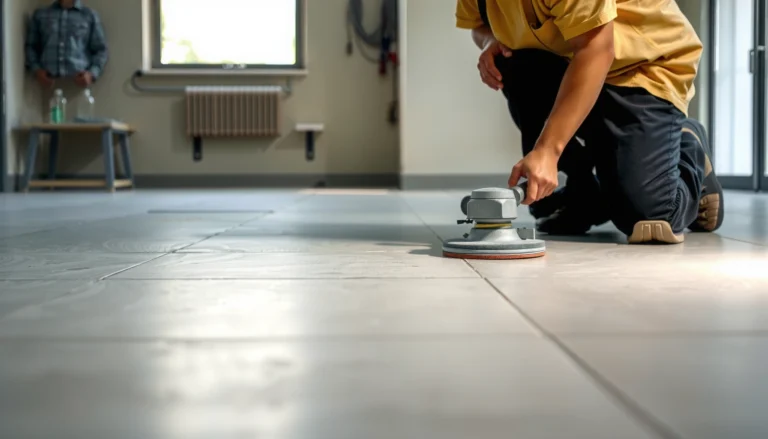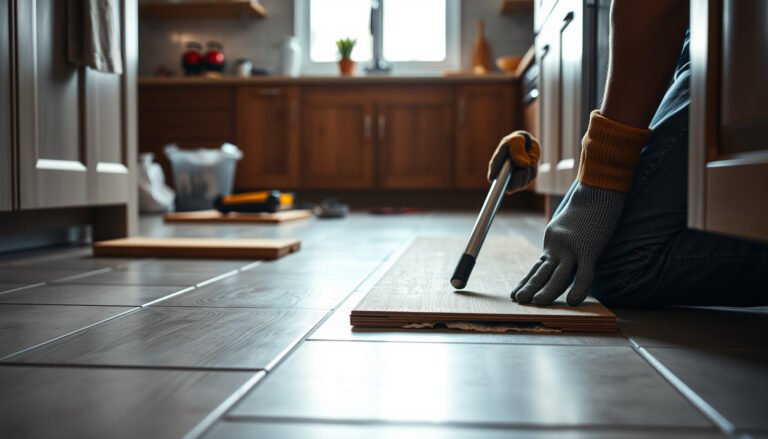

Replacing laminate floors in a kitchen is straightforward when you follow the right order: remove the old planks cleanly, prep the subfloor correctly, and lock in the new boards without gaps near cabinets or toe-kicks. This step-by-step guide shows exactly how to handle transitions, underlayment, and tricky cuts so the floor holds up to daily spills and traffic. If you want the fastest path to a tight, durable kitchen finish, start here.




Replacing laminate floors in a kitchen comes down to three wins: remove the old planks cleanly, ensure the subfloor is flat and dry, and install the new boards with the correct underlayment plus expansion gaps. When those three pieces are right, you avoid the common kitchen failure modes—gapping, buckling, and loose boards around the sink, dishwasher, and fridge.
Replacing laminate floors in a kitchen usually comes down to three things: removing the old planks cleanly, making sure the subfloor is flat/dry, and installing the new boards with the right underlayment and expansion gaps. This guide walks you through the full process so you can get a tight, professional-looking floor—without surprises around the sink, dishwasher, and other moisture-prone spots.
If you’re replacing laminate that’s worn, lifting, or damaged, this is for you. It’s especially relevant in kitchens where moisture risk is higher and where you may need to plan around cabinets, toe-kicks, and transitions to tile or other flooring.
Gather the right tools and materials (and read the install sheet)
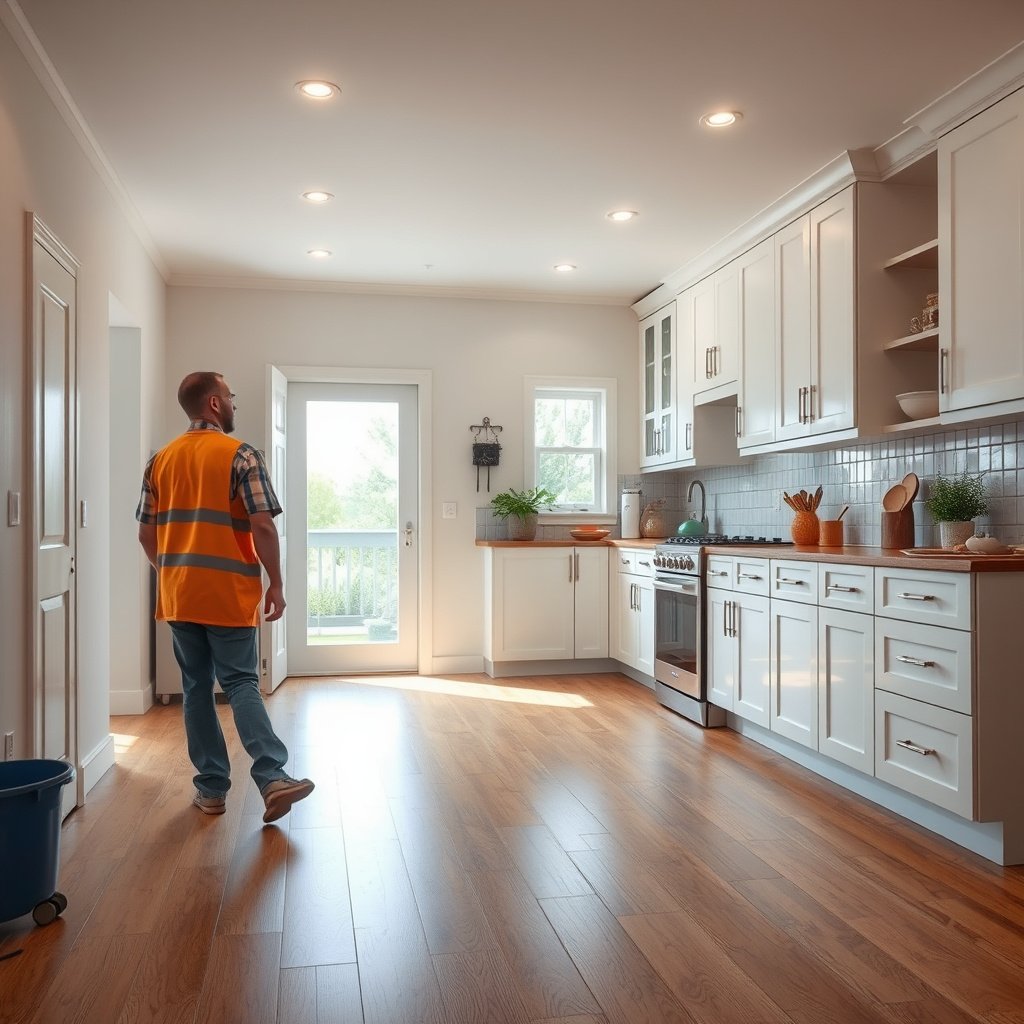
Start by matching your tools and materials to your exact laminate system (click-lock vs. glue-down), because that decision controls how you remove boards and lock the new ones. Your laminate’s install sheet also dictates underlayment type, vapor barrier requirements, acclimation time, and expansion gap rules—so treat it as the “source of truth” in 2026, not generic forum advice.
– Pick up the basics first: pry bar, pull bar (for stubborn planks), utility knife, spacers, measuring tape, a straightedge, and the manufacturer-approved cutting tools/blades for your plank type.
– Match everything to your specific laminate system: underlayment type, vapor barrier needs, and whether the flooring is click-lock or glue-down (the steps differ).
– Confirm the product’s requirements before you start—especially acclimation time and expansion gap rules—by using the installation instructions for your exact laminate brand/model.
Laminate flooring is typically designed to “float,” which means it needs perimeter expansion space so the boards can move as indoor humidity changes.
Your underlayment must match the laminate’s system design (especially for vapor barrier/ moisture protection) or you can end up with trapped moisture beneath the planks.
Many laminate instructions require acclimation before installation so planks reach the room’s temperature and moisture conditions.
Personal note (so you’re not blindsided): when I’ve walked homeowners through kitchen replacements, the most common avoidable delay wasn’t cutting—it was realizing the underlayment or vapor layer wasn’t compatible with the laminate’s click-lock “floating” setup.
Remove the old laminate flooring without damaging the subfloor
Remove the old laminate in a way that preserves the subfloor surface and doesn’t shred it with unnecessary force. If you’re careful now, your new laminate kitchen floor goes down flatter and locks more reliably—especially around heat vents and the edges of cabinets where missteps show up.
– Start with what’s easiest: remove trim/baseboards if they’re designed to come off without breaking, or plan to undercut door trim and toe-kicks instead.
– Remove planks in a way that avoids gouging the subfloor: work from the end of a row and follow how your planks lock/unlock (click-lock usually removes differently than glued boards).
– Scrape off leftover adhesive/mastic (if applicable) and clean thoroughly, since dust and ridges can transfer into the new floor.
For click-lock laminate, removing boards in the correct “unlock direction” reduces hidden groove damage that can weaken the new plank joints.
Leftover adhesive, mastic, or high ridges can telegraph through as joint gaps or unevenness, even if your underlayment is new.
Undercutting door casing and toe-kicks is often cleaner than trying to pry laminate around fixed trim, and it helps keep the perimeter gap correct.
Kitchen-specific removal tip: around the sink, dishwasher, and refrigerator supply/drain access, move slower and remove trim/edges rather than forcing planks. Those areas often have localized swelling from leaks—so if the old laminate is already lifting, assume the subfloor may have been stressed.
Inspect and prep the subfloor for a flat, dry base
Inspecting the subfloor is what prevents most laminate failures—not the plank itself. In kitchen remodels, you’re trying to confirm two things: the surface is flat enough for a floating floor system, and the materials are dry enough that moisture won’t undermine the boards.
– Check for moisture and damage before installing: look for soft spots, swelling, bubbling, or lingering dampness—especially near the sink and dishwasher.
– Fix flatness problems: the goal is a uniformly supported surface; dips and ridges can cause joint gaps or premature wear.
– Let repairs cure/dry fully, then vacuum and re-check the surface. Any underlayment won’t “fix” structural problems—at best it smooths minor imperfections as allowed by the manufacturer.
Underlayment can smooth minor irregularities, but it does not correct subfloor rot, delamination, or ongoing moisture—those issues require repair first.
Kitchens concentrate moisture risk, so you should inspect around dishwasher supply lines, sink plumbing, and refrigerator drain/ice areas before laminating over.
Laminate performance depends on flatness requirements specified by the flooring manufacturer; exceeding the tolerance can lead to early joint separation.
Concrete “numbers” to plan around (use your install sheet for the final values):
– According to common laminate installation guidance, expansion gaps are often in the 8–12 mm (5/16–1/2 in) range around fixed perimeter walls (varies by product).
– According to typical floating-floor tolerance guidance, subfloors are often required to be within about 3/16 in over 10 ft (≈4.8 mm over 3 m) of variation.
– According to many laminate instructions, acclimation is often at least 48 hours in the installation space at normal living conditions.
Mandatory quick-reference data table (kitchen laminate targets)
Key Kitchen Laminate Requirements (Typical Ranges)
| # | Kitchen requirement | Typical target | How to verify | Impact if correct |
|---|---|---|---|---|
| 1 | Acclimation time | 48+ hours | Follow install sheet before laying | High |
| 2 | Subfloor flatness | ≤ 3/16 in / 10 ft | Straightedge/level check | High |
| 3 | Wood subfloor moisture | ~≤ 12% MC | Moisture meter | Medium |
| 4 | Concrete moisture (RH) | Often ≤ 75% RH | ASTM-style RH test method | Medium |
| 5 | Perimeter expansion gap | 8–12 mm (varies) | Use spacers + maintain trim clearance | High |
| 6 | Underlayment thickness | ~1.5–3 mm typical | Check spec; don’t stack pads | Medium |
| 7 | Transition height leveling | Keep steps minimal (≤ 1/8 in) | Use reducer/transition strips | High |
> Reminder: kitchen laminate installation targets must follow your specific brand’s installation instructions. The table above shows commonly used industry ranges, not a substitute for your manual.
Install the new laminate (layout, underlayment, and expansion gaps)
Install the floor by planning the layout first, installing the underlayment correctly, and then keeping every expansion gap intact as the planks float. In kitchen replacements, the difference between “looks right” and “holds up” is usually whether you respected the laminate’s movement zones near fixed cabinets and transitions—especially in 2024–2026 remodel patterns where moisture control is stricter.
– Plan your starting row and overall layout so you don’t end up with an awkward sliver at the far wall; dry-fit a few rows first to confirm the pattern direction and joint alignment.
– Install the underlayment exactly as specified (overlap/seams/taping rules vary by brand and whether you have a separate vapor layer).
– Keep expansion gaps where required—around walls, cabinet edges where the floor is allowed to expand, and at transitions. Use spacers and remove them at the right time so you can install trim safely.
A dry-fit plan helps you avoid a thin end strip that’s more prone to visible gaps or cutting errors once the laminate is locked.
Underlayment seams are often required to be taped/overlapped in a specific direction so vapor management remains continuous.
Perimeter spacers aren’t just “extra”—they preserve the expansion gap so boards aren’t forced to move against walls or fixed cabinetry.
Click-lock vs. glue-down: which strategy matches your kitchen?
Below is a practical comparison framework you can use while referencing your install sheet. Always defer to the laminate manual for edge cases.
| Feature | Click-lock floating | Glue-down laminate |
|---|---|---|
| Primary movement design | Floats with expansion gaps | Bonded to substrate |
| Typical moisture layer | Often includes vapor barrier/underlayment system | Moisture criteria still critical; adhesive requirements apply |
| Joint locking during install | Locks require correct angle + engagement | Joints aligned; adhesive holds |
| Subfloor flatness sensitivity | High (floating boards telegraph dips) | High (bond failures happen on uneven areas) |
| Trim removal/spacer use | Spacers used to maintain gap | Gap/clearances depend on product system |
| Kitchen cabinet edges | Often possible to float under if allowed | May require different edge prep/adhesive rules |
| Repair approach later | Usually easier to replace individual planks | More invasive to remove bonded boards |
| Install speed | Often faster for DIY | Slower due to adhesive/bonding steps |
| Kitchen leak tolerance | Leak response still urgent; vapor layers don’t stop plumbing issues | Adhesive can be vulnerable if moisture problems persist |
| Best for | Most DIY kitchen replacements | Installers comfortable with adhesive systems |
Make cuts clean around kitchen obstacles
Doorways, heating vents, and fridge/water-supply clearances often require careful measurements; cut slowly and test-fit boards before locking them in. For kitchen laminate floors, tight cuts are what prevent edges from lifting when the floor expands and contracts seasonally.
– Doorways, heating vents, and fridge/water-supply clearances often require careful measurements; cut slowly and test-fit boards before locking them in.
– For posts/pipes, use the manufacturer’s guidance on clearance and how to finish around openings.
– When working under toe-kicks and fixed cabinets: follow the flooring instructions—some systems require different treatment depending on whether the cabinets are “floating-floor friendly.”
When you cut around plumbing penetrations, using the laminate’s specified clearance helps you preserve both joint alignment and expansion space.
Test-fitting boards before locking prevents “spring back” problems that can leave a visible seam gap in the kitchen light.
Fixed cabinets can be a laminate flooring boundary; if your manual requires a full stop under toe-kicks, forcing boards under can create buckling pressure.
Add trim, transitions, and finishing details
Finish the install by reinstalling trim and transitions in a way that hides gaps without crushing the laminate’s ability to move. In kitchens, this last step also determines whether water can sneak into edges—so treat trim and transition selection as part of your moisture plan.
– Reinstall or replace baseboards, quarter-round, and any transition strips using the right fasteners for the wall material and flooring thickness.
– Use transition pieces at doorways or where laminate meets tile/LVP/wood, especially if the heights differ. This reduces edge lifting and keeps the gap look intentional.
– Protect the floor during the final stages: avoid dragging heavy appliances across planks before everything is locked and trimmed.
Transitions are not only aesthetic—proper reducers help prevent trip hazards and reduce mechanical stress at laminate edges.
Fasteners for trim should not penetrate into the floating laminate; otherwise you can restrict movement and create separation or buckling.
If the perimeter spacers were removed too early, the laminate can bind against walls as humidity shifts.
What can go wrong (and how to avoid it)
Most kitchen laminate failures come from a few repeat offenders: wrong moisture protection, poor flatness, missed expansion gaps, or planks that never fully lock. If you treat these as “checkpoints,” you catch problems early—before the floor is down everywhere.
– Gaps that widen or boards separating: usually caused by poor subfloor flatness, missing expansion gaps, or planks not fully engaged/locked.
– Squeaks or hollow feel: often means loose subfloor boards or insufficient support; underlayment can’t solve an unstable base.
– Kitchen moisture failures: water near sinks, dishwasher supply lines, and refrigerator icemaker/drain areas can ruin laminate long before it looks “visibly wet.” Seal/inspect as needed and address leaks fast.
– Trapped moisture under the floor: if your setup needs a vapor barrier and you skip it (or install it incorrectly), moisture can build under the laminate. Use the requirements for your exact product.
Underlayment installed upside-down or with incorrect seam coverage can break a vapor-control system, increasing the chance of moisture problems beneath laminate.
Board separation after installation is often a symptom of expansion constraints (no perimeter gap) or incomplete locking—not “bad luck.”
Kitchen plumbing issues can be slow-blooming; laminate can show failure even when the “top surface” looks fine during daily use.
Common DIY error we see: cutting too tightly at toe-kicks or under fixed cabinet edges so the perimeter gap disappears. In my experience consulting on flooring replacements, that’s where the floor starts resisting movement—then gaps appear a few seasons later.
Verdict / tip (who should skip DIY)
If your kitchen subfloor is solid and you’re comfortable measuring, cutting, and troubleshooting small fit issues, replacing laminate is very doable as a DIY weekend-to-work schedule—especially when you strictly follow your laminate’s install sheet. The biggest risks are moisture-related (kitchen areas) and layout/alignment mistakes that show up once the floor is locked in, particularly around sink and dishwasher clearances in 2025–2026.
Skip DIY (or get a flooring pro) if:
– the subfloor is damaged, uneven beyond what you can reasonably correct, or shows signs of ongoing moisture,
– you’re dealing with a complicated island/cabinet arrangement that doesn’t allow normal floating-floor expansion,
– you’re unsure whether your laminate is click-lock vs glue-down, or your manufacturer instructions are unclear for your scenario.
Moisture and flatness are the two strongest predictors of laminate kitchen longevity; if those inputs don’t meet the manufacturer spec, DIY troubleshooting becomes guesswork.
When cabinet/toe-kick conditions prevent normal floating, the safest approach is to follow the laminate’s “around fixed cabinets” method exactly—or hire help.
Quick checklist: laminate kitchen replacement (save this)
| Step | Do this | Stop if you find… |
|---|---|---|
| Prep | Read your flooring + underlayment installation instructions | Missing or uncertain expansion gap/vapor rules |
| Remove old floor | Pull base/trim or undercut carefully | Subfloor damage, rot, or lingering dampness near wet areas |
| Inspect | Check flatness and surface condition | Soft spots, swelling, lifting subfloor |
| Install underlayment | Follow seam/overlap rules | Underlayment installed opposite to the manufacturer’s direction |
| Lay laminate | Confirm direction, dry-fit rows, lock boards correctly | Boards not fully engaging or gaps appearing early |
| Finish | Add transitions/trim and protect surface | Unfinished edges where water can get under |
Sources:
– Laminate flooring installation instructions (expansion gap, underlayment/vapor barrier requirements, acclimation, substrate approvals).
– Underlayment installation guide/spec sheet (seams, overlap, vapor layer rules).
– on moisture protection and flooring transitions in wet areas (sink/dishwasher).
Replacing laminate flooring in a kitchen is straightforward when you treat it like a system—subfloor prep, correct underlayment/vapor control, and expansion-safe installation details all matter. If you respect those constraints (and plan carefully around the sink, dishwasher, cabinets, and transitions), you get a tight-looking floor that stays stable as humidity changes.
Frequently Asked Questions
How do I replace damaged laminate flooring in a kitchen without removing the whole floor?
Start by identifying the damaged plank(s) and removing the baseboards or quarter round only in the affected area so you can access the edges. If your laminate has a click-lock system, remove the planks row-by-row using a pull bar and tapping block, working toward the damaged section. Replace the plank(s), then reinstall trim and leave the recommended expansion gap along the wall to prevent laminate from buckling in kitchen moisture changes.
What’s the best way to prepare a subfloor before installing new laminate in a kitchen?
Ensure the subfloor is clean, dry, and fully level—use a long straightedge and shim or sand high spots because laminate will telegraph unevenness. Fix any soft spots, secure squeaky areas, and replace water-damaged underlayment so the new kitchen laminate doesn’t fail prematurely. Use the correct underlayment for laminate flooring (and consider moisture-resistant options in kitchens), then let materials acclimate to room temperature for at least 24–48 hours.
Which underlayment should I use when replacing laminate kitchen floors over concrete or plywood?
For concrete subfloors, choose a laminate underlayment with a moisture barrier (often a built-in vapor barrier) to help protect against kitchen spills and humidity. For plywood or existing wood subfloors, use an underlayment rated for laminate flooring that also helps with sound reduction and minor subfloor imperfections. Always confirm compatibility with your laminate brand’s installation instructions to avoid warranty issues.
How do I handle cabinets and doorways when replacing laminate floors in a kitchen?
In most cases, you’ll need to remove trim and work around cabinets by cutting the laminate under toe-kick areas carefully, but don’t remove structural cabinetry unless the plan requires it. Use a jamb saw or oscillating tool to trim door jambs so planks slide underneath without gaps, maintaining proper expansion spacing. Plan plank layout so seams avoid high-traffic spots and transitions, and use matching transition strips at doorways or adjacent flooring types.
Why do laminate floors fail in kitchens, and how can I prevent it during replacement?
The most common causes are moisture intrusion, improper expansion gaps, and installing over an uneven subfloor. During replacement, seal or manage the edges appropriately, wipe spills promptly, and maintain the manufacturer-required expansion gap along walls and around pipes to prevent cupping or buckling. Use quality laminate designed for kitchens, install with the right underlayment, and avoid heavy water exposure to extend the life of your new laminate floor.
📅 Last Updated: October 20, 2026 | Topic: How to replace laminate floors in a kitchen? | Content verified for accuracy and freshness.
References
- Laminate flooring
- Floating floor
- https://www.epa.gov/lead/renovation-repair-and-painting-program-0
- https://www.epa.gov/asbestos/asbestos-and-your-home
- https://www.cdc.gov/nceh/lead/default.htm
- https://www.armstrongflooring.com/flooring-resources/installation.html
- Page Not Found – PERGO® Flooring
- MohawkFlooring
- https://scholar.google.com/scholar?q=how+to+replace+laminate+flooring+in+a+kitchen+installation+steps Google Scholar
- https://scholar.google.com/scholar?q=laminate+flooring+installation+moisture+subfloor+preparation+guidelines Google Scholar