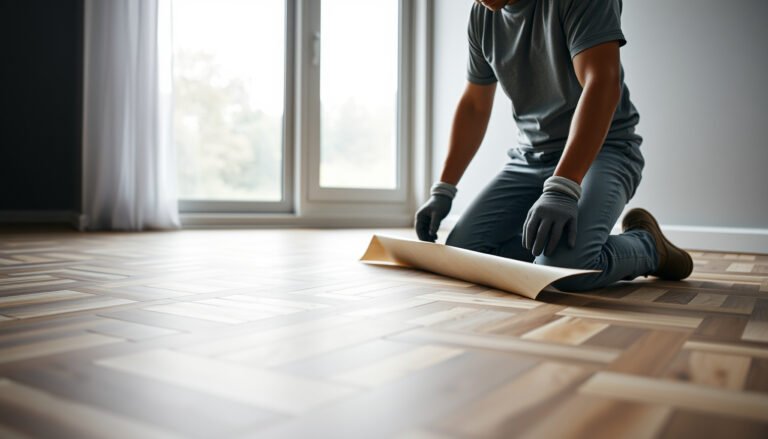
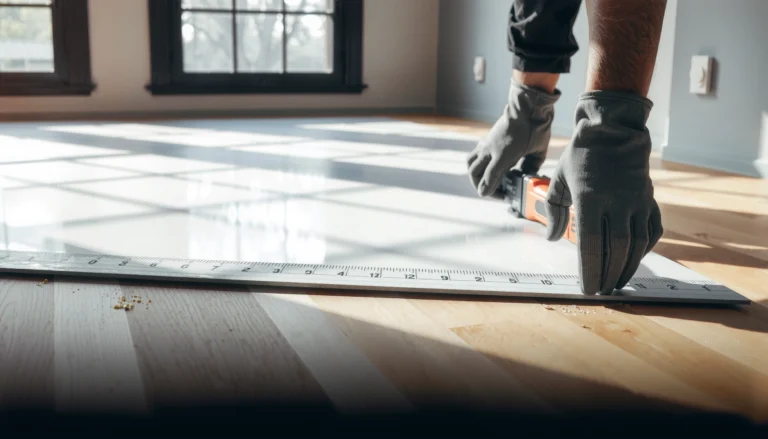
Want to measure laminate floors for a dining room accurately the first time? This guide delivers a clear step-by-step method to calculate square footage, account for cuts around doors and corners, and plan the right amount of extra material to avoid shortfalls. If you follow these measurements, you’ll know exactly what to buy and how to lay your dining room floor without costly gaps or mismatched runs.




To measure laminate flooring for a dining room, calculate the room’s square footage first, then add waste for cuts and errors. Measure the space in length and width, multiply to get total area, adjust for alcoves or bay windows, and then convert the “buying area” into box count using the carton’s stated coverage.
If you’re planning a laminate installation in a dining room—especially if your space has angles, closets, or built-ins—this guide walks you through a practical way to measure and convert that into how many square feet (and boxes) to buy. You’ll also see common measurement mistakes to avoid.
Measure the dining room footprint accurately
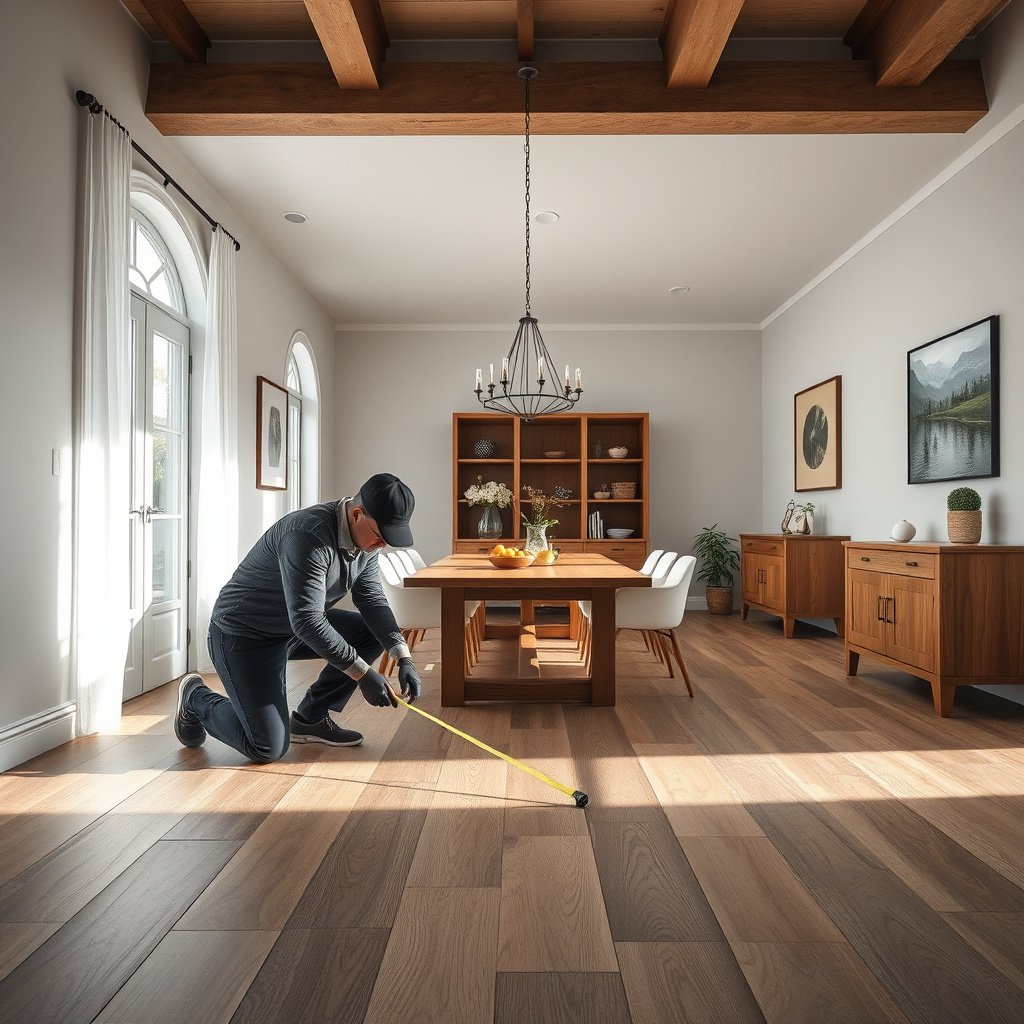
The fastest way to get accurate laminate flooring quantities is to measure the room footprint precisely and translate it into square feet. Once your dining room area is reliable, the rest of the laminate flooring math (waste, plank count, and box count) becomes straightforward.
Start by measuring laminate flooring dimensions at the walking surface level. In most homes, that means measuring at floor level rather than the baseboard, so your length and width match what the planks will physically cover. Use a tape measure and record values clearly in feet and inches (or convert to feet immediately and stick to one unit for the entire calculation).
Laminate flooring quantity planning starts with area: square feet equals length (ft) × width (ft), so every accurate measurement improves the final box count.
If you measure at the baseboard instead of at the floor, you can introduce systematic errors—especially in dining rooms with wider trim, uneven drywall, or slight floor irregularities.
When the dining room footprint isn’t rectangular, you’ll get more accurate laminate flooring totals by splitting the area into simple shapes and adding them together.
Break the room into measurable sections
If your dining room isn’t a perfect rectangle, treat it like multiple rectangles. For example, many dining rooms have:
– An alcove (a recessed section)
– A small nook for a china cabinet
– A bump-out for a bay window seating area
Measure each segment’s length and width at the floor, compute each segment’s square feet, and add them together to reach the total laminate flooring area.
Track permanent obstacles (and decide whether they’re subtracted)
For laminate flooring, permanent fixtures change the “buying area” logic. A built-in buffet, island base, or column may affect how you count floor coverage.
– If the fixture will truly remain uncovered after installation, subtract its area.
– If flooring will run up to it (or around it) but still covers the majority of the surrounding footprint, you should only subtract what stays uncovered.
As of 2026, many manufacturers emphasize following their specific installation instructions for cabinets and built-ins, because “floating floor” layouts can differ from glue-down systems. For that reason, your laminate flooring quantity plan should be based on your exact method.
– Measure length and width at the floor, not the baseboard, and write them down in inches (or feet) clearly.
– If your room is not a perfect rectangle, break it into sections (for example: main rectangle + nook/alcove) and calculate each separately.
– Note any permanent obstacles you can’t remove (built-ins, islands, columns) so you can decide whether to subtract their area.
Account for transitions, doorways, and irregular edges
The most common reason laminate flooring “almost works” but runs short is overlooking how the floor stops, transitions, or tucks at openings. So after you map the footprint, measure the transitions that affect how many planks actually fit.
For laminate flooring, openings (doorways and thresholds) usually determine where the plank lines stop, where you leave expansion space (if required by your system), and where transitions occur. That means you need to measure not just the room, but also the “breaks” in the layout plan.
Doorways and thresholds typically require a planned stopping point for laminate flooring—measuring these openings prevents under-buying when boards must end with trim or transition profiles.
For floating laminate flooring, manufacturers often require allowance for movement, so you should plan expansion spacing near transitions rather than counting the full wall-to-wall area.
Angled walls and steps should be treated as segments or simplified shapes; estimating the extra laminate flooring area from photos can create compounding rounding errors.
Measure closets, built-ins, and “visible floor” vs “full room”
If laminate flooring will be installed beneath fixed trim (or boards tuck under a door casing), your measurement approach matters:
– Visible-floor approach: count only what you’ll see once installed.
– Full-room approach: count the full footprint and then subtract what’s truly covered by fixtures that won’t receive laminate.
Whichever approach you use for laminate flooring, keep it consistent and document it. Consistency is what makes your box count reproducible.
Convert irregular edges into segments, not guesses
For angled walls, bay windows, and split-level transitions, the goal is to convert the geometry into sums of rectangles, triangles, or trapezoids. This is where your tape measure beats “eyeballing.”
For example, a bay window is often manageable by approximating the shape as a primary rectangle plus additional angled segments. If your dining room has stairs or a drop, measure the run separately and note where the laminate ends or transitions.
– Measure openings and transitions (doorways, hall breaks, thresholds) and plan how the laminate will stop or continue.
– For closets or areas where you’ll tuck boards under trim, decide whether you’re measuring “full room” or “visible floor” area.
– If you have angled walls or steps, treat them as segments—don’t guess the extra shape.
Calculate square footage (and don’t forget subtraction)
The correct laminate flooring square footage is the total of all floored areas minus the areas that will remain uncovered. This step turns your measurements into an actual “buying area” that you can convert into boxes.
At this stage, keep your math clean:
– Use feet for square feet (or inches for inches, but convert consistently).
– Round at the end—not after every multiplication—so you don’t accumulate rounding errors.
For laminate flooring layouts, areas of multiple shapes are calculated by adding individual areas, which is why splitting an irregular room into rectangles improves accuracy.
If a built-in base will remain uncovered after installation, subtracting its area reduces waste; subtracting areas that actually receive laminate can cause a shortage.
Unit discipline matters: one foot equals exactly 0.3048 meters, and one inch equals exactly 25.4 millimeters (NIST, 2019).
Use geometry the way the room is built
– For a rectangle: area = length × width (e.g., feet × feet).
– For multiple shapes: add the areas of each section together.
– Subtract areas that won’t be floored (e.g., a built-in seating base) if they truly remain uncovered after installation.
Quick unit anchor (to avoid conversion slip-ups)
If you ever switch between inches and feet, remember:
– 12 inches = 1 foot
– 1 square foot = 144 square inches
Even small unit mistakes can throw off laminate flooring totals enough to change whether you end up short by a full carton.
Add waste for cuts and pattern planning
The best laminate flooring estimates build waste into the plan from the beginning. After you calculate “net square feet,” add extra for trimming, end cuts, and pattern matching so you don’t run out mid-install.
For laminate flooring, waste isn’t just about mistakes—it’s about the reality of install constraints:
– Plank ends must avoid being too close to adjacent seams.
– Boards must terminate cleanly at corners, doorways, and transitions.
– Irregular edges increase the number of cut pieces that can’t be reused.
Laminate flooring estimates require waste because many cut-offs can’t be reused once you account for seam spacing, door thresholds, and stagger patterns.
Complex dining rooms with multiple doorways and angled walls typically need higher laminate flooring waste than a single, open rectangle.
Pattern changes (like alternating plank direction or decorative layouts) usually increase laminate waste by creating more unique cut sizes.
Choose a waste factor your laminate system supports
The layout you described should influence the waste percentage. Use a recommendation from:
– the laminate manufacturer’s installation guide, or
– your installer’s established method for that specific plank length and room type.
As of 2026, many installation guides provide guidance tied to layout complexity (straight runs vs. many cuts). If yours doesn’t, use a conservative estimate rather than assuming 0% waste.
Important: avoid generic “always add 10%” rules without checking your laminate’s stated guidance, because carton quantities and installation patterns can change the effective waste.
– Add a waste factor to cover trimming, end cuts, and board matching; many installers use .
– If you’re installing a specific pattern (herringbone, plank direction changes, or lots of cuts), plan for higher waste than a straightforward layout.
– Keep notes on where cuts will happen (around doors, corners, and transitions) so your waste estimate makes sense.
Convert total area into planks and box count
The final laminate flooring step is converting your buying square footage into the number of cartons (boxes). You do that by using the manufacturer’s stated coverage per box, then rounding up.
This is where carton labels prevent mistakes. Each laminate product lists:
– Sq. ft. per box (coverage per carton)
– sometimes board dimensions (useful for verifying your logic)
– click-lock/installation requirements that affect how you handle expansion at edges
To buy laminate flooring accurately, use the carton’s stated square feet per box; dividing by anything else risks mismatch between “calculated area” and “packaged coverage.”
Always round the box count up for laminate flooring—coming up short by one carton usually forces substitutions that may not match future production lots.
Manufacturers state box coverage so installers can build accurate waste allowances; ignoring that coverage is a common cause of laminate shortages.
Do the math in the right order
1. Calculate buying area = net square feet + waste
2. Boxes needed = buying area ÷ square feet per box
3. Round up to the next whole box
Because you’re working with laminate flooring, rounding matters. If your calculation lands exactly on the edge, confirm whether your manufacturer expects an additional allowance for transitions or acclimation. When you’re dealing with dining rooms (often with multiple openings), it’s usually safer to round up.
– Check the carton label for coverage per box (square feet per box) and coverage per board (length/width) as specified by the manufacturer.
– Divide your total “buying area” by the box coverage to get how many boxes you need.
– Always round up to the next whole box—shorting yourself by even one box can force awkward substitutions.
What can go wrong (and how to avoid it)
Even with good measurements, laminate flooring installs can still go sideways if the assumptions are inconsistent. Most problems come from measurement shortcuts, incorrect subtraction, or using a box coverage number that doesn’t match your exact product.
Below is a practical checklist of “failure modes” and what to do instead. This is especially useful for dining rooms where doorways, hall breaks, and built-ins can create multiple stopping points for laminate flooring.
Rounding too early can turn a “minor math slip” into a laminate flooring shortage, because box counts are discrete units.
Subtract only the areas that remain uncovered—subtracting areas that receive laminate flooring can lead to missing cartons.
Laminate flooring coverage varies by collection and thickness, so the correct square feet per box is the one printed on your specific carton.
Common issues and how to correct them
– Measuring only once or rounding too aggressively: re-check length and width in at least one direction to catch mistakes.
– Forgetting to subtract an uncovered area (or subtracting something that will actually receive flooring): decide early what’s staying uncovered.
– Not matching the box’s stated coverage: coverage can vary by brand/collection and is printed on packaging or installation documentation.
– Underestimating waste: complex rooms (angles, closets, many doorways) typically need more trimming than a simple rectangle.
Quick comparison: subtracting fixed areas for laminate flooring
- Subtract built-ins/cabinets only if they stay uncovered
- Pros: reduces overbuy when those areas never receive planks.
- Cons: can cause a shortage if your installation method actually runs flooring around/under.
- Best use: dining rooms where the fixture base is fully covering the floor area after install.
- Keep the area in your total if flooring will run up to the fixture
- Pros: protects box count when you’re doing a floating or perimeter-trim approach.
- Cons: can lead to extra cartons if the fixture blocks coverage.
- Best use: dining rooms where planks will extend close to the fixture and only trim lines create the stop.
Verdict / tip
If your dining room is mostly rectangular, the process is straightforward: calculate square footage, add the recommended waste, then buy based on the carton’s stated coverage. If your room has many irregular sections, multiple transitions, or a strict layout pattern, measure more carefully and confirm waste guidance with your laminate manufacturer’s installation documentation (or your installer).
The downside to overplanning is time: detailed section-by-section measurements take longer than a quick “length × width” estimate. If your dining room is very complex and you’re unsure how door thresholds and transitions will be handled, it’s smart to skip DIY estimating and get help—especially because laminate flooring box shortages are expensive and can introduce batch-mismatch issues.
Quick measurement checklist (scan/save)
– [ ] Measure length and width (floor level), record values
– [ ] Split irregular areas into sections and calculate each area
– [ ] Add areas together; subtract truly uncovered zones
– [ ] Add waste factor for cuts/pattern (use )
– [ ] Find “sq ft per box” on the laminate cartons/manual
– [ ] Total buying area ÷ box coverage → round up
– [ ] Plan transitions/door thresholds before finalizing quantities
Area-Calculation Methods for Dining-Room Layouts (Laminate Flooring Planning)
| # | Layout shape you may see | Dimensions to measure | Area formula (sq ft) | Common laminate use |
|---|---|---|---|---|
| 1 | Rectangle (most dining rooms) | Length (L), Width (W) | L × W | Straight runs between walls |
| 2 | L-shape (alcove or cut-out) | Two rectangles: (L1,W) + (L2,W) or equivalent | A = A1 + A2 | Recessed dining nooks |
| 3 | T-shape (hall + main room) | Center bar + cross bar rectangles | A = Abar + Across | Dining rooms with a hallway connection |
| 4 | Trapezoid (angled wall segment) | Top base (a), bottom base (b), height (h) | (a + b)/2 × h | Diagonal transitions near windows |
| 5 | U-shape (seating nook framing) | Outer rectangle minus inner rectangle | A = Aouter − Ainner | Built-in bench or recessed seating area |
| 6 | Triangle (bay/angled cut segment) | Base (b), height (h) | 1/2 × b × h | Approximating angled side sections |
| 7 | Circle sector approximation (rounded wall) | Radius (r), central angle (θ in degrees) | (θ/360) × πr² | Rare in laminate, but usable for curved planning |
Frequently Asked Questions
What’s the best way to measure laminate flooring for a dining room?
Measure the dining room’s length and width, then multiply to get the square footage. Add an extra 10% to 15% for cutting waste, seams, and room irregularities. If your dining room includes a closet, bay window, or alcoves, measure those areas separately and add them to the total before applying waste.
How do I calculate square footage for laminate flooring when my dining room has odd shapes?
Break the room into simple shapes (rectangles and squares), measure each section, and add the square footage totals together. Measure and include any recessed areas, bump-outs, or awkward corners where the laminate must be cut. Always add 10%–15% extra to account for more complex cuts and layout changes in irregular spaces.
How do I measure laminate flooring around a table, island, or built-ins in the dining room?
Measure the entire floor area that will be covered, not just where the table sits, because laminate flooring typically runs wall-to-wall for a consistent look. If built-ins are truly fixed and you’re not installing under them, measure only the accessible areas and include those boundaries in your layout. For most installations, plan to keep flooring continuous to reduce visible transitions and maintain durability.
Why should I add extra waste percentage when measuring laminate floors for a dining room?
Laminate planks require end cuts, wall trims, and adjustments for doorways and vents, which can increase material waste. Adding 10% to 15% helps ensure you have enough planks to complete the pattern without stopping mid-install. This extra buffer is especially important in dining rooms with angled walls, multiple openings, or a complex plank direction.
Which measurements matter most for ordering the right number of laminate planks for a dining room?
Prioritize accurate room length and width, plus measurements of doorways, closets, and any protrusions like HVAC vents or column bases. After calculating total square footage, divide your coverage amount (including waste) by the coverage per box listed on the laminate packaging. Also confirm the plank size and whether the dining room layout uses a straight or diagonal pattern, since diagonal installs can slightly increase waste.
📅 Last Updated: October 20, 2026 | Topic: How to measure a laminate floors for dining room? | Content verified for accuracy and freshness.
References
- Laminate flooring
- https://www.armstrongflooring.com/support/installation-guides.html
- https://scholar.google.com/scholar?q=how+to+measure+laminate+flooring+for+a+room Google Scholar
- https://scholar.google.com/scholar?q=laminate+flooring+installation+measuring+square+footage+waste+factor Google Scholar
- https://scholar.google.com/scholar?q=calculate+floor+area+for+laminate+flooring+installation+instructions Google Scholar