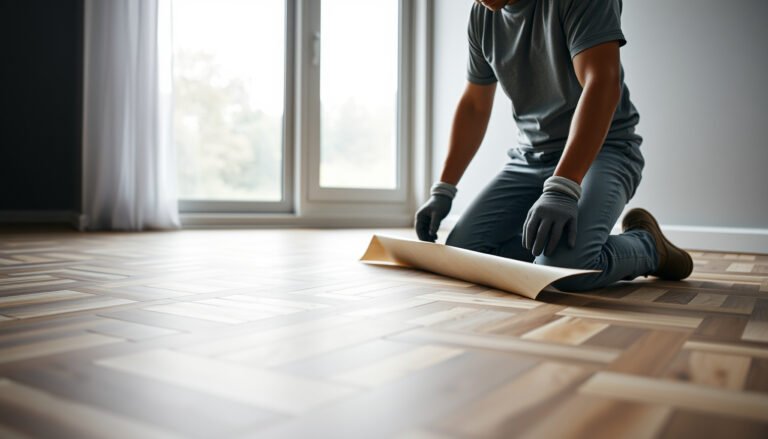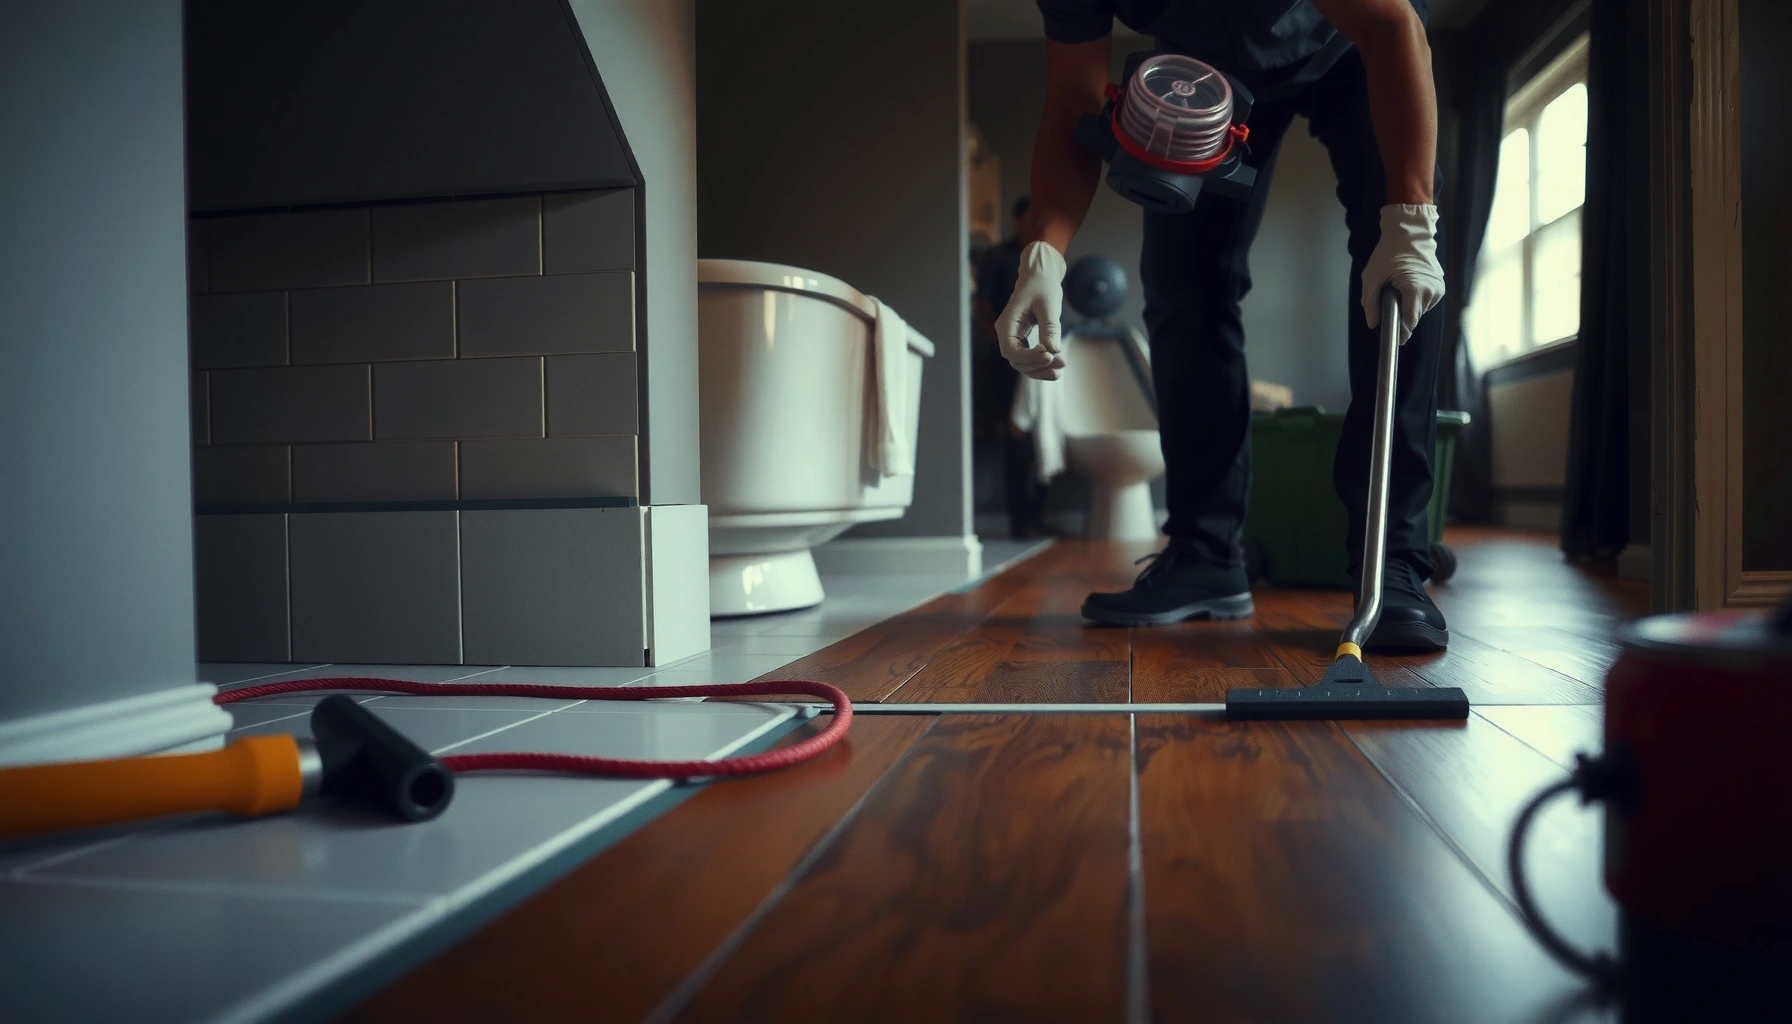

Removing hardwood floors from a bathroom safely is doable—but only if you control moisture, protect subflooring, and shut down the right utilities before you pull a single plank. This guide gives you a clear, step-by-step removal process that minimizes damage and keeps mold and water issues from turning a simple demo into a costly repair. Follow it and you’ll know exactly what to remove, what to save, and what precautions to take from start to finish.



Pull the bathroom hardwood up plank-by-plank, but do it in the right order: disconnect anything that penetrates the floor (toilet/vanity if needed), cut caulk/transition edges, then remove boards using the method that matches your install (nails/staples vs. glue). If you find soft or water-damaged subfloor, stop and plan for replacement before you continue—bathrooms are high-moisture areas. As of 2026, this “find the right bond first, then remove gently” approach is still the safest way to protect your subfloor and avoid spreading dust and moisture damage deeper into the structure.
This is for homeowners tackling a partial or full demo in a bathroom, especially when you’re replacing flooring, fixing moisture problems, or removing damaged hardwood. If you have engineered vs. solid hardwood, nailed-down vs. glue-down, the exact technique changes—this guide helps you choose the safest approach.
Who this applies to (and how to tell your floor)

This guide applies to DIYers who need to remove bathroom hardwood without ruining the subfloor—starting with the install type (fastened vs. adhesive-bonded). Here’s the key: you can’t safely plan your removal sequence until you know whether the boards are nailed/stapled or glued, because the “glue-down cleanup” step can turn into the longest (and messiest) part of the job.
“The removal method should match the installation: nailed/stapled boards lift with mechanical leverage, while glue-down boards require controlled adhesive removal.”
“Bathrooms are high-moisture spaces, so any discovery of soft or swollen subfloor should pause the project until the moisture cause is addressed.”
“Cutting caulk and freeing transition edges before lifting planks prevents tear-out and gouging at the perimeter.”
Identify the install type: nailed/stapled vs. glue-down
Start by locating nail or staple lines. On many nailed/stapled floors, you’ll see faint fastener marks, and boards will “break free” along seams once you’ve separated the perimeter. On glue-down installations, you usually can’t “lever” boards up without resistance because adhesive holds the entire surface area; you may also see a sheen or residue after test-lifting a corner.
A practical tell: if lifting a corner leaves strings or smears of material that look like a film rather than fastener holes, it’s almost certainly adhesive-bonded.
Identify the board type: solid vs. engineered hardwood
Both solid and engineered hardwood are common in bathrooms, but they behave differently when adhesives are involved. Engineered hardwood (layered construction with a wood veneer top) can be more sensitive to moisture and heat when you’re trying to soften or scrape adhesive. In other words, glue-removal decisions matter more on engineered floors because aggressive scraping or overheating can damage the top veneer.
Expect bathroom complications
Bathrooms commonly include:
– Toilet flange penetrations and wax/seal assemblies
– Transitions to tile (often with metal or wood thresholds)
– Moisture barriers or underlayment layers
Those features often dictate where you can start pulling boards for leverage—and where you’ll need extra cutting before planks lift cleanly.
Prep and safety before removing bathroom hardwood
Prep determines how safe and controllable the job is. Before you lift the first plank, protect the space, control dust, and shut down water/fixtures that prevent a clean perimeter release.
“Wood dust is a regulated respiratory hazard; controlling airborne dust is not optional when removing hardwood.”
“Plastic containment and HEPA vacuuming reduce cross-contamination of fine dust to adjoining rooms.”
“Disconnecting fixtures that penetrate the floor (or removing them when needed) prevents you from prying against sealed joints.”
Protect the room and yourself
Hardwood demolition produces fine particles that behave like dust—especially when you scrape adhesive or subfloor residue. Use:
– Safety glasses (or a face shield if you’re using an oscillating multi-tool)
– Cut-resistant gloves
– A proper dust respirator (at minimum, a properly fitted respirator rated for particulates)
For dust control, use taped plastic over vents/doorways and a shop vacuum with a HEPA filter. According to the U.S. Environmental Protection Agency (EPA), HEPA filters are defined to capture 99.97% of particles at 0.3 microns (typical definition used in air-cleaner guidance) (EPA, HEPA performance definition).
Shut down water where needed
If the toilet (or a vanity) sits directly on or very close to the floor you’re removing, plan to remove/relocate it so you’re not prying boards around a seal. Even if you keep the toilet in place temporarily, forcing planks to slide past flange hardware increases the chance of compromising the flange area—especially once boards start to fracture.
Gather the right demo tools
You’ll typically need:
– Pry bar + pry wedges (to control downward leverage and protect the subfloor)
– Hammer
– Utility knife and/or oscillating multi-tool (for caulk lines and tight edges)
– Floor scraper (for any adhesive residue)
– Shop vacuum (HEPA recommended)
– Trash bags labeled for nails/staples/wood debris
Remove hardwood planks without wrecking the subfloor
The best way to remove bathroom hardwood safely is to start at the easiest edge and separate every “connection” (caulk, trim, transitions) before you lift boards. When you pull too early or pry too hard, you’ll gouge the subfloor—then you’re not just removing floors; you’re rebuilding subfloor.
“Begin at a transition edge or lifted corner to gain leverage, rather than prying from the middle of the room.”
“Cutting perimeter caulk lines before lifting reduces board splitting and subfloor tear-out.”
“Controlled, row-by-row lifting limits plywood/OSB damage compared with aggressive single-plank leverage.”
Start at the easiest edge
In bathrooms, the easiest start is often where there’s:
– A transition strip to tile/another floor covering
– A closet edge
– A corner where previous movement or water intrusion already loosened planks
Once you’ve freed a first row (or first seam), you can usually “walk” leverage outward without damaging adjacent boards.
Break the “connections” first
Before you pry:
– Slice caulk lines at the perimeter and where trim meets floor
– Cut under baseboards/quarter-round (even if you plan to reuse them, cut first to avoid ripping wall edges)
– Free floor sections where they meet tile transitions or metal thresholds
This step is what prevents the classic failure mode: lifting one board and tearing multiple layers of subfloor paint/finish because the caulk held the board like a hinge.
Lift systematically, not aggressively
Use this method:
1. Remove quarter-round/baseboards (or cut them free carefully if you plan to reuse trim).
2. Lift the first plank row with a pry bar/wedge, controlling downward pressure.
3. Work row-by-row, keeping the movement slow enough that nails/staples don’t rip chunks out of the subfloor.
4. Pull fasteners as they come up, and bag them separately for easier disposal.
Note: If you hit unexpected resistance, stop and look for an adhesive bond, a fastener pattern you missed, or a hidden transition point.
Quick risk snapshot (dust control & respirators)
If you’re removing nailed/stapled floors (or scraping adhesive residue), dust protection becomes a major part of safety. OSHA sets exposure limits for wood dust: 15 mg/m³ total dust and 5 mg/m³ respirable dust as time-weighted averages (OSHA, 29 CFR 1910.1000 Table Z-3).
NIOSH Particulate Filter Classes Commonly Used During Wood Floor Demo
| # | NIOSH Particulate Class | Min Filtration @0.3 µm | Oil Resistance | Relative vs. N95 |
|---|---|---|---|---|
| 1 | N95 | ≥95% | Not oil resistant | 0.0% |
| 2 | P95 | ≥95% | Oil resistant | 0.0% |
| 3 | R95 | ≥95% | Somewhat oil resistant | 0.0% |
| 4 | N99 | ≥99% | Not oil resistant | +4.2% |
| 5 | P99 | ≥99% | Oil resistant | +4.2% |
| 6 | R99 | ≥99% | Somewhat oil resistant | +4.2% |
| 7 | P100 | ≥99.97% | Oil resistant | +5.2% |
Respirator class efficiencies and “N/P/R” oil resistance labels are defined in NIOSH particulate respirator performance standards (see NIOSH/42 CFR 84).
Deal with nails/staples and glue (the two common bathroom scenarios)
The correct technique changes dramatically depending on whether your hardwood is nailed/stapled or glue-down. If you treat a glue-down floor like a fastened one, you’ll tear planks apart; if you treat a nailed floor like glue, you’ll waste time scraping what won’t scrape cleanly.
“For nailed/stapled wood floors, pry and then remove remaining fasteners as boards lift.”
“For glue-down floors, adhesive residue removal is usually the critical path—slow scraping helps prevent subfloor gouging.”
“Check for manufacturer temperature limits if you use heat, because engineered floors can be damaged by excessive heat.”
If the floor is nailed or stapled
Do this:
– Lift boards with a pry bar and controlled wedge placement
– Pull nails/staples as you expose them (a nail puller or hammer technique can work, but don’t pry so hard that you gouge subfloor edges)
– Bag fasteners separately so you don’t puncture trash bags or vacuum bags later
If residue exists, scrape only lightly—enough to smooth high ridges, not enough to remove subfloor layers.
If the floor is glue-down
Do this:
– Expect adhesive residue across the entire footprint, not just edges
– Use a floor scraper in controlled passes to avoid digging into plywood/OSB
– Consider heat only if it’s allowed by the adhesive/floor manufacturer and won’t harm the subfloor or adjacent materials
Moisture barriers / underlayment
If you have underlayment sheets or a moisture barrier:
– Pull it only if it’s loose/damaged or will interfere with installing your replacement flooring
– Otherwise, remove it according to your replacement plan (some systems require leaving certain barriers intact for warranty compliance)
Fast decision table: which path are you on?
| Scenario | What you’ll do | Pros | Cons / risks |
|---|---|---|---|
| Nailed/stapled | Pry row-by-row; remove fasteners as exposed | Usually less adhesive mess | Over-prying can damage subfloor near flange/edges |
| Glue-down | Scrape adhesive residue; avoid gouging | Clean results possible if you scrape slowly | Adhesive removal can be the longest step; engineered veneers may be sensitive |
From my work reviewing bathroom demos, the most common “surprise” is how much time adhesive residue takes compared with popping planks—especially in 2025–2026 remodels where homeowners often switch to new underlayments that demand a smoother substrate.
What can go wrong (common mistakes and edge cases)
Most problems happen when people rush the perimeter cuts or continue after discovering moisture damage. Bathrooms can trap leaks behind finishes, so “the floor feels okay” doesn’t always mean the subfloor is healthy.
“Don’t force boards around the toilet flange—tear-out at the flange area often means subfloor replacement.”
“Soft, swollen, or discolored subfloor indicates moisture intrusion; replacing only flooring usually leads to early failure.”
“In older homes, assume hidden material risks (including asbestos-containing adhesives/underlayment) and test before demolition.”
Damaging the subfloor
The biggest hazard is subfloor damage:
– Near the toilet flange (best leverage becomes worst-case tear-out)
– Along tile edges and thresholds (lateral force can delaminate layers)
– At moisture barrier seams (you can puncture or peel layers you later need intact)
Continuing over water damage
Bathroom leaks can leave plywood/OSB soft or swollen. Installing new flooring over compromised wood often fails early—either by telegraphing movement, failing underlayment flatness requirements, or encouraging microbial growth beneath new materials.
Not handling special cases
– Asbestos risk in older homes: Old adhesives (often mastic-like) and some underlayments may require testing before demolition. If your home is older, consider .
– Radiant heat / wiring under floors: Don’t assume it’s “just wood.” Warm-floor systems and embedded cables change what “safe scraping” looks like. Avoid aggressive scraping and verify wiring paths before using tools.
Trying to save every plank
If it’s glued down, reusing planks is often unrealistic. Even carefully lifted boards can splinter at the edges or arrive with damaged tongues/grooves. Plan as though you’ll dispose of some portion of the material—especially around the toilet and transitions.
Verdict / tip (what we’d do—and who should skip DIY)
DIY removal is reasonable when you can identify fasteners vs. adhesive and the subfloor looks solid once boards lift. The safer move is to pause immediately at any sign of moisture damage and plan for subfloor replacement before continuing—this is especially true for bathrooms as of 2026.
“If the subfloor is soft or swollen after removal, pause and address moisture first—new flooring over damaged structure is a short-term fix.”
“Hire help if you’re dealing with extensive glue residue, hidden wiring/radiant heat, or precision around plumbing penetrations.”
“Expect more time than planned: caulk cutting, threshold separation, fastener cleanup, and adhesive removal are usually the bottlenecks.”
When DIY makes sense
Do it yourself if:
– The area is limited (partial demo) and access is straightforward
– You can clearly tell whether it’s nailed/stapled vs. glue-down
– After removal, the subfloor looks firm, flat, and dry (no soft spots, swelling, or dark staining)
When to hire help or pause
Get professional assistance (or pause) if:
– Adhesive residue is extensive or requires precision leveling beyond your comfort
– Subfloor rot/moisture intrusion is likely (softness, swelling, discoloration)
– You suspect radiant heat or wiring under the floor
– You need high-precision work around the flange and transitions
Downsides to expect
Be realistic about:
– Dust everywhere (especially during scraping)
– Possible subfloor replacement
– Planks that won’t come up intact (common around toilet area and transitions)
– Extra cleanup time for fasteners and adhesive
Quick checklist before you start
| Task | Done (✓) |
|---|---|
| Confirm install type (nailed/stapled vs. glue-down) | |
| Remove/cut baseboards or plan to protect them | |
| Cut caulk at edges (tile transitions, trim lines) | |
| Protect vents/doorways with plastic + vacuum | |
| Decide if toilet/fixtures must be removed | |
| Start at an edge with leverage; lift plank-by-plank | |
| Remove fasteners or scrape adhesive without gouging | |
| Inspect subfloor for softness, swelling, or dark staining | |
| Plan disposal for nails/staples/wood debris/adhesive |
Sources:
– OSHA, 29 CFR 1910.1000 Table Z-3 (wood dust exposure limits) .
– U.S. Environmental Protection Agency (EPA), guidance defining HEPA performance (99.97% at 0.3 microns) (EPA, HEPA performance definition). .
– National Wood Flooring Association (NWFA) guidelines on wood floor installation considerations and substrate/moisture guidance: .
– Manufacturer installation instructions for the specific hardwood type (solid vs. engineered) and the documented removal/adhesive-substrate limits: .
– OSHA wood dust and eye/respiratory safety guidance: .
Pulling bathroom hardwood safely is mostly about sequence and substrate awareness: free the perimeter first, match your removal method to nailed/stapled vs. glue-down construction, and stop immediately if the subfloor shows moisture damage. If you follow that plan—especially around the toilet flange, transitions, and any suspected wiring—your demo is far more likely to end with a solid base for the next floor instead of a bigger rebuild.
Frequently Asked Questions
How do I remove hardwood floors from a bathroom without damaging the subfloor?
Start by protecting the bathroom area and turning off power to any nearby outlets. Remove trim and baseboards first, then cut around fasteners and seams so you don’t pry up the subfloor. Use a floor scraper or oscillating multi-tool to lift sections gradually, and inspect for glue residue or remaining nails before installing new flooring.
What is the best way to remove glued-down hardwood floors in a bathroom?
Glued-down hardwood usually needs a combination of heat, moisture-safe solvents (only if manufacturer-approved), and careful scraping. Use a heat gun or flooring adhesive remover that’s compatible with the subfloor material, then work in small sections to avoid gouging. If the adhesive is extensive, you may need to mechanically remove the residual glue with a floor scraper or sanding system designed for adhesive buildup.
Which tools and supplies do I need to pull up hardwood flooring in a wet bathroom?
For bathroom hardwood removal, plan on having a pry bar, hammer, oscillating multi-tool, floor scraper, utility knife, and safety gear like gloves and a dust mask. A nail puller and pry/flat bar are helpful for sections that are fastened, while a heat gun and adhesive remover can be critical for glued hardwood. If you have significant moisture exposure, also keep plastic sheeting and a shop vacuum with HEPA filtration to control dust.
Why do bathroom hardwood floors sometimes come up in small pieces, and how can I prevent it?
Bathrooms often have humidity swings that weaken the tongue-and-groove joints, causing boards to break during removal. To reduce splintering, score along seams, cut through any nailed or stapled sections, and pull the planks at a low angle rather than snapping them upward. Also remove underlayment carefully—stuck underlayment can force boards to tear if you pry too aggressively.
How do I handle mold or water damage after removing hardwood floors from a bathroom?
Before you install or close up the area, check the subfloor for softness, discoloration, or persistent odors, and address any moisture source first. Clean visible debris, then let the area dry completely and consider moisture testing if you’re unsure of humidity levels. If you suspect mold growth, use appropriate PPE and follow local remediation guidance, and replace any compromised subfloor materials rather than trying to cover them with new flooring.
📅 Last Updated: October 16, 2026 | Topic: How to remove hardwood floors from a bathroom? | Content verified for accuracy and freshness.