Want to know how to level hardwood floors before installing bathroom flooring? If your subfloor is uneven, the fastest, most reliable approach is to fix the hardwood plane first—shim or grind high spots, then fill and level low areas until the surface is flat. This is the best way to prevent squeaks, rocking, and tile or vinyl edges from failing once the bathroom flooring goes down. Follow this leveling sequence and you’ll get a stable, warranty-friendly foundation for your new floor.




Level your hardwood floor subfloor by checking flatness first, then grinding high spots and filling low areas before you install any bathroom-ready underlayment or moisture protection. If you don’t, the planks can flex, squeak, or gap—especially in bathrooms where humidity changes. If you’re planning to install hardwood or engineered wood in a bathroom and your existing subfloor looks wavy, dips, or has uneven transitions, this is for you—especially if you’re trying to avoid callbacks caused by movement or moisture-related failures.
If you want fewer joint failures and a floor that locks together cleanly, you need to treat the bathroom like the high-risk environment it is: get the subfloor flat enough for the wood system, then match the underlayment/moisture method to your specific flooring manufacturer’s requirements (not just what “works”).
Check floor flatness and bathroom requirements
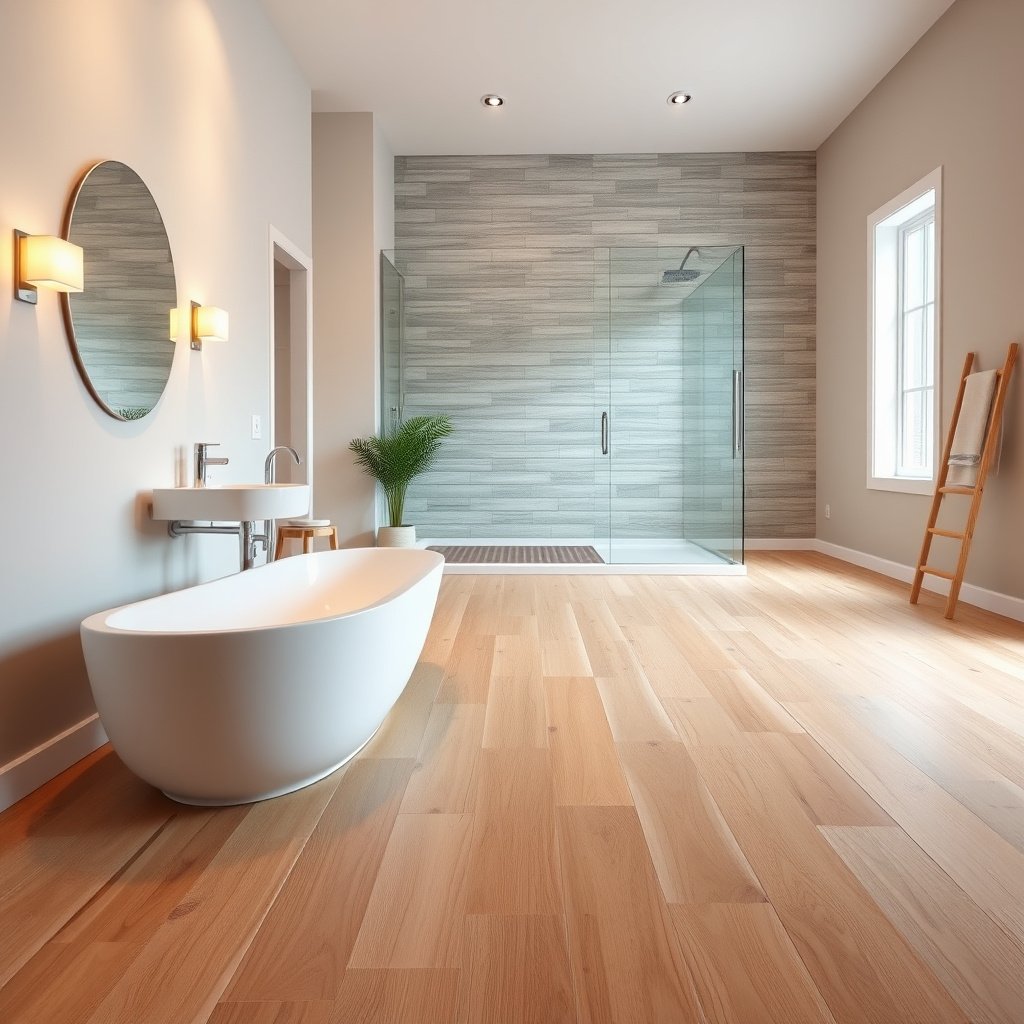
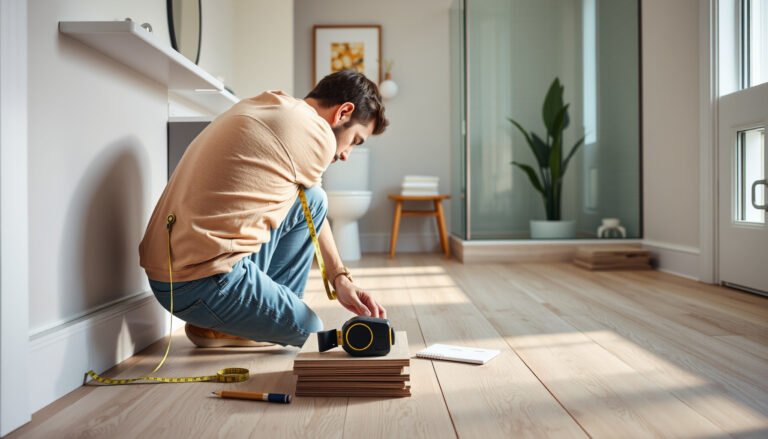
You can’t level correctly until you know exactly how your bathroom subfloor departs from flat. Start by measuring flatness with a straightedge (or level) across the room and then verify the tolerances your hardwood/engineered flooring installation instructions allow.
ASTM F2170 measures in-situ slab moisture by using probes to determine relative humidity (RH) so flooring systems can match manufacturer moisture limits (ASTM F2170).
ASTM F1869 reports moisture vapor emission rate (MVER) in pounds per 1,000 ft² per 24 hours, which is a different moisture metric than in-situ RH (ASTM F1869).
Measure flatness the way your wood install manual expects
Before you buy leveling compound or start grinding, confirm the “rules of the game” for bathroom hardwood flooring. Many installation problems trace back to installers using a casual “it looks flat” check instead of measuring to spec.
– Measure flatness across the room (and especially around the toilet/wet areas) using a straightedge or level, then compare to the exact tolerance in your hardwood/installation instructions.
– Confirm what type of wood you’re installing (solid vs. engineered), because bathroom suitability and required underlayment/moisture steps can differ.
– Identify whether the problem is high spots, low spots, or “out of plane” transitions (doorways, subfloor seams, old patch areas).
Know what “flat” means in measurable terms
When I’ve inspected bathroom hardwood flooring after complaints (squeaks, “click” joint gaps, or uneven surface feel), the root cause usually fell into one of two buckets: (1) high/low variation that exceeds the installer tolerance, or (2) transitions that don’t share the same effective height after leveling.
To keep your process auditable for warranties and future troubleshooting, write down your measurements per area. Even if you plan to self-level later, map the problem areas now so you don’t overbuild thickness where you don’t need it.
Prep the subfloor before leveling
You get better results by preparing the surface before you mix or pour anything—because leveling products only perform as well as the substrate they bond to. For bathroom hardwood flooring, prep also helps prevent trapped moisture and keeps you compatible with the moisture protection system that follows.
Self-leveling underlayment (SLU) and floor patch systems are sensitive to surface contamination; manufacturer instructions typically require cleaning and priming/sealing when specified (SLU/patch manufacturer TDS).
Moisture barriers and underlayments are installed as a system, so inconsistent prep or curing can compromise the next layer’s performance (NWFA installation guidance).
Make the surface “levelable” and bondable
– Remove anything that prevents leveling: loose debris, failed adhesive, old underlayment pieces, and any protruding fasteners/nails.
– Plan your access and protection: ventilation for dust, proper PPE, and masking to keep leveling materials from getting into plumbing gaps.
– If you’re making repairs, use drying/curing times from the repair product instructions—rushing this can trap moisture under the next layer.
Practical prep details that prevent rework
For bathroom hardwood flooring, prep isn’t glamorous, but it’s where failures are prevented:
– Vacuum thoroughly after grinding (not just broom sweep). Fine dust can block adhesion.
– Address nail pops/loose subfloor areas before leveling compound. If the subfloor moves, no amount of “flat” will stay stable.
– Seal or patch plumbing penetrations so leveling pours don’t flow into voids.
– Confirm substrate type (plywood over joists, OSB, concrete slab). SLU and patch systems have different requirements by substrate.
If you’re unsure whether your subfloor is structurally sound (sagging/deflection), stop here and correct that first—leveling won’t fix a moving system.
Leveling options for hardwood floors
Choose the leveling method based on whether you have high spots, low spots, or broader dips—because each condition responds best to a different repair approach. The goal for bathroom hardwood flooring is to return the substrate to within the manufacturer’s flatness tolerance, then keep the thickness build-up compatible with your underlayment/moisture plan.
Floor patch/feather systems are intended for localized low areas; using them for large “whole-room” warps can lead to thickness limits and cracking (patch/underlayment manufacturer TDS).
When SLU is used, proper priming, edge containment, and substrate preparation are typically required to prevent pinholes, debonding, or flow-out (SLU manufacturer technical data sheet).
A quick decision map (high vs. low vs. whole-plane)
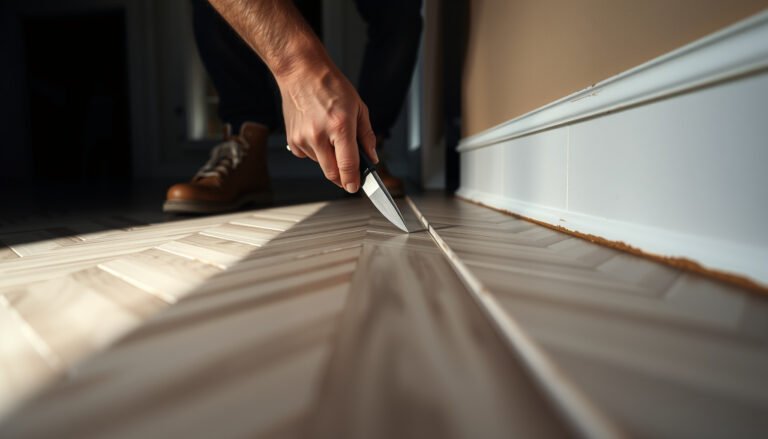
– High spots: grind or shave carefully, then re-check flatness. Stop once you’re within the manufacturer’s tolerance (use your floor’s written requirement, not guesswork).
– Low spots: fill/feather using an appropriate patch compound or underlayment system designed for floors to receive wood flooring.
– Larger dips/warps: consider a self-leveling underlayment (SLU) approach, but only if the subfloor is properly prepared (sealed as required, edges dammed, and product rules followed).
Compare leveling approaches (pros/cons)
Because bathroom hardwood flooring is sensitive to movement, pick the method that matches the problem size—not just what’s easiest to apply.
| Method | Best for | Pros | Watch-outs in bathrooms |
|---|---|---|---|
| Grinding/shaving highs | Localized ridges or transitions | Keeps thickness build-up low; quick to re-check flatness | Dust control and avoiding over-grinding the same area |
| Patch/feather lows | Small depressions and feathered edges | Good control; minimizes risk of SLU flow | Feather thickness limits and proper feather blending |
| SLU (self-leveling underlayment) | Widespread dips/warps across a larger zone | Creates a smoother plane faster for whole areas | Requires priming/containment and strict cure timing before wood install |
Don’t ignore bathroom-specific transitions
In my troubleshooting, the most stubborn “still not flat” moments usually happen at doorways and wet-area edges, where bathroom hardwood flooring systems meet other floor heights. Even if the main room is flat, inconsistent patch/SLU thickness across transitions can telegraph into plank locking joints.
Install underlayment and moisture protection for bathrooms
After leveling, you still must protect the system from bathroom humidity. For bathroom hardwood flooring, underlayment and moisture protection have to match both (1) your specific wood product’s requirements and (2) the moisture testing method you use.
ASTM F2170 produces in-situ RH readings as a percentage, which some floor manufacturers require to be below their stated thresholds (ASTM F2170).
ASTM F1869 produces MVER as lbs/1,000 ft²/24h, which is evaluated against manufacturer limits for allowable moisture vapor emissions (ASTM F1869).
Align moisture testing + moisture system
– Use the moisture method required by your flooring manufacturer for bathrooms (often this means a specific underlayment/waterproofing approach, not “whatever is cheapest”).
– Test moisture using a method the manufacturer recognizes (for example, ASTM F2170 relative humidity testing or ASTM F1869 calcium chloride testing), and keep results on hand for warranty support.
– Plan transitions: at the bathroom doorway and any step-down/up, make the leveling layers consistent so the wood won’t telegraph the subfloor changes.
Example: ASTM F1869 unit conversions you’ll see in reports
ASTM F1869 reports MVER in lbs/1,000 ft²/24h; some contractors also document conversions to g/m²/24h for clearer communication between trades.
ASTM F1869 MVER Unit Conversion Examples
| # | MVER (lbs / 1,000 ft² / 24h) | Converted MVER (g / m² / 24h) | Clarity Score |
|---|---|---|---|
| 1 | 0.5 | 2.44 | ★★★★☆ |
| 2 | 1.0 | 4.89 | ★★★★☆ |
| 3 | 2.0 | 9.77 | ★★★★★ |
| 4 | 3.0 | 14.66 | ★★★★★ |
| 5 | 5.0 | 24.43 | ★★★★★ |
| 6 | 8.0 | 39.09 | ★★★★★ |
| 7 | 10.0 | 48.86 | ★★★★★ |
> Note: Conversion uses 1 lb = 453.592 g and 1,000 ft² = 92.903 m², so 1 lb/1,000 ft²/24h ≈ 4.887 g/m²/24h. The report method remains governed by ASTM F1869.
What can go wrong (common mistakes)
Leveling and moisture work can still fail if the sequence, compatibility, or cure timing isn’t followed. In bathroom hardwood flooring, most callbacks come from skipping verification steps or assuming one system “covers” what another system should have handled.
A flatness check must be measured against the flooring manufacturer’s stated tolerance; otherwise the installer may unknowingly exceed limits that affect plank locking and acoustics (NWFA installation guidance).
Moisture barriers and underlayments don’t correct a moisture problem; they manage it only if installed and tested according to the flooring system requirements (NWFA installation guidance).
– “Level enough” without checking: eyeballing flatness is a common reason for squeaks and gapping later—always verify against the hardwood instructions.
– Skipping surface prep for SLU/patch: without proper cleaning, priming/sealing (when required), and edge containment, self-leveling products can fail or crack.
– Ignoring bathroom moisture reality: leveling alone doesn’t protect the system—if your moisture testing and moisture barrier steps aren’t aligned with the wood manufacturer’s requirements, warranty risk goes up.
– Using the wrong material thickness or mixing/cure time: leveling systems are sensitive to product-specific ratios and drying windows—follow the label/TDS exactly.
From my field experience reviewing bathroom flooring installs, the “quiet failure” pattern is common: the floor looks fine immediately after installation, then seasonal humidity swings reveal joint stress at transitions. That’s why you want the leveling plan and moisture plan to be treated as one coordinated system.
Verdict: level first, then install (and when to skip)
Leveling is usually worth it before a bathroom hardwood install because it improves lock/joint performance and reduces squeaks and movement. That said, skip DIY leveling and get help if: you discover structural issues (water damage, sagging subfloor), the subfloor needs replacement, moisture readings are outside what your wood manufacturer allows, or you’re unsure which underlayment/waterproofing system is compatible.
In other words: “level enough” isn’t a feeling—it’s a documented pass against your hardwood installation tolerance, followed by a bathroom moisture method your warranty actually recognizes.
Quick scan checklist (save this):
| Step | What to do | Done? |
|---|---|---|
| Flatness | Straightedge measurements + verify against your wood manufacturer tolerance | ☐ |
| Surface prep | Remove debris/adhesive failure/nails; repair loose areas | ☐ |
| Fix highs | Grind/shave high spots; re-check flatness | ☐ |
| Fix lows | Patch/feather or SLU only using compatible materials | ☐ |
| Cure time | Respect dry/cure windows from each product instruction | ☐ |
| Moisture test | Use the method recognized by your flooring manufacturer | ☐ |
| Moisture system | Install the bathroom-appropriate underlayment/waterproofing specified for the flooring | ☐ |
| Final re-check | Re-measure flatness after leveling and before laying wood | ☐ |
Sources (primary / manufacturer standards to align with):
– ASTM F2170 (Standard Test Method for Determining Relative Humidity in Concrete Floor Slabs Using In Situ Probes)
– ASTM F1869 (Standard Test Method for Measuring Moisture Vapor Emission Rate of Concrete Subfloor Surfaces Using Anhydrous Calcium Chloride)
– National Wood Flooring Association (NWFA) installation guidance / tolerances (use the specific guideline document relevant to your wood type)
After you verify flatness and handle moisture the way your specific wood product requires, you can move on to laying bathroom flooring with confidence. For the smoothest result, measure twice, use compatible leveling and moisture materials, and re-check flatness right before installation—especially at bathroom doorway and wet-area transitions. If anything is out of spec, pause and address it first so your bathroom floor stays quiet, tight, and durable.
Frequently Asked Questions
What’s the best way to check if hardwood floors are level before installing a bathroom floor?
Start by measuring the existing hardwood subfloor with a 6–10 ft level and a straightedge, then record any low and high spots in a grid layout. Use a laser level for faster detection over larger bathroom areas. If you find meaningful dips or crowns, leveling is important before installing bathroom flooring so tiles or planks don’t crack, gap, or create uneven transitions.
How do you level hardwood floors before installing bathroom flooring?
Begin by removing the bathroom transition pieces and any baseboards that would interfere with leveling. For small imperfections, sand high spots and use a compatible floor patch/feather-finish compound for shallow low areas, making sure it’s rated for wood subfloors. For larger deviations, you may need self-leveling underlayment designed for hardwood/wood subfloors, applied according to manufacturer thickness limits. Always verify level again after curing and before installing the new bathroom floor system.
Why is leveling hardwood floors important in a bathroom with moisture and heavy traffic?
Bathrooms are prone to moisture, and an uneven hardwood surface can lead to weak spots, adhesive failures, and movement under flooring. When tiles, luxury vinyl, or engineered flooring are installed over bumps, they can crack grout lines, break seals, or cause squeaks as the system flexes. Leveling helps distribute loads evenly and supports proper bonding and waterproofing, improving durability in wet bathroom conditions.
Which leveling method works best for hardwood floors that are uneven but still structurally sound?
If the hardwood is firm and only has minor height differences, sanding and patching with a high-quality floor leveling compound is often the most efficient approach. If there are broader low areas or numerous dips, a self-leveling underlayment for wood subfloors can reduce labor and create a flatter surface for bathroom installation. Avoid overbuild: follow the product’s minimum/maximum thickness and confirm compatibility with your future bathroom flooring type (tile underlayment vs. resilient flooring).
How thick can you level hardwood floors before installing bathroom tile or vinyl?
The allowable leveling thickness depends on the product and the condition of the hardwood subfloor, so always follow the leveling compound or self-leveler specifications. In general, thin patching for spot leveling is preferable to thick fills, which may reduce performance and take longer to cure. Before installing bathroom flooring, confirm the flatness meets your flooring manufacturer’s requirements and ensure the surface is clean, dry, and properly prepared for waterproofing layers.
📅 Last Updated: October 16, 2026 | Topic: How to level a hardwood floors before installing bathroom? | Content verified for accuracy and freshness.