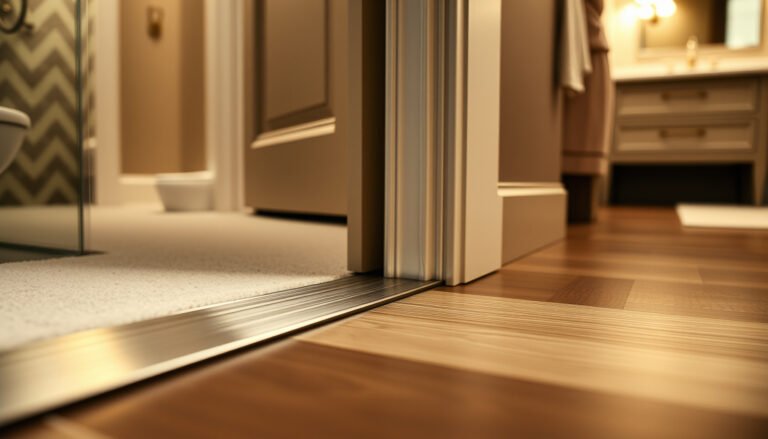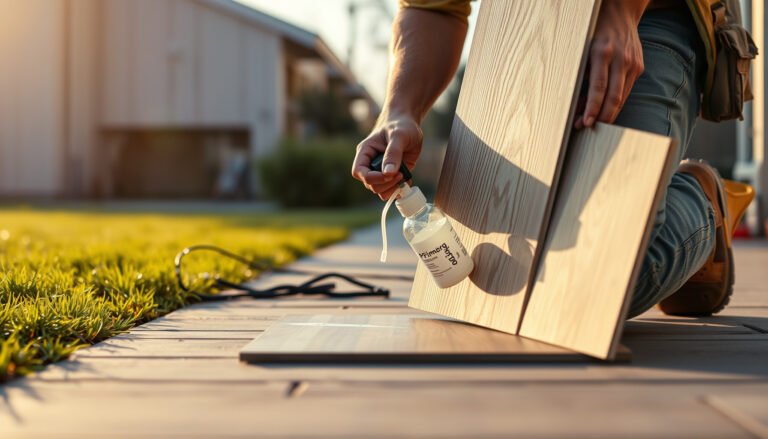

This step-by-step guide tells you exactly how to install transitions for chevron floors for a clean, professional finish with tight seams and solid alignment. You’ll get the correct order of operations—from subfloor prep and measurement to fastening and finishing—so the transition line lands exactly where it should. Follow it closely and your chevron layout will meet the transition smoothly without gaps, lippage, or shifting over time.



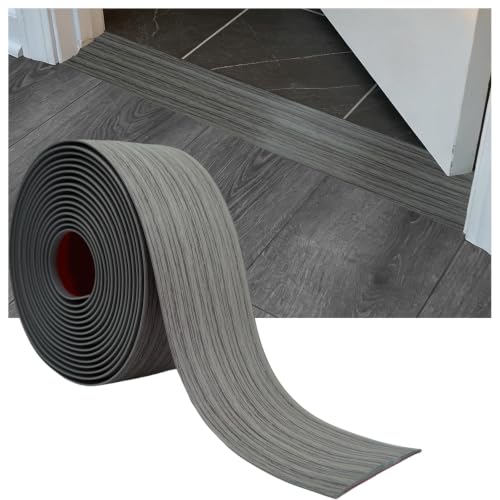
Installing transitions on chevron floors comes down to one thing: align the transition profile to your chevron layout before you fasten or glue, and verify heights/expansion space first. If you dry-fit, confirm the profile height matches your flooring (and any underlayment), and follow the transition’s install method (screws/clips/adhesive), the edge will look intentional instead of visibly “off” in the pattern.
Chevron floors amplify every small alignment error because the eye reads straight lines and symmetry. That’s why a transition strip at doorways, between rooms, or where chevron flooring meets tile/LVP/laminate is usually the cleanest bridge for a surface-change problem—while also protecting the edges from wear and heel catch. This layout is written for DIYers installing a chevron floor that needs a matching threshold, reducer, T-molding, or similar transition profile.
Who this is for / when it applies: If you’re installing chevron-pattern flooring in a room-to-room path (especially near door jambs or mixed flooring types), you’re likely dealing with either a height step, an expansion-gap requirement, or both. This step-by-step guide fits chevron installs over typical subfloors (wood or concrete) where you plan to use a manufactured transition strip system, not a custom-milled edge, and where you’ll need to keep the chevron geometry visually centered.
Choose the right transition for your chevron floor

The best transition choice is the one that corrects the height change and matches how your floor needs to move. Reducers, T-moldings, and thresholds each solve different problems, so selecting the correct profile early prevents visible gaps, rubbing, and edge failure later.
A reducer transition is designed to handle a height difference between two finished floor surfaces, while a T-molding is intended for surfaces that are the same height.
A threshold/doorway transition also helps manage fixed edges and movement control at jambs, where expansion gaps cannot simply be left “floating.”
ASTM flatness guidance matters under transitions too: subfloors outside flatness tolerances can keep a transition from sitting flush, leading to loosening or heel catch.
Start by mapping your situation to the transition’s job:
– Match the profile to the job: reducer (height change), T-molding (same height), or threshold/expansion style at doorways.
– Confirm it can handle your height differences and thicknesses, including any underlayment (check both the flooring and transition specs).
Quick decision logic (so you don’t guess)
If you can measure (or know from the product data) that the adjacent floors differ in thickness, choose a reducer or threshold with a ramp. If the heights are equal, a T-molding usually gives the cleanest “rail” look because the top sits level across both surfaces. If the change occurs at a doorway/jamb, a threshold is often the right move because it’s built around fixed-edge conditions and controlled movement.
Height math that prevents “hump” surprises
Before you buy or cut anything, calculate these three numbers:
1. Flooring thickness (chevron planks/tile/LVP total thickness)
2. Underlayment thickness (if your install uses one)
3. Transition face and base design (top lip height and how much of the base sits below the top surface)
Then check that the transition design matches what those totals produce at the seam. Even a small mismatch can create a shadow gap at the chevron “break” line—especially under daylight.
Data point anchors (why accuracy matters)
According to ASTM F710, subfloors should be flat within 3/16 in (4.8 mm) over 10 ft (3 m) (commonly referenced from the standard’s flatness guidance, 2015 edition).
According to ASTM F710, a tighter flatness target is also used in the same guidance, 1/8 in (3.2 mm) over 6 ft (1.8 m) (2015).
According to NWFA, properly installed wood flooring relies on controlled environmental movement (humidity/expansion concepts are part of their installation guidance; edition and local application should be confirmed against your specific floor type) (2020).
Measure, mark, and prep before any installation

The right transition starts with layout discipline: measure once, then mark alignment lines before any fastening or adhesive touches the floor. On a chevron pattern, prep is about centering the transition so the seam looks deliberate instead of accidental.
Before installing any transition, you should dry-fit the strip to verify it sits flat and the transition height matches your finished flooring thickness.
On chevron floors, alignment must be finalized while the transition is loose—locking it too early can drift the seam relative to the V pattern.
– Verify the subfloor is flat where the transition will sit; high spots can prevent full contact and cause rocking.
– Plan the exact alignment line before cutting: transitions should land where your chevron lines can be centered or intentionally “broken” without looking off.
– Dry-fit the transition strip with the flooring installed (and any required spacing) so the gap you leave is consistent on both sides.
Subfloor flatness: the “silent failure” in transitions
A transition doesn’t float—its base needs consistent contact. If the subfloor has a high spot, the transition top can stay level-looking in one spot but rock near the ends. That rocking is what eventually loosens fasteners or breaks adhesive bonds.
In practice, we treat the transition zone like a “mini subfloor job”:
– Check for humps with a straightedge (and mark high points).
– Fill low spots only if allowed by the transition system and your floor substrate requirements.
– Remove debris where the transition base will sit—dust acts like an insulating layer under adhesive profiles.
Chevrons require alignment choices (not just measurements)
Chevron floors are visual math. Your transition seam should follow one of these intentional strategies:
– Center strategy: transition is centered across a full chevron V apex (clean symmetry)
– Break strategy: transition crosses where the chevron pattern “breaks” naturally (acceptable if consistent)
– Match strategy: transition aligns with a doorway axis so the pattern continues visually across rooms
Pick your strategy, mark it, and only then cut your transition. This is also the stage where you confirm that you’re not covering or compressing an expansion gap your flooring manufacturer requires.
Important: keep expansion gaps meaningful
Most floating or engineered flooring systems require perimeter expansion space (and sometimes spacing that continues at transitions). If you “bury” that gap under the wrong seal/pack, you can restrict movement. That’s how you get tenting, squeaks, or edges that lift.
Install the transition strip (fasteners vs. adhesive vs. clips)
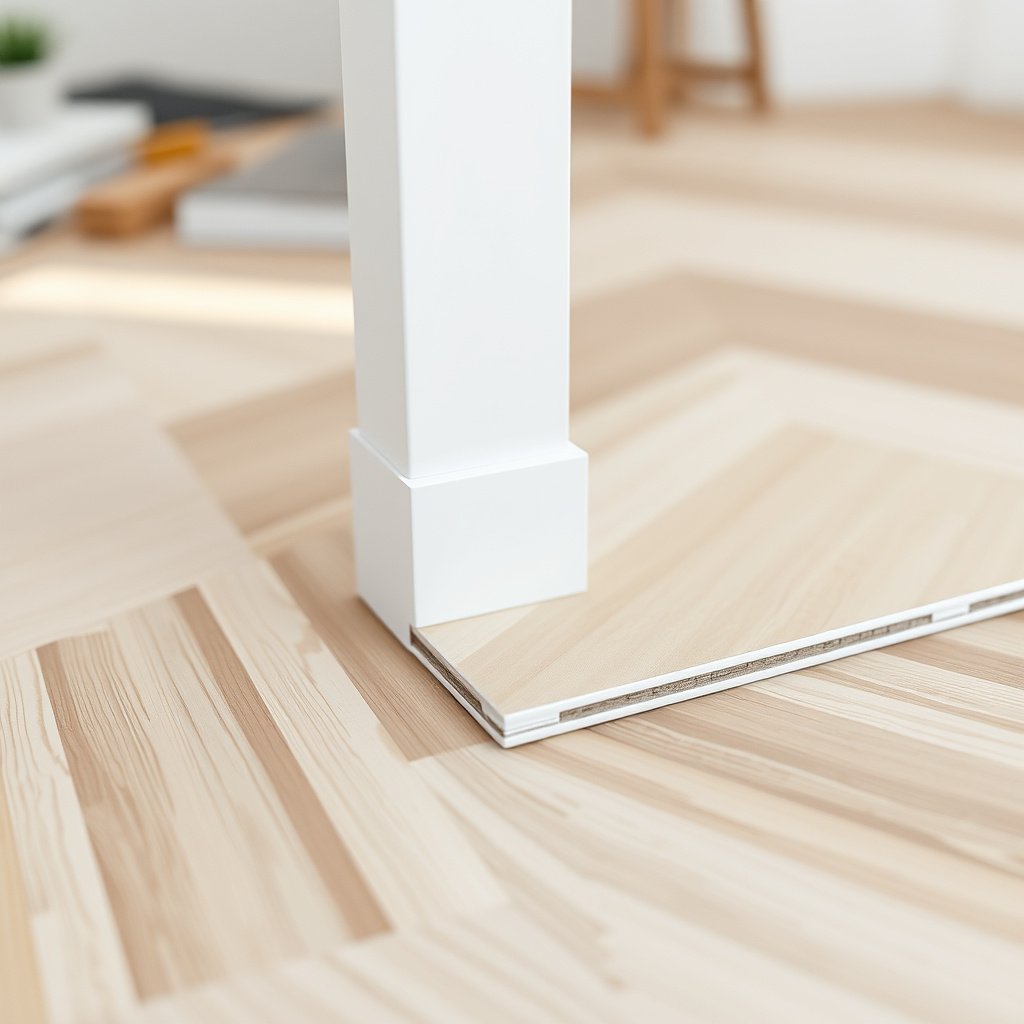
The installation method is not interchangeable—use screws, clips, or adhesive only in the way the transition system is designed to work. The fastest way to ruin a chevron transition is to use the wrong attachment method and trap movement where movement is required.
Fastener-based transition profiles typically require pilot holes (if specified) to prevent base warping and to keep the strip seated flush.
Clip systems usually install a base/track first, then snap the visible top profile in place so the top stays straight even if the subfloor has minor irregularities.
Adhesive transitions depend on proper surface prep (clean, dry substrate) and on using only the adhesive recommended by the profile manufacturer.
– Dry-fit first: place the strip in position and mark screw/clip/anchor points (or adhesive locations) while the chevron pattern is aligned.
– Follow the transition’s install method:
– Screw/fastener types: drill pilot holes if required, then fasten through the prepared slots/holes.
– Clip types: install the base/track where the clips mount, then snap/lock the top profile in place.
– Adhesive types: prep per instructions (clean/dry surfaces) and use only the adhesive recommended by the transition manufacturer.
– If you’re working at door thresholds or jambs, test fit and adjust clearances first (often you’ll need to undercut/trim so the transition can sit flat).
Screw / fastener types (most forgiving for DIY)
If your transition uses screws or fasteners:
1. Align the strip with your marked chevron strategy.
2. Pilot-drill where the manufacturer specifies (especially on metal bases).
3. Fasten gradually—tighten one side, then the other—so the profile doesn’t bow.
Tip: I treat transitions like alignment “fixtures.” Before the final tightening, I run a hand along the top to confirm there’s no wobble or rocking at either end.
Clip types (great for clean edges, less forgiving of base misplacement)
Clip transitions generally work best when:
– The base/track is installed precisely on the subfloor
– The top profile snaps in without forcing
Trim and fit matter here because clips locate the top. If the base is shifted, the top profile won’t magically re-align to your chevron pattern.
Adhesive types (clean surfaces win)
For adhesive transitions:
– Clean/dry surfaces exactly as the transition instructions require.
– Use only the adhesive specified (some metal profiles require primers; some require specific bonding dwell time).
– Apply consistent pressure while the adhesive cures.
Adhesive transitions are typically less tolerant of “moving it a little after setting”—plan to get the position right during the first placement.
Finish cleanly so the edge looks intentional

A clean finish is what turns a correct technical installation into a finished, intentional look. Once the transition is seated flat, focus on flush ends, allowed sealing only, and edge completion that respects chevron lines.
A transition should sit flush with no end gaps and no bowing in the middle; if it’s not flush, it usually indicates subfloor contact or base installation issues.
Only seal or caulk where flooring and transition instructions allow it—some movement-required gaps must remain free of sealants.
– Check that the transition is flush along its length—no gaps at the ends, no bowing in the middle.
– Seal only where your flooring instructions allow it (for example, some installs require specific caulk choices near wet-area edges, while others require leaving expansion space unsealed).
– Touch up the edge finish: use the filler/finish method recommended for your flooring material so the chevron “break” lines don’t look unfinished.
What “clean” looks like on chevrons
Because chevron geometry is high-contrast, the transition top lip needs to read as level and continuous. After installation:
– Sight along the transition from the main entry point (daylight and angles reveal issues).
– Check end seating: if ends lift, heels can catch quickly.
– Confirm that any chevron “break” at the seam doesn’t look like unfinished woodwork—fill and finish per your flooring guidance.
Sealing rules: don’t guess
If your flooring manufacturer specifies whether to use caulk near transitions (or if expansion gaps must remain unsealed), follow that document. Sealing the wrong space can stop the floor from doing its job—especially in dry vs. humid seasons.
What can go wrong (and how to avoid it)
Most transition problems come from three root causes: misalignment, wrong height match, or improper attachment that interferes with movement. If you prevent those early, chevron transitions typically stay visually sharp and mechanically secure.
Misalignment relative to a chevron pattern becomes obvious because the V lines amplify even millimeter-level drift.
Height mismatch creates either a visible shadow gap or a “hump” that can lead to heel catch at the doorway transition.
Uneven support under the transition base can loosen fasteners or break adhesive bonds over time.
– Misalignment with the chevron pattern: If you lock the strip before the pattern is finalized, the transition can drift visually. Dry-fit with the actual layout in place.
– Wrong height match: Even a small mismatch can create a “hump” or a visible shadow gap. Re-check flooring + underlayment thickness against the transition’s requirements.
– Skipping required expansion gaps: Chevron floors still need the spacing rules from the flooring manufacturer. Don’t bury the gap under a transition that shouldn’t be sealed/packed.
– Uneven subfloor under the profile: A transition that isn’t fully supported can loosen or cause a foot-catching edge.
– Adhesive/caulk mistakes: Using the wrong adhesive or sealing where movement is required can lead to lifting later. Stick to what the transition + flooring manufacturers specify.
Pros/cons comparison: which transition system is best for which scenario?
| Transition system | Main benefit | Main limitation |
|---|---|---|
| Reducer (screw or pre-drilled) | Handles height steps cleanly | Requires precise height verification and base contact |
| T-molding (same-height) | Keeps both sides level and visually tidy | Not ideal for real height differences without proper underlayment changes |
| Threshold (doorway/jamb) | Protects high-traffic edges at fixed boundaries | Clearances under door hardware may require trimming and careful fit |
| Clip system | Top profile aligns when snaps lock into place | Base placement must be accurate from the start |
| Adhesive system | Works well where you want minimal visible fasteners | Sensitive to surface cleanliness, cure time, and allowed movement |
Two “edge-case” warnings (common DIY failure points)
1. Doorway pinch points: Jambs and door sweeps can leave less clearance than you expect. Always test fit the transition before you commit.
2. Mixed flooring transitions: When chevron meets tile/LVP/laminate, the adjacent floor may be installed differently (floating vs. adhered), which changes how the seam should be treated and sealed.
Verdict / tip (when this is worth doing yourself)
A careful DIY install works best when your transition is a standard profile (simple reducer/T-molding/threshold) and the subfloor is flat enough for full contact. The main downside is that chevron alignment is visually unforgiving—if the strip is even slightly off, it shows.
DIY is usually appropriate when you can follow the transition manufacturer’s installation method exactly (screw/clip/adhesive) and keep the profile flush.
You may need pro help if height differences, jamb clearances, or substrate problems make alignment and flatness verification hard.
A careful DIY install works best when the transition type is straightforward (simple reducer/T-molding/threshold) and the subfloor is solid and flat. The main downside: chevron layouts make alignment more visually unforgiving—if the transition sits a few millimeters off, it becomes obvious. Skip DIY (or get hands-on help) if your situation involves major height differences, warped subfloor areas, complex door hardware/clearances, or if the transition system requires tools/techniques you can’t follow from the manufacturer instructions.
| Screw/clip vs adhesive transitions | More forgiving? | More sensitive to mistakes? |
|---|---|---|
| Alignment correction window | Higher | Lower |
| Subfloor flatness dependency | Medium | High |
| Surface cleanliness requirements | Lower | High |
| Movement accommodation | Often clearer | Can be trapped if sealed |
| Tooling/setup | Standard tools | Primer/cure timing |
| Visibility of fasteners | Medium | Low |
| Risk at high-traffic edges | Lower | Higher if base lifts |
| Repair/replace later | Often easier | Often harder |
| Best fit for chevron alignment | Often yes | Yes, but less forgiving |
| Cleanup during install | Simpler | More critical |
| Verdict | Choose screw/clip when alignment and repositioning matter | Choose adhesive only with perfect surface prep and correct cure timing |
Quick checklist (scan before you start)
This is the minimum set of checks that prevents most chevron transition failures—especially at doorways where height steps and expansion gaps combine.
If you do nothing else, dry-fit the transition while the chevron layout is in its final alignment, then measure thickness/spacing before any fastening.
A flush top and a supported base are the two physical conditions that determine whether the transition will stay comfortable and safe under foot traffic.
| Step | Quick check |
|---|---|
| 1. Pick profile | Reducer vs T-molding vs threshold matches your height change |
| 2. Confirm thickness | Flooring + underlayment thickness matches transition requirements |
| 3. Dry-fit with chevron | Transition aligns to the pattern line you want (before fastening) |
| 4. Subfloor flatness | No rocking/voids where the transition will sit |
| 5. Install method | Use the transition’s specified screws/clips/adhesive only |
| 6. Expansion gap | Keep the spacing required by your flooring manufacturer |
| 7. Final flush | Ends are seated; top is level; no rubbing on transitions |
Common Height-Step Sizes in Flooring Reducer Trims (Typical Stock Assortments, 2024)
| # | Reducer height step (in) | Typical max run-out (in) | Best match for | DIY-friendly fit* |
|---|---|---|---|---|
| 1 | 1/16 | 0.25 | Fine underlayment differences | ★★★★☆ |
| 2 | 1/8 | 0.5 | LVP vs laminate seams | ★★★★★ |
| 3 | 3/16 | 0.75 | Engineered vs carpet pad | ★★★★☆ |
| 4 | 1/4 | 1.0 | Tile edge to wood/LVP | ★★★☆☆ |
| 5 | 5/16 | 1.25 | Heavier underlayment transitions | ★★☆☆☆ |
| 6 | 3/8 | 1.5 | Big transitions between substrates | ★☆☆☆☆ |
| 7 | 1/2 | 2.0 | Threshold-style ramps at doorways | ★☆☆☆☆ |
DIY-friendly fit here reflects typical alignment tolerance, not an engineering rating. Always verify your exact flooring + underlayment thickness against the transition’s published spec sheet.
Sources
– ASTM F710, “Standard Practice for Preparing Concrete Floors to Receive Resilient Flooring” (flatness/prep concepts; consult your edition for exact tolerances).
– NWFA (National Wood Flooring Association) installation guidelines for wood flooring (movement/installation principles; confirm the edition that matches your flooring type).
A successful chevron transition is mostly about sequence: pick the correct profile for your height change, prep and dry-fit with the chevron pattern aligned, then install using the transition system’s prescribed attachment method. When you finish flush and respect expansion-gap rules, the seam looks intentional—and the edge stays comfortable and protected under everyday traffic.
Frequently Asked Questions
What is the best way to install transitions for chevron floors?
The best approach is to choose a transition strip that matches your chevron flooring thickness and edge profile, then install it on a stable subfloor with the correct expansion gap. Start by dry-fitting the chevron pattern so the transition lines up with your floor design, not against the small angles of the herringbone-style layout. Mark placement precisely, pre-drill if needed, and secure the transition using the manufacturer-recommended method (adhesive, nail, or screwing). Finish by checking that the transition height blends smoothly and doesn’t rock under foot traffic.
How do I measure and cut transition strips for chevron flooring accurately?
Measure the finished floor height (including underlayment if applicable) so you select a transition with the right rise and finish. For chevron floors, mark the transition location using a reference line that follows the room’s straight edge or doorway threshold, then test-fit a few segments before final cutting. Use a miter saw with a fine blade for clean edges, and cut slowly for angled or beveled profiles to prevent gaps. Always leave the required expansion gap around the perimeter and at transitions, and re-check alignment after the first piece before installing the full length.
Why do my transition pieces look misaligned on chevron floors, and how can I fix it?
Misalignment usually happens when the transition is placed without accounting for how chevron planks meet at angles, or when the strip is installed before the full pattern is “locked in” on the subfloor. Fix it by temporarily installing a straight guide or threshold line, then reposition the transition so it aligns with the doorway or tile edge rather than forcing it to “follow” the chevron point-by-point. If you already installed it, remove the strip carefully, correct the spacing, and reinstall with the correct shimming or fastener method to match floor height. For small visual gaps, choose a color-matched trim or caulk approach recommended for your flooring type.
Which type of transition is best for chevron floors—T-molding, reducer, or threshold?
T-molding is ideal when two similarly leveled surfaces meet (for example, chevron vinyl plank to another plank area), because it covers the seam and creates a clean line. A reducer transition works best when the adjacent flooring heights differ, helping prevent tripping and smoothing the step down. Use a threshold transition for doorways and areas with a more substantial height difference or where you want a more durable, rigid profile. The “best” option depends on your subfloor stability, the height difference, and whether your chevron flooring edge needs full coverage for expansion and movement.
How do I install chevron floor transitions without creating tripping hazards or gaps?
Begin by confirming the subfloor is flat and that each chevron plank is fully adhered or secured, because unevenness shows up at the transition line. Dry-fit the transition strip, then set it using the proper method for your product: press-and-adhere for flexible systems, or fasten for rigid metal/wood transitions, ensuring the strip sits flush at each point. Maintain the expansion gap and avoid pinning the flooring directly; the transition should bridge the seam without restricting movement. After installation, walk the area and check for rocking—if needed, adjust with shims or re-set the strip so the transition height blends smoothly.
📅 Last Updated: October 15, 2026 | Topic: How to install transitions for chevron floors? | Content verified for accuracy and freshness.
References
- Chevron
- Parquet
- Threshold
- Expansion joint
- Flooring
- Underlayment
- Tile
- https://scholar.google.com/scholar?q=chevron+floor+installation+transition+strip Google Scholar
- https://scholar.google.com/scholar?q=tile+edge+trim+floor+transition+installation Google Scholar
- https://scholar.google.com/scholar?q=parquet+floor+installation+transition+threshold Google Scholar