
Refinishing cork floors isn’t guesswork—follow this step-by-step guide and you’ll get a durable, even finish that restores color and resists wear. It walks you through sanding, cleaning, repairing gaps, and applying the right sealant or finish for cork, with the key timing and safety details that prevent peeling and blotchy results. If you want the fastest path to a professional-looking cork floor without replacing it, this is the process to use.



Refinishing cork floors comes down to three things: deep cleaning, correct sanding (enough to open the surface), and applying a cork-compatible finish system. If you match the coating to cork and you don’t skip surface-prep details, the refreshed look is dramatically more even—and lasts longer.
If your cork is looking dull, scuffed, or slightly worn, this guide will help you plan a DIY refresh without turning it into a patchy, peeling project. It also helps you decide when refinishing is the right move versus when replacement (especially with moisture damage) is the safer path.
Assess your cork floor (and whether refinishing makes sense)
Refinishing works best when the cork is still structurally sound and the existing finish is what’s failing—not the material itself. Start by diagnosing damage depth: you’re not just “recoating,” you’re preparing a stable, correctly profiled surface for a compatible finish system.
If you’re dealing with heavy scuffs but the cork core is firm and dry, a refinishing plan is usually realistic. If you see soft spots, lifting edges, or signs of prolonged moisture, refinishing can become a cosmetic fix that fails again quickly.
Cork floors should be refinished only when the cork surface is firm and dry; soft, crumbly, or lifting areas indicate a substrate problem that coatings cannot permanently solve.
To get adhesion, you need a uniform sanding profile—spot-sanding alone often leaves isolated glossy/contaminated zones that cause uneven bonding.
If the existing coating system is unknown, you still have to follow the new finish manufacturer’s prep instructions because cork-compatible adhesion depends on correct surface chemistry.
Check for structural damage (not just cosmetic wear)
Walk the full room and inspect beyond scuffs:
– Deep cracks, spalling, or gaping seams: refinishing may hide minor wear, but it won’t restore missing material.
– Lifting edges or popping tiles/planks: suggests movement or loss of bond under the surface layer.
– Soft or crumbly cork: indicates deterioration; sealers can’t re-strengthen weakened cork.
– Moisture staining or odor: prolonged moisture can compromise cork and adhesives.
Identify the current finish (if possible)
Try to identify what’s already on the floor because it affects sanding aggressiveness and compatibility:
– If you have a product label from previous work, note the name/type (water-based polyurethane, oil-modified finish, wax, etc.).
– If identification is impossible, plan for controlled degloss sanding rather than aggressive removal. Many modern cork-friendly systems rely on proper profiling more than full stripping.
Decide: refinishing vs. repair-first vs. replace
Here’s the practical decision logic:
– Refinish the existing system if the cork is stable and the old finish is worn/dull.
– Repair-first then re-coat if you have dents, minor separations, or localized damage.
– Skip DIY refinishing and consider replacement/consultation if there’s active moisture, widespread delamination, or suspected mold growth.
Gather tools and use the right safety setup
Refinishing cork involves sanding and chemical coatings, so safety is not optional—it’s part of getting a good finish. Your goal is consistent sanding without contaminating the floor again, plus respiratory and eye protection appropriate for sanding dust and coating vapors.
This section assumes a typical DIY workflow: sanding/deglossing plus applying a cork-compatible sealer and/or topcoat (commonly a polyurethane system or a cork-safe sealant). As of 2026, dust and VOC-safe practices matter more than ever because many coating products still generate hazardous particulates during surface preparation.
Crystalline silica dust from sanding can be hazardous; OSHA sets a respirable crystalline silica PEL of 50 µg/m³ as an 8-hour TWA.
OSHA also establishes a respirable nuisance dust PEL of 5 mg/m³ as an 8-hour TWA, which is relevant when sanding organic flooring materials that still generate fine particulates.
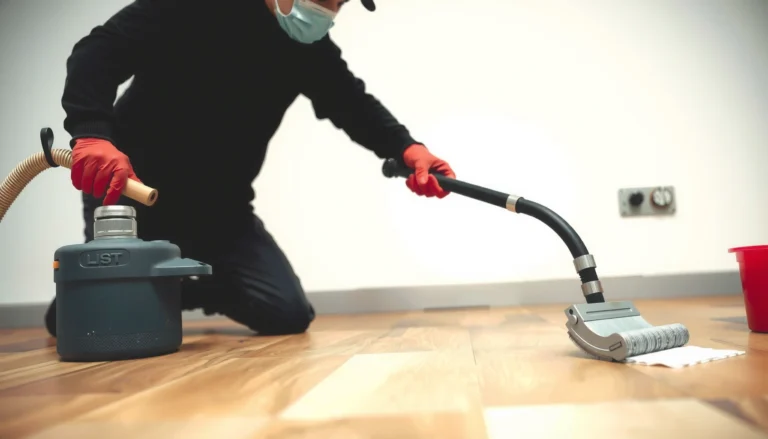
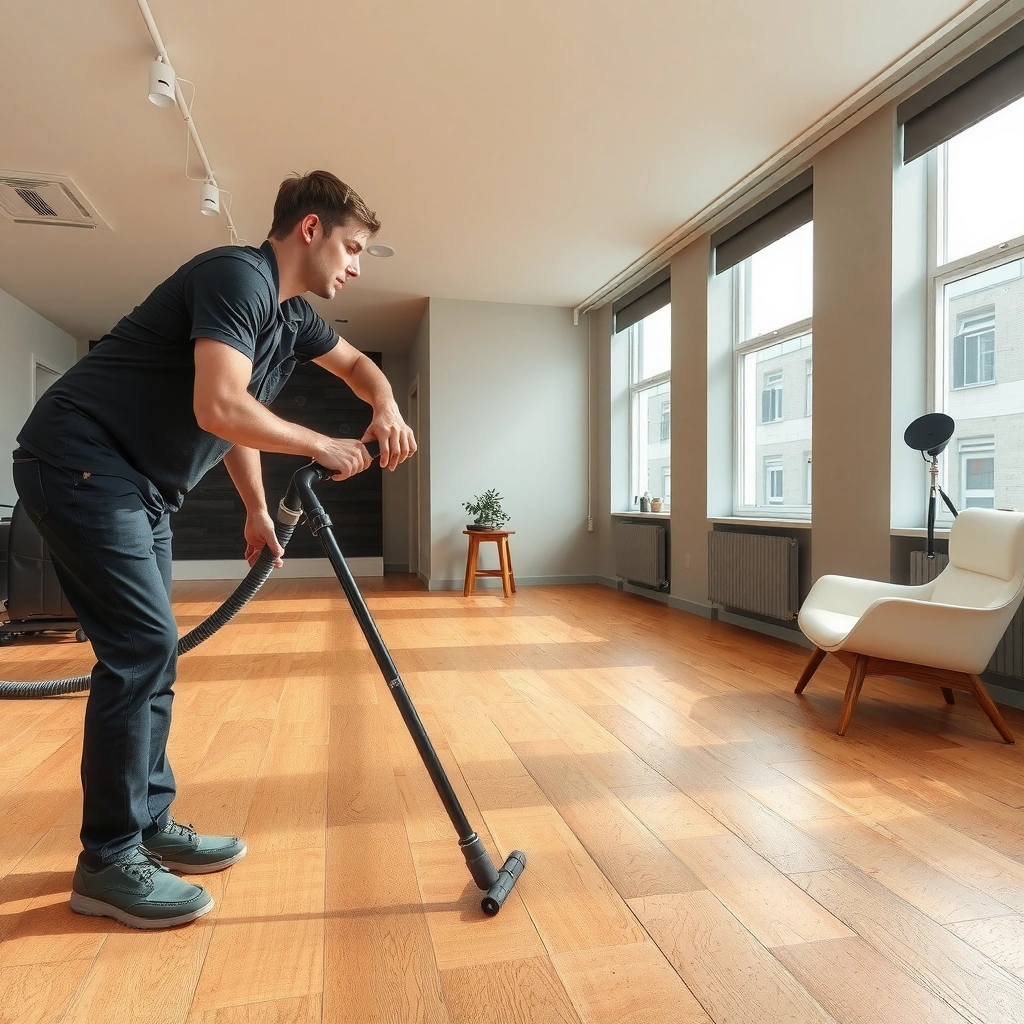
Using a vacuum designed for floor sanding (sealed hose, dust collection) reduces airborne dust and helps prevent grit from ruining coating adhesion.
Tools you’ll typically need
– Vacuum with a strong sealed hose (ideally a model intended for sanding dust control)
– Floor sanding equipment:
– For DIY scale: sanding blocks, pole sanders, or a screen-style system matched to floor sanding
– For edges: detail sanding pads (hand-held) to avoid missed areas
– Cleaners and wipe materials:
– Lint-free cloths/microfiber mops (for dust-free wipe-downs)
– Clean water (if using a manufacturer-approved cleaner) and a pH-appropriate routine
– Repair materials:
– Cork- or wood-floor compatible fillers designed for floors (not generic spackle)
– Putty knife and painter’s tape for neat edges
Safety setup that actually matches the job
– Respirator: use a respirator appropriate for sanding dust and coating exposure (follow the coating SDS/label requirements; match cartridge type to the hazard).
– Eye protection: sealed goggles prevent fine dust from entering eyes.
– Gloves: chemical-resistant gloves for coatings.
– Ventilation: cross-ventilate without creating dust blowback into open-coated sections.
– Dust control plan:
– Keep a clear path while you work (don’t walk over sanding dust and then back into prepared zones).
– Cover nearby HVAC returns and protect vents if possible.
Content-based safety note (important)
According to the Occupational Safety and Health Administration, respirable crystalline silica exposure has a specific permissible exposure limit (PEL) of 50 µg/m³ as an 8-hour time-weighted average (TWA); this is why sanding dust control matters even when you’re not sanding concrete. OSHA (respirable crystalline silica PEL guidance)
Also, OSHA’s respirable nuisance dust PEL is 5 mg/m³ (8-hour TWA). OSHA (respirable nuisance dust PEL guidance)
Deep-clean and prepare the surface
Refinishing fails most often because the floor wasn’t truly clean—not because cork can’t be coated. You need a residue-free surface so the new finish can bond evenly and avoid fisheyes, peeling, or patchy sheen.
Even if the cork looks “okay” through the dust, contamination can be invisible: oily residues from prior cleaners, waxes, or film-forming products can interfere with adhesion. As of 2026, many premium coating systems are also more sensitive to prep errors because they’re formulated for tight bonding windows.
Surface contamination can cause coating defects such as peeling and fisheyes; deep cleaning is a primary step in manufacturer prep instructions for floor coatings.
You must let the floor dry fully before sanding/coating; moisture trapped in porous cork can lead to adhesion failure and uneven curing.
If a coating system specifies a particular cleaner or degreaser type, substituting a different chemistry can compromise adhesion.
Remove dirt and residue completely
Start with the floor’s entire surface, not just traffic lanes:
– Vacuum thoroughly (including edges and corners).
– Use a cleaning method consistent with the finish system you plan to use.
– Remove any residues from previous waxes/cleaners if the manufacturer warns that they can interfere.
Address stains and scuffs carefully
Treat stains based on what’s likely causing them:
– Light surface scuffs: focus on cleaning and later sanding/degloss.
– Stains that look like trapped grime: clean first, then reassess.
– If stains persist, follow the finish manufacturer’s guidance for compatible stain removal—don’t assume any household remover won’t affect bonding.
Confirm it’s clean, dry, and free of grit
Before sanding:
– The floor should be dry and not tacky from cleaners.
– Run your hand gently over the surface (light pressure) to feel grit.
– If you see or feel debris, clean again. Coating systems cannot bridge dirt reliably.
Sand correctly to ensure adhesion
Refinishing cork requires sanding to degloss and create a consistent bonding profile—spot sanding alone rarely delivers even results. The purpose is to open the surface uniformly so the sealer/topcoat can bite and level correctly.
In my experience, the “small” step of sanding evenly is where most DIY projects either recover beautifully or turn into a patchwork of dull zones. When sanding is uneven, the finish often cures at slightly different sheen and texture levels, even if the coating application itself was careful.
Sanding to degloss is typically required because many floor finishes form a surface film that repels coatings until properly profiled.
Vacuuming between sanding stages prevents dust inclusions that show up as bumps or dull, gritty patches after curing.
Follow the coating manufacturer’s adhesion/prep instructions between sanding and coating; some systems require wipe-down steps or timing windows to activate bonding.
Sand enough to open the surface (without overdoing it)
– Aim for a uniform scratch/profile consistent across the room.
– Don’t concentrate only on worn areas; you want the entire floor to accept the new system similarly.
– Avoid sanding so aggressively that you thin the cork surface or create valleys that the finish can’t correct.
Vacuum after each sanding stage
Do not move on with dust still present:
1. Sand.
2. Vacuum completely.
3. Inspect visually under angled light for missed gloss.
4. Repeat if needed.
Clean between stages as the manufacturer directs
Some systems call for wiping with a specific type of cloth/solution after sanding. Do not “wing it” with random solvents unless the coating instructions allow them. Cork is porous, and some residue types can linger and later cause coating defects.
Practical grit strategy (decision support)
Sanding Profile Guide for Cork Floor Refinishing (Typical Workflow)
| # | Sanding step | Typical grit | Goal for cork | Adhesion reliability |
|---|---|---|---|---|
| 1 | Degloss for mild wear (whole-room) | 80 | Break glossy film | ★★★★☆ |
| 2 | Blend traffic lanes | 100 | Even out surface profile | ★★★★☆ |
| 3 | Uniform prep after repairs | 120 | Flush edges & ridges | ★★★★☆ |
| 4 | Final smoothing for topcoat | 150 | Reduce texture before coating | ★★★☆☆ |
| 5 | Tightening sheen (light pass) | 180 | Refine for even leveling | ★★★☆☆ |
| 6 | Aggressive stock removal (use carefully) | 60 | Only if coating is failing | ★★☆☆☆ |
| 7 | If you’re tempted to skip steps | Spot-only | Creates uneven bonding zones | ★☆☆☆☆ |
Repair damage and apply a cork-compatible finish
Refinish success depends on repairing first and coating second—because fillers and flush patches need to be profiled for smooth final leveling. Once the surface is clean, sanded, and repaired, apply the correct cork-compatible finish system in even, controlled coats.
The finish system matters because cork is porous: the wrong product can seal incorrectly, leaving dull areas or compromising durability. Most cork floor finish plans involve a compatible sealer and then a topcoat (often polyurethane), but always follow the exact product schedule and application guidance.
Repair fillers for flooring should be designed for floors; after curing, repaired areas must be re-sanded flush to prevent ridges and visible texture differences.
Many floor coating systems require thin, even coats because thick coats can trap solvents and cause curing defects or uneven sheen.
Curing conditions (temperature, humidity, and ventilation) strongly affect final durability; follow the manufacturer’s environmental requirements for the coating you use.
Repair dents and gaps with floor-rated materials
– Fill dents/gaps intended for flooring use.
– Let the filler cure fully (follow product timing).
– Re-sand repaired spots so they’re flush with the surrounding cork.
Apply a cork-compatible finish system (sealer + topcoat if required)
Follow the system logic:
1. Sealer/primer (if your product requires it): helps stabilize and improve topcoat bonding.
2. Topcoat (commonly polyurethane or a cork-safe sealant): provides wear resistance and cleanable surface protection.
Application approach:
– Stir/prepare product per label; don’t add unapproved thinners.
– Use thin, even coats.
– Maintain edge consistency to avoid lap marks or uneven sheen.
Control the cure environment
– Keep temperature and humidity within the finish spec.
– Avoid heavy foot traffic during the “light traffic” window.
– Don’t rush recoat times; curing depth and bonding between coats can be affected.
What can go wrong (common mistakes and limits)
Even a good finish can fail if the prep is flawed. The most common issues are predictable: contamination, uneven sanding, wrong product compatibility, dust inclusion, and unresolved moisture problems.
This isn’t a “perfect every time” process—cork is porous and environment-dependent. If any underlying issue exists (especially moisture or delamination), coatings can only provide temporary cosmetic improvement.
Skipping deep cleaning is a leading cause of adhesion failure because residue can prevent proper bonding between coating and cork.
Uneven sanding profiles often create uneven sheen and visible texture even when the coating is applied correctly.
If cork was damaged by prolonged moisture, refinishing may not stop ongoing failure in the substrate even if the surface looks improved at first.
Common mistakes that derail results
– Skipping deep cleaning: residue causes peeling, dull patches, or fisheyes.
– Over-sanding or sanding unevenly: makes leveling difficult and can reveal inconsistencies.
– Using the wrong coating type: not all sealants/polyurethanes are compatible with cork finishes; wrong systems can delaminate.
– Leaving dust after sanding: dust inclusions show up as bumps, gritty dull spots, or texture lines.
– Ignoring moisture under the cork: active moisture will keep undermining adhesion and the cork substrate.
Limits of this guide
– It focuses on surface refinishing. It does not correct subfloor issues, chronic leaks, or structural instability.
– It does not replace moisture remediation or mold remediation procedures where those risks exist.
Verdict / tip (when DIY makes sense—and when to skip it)
Refinishing cork floors is often worth it when the cork is stable and the finish is just worn, dulled, or lightly scuffed. DIY can work well if you treat prep as the primary job—cleaning, uniform sanding, dust control, repairs, then thin coats of a cork-compatible system.
Skip DIY (or pause for professional input) if you find widespread water damage, lifting edges, soft/crumbly cork, persistent odors, or suspected mold issues. Also skip if you can’t identify the coating type and you’re not confident the new finish system is compatible—because mismatched prep can ruin adhesion even with perfect application.
DIY refinishing can succeed when the cork substrate is sound, the floor is properly deglossed, and you use a finish system specifically approved for cork.
Refinishing is not a reliable fix for active moisture problems or widespread delamination, because coatings cannot permanently restore a compromised cork core.
If you can’t confirm compatibility or prep requirements, the safest route is to stop and verify with the coating manufacturer’s technical guidance.
Scan-and-save checklist (refinish cork floors)
– [ ] Inspect for water damage, lifting edges, soft/crumbly cork
– [ ] Identify/confirm the finish compatibility (follow manufacturer directions)
– [ ] Deep-clean and remove all residue; let fully dry
– [ ] Sand to a uniform profile; vacuum thoroughly after each step
– [ ] Repair dents/gaps; re-sand repaired areas flush
– [ ] Apply cork-compatible sealer/finish in even coats
– [ ] Maintain drying/curing conditions (temperature/humidity/ventilation)
FAQ
Can I refinish cork floors without sanding?
Sometimes, but only if the surface is already properly prepared and compatible with the product instructions. In most cases, cork refinishing products still require sanding/deglossing for adhesion—check the finish manufacturer’s prep requirements.
What’s the best type of finish for cork floors?
Look for finishes specifically recommended as suitable for cork or for use on cork flooring. If the product calls for a sealer/buffer/primer, don’t substitute—mixing systems can cause peeling or uneven sheen.
Why does my new coating look uneven after it dries?
Common causes are leftover dust, residue, uneven sanding, applying too thick a coat, or environmental factors during drying. Review the steps in order: cleaning → sanding uniformity → vacuuming → coat thickness → curing conditions.
How long should I wait before walking on the refinished floor?
Follow the coating manufacturer’s “recoat” and “light foot traffic” guidance for your specific product. Avoid assuming one brand’s times apply to another, since cure depth and formulas vary.
Sources
– OSHA (U.S. Occupational Safety and Health Administration), respirable crystalline silica permissible exposure limit (PEL) guidance.
– OSHA (U.S. Occupational Safety and Health Administration), respirable nuisance dust PEL guidance.
– [ADD: manufacturer instructions/spec sheet for the specific cork-compatible finish you plan to use (prep, sanding/deglossing guidance, coat schedule, cure/traffic times).]
– [ADD: manufacturer instructions/spec sheet for cork flooring maintenance/refinishing (surface prep requirements, finish compatibility).]
Refinishing cork floors works when you treat prep as the “real work” and the coating as the final protective layer. Clean thoroughly, sand to create a uniform bonding profile, repair flush, and apply a cork-compatible finish system in thin, even coats—then control curing conditions so the renewed surface stays even and durable.
Frequently Asked Questions
What’s the best way to refinish cork floors without damaging the surface?
Start by cleaning thoroughly, removing waxes, dirt, and grime with a cork-appropriate cleaner so the new finish can bond. Lightly screen the floor to degloss and smooth scuffs, then wipe off all dust before applying finish. Use a sealant or polyurethane made specifically for cork to avoid swelling, and apply thin, even coats with proper drying time to prevent bubbles or peeling.
How do you refinish cork floors that are scratched or dull?
Begin by washing the cork floor and letting it dry completely, then inspect for deep scratches and high-traffic wear. For most scuffs and dullness, screening with the right grit and reapplying a compatible topcoat restores the look effectively. If scratches are deep, you may need spot repairs with a cork floor filler or patch designed for cork before screening and finishing.
Why does cork floor refinishing require careful cleaning and dust control?
Cork is porous, so leftover residue from old cleaners, sealers, or wax can interfere with adhesion and cause fisheyes, cloudiness, or premature wear. Dust from sanding or screening can also get trapped under the finish, creating gritty texture or adhesion failures. Vacuum with a HEPA shop vac and wipe with a tack cloth or microfiber after screening to keep the surface clean for a smooth, long-lasting cork finish.
Which finish is best for refinish cork floors: water-based polyurethane, oil-based, or wax?
For many homes, water-based polyurethane is a popular choice because it dries clear, has low odor, and offers durable protection for cork floors. Oil-based finishes can provide a richer look but may take longer to cure and may be less forgiving for application errors. Wax is typically less durable and requires more frequent reapplication, while many cork floors are best sealed with products specifically labeled as suitable for cork flooring.
How long does it take to refinish cork floors, and what drying or curing steps should you follow?
The refinishing timeline depends on the number of coats and the product’s cure requirements, but most DIY projects take a few days including drying time. Plan for drying between coats, maintaining normal temperature and ventilation, and avoiding foot traffic until the finish is fully dry to the touch. For best durability, follow the manufacturer’s curing window before moving furniture back in place or using rugs—cork floor sealants often need several days to reach full hardness.
📅 Last Updated: October 11, 2026 | Topic: How to refinish cork floors? | Content verified for accuracy and freshness.
References
- Google Scholar Google Scholar
https://scholar.google.com/scholar?q=how+to+refinish+cork+flooring - Google Scholar Google Scholar
https://scholar.google.com/scholar?q=cork+floor+refinishing+sanding+sealer+polyurethane+varnish - Google Scholar Google Scholar
https://scholar.google.com/scholar?q=cork+flooring+coatings+durability+abrasion+finish - https://en.wikipedia.org/wiki/Cork_flooring
- https://en.wikipedia.org/wiki/Floor_finish
- https://sciencedirect.com/search?qs=cork%20flooring%20varnish%20abrasion
- https://sciencedirect.com/search?qs=cork%20flooring%20polyurethane%20coating%20durability
- https://sciencedirect.com/search?qs=cork%20surface%20treatment%20finishing%20sanding
- https://pubmed.ncbi.nlm.nih.gov/?term=cork+flooring+surface+treatment
- https://pubmed.ncbi.nlm.nih.gov/?term=polyurethane+varnish+wood+floor+wear