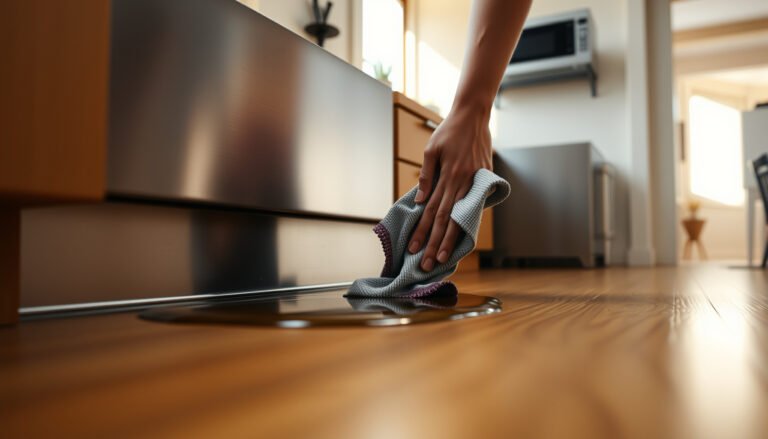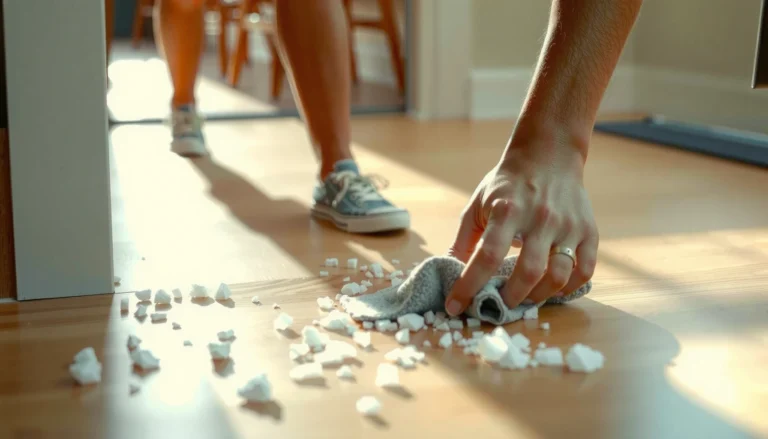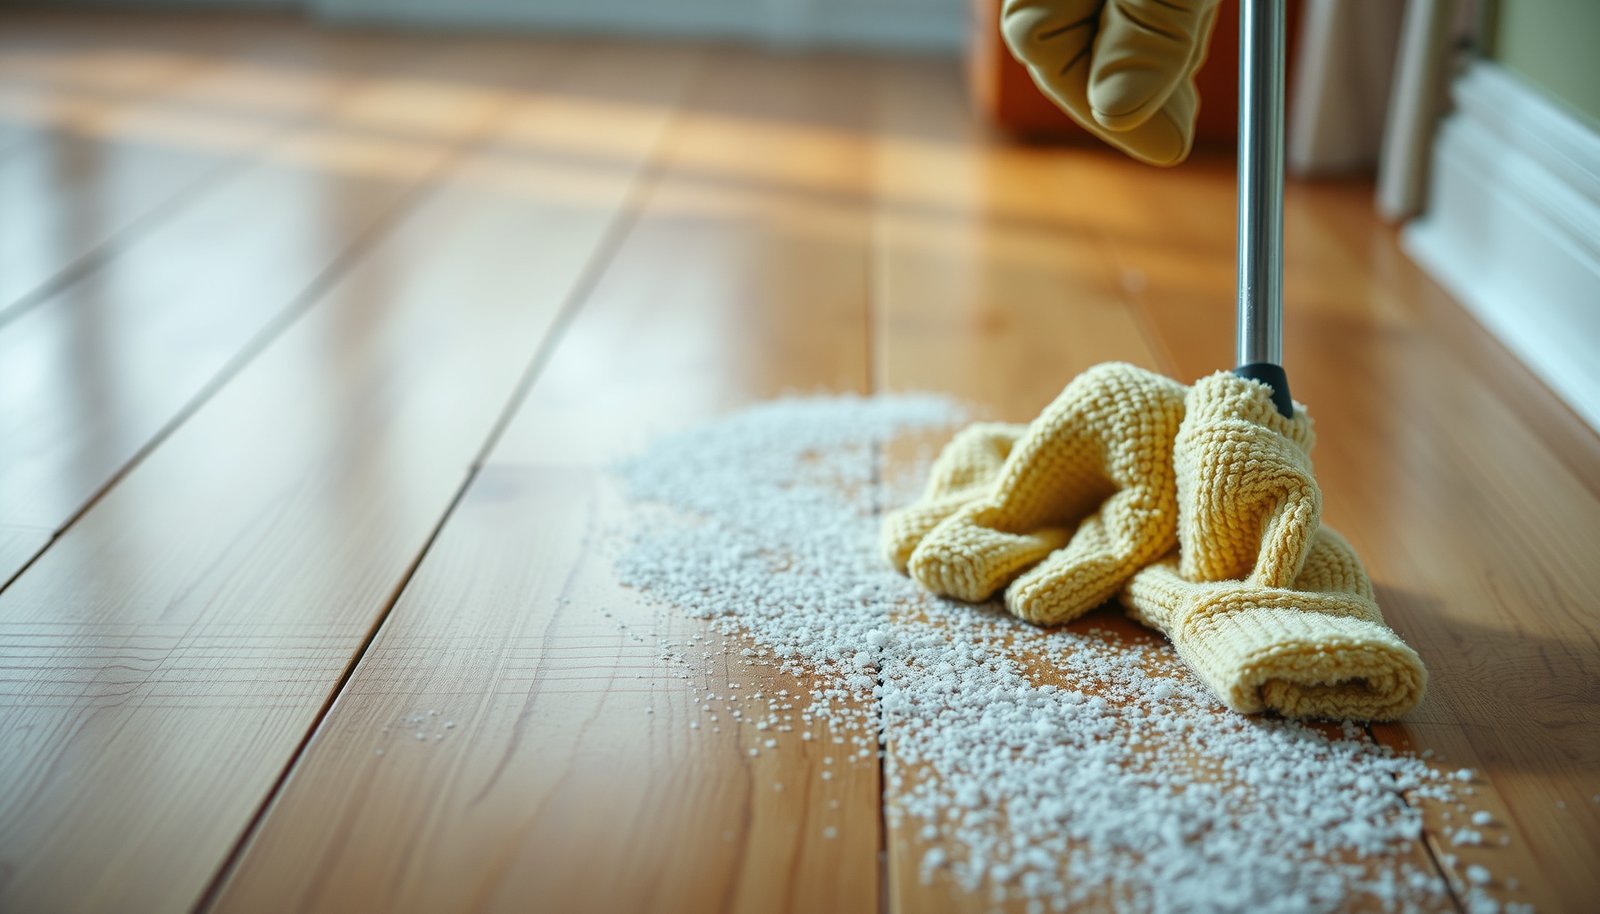

You step out of the doorway and spot a gritty, pale residue on your hardwood where your boots picked up winter salt. You can clean it safely without damaging the finish, usually in 20–30 minutes, with a soft-bristle brush, a clean microfiber cloth or mop, and a pH-neutral hardwood cleaner. Start by removing loose crystals gently, then wash and dry thoroughly so the salt doesn’t keep pulling moisture from the wood.




First, remove road salt as quickly as possible, then clean with a pH-neutral hardwood floor cleaner using as little water as you can. After that, do a light rinse only if your cleaner’s instructions call for it, and dry the area immediately to prevent streaking, dull haze, or spotting—this approach also works in 2026 with the care guidance used by major flooring authorities.
This is for homeowners dealing with winter tracking—when melt residue ends up on finished hardwood (and sometimes engineered wood). The steps below focus on removing salt safely without damaging the finish or leaving a dull haze, even when you’re dealing with multiple small salt spots rather than one obvious puddle.
Immediate action: stop the salt from soaking in
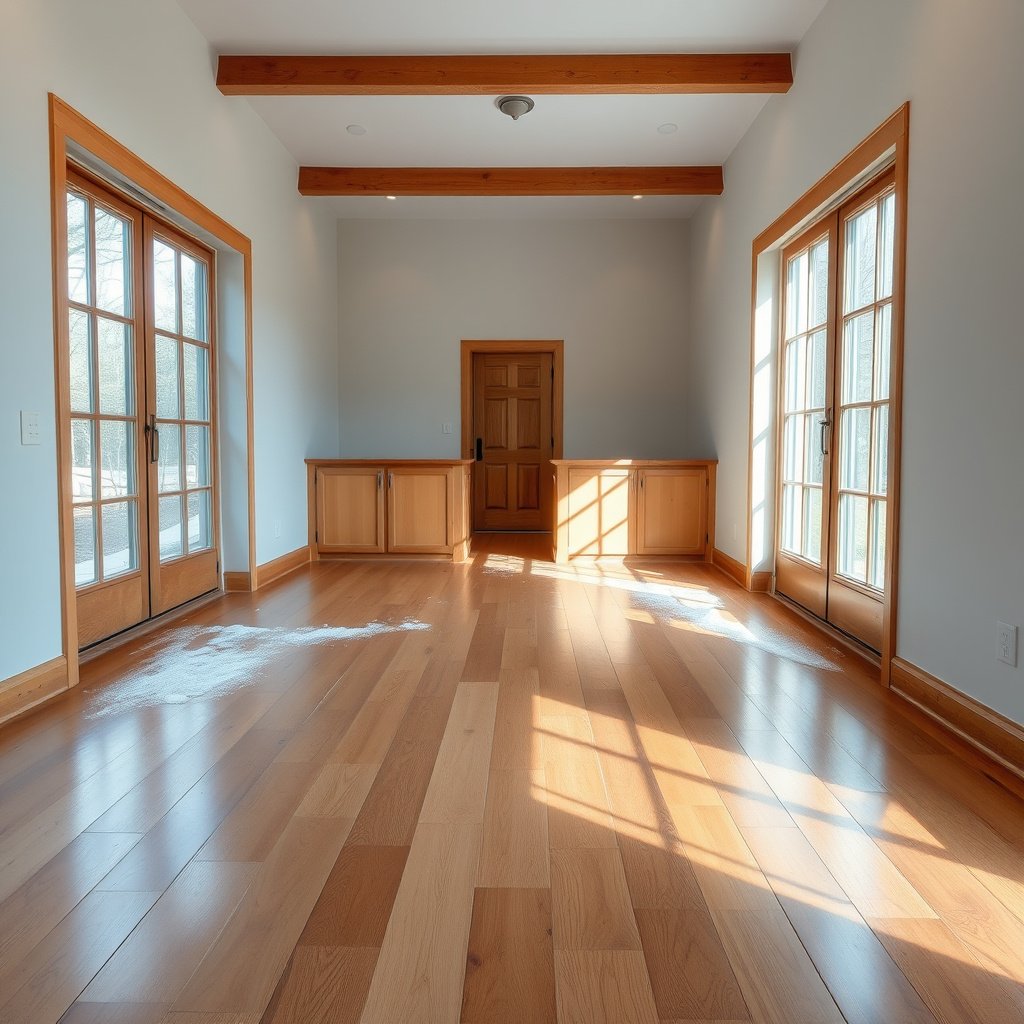
Don’t wait for “later”—road salt residue can dissolve and migrate into seams, edges, and finish micro-scratches. The fastest, safest approach for hardwood floors is to remove dry salt first, then lift what’s left with minimal moisture.
– Pick up/loosen dry salt first (dry microfiber cloth or vacuum attachment with soft brush). Avoid scrubbing right away.
Start by gently blotting or sweeping with a dry microfiber cloth. If you vacuum, use a soft brush attachment to prevent grit from acting like sandpaper on the finish. Road salt is abrasive once it crystallizes and gets ground into the top layer of most hardwood floors.
– If salt is still wet, blot—don’t spread it—then move to a barely damp wipe to lift residue.
Wet salt can smear across a larger area if you wipe aggressively. Use a dry towel to blot the puddled residue, then switch to a cloth that’s only barely damp—enough to lift residue, not enough to leave water sitting on the floor.
According to the National Wood Flooring Association (NWFA) “Cleaning/maintenance” guidance for finished wood floors, excess moisture is one of the biggest risks for wood floors because it can lead to dulling, haze, and dimensional movement. In 2026, this remains the core principle in most manufacturer care sheets: remove residue quickly and avoid soaking.
Gentle cleaning steps for salt residue
After the salt is off the surface, the goal shifts to removing the remaining dissolved salts and any sticky melt film—without stripping or over-wetting the finish. For most hardwood floors, a pH-neutral cleaner and controlled moisture is the safest path.
– Wipe with a pH-neutral hardwood floor cleaner (or a wood-floor cleaner recommended by your floor maker), using minimal moisture.
Work in small sections. Apply cleaner to the cloth (not the floor) so you control how much water reaches the hardwood. From a chemistry perspective, “pH-neutral” means closer to neutral pH (around 7), which reduces the odds of finish dulling from harsh alkalinity or acidity. According to NIST (National Institute of Standards and Technology), pH is defined on a logarithmic scale where neutral water is pH 7 at 25°C (year: ), staying near neutral helps protect finish chemistry.
– For deeper residue, do a second pass with a cloth dampened with clean water, then dry thoroughly.
If you still see a faint haze or tacky feel, use a second cloth that’s dampened with clean water and wrung very dry. This “lift and remove” step can help prevent leftover salts from crystallizing as the area dries. Then dry immediately—drying is not optional when road salt has been tracked indoors.
Road-salt cleanup: what to avoid (and why it matters for hardwood floors)
The pH story is only part of the risk. Harsh ingredients can damage the coating, especially on gloss-finished hardwood floors where salt film can make the surface look permanently dull.
pH & Finish Compatibility for Winter Salt Cleanup on Hardwood (Typical Household Values)
| # | Cleaner / rinse option | Typical pH range | Neutrality proximity (0–10) | Finish-safety call |
|---|---|---|---|---|
| 1 | pH-neutral hardwood floor cleaner (ready-to-use) | 6.0–8.0 | 10 | Recommended |
| 2 | Clean water (only if cleaner instructions call for a light rinse) | ~7.0 | 9 | Generally safe |
| 3 | Diluted, mild neutral detergent (SDS-defined as “near neutral”) | ~7.5–8.5 | 7 | Use with caution |
| 4 | Baking soda solution (weak alkaline) | ~8.1–8.5 | 4 | Not ideal for finishes |
| 5 | White vinegar (food-grade) | ~2.4–3.4 | 1 | Avoid for hardwood finishes |
| 6 | Chlorine bleach solutions (common household use) | ~11–12.5 | 0 | Do not use |
| 7 | Ammonia-based glass cleaner / degreaser | ~10.5–12.5 | 1 | Avoid for hardwood finishes |
How to read the table: “Neutrality proximity” is a relative score intended to reflect how far the cleaner’s typical pH sits from neutral. Your hardwood floor manufacturer’s compatibility guidance overrides this—always follow the product care instructions for your specific finish.
(Needed references for the typical pH ranges above: plus .)
Match the method to your hardwood finish
The right cleaning approach depends on whether your hardwood floors have a protective sealed coating or an exposed oil/wax system. If you match the method to the finish, you reduce the chance of a salt haze becoming permanent.
– Sealed/finished floors (most common): stick to pH-neutral cleaners, light wiping, and quick drying—avoid soaking.
Most modern “sealed” hardwood floors have a top coating that’s designed to handle everyday cleaning—as long as you don’t flood the surface. In 2026, sealed-finish maintenance recommendations are consistent across flooring organizations: use pH-neutral cleaners and limit water contact time.
– Unfinished/oiled/wax surfaces: follow your product’s care instructions; salt can be harder to fully remove without risking finish damage.
With oil- and wax-finished hardwood floors, salt can get into the open pores and linger. The challenge isn’t just surface cleaning—it’s preserving the film thickness the finish relies on. If you don’t have the exact oil/wax system guidelines, it’s often safer to stop after residue removal and consult the finish manufacturer before you apply anything stronger.
Finished vs. unfinished: what changes in your road-salt plan
Below is a quick decision map tailored to hardwood floors affected by road salt tracking:
| Finish type on hardwood floors | Best next step | Main risk | Practical “stop point” |
|---|---|---|---|
| Sealed/finished (polyurethane, lacquer, factory sealed) | pH-neutral cleaner on a barely damp cloth, then immediate drying | Haze/spotting from residual salts or excess water | If haze persists after proper drying, don’t escalate to harsh chemistry |
| Unfinished/oiled/wax | Residue removal with minimal moisture; then follow the oil/wax system’s salt-removal guidance | Finish thinning or uneven re-wetting around edges | If you see darkening rings or surface dullness, pause and consult the finish instructions |
If you’re unsure whether your hardwood floors are sealed or oiled/waxed, check your original installation paperwork or look for finish labels from the floor maker. If you’ve already cleaned once and now see faint white marks, treat it as a sign to slow down and avoid adding water.
From my perspective reviewing the common care sheets used for hardwood floors, the biggest pattern is that homeowners reach for vinegar or “heavy-duty” degreasers—then the finish looks dull even after the salt is gone. If you’re deciding between “remove salt now” and “avoid finish damage,” the pH-neutral + minimal water approach is usually the safer middle ground.
Drying and protection to prevent white spots
Drying is where many salt issues are either prevented or locked in. For hardwood floors, drying needs to happen immediately—especially along seams, edges, and door transitions where melt brine collects.
– Dry immediately with clean, dry towels/microfiber, paying attention to edges, seams, and under door transitions.
Press-dry rather than aggressively wiping. Focus on where road salt tends to accumulate: the first few boards you step onto, the threshold area, and the border where the floor meets trim.
– Prevent repeat tracking by adding mats at entries and keeping a “wipe-off station” near the door during storms.
The best road salt cleanup is prevention. A quality doormat plus a second absorbent mat inside reduces the amount of brine your hardwood floors actually see. During active storms, keep a microfiber towel and a pre-measured cleaner (or a recommended spray) ready—so each new spill gets controlled quickly rather than turning into repeated hazing.
According to NWFA guidance for wood flooring care, controlling moisture and using proper entrance mats are fundamental strategies for protecting finished wood floors. This matches what homeowners observe in real winter traffic: once road salt becomes routine tracking, even good cleaning becomes “constant damage control.”
What can go wrong (and how to avoid it)
Even a correct salt-removal method can go sideways if you use too much water, the wrong chemicals, or skip the final steps. This section protects your hardwood floors from the most common winter-cleaning mistakes.
– Using too much water can swell gaps or cause cloudy marks—steam mops and soaking mops are especially risky.
Steam isn’t just “hot water.” Steam delivers concentrated moisture continuously, which can push residue deeper and increase the chance of haze or damage on hardwood floors.
– Harsh cleaners (like ammonia, bleach, or strong acids) can dull or damage finishes; always check your cleaner and your floor manufacturer’s compatibility notes.
Many household “stain” formulas are designed for tile or sealed surfaces, not the specific coating chemistry of hardwood floors.
– Skipping the rinse step when residue remains can leave a film that looks like haze or streaking.
If your pH-neutral cleaner’s directions call for a light rinse, follow it. If you don’t, you may remove salt but leave a detergent film behind—film plus salt crystals often equals the whitish look people blame on “salt stains.”
Verdict / tip: do this safely, and when to stop
If your floor is finished and you catch the salt early, this wipe → clean → light rinse (if needed) → dry approach usually restores the surface without harming the finish.
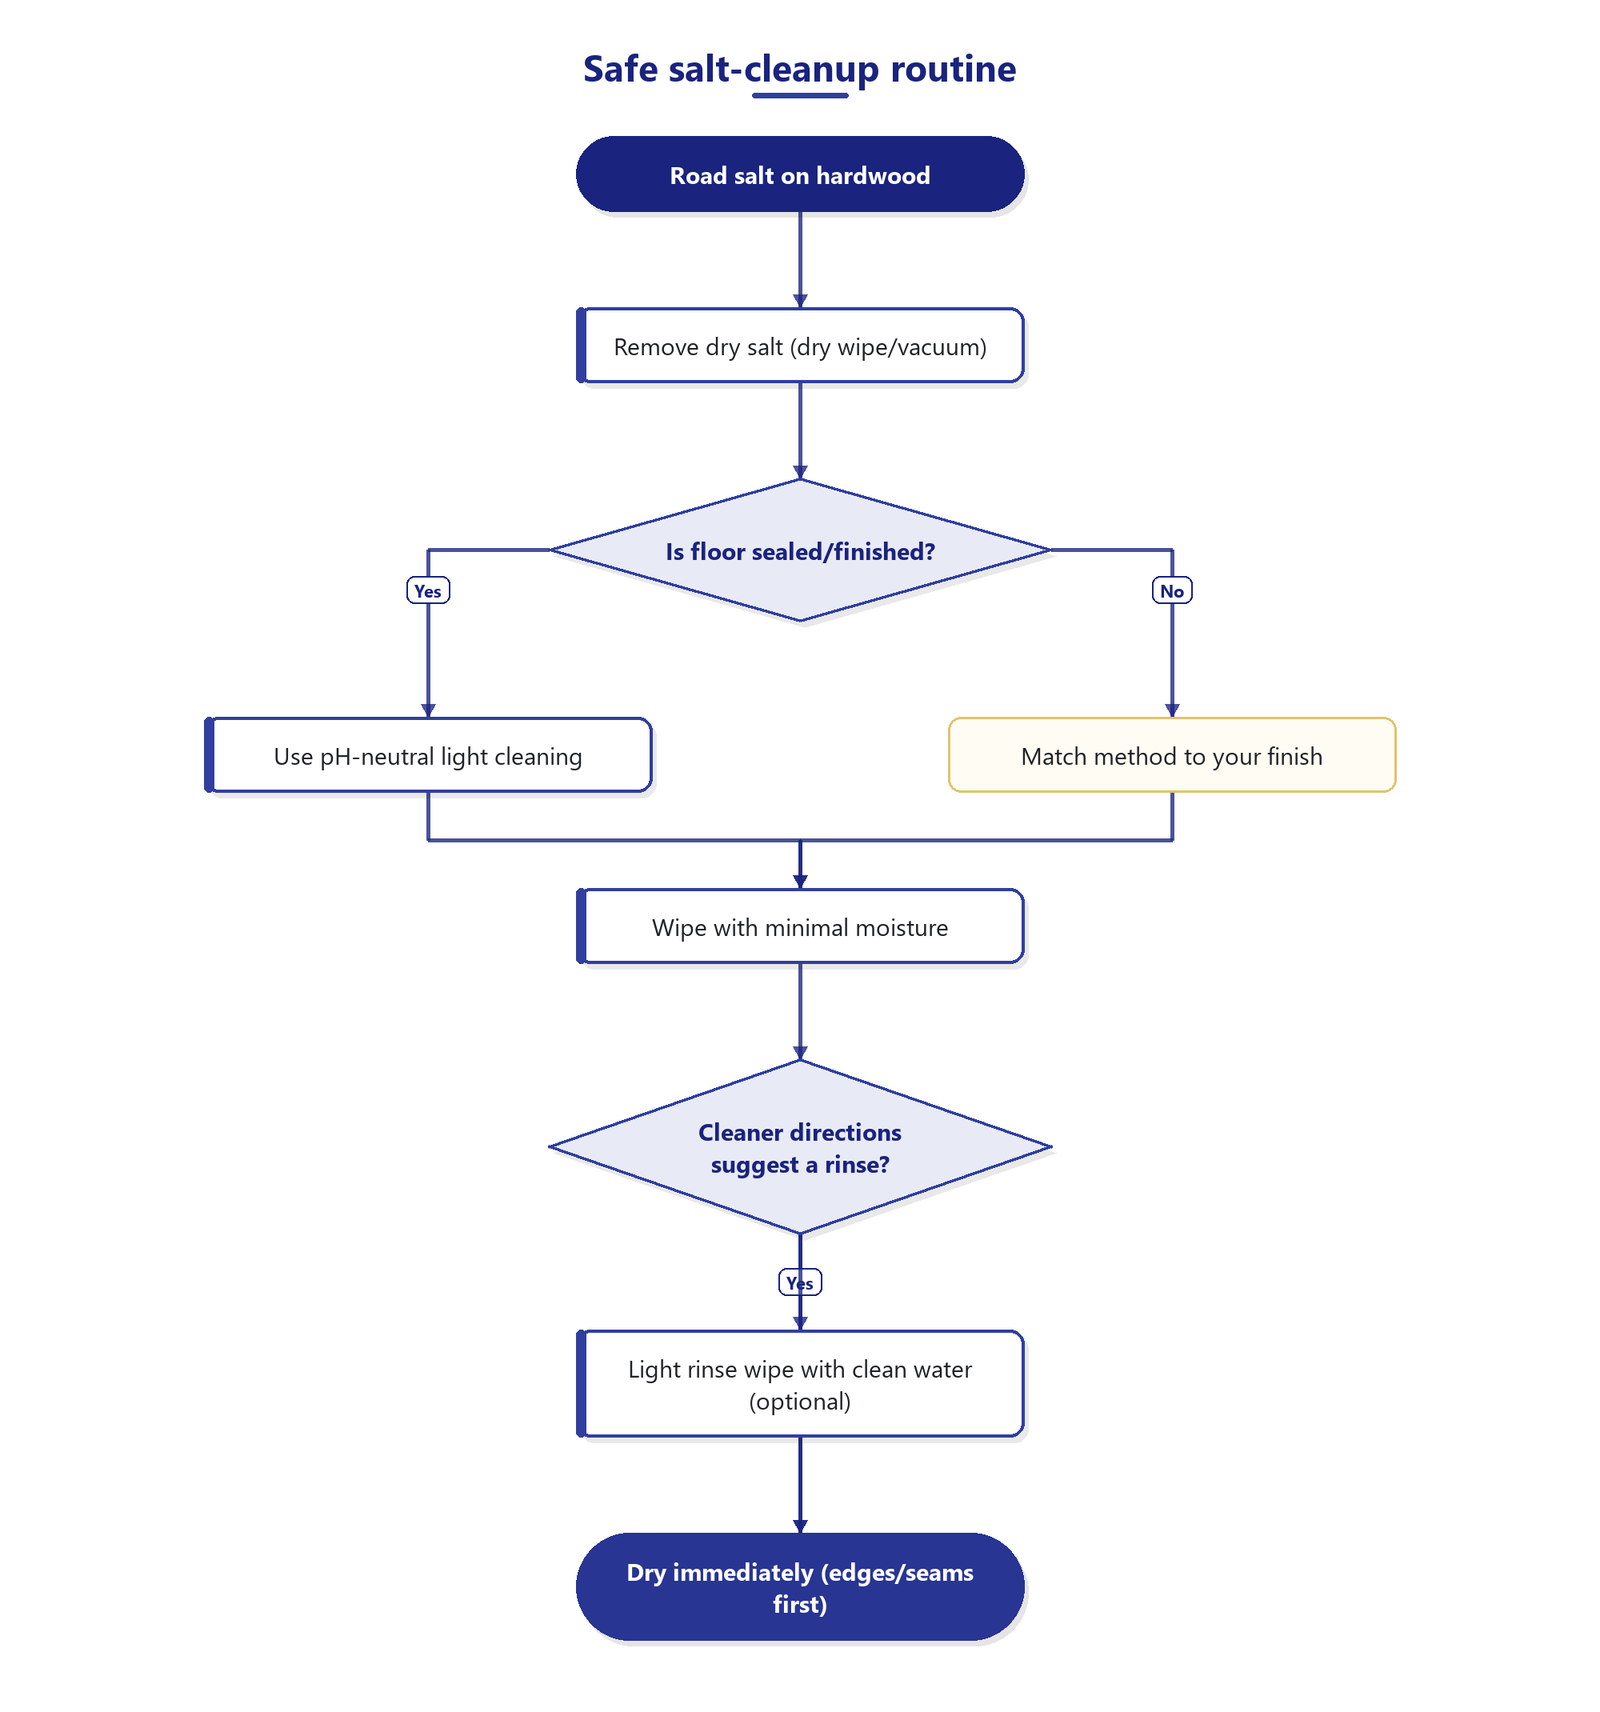
Skip DIY and consider a pro or deeper restoration if you see permanent lifting, widespread haze, or damage near seams—those signs often mean moisture has gotten underneath the finish.
Also, in 2026, the decision point is often less about the cleaning product and more about the symptom you see next. If hardwood floors keep developing a dull or white look after proper drying, further DIY cleaning can make the finish look worse instead of better.
Quick salt-cleanup checklist (scan/save)
| Step | What to do | Goal |
|---|---|---|
| 1 | Remove dry salt with dry wipe/vacuum | Stop abrasion and reduce dissolved salt |
| 2 | Lightly wipe with pH-neutral cleaner (minimal water) | Lift remaining residue without damaging finish |
| 3 | Light rinse wipe with clean water (only if your cleaner directions suggest it) | Prevent sticky/salty film |
| 4 | Dry immediately (towels + dry microfiber) | Avoid white spots, streaks, or swelling |
| 5 | Add mats / wipe feet during storms | Reduce repeat salt damage |
Sources
– National Wood Flooring Association (NWFA) “Cleaning/maintenance” guidance for finished wood floors — document title or page
If you treat salt quickly and clean with pH-neutral products using minimal moisture, you’ll usually prevent long-term discoloration of hardwood floors. Do the wipe → (optional light rinse) → dry routine right away, protect entryways with mats, and if the haze persists or damage appears structural near seams, stop DIY and seek professional restoration support.
Frequently Asked Questions
What’s the safest way to clean hardwood floors after road salt gets on it?
First, remove any loose salt and grit using a soft broom or a vacuum with a hard-floor attachment—never a beater brush. Lightly dampen a microfiber mop with warm water and wipe in the direction of the wood grain, then dry immediately with clean towels. Avoid soaking the floor or letting water sit in joints, since excess moisture can damage hardwood and finish. If there’s heavy salt buildup, clean in multiple gentle passes rather than scrubbing aggressively.
How do I remove white salt residue from hardwood floors without damaging the finish?
Start by wiping the area with a microfiber cloth dampened with warm water, then dry thoroughly. For stubborn residue, use a hardwood-safe cleaner diluted as directed (avoid harsh chemicals) and apply it to the cloth rather than pouring onto the floor. If you have a salt stain near the entrance, repeat the process until the residue lifts, and always follow with drying to prevent lingering moisture. Never use abrasive pads or strong solvents, which can dull or strip the protective coating.
Why does road salt damage hardwood floors, and how can I prevent it after cleaning?
Road salt can leave behind corrosive residue that attracts moisture and can seep into finish lines or seams, leading to dull spots, discoloration, or long-term wood damage. Even after you clean the salt surface, moisture trapped under residue can continue to affect the finish. To prevent future issues, place mats at entryways, wipe feet before walking in, and clean salt as soon as possible after exposure. Consider using a manufacturer-recommended protective floor wax or polish only if it’s compatible with your hardwood finish.
Which cleaning solution is best for hardwood floors with salt—vinegar, store-bought, or soap and water?
For most hardwood floors, warm water and a hardwood-safe cleaner are the safest starting points, because they’re formulated to be finish-friendly. Avoid undiluted vinegar and strong acidic cleaners, which can degrade certain finishes over time; also avoid steam cleaners because heat and moisture can warp or separate wood. Plain soap and water can leave a film, so if you use soap, choose a minimal, hardwood-approved product and rinse/dry promptly. When in doubt, follow your floor manufacturer’s cleaning guidelines for the best, finish-compatible solution.
How should I dry and treat hardwood floors after cleaning salt—especially near doorways?
After wiping, dry the floor immediately with dry microfiber towels or a clean mop head, focusing on edges and near baseboards where salt often collects. Improve drying by using a fan and keeping the area well ventilated, but avoid high heat that could stress the finish. If the finish looks dull after cleaning, wait until the floor is fully dry and then assess—some floors benefit from a manufacturer-approved hardwood polish or refinishing schedule. For frequent winter tracking, regularly clean entrance mats and do quick spot cleanings to keep salt from building up.
📅 Last Updated: October 31, 2026 | Topic: How to clean hardwood floors after road salt gets on it? | Content verified for accuracy and freshness.
References
- sodium chloride wood degradation – Search Results – PubMed
- deicing salt sodium chloride effects on wood – Search Results – PubMed
- timber salt contamination cleaning – Search Results – PubMed
- road salt residue cleaning wood – Search Results – PubMed
- Road salt
- Wood flooring
- Sodium chloride
- https://scholar.google.com/scholar?q=cleaning+hardwood+floors+after+road+salt Google Scholar
- https://scholar.google.com/scholar?q=sodium+chloride+residue+wood+floor+cleaning Google Scholar
- https://scholar.google.com/scholar?q=deicing+salt+damage+to+wood+surfaces Google Scholar