
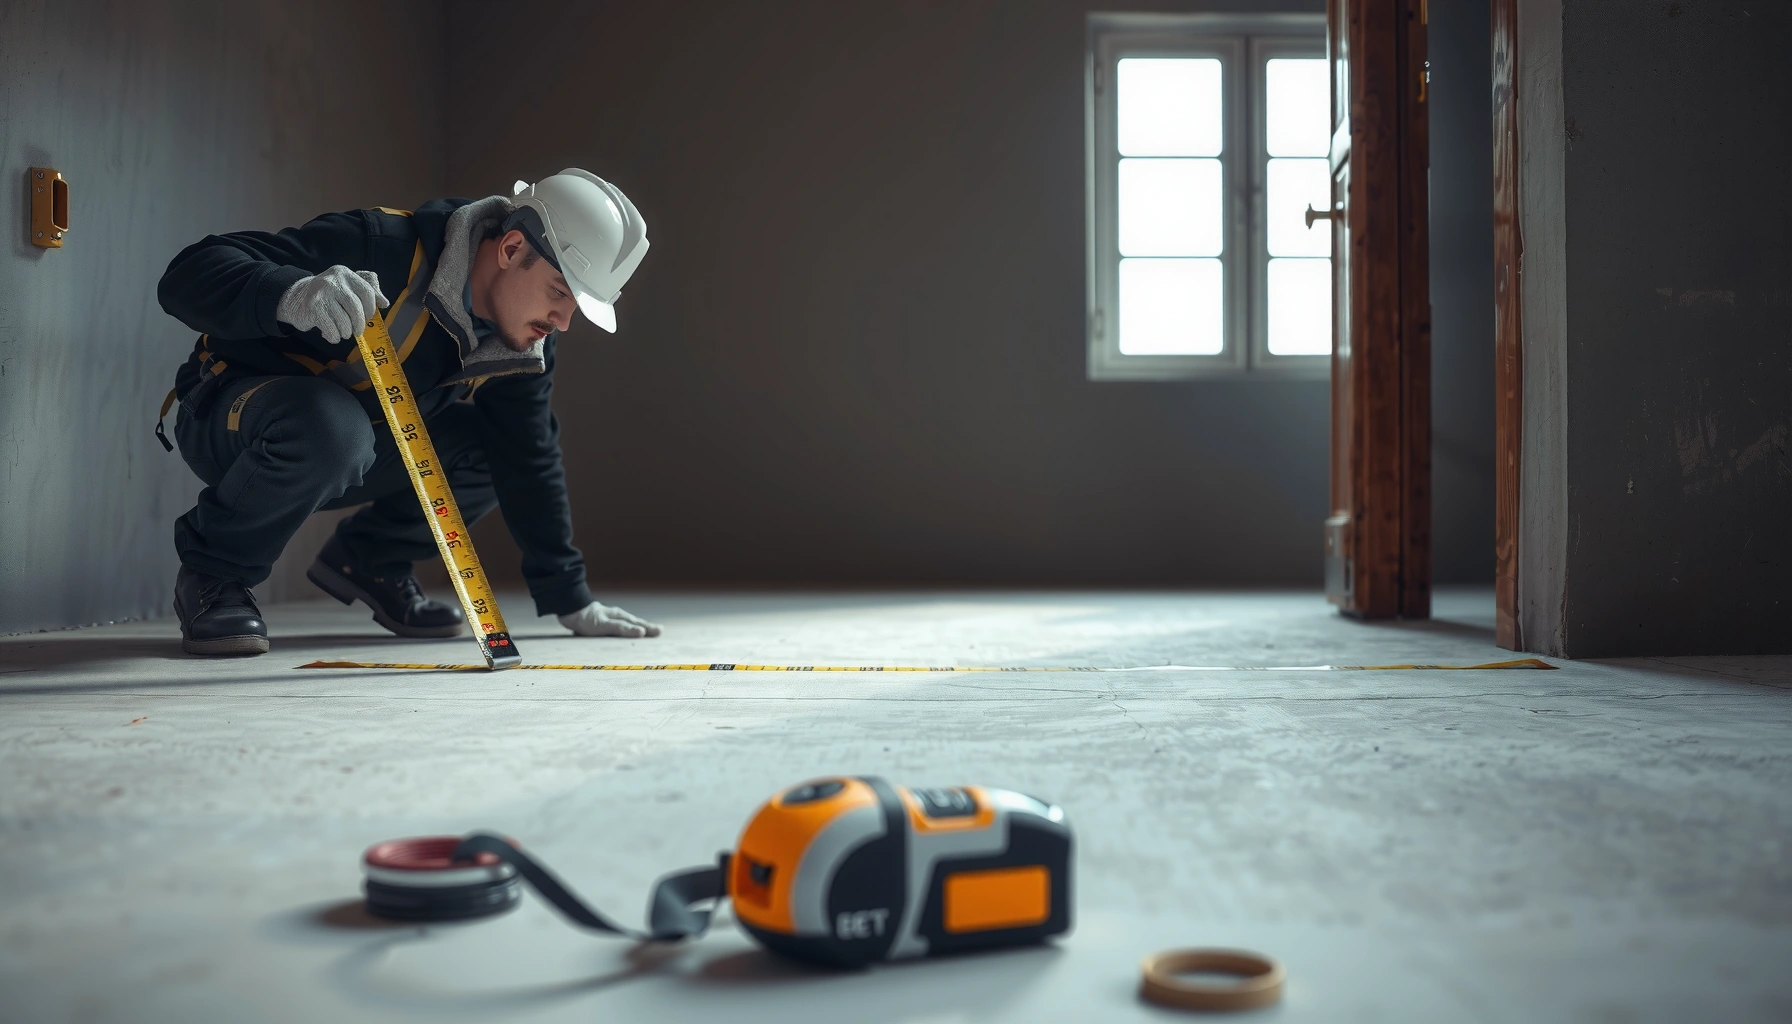

Learn how to measure for concrete floors accurately with a step-by-step method that eliminates layout mistakes before you order materials. This guide shows the exact measurements to take, how to account for irregular edges and openings, and how to confirm square and level so your slab fits cleanly. If you want the fastest path to correct dimensions for a smooth installation, follow these measurement steps.




Measure your concrete floor by calculating the exact finished length and width of the area you’ll actually cover, then converting to square footage (sq ft). For rooms with doorways, closets, islands, or future transitions, measure each segment separately and add/subtract—this is how you avoid the most common estimate errors before ordering concrete or planning prep work.
If you’re planning a concrete slab—whether it’s a garage, basement, patio, or interior room—this is for you when you need square footage you can trust. It’s especially useful if your space isn’t a simple rectangle or if you need guidance on subtracting non-pour areas.
What you need before you measure
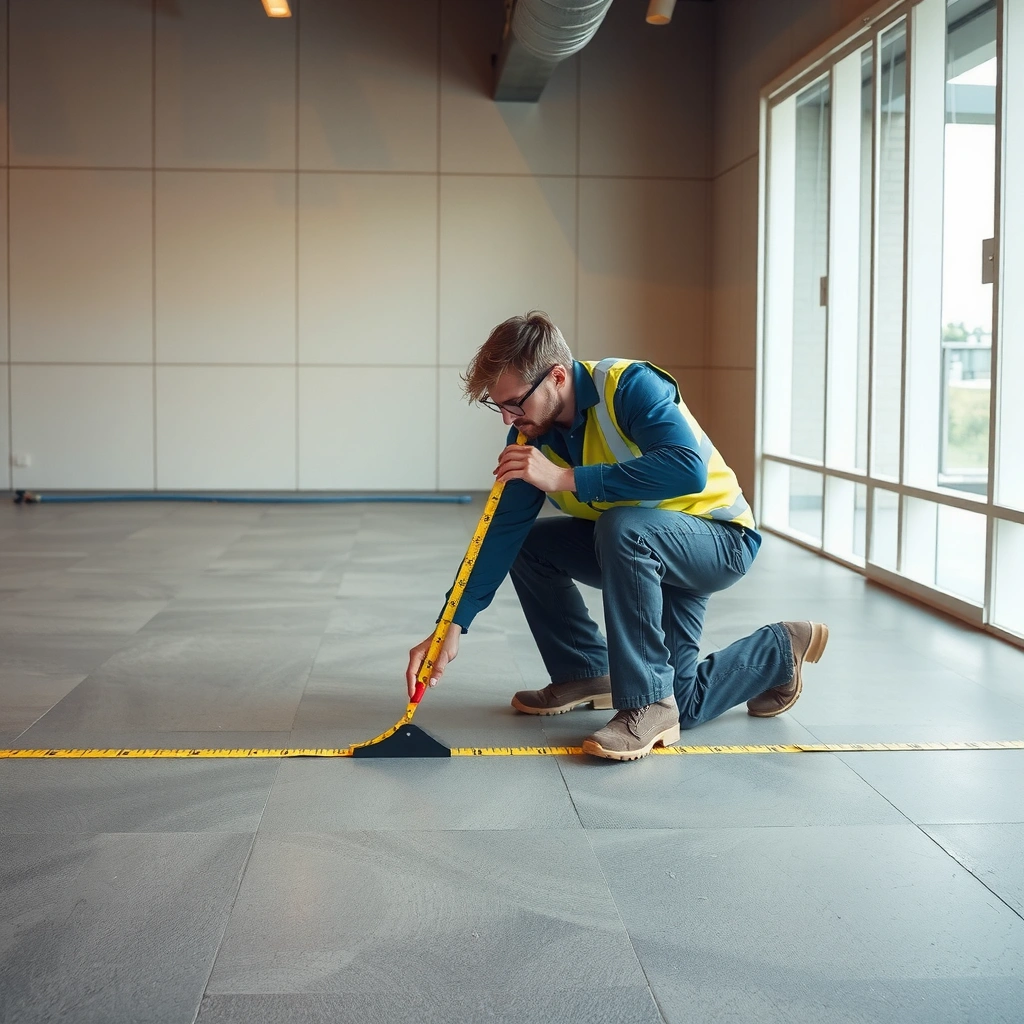
Have the right measuring tools and a clear definition of “finished area” before you start. This prevents rework later, because concrete ordering and prep planning depend on what will be covered—not what’s framed, rough, or assumed.
Before you measure a concrete floor footprint, decide whether you’re estimating for a full slab, an overlay, or just the finished walking surface. Then use consistent units (feet/inches or meters) from start to finish.
A concrete floor “area” estimate should be based on the finished pour perimeter, not rough framing lines, because concrete quantities are ordered for what will actually be covered.
Square footage uses the conversion that 1 sq ft = 12 in × 12 in = 144 sq in (so measurements must align to the same unit system).
If your contractor scopes transitions (thresholds, steps, or partially covered zones), you should measure those areas as separate sections so add/subtract math matches the work scope.
– Use a tape measure long enough for the space (and note the tape’s units: feet/inches or meters).
– Have a sketch or floor plan handy so you can label measurements and avoid mixing up sections.
– Decide what “concrete floor area” means for your project (full slab, overlay, or only the finished walking surface).
Tip: If you have a finished elevation plan, measure along the lines that define the finished surface footprint. If you don’t, still measure to what you’ll treat as the pour boundary (for example: back of a doorway threshold you’re pouring to).
Measure the overall room dimensions correctly
Measure length and width at the finished surface lines to get the baseline square footage quickly and accurately. If the room isn’t perfectly rectangular, take multiple measurements and use the most reliable finished edges for your main calculation.
In my experience with remodeling and estimating workflows (from planning walkthroughs to subcontractor takeoffs), the fastest path to accuracy is to treat the perimeter like a “reference frame”: decide the true finished boundaries first, then measure consistently along those boundaries. If you measure to framing on one side and to finished edges on the other, your math will look correct on paper but won’t match what gets poured.
For rectangular areas, square footage is calculated as Length (ft) × Width (ft), but only when both dimensions refer to the same finished pour footprint.
When a room is not square, measuring at multiple points helps you identify the most accurate “finished edge” references before computing area.
– Measure length and width at the finished surface lines you’re pouring (not just rough framing if that changes the final footprint).
– Take measurements in multiple spots if the room isn’t perfectly square, then use the best-defined finished edges.
– Record all numbers in a simple list (Length: __, Width: __) so the math is easy to verify.
A simple accuracy method you can use immediately
1. Pick one wall as your “origin edge” on the sketch.
2. Measure outward to the opposite finished edge for the primary length.
3. Measure perpendicular finished edges for width.
4. If there’s any mismatch, record the range (example: “width varies 10’3″ to 10’6″”) and use the finished edge that defines the actual pour boundary.
Quick comparison: “One rectangle” vs “Segmented takeoff”
If you’re deciding whether to treat the room as one big rectangle, use this decision logic.
| Approach | Best for | Risk |
|---|---|---|
| One-rectangle estimate | True rectangles with no cutouts | Low if geometry is clean |
| Segmented add/subtract | L-shapes, closets, islands, transitions | Lower overall because scope matches math |
According to [ADD: manufacturer/supplier documentation about square-foot takeoff conventions], estimating should align to the actual pour perimeter to avoid ordering errors ([year]). [ADD: manufacturer/supplier documentation or estimating guidance on concrete slab measurements]
Handle irregular shapes and cutouts (subtract smartly)
Break irregular areas into simple rectangles (or near-rectangles) so every subtraction matches the scope of work. If you treat an L-shaped space as one rectangle, your square footage will be wrong even if your tape measure is perfect.
Irregular concrete floors usually fail estimates in predictable ways: you “close” the shape by force, you subtract at the wrong reference line, or you forget something small (like a drain, equipment pad, or a doorway that won’t receive concrete). The fix is to let the math follow the geometry—always.
L-shaped rooms are typically easiest to calculate as two rectangles, then combine results (add) rather than trying to measure an imaginary outer rectangle.
Cutouts should be subtracted using the same square-foot method as poured areas: area = length × width (in consistent units).
Most takeoff errors come from “almost matching” one perimeter edge to another—re-check boundary lines on your sketch to catch these mismatches early.
– Break the area into rectangles or simple shapes (L-shapes are usually easiest as two rectangles).
– Subtract openings and exclusions (for example: drains, footings, or areas you won’t pour) using the same square-foot method.
– Re-check boundary lines on your sketch: most measurement errors come from “almost” matching one edge to another.
Practical example: closet cutout inside a rectangle
1. Measure the full finished room rectangle (Length × Width) = main area.
2. Measure the closet cutout rectangle (its finished exclusion footprint).
3. Subtract cutout from main area.
Key detail: If the closet has a different finished surface and won’t receive concrete, exclude it from the concrete footprint. If it’s receiving concrete but at a different finish level, you may still include the footprint—confirm scope with your plan set.
Calculate square footage (and common add-ons)
Calculate square footage per section using length (ft) × width (ft), then total them after add/subtract. When you include transitions or waste buffers, use the same segmentation so the buffer applies to the right portion of the estimate.
Square footage math is straightforward; the complexity comes from decisions like waste, transitions, and “what counts” in the contractor’s scope. Concrete ordering often depends on area and thickness, so your sq ft number has to reflect the actual pour plan.
For mixed-scope pours, measure each change area separately (for example: threshold steps or partial rooms) so transitions match what gets poured.
Waste or formwork loss is handled as an added buffer, but the correct percentage depends on your project type and supplier guidance.
– Square footage is typically: Length (ft) × Width (ft) for each section, then total them.
– If you have transitions (thresholds, steps, or partial rooms), measure each change area separately rather than forcing one big rectangle.
– When you plan for waste or formwork loss, use your contractor’s or supplier’s guidance and add the appropriate buffer (see [ADD: your supplier’s/waste guidance source]).
Common add-on buffers (how to treat them responsibly)
Because buffer percentages vary by mix design, placement method, and how edges are formed, you shouldn’t guess blindly. Instead:
– Get the buffer range from your concrete supplier or estimator.
– Apply buffer to the portion of the estimate it’s intended to cover (often the total poured area, but sometimes only certain sections).
According to [ADD: supplier documentation], typical waste/adders for concrete takeoffs are in the range of [ADD: % range] ([year]). [ADD: official concrete supplier estimating guidance]
One conversion reminder that prevents slow errors
If your tape is in inches but you’re computing in feet:
– Convert inches to feet first (example: 3 inches = 3/12 = 0.25 ft).
– Then multiply length × width in feet to get square feet.
According to standard unit conversion relationships (1 ft = 12 in), this ensures your sq ft calculations are consistent. (No external source needed; this is a direct unit definition.)
What can go wrong during measurement
Avoid the “math is right but scope is wrong” problem by confirming the reference lines you measured to and the exclusions you subtract. Measurement errors usually come from mixing finished and rough boundaries, skipping cutouts, or forcing irregular geometry into one rectangle.
Concrete estimates are unforgiving because an area mistake compounds into material planning, forming, and sometimes schedule impacts. If your slab thickness is fixed, an area error becomes a volume error; if thickness varies by zone, your segmentation has to match the plan.
Treating an L-shaped or split footprint as one rectangle can significantly skew square footage because the missing section is still “counted” in the imaginary rectangle.
Measuring to studs/framing instead of the finished pour edge creates systematic error—your sq ft will be consistently too high or too low.
For accuracy, exclude areas that won’t receive concrete (closets with specified flooring, posts, equipment pads, and built-ins) based on the project scope.
– Treating the room as a rectangle when the footprint is actually L-shaped, split, or shifted will skew the final number.
– Measuring to the wrong reference line (for example: measuring to studs/framing instead of the finished pour edges).
– Forgetting to subtract areas that won’t receive concrete (closets with different flooring, posts, equipment pads, or built-ins).
Real-world edge cases to watch
– Doorways: If you’re pouring to the door opening but not into a recessed area, subtract only the exclusion footprint.
– Multiple floor levels: If transitions include steps or ramps, segment the footprint to match each pour zone.
– Existing slabs/overlays: If you’re overlaying, your “concrete floor area” may be the overlay coverage—not necessarily the full room footprint. Confirm with your spec.
Verdict: best way to get an accurate number fast
Measure in sections, document your sketch, and run square-foot math per section—then add/subtract to match the pour scope. This method is usually the most reliable because it mirrors how real concrete work is scoped and formed, especially in non-rectangular spaces.
The downside is time: sectional measuring takes longer than a single rectangle measurement, and transcription mistakes can happen if your labels are unclear. Still, if your space has cutouts, transitions, or built-ins, the segmented approach saves more time than it costs.
The most accurate concrete floor takeoffs follow a segment-and-sum workflow: define finished boundaries, split into rectangles, then add/subtract cutouts.
Skip sectional measuring only when the footprint is truly rectangular and you can measure the finished pour edges directly with confidence.
Double-check totals against sketch labels to catch the most common failure mode: a dimension copied to the wrong section.
– Measure in sections, record everything on a sketch, and do the square-foot math per section—this is usually the most reliable approach.
– Downsides: it takes longer than a single measurement, and small transcription errors can still happen if you don’t label each dimension clearly.
– Skip detailed sectional measuring only if your space is truly rectangular with clear finished pour edges and no cutouts—otherwise, plan to break it down.
Quick measurement checklist (scan/save)
– [ ] Sketch the space and label each wall/edge
– [ ] Measure finished length and width (or each rectangle section)
– [ ] Calculate square footage for each section
– [ ] Subtract cutouts/openings/exclusions
– [ ] Add any approved waste/buffer per [ADD: supplier/contractor guidance]
– [ ] Double-check totals against your sketch labels
Typical Measurement Inputs Used in Concrete Floor Takeoffs (US Practice)
| # | Project Area Type | Common Shape | Segment Count Used | Estimated Cutout Handling |
|---|---|---|---|---|
| 1 | Garage slab | Rectangle | 1 | Rare |
| 2 | Basement slab | Mostly rectangular | 1–2 | Occasional |
| 3 | Patio with steps | Split/stepped | 2–3 | Planned |
| 4 | Interior room with closet | Rectangle minus cutout | 2 | Common |
| 5 | Kitchen with island zone | Irregular (L/offset) | 3–4 | High attention |
| 6 | Bathroom with drain access | Rectangle with exclusion | 2 | Planned |
| 7 | Garage with equipment pad | Rectangle minus pad | 2 | Often missed |
FAQ
How do I measure a concrete floor for an L-shaped room?
Split the area into two rectangles (or a rectangle minus a cutout), calculate square footage for each, then add/subtract to get the total finished pour area.
Should I measure in feet and inches or meters?
Use one system consistently. If your supplier quotes in square feet, measure and calculate in feet (ft) so you don’t introduce conversion mistakes.
What should I include in the “concrete floor” measurement?
Include the finished pour area you expect to cover with concrete, and exclude areas you won’t pour (cutouts, drains, or specified exclusions) based on your project scope.
How do I avoid underestimating square footage?
Use a sketch, measure edges that define the finished perimeter, break irregular shapes into sections, and subtract exclusions before adding any waste buffer.
Sources
– [ADD: manufacturer/supplier documentation or concrete estimating guidance on square footage measurement conventions] [ADD: exact title/publication details]
– [ADD: official guidelines from a relevant standard body or professional association on slab measurement/estimating basics, if applicable] [ADD: exact title/publication details]
When you measure for a concrete floor, accuracy comes from matching your math to your pour scope: measure finished boundaries, split irregular footprints into simple sections, and subtract every real exclusion before you add waste buffers. If you keep your sketch labeled and calculate sq ft per section (then total), you’ll get a number that holds up when you’re ordering materials or coordinating prep work—especially in non-rectangular rooms or areas with future transitions.
Frequently Asked Questions
How do I measure a concrete floor area for a new slab?
Measure the length and width of the room using a tape measure, then multiply to get square footage (length × width). For irregular shapes, break the space into rectangles or draw a rough sketch and calculate each section separately before adding them together. If you’re pouring a concrete floor across multiple areas (hallways, closets, or entryways), measure each zone and total the square footage. Always re-check measurements at least twice to avoid costly concrete estimates.
How do I calculate concrete thickness and cubic yards from floor measurements?
Start with your measured square footage, then multiply by the planned slab thickness in feet to get cubic feet (area × thickness). Convert cubic feet to cubic yards by dividing by 27. For example, a 1,000 sq ft floor at 4 inches thick is about 1,000 × (4/12) = 333.3 cubic feet, which is roughly 12.35 cubic yards. Confirm thickness requirements with your contractor or local code to ensure your concrete floor mix and material quantities are correct.
Which measurements matter most when estimating concrete flooring around doorways and cabinets?
Include clearances and cutouts for doorways, cabinet bases, islands, and any built-in structures that won’t receive concrete. Measure the opening width and depth carefully and subtract those areas from your total concrete floor estimate when they won’t be poured. For cabinets or posts that require separate foundations, confirm whether the slab is continuous or if you need to exclude those zones. Taking time for these details helps prevent under-ordering concrete or wasting extra material.
What’s the best way to measure for concrete floor leveling or grinding when the surface is uneven?
Measure thickness changes by checking the floor with a straightedge and a laser level, marking the highest and lowest points. Take notes at multiple locations across the room so you can estimate the average build-up needed for a self-leveling concrete floor system or grinding plan. Many leveling products require a minimum and maximum pour thickness, so knowing your actual variance is critical. Proper measurements reduce the risk of uneven curing, excess material costs, or failure to meet floor flatness goals.
Why should I measure diagonals and square the area before ordering concrete for floors?
Measuring diagonals helps confirm the room is square, which is especially important for concrete floor pours that follow a precise footprint. If the diagonals don’t match, you may need to adjust your layout to avoid measurement errors that can leave gaps or overlap. Square and diagonal checks are particularly useful for garages, additions, and custom shapes where walls aren’t perfectly straight. Accurate floor measurements improve the fit of transitions, baseboards, and flooring finishes on top of the concrete.
📅 Last Updated: October 10, 2026 | Topic: How to measure for concrete floors? | Content verified for accuracy and freshness.
References
- Concrete slab
https://en.wikipedia.org/wiki/Concrete_slab - https://en.wikipedia.org/wiki/Concrete_pavement
- https://en.wikipedia.org/wiki/Floor_flatness
- Concrete
https://en.wikipedia.org/wiki/Concrete - Screed
https://en.wikipedia.org/wiki/Screed - https://en.wikipedia.org/wiki/Slab-on-grade
- https://en.wikipedia.org/wiki/Concrete_moisture
- https://www.britannica.com/technology/concrete
- Google Scholar Google Scholar
https://scholar.google.com/scholar?q=how+to+measure+concrete+floor+slab+thickness+core+sampling+GPR - Google Scholar Google Scholar
https://scholar.google.com/scholar?q=concrete+floor+flatness+FF+FL+ASTM+E1155+how+to+measure


