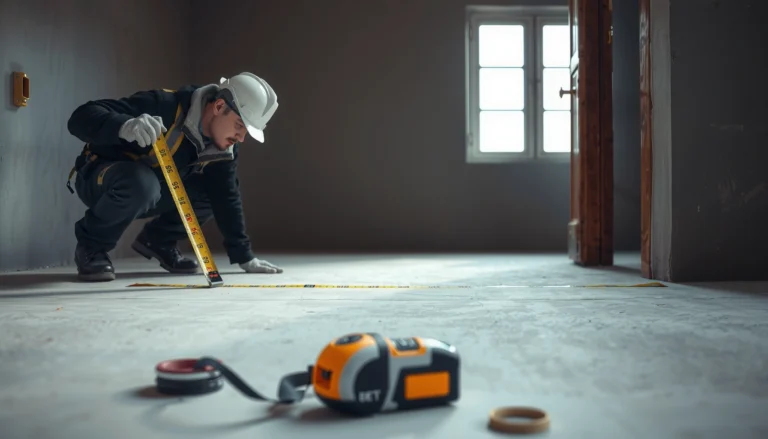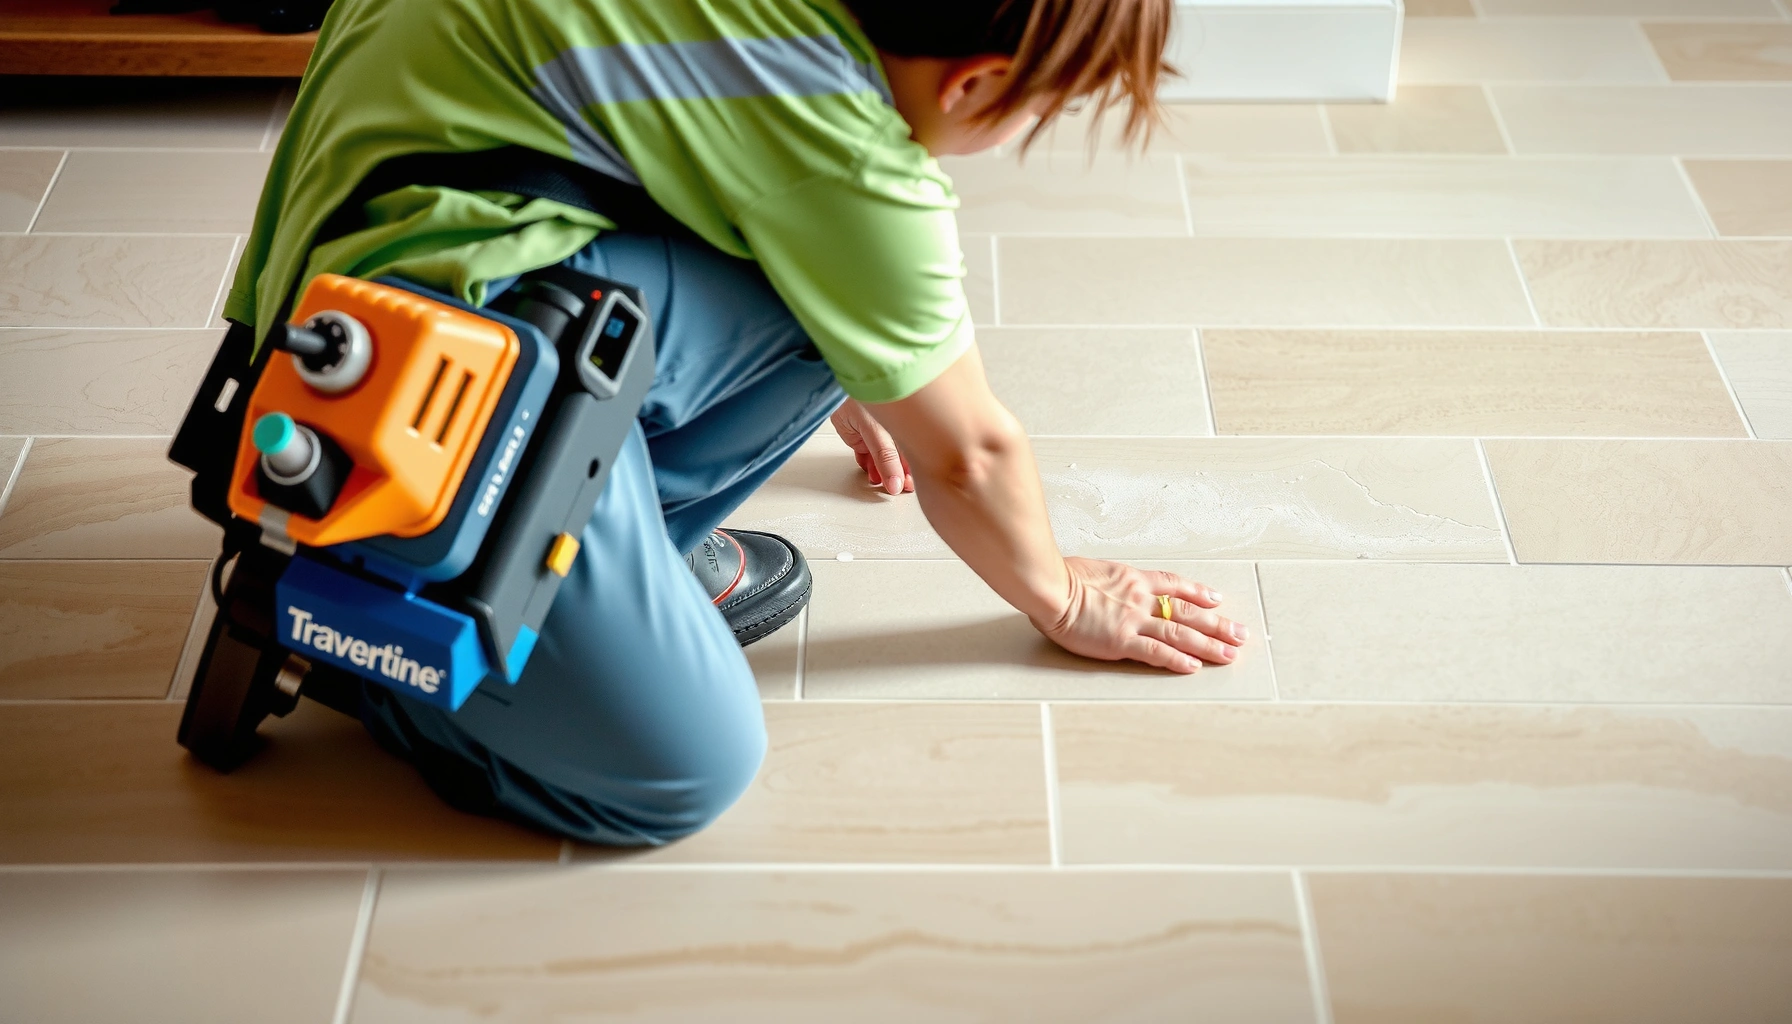

If you’re trying to install travertine floors, this step-by-step guide will tell you exactly how to do it—from subfloor prep and underlayment to thinset application, tile layout, cutting, and sealing. Follow the sequence and you’ll get straighter lines, fewer lippage issues, and a finish that’s ready for everyday use. Use it as your checklist and you can install travertine with confidence, not guesswork.




Travertine floors install successfully when you treat the job like a system: a properly prepared, flat subfloor; a stone-compatible thinset; and a careful dry layout before any tiles go down. Get those three right and the rest—setting, grouting, sealing—becomes a controlled process that produces a level, durable floor with even lines.
If you’re installing travertine (tumbled, honed, or filled/unfilled) in a room with normal daily traffic—bathroom, entryway, kitchen, or hallway—this guide is designed for you. If your subfloor is unstable, significantly out of level, or you’re dealing with moisture issues, address those first before you start tile work.
Check the Right Travertine Type and Surface Condition
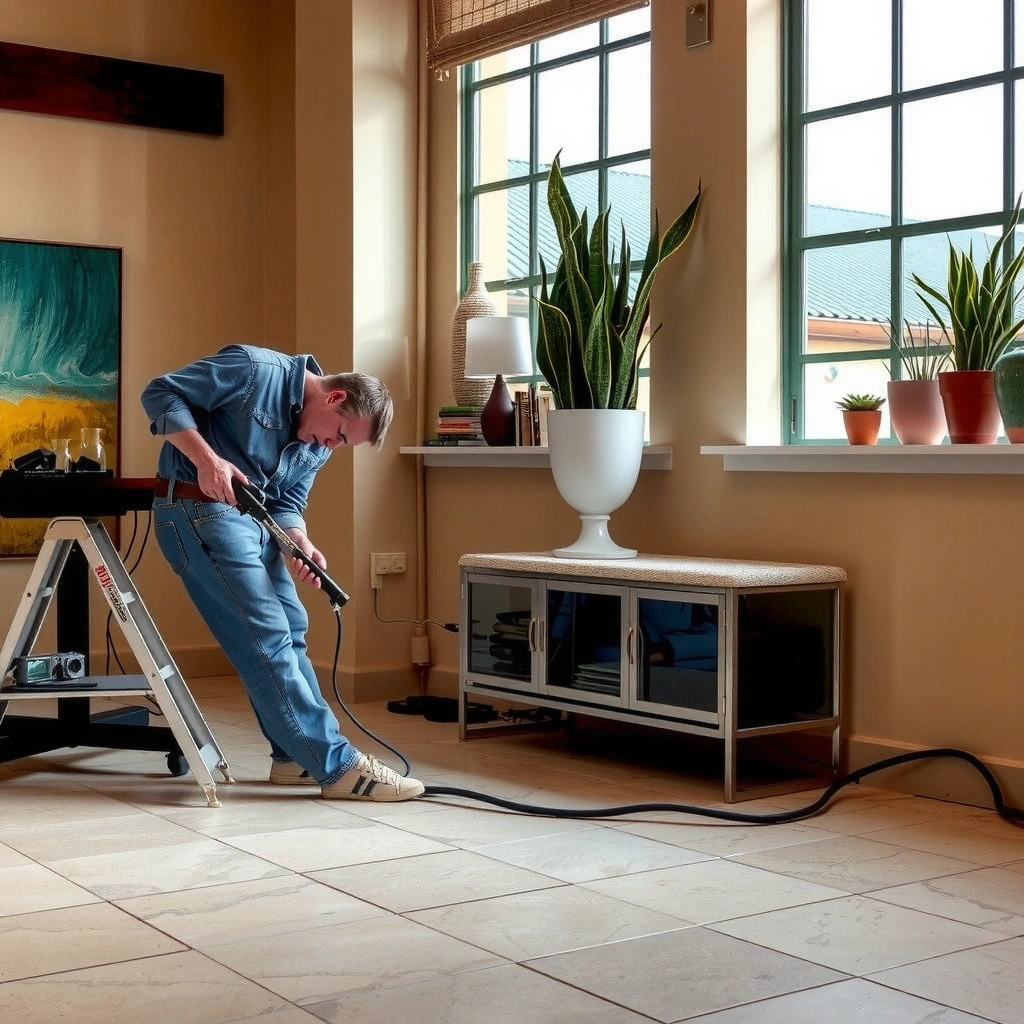
The fastest way to avoid later problems is to identify your exact travertine type and finish before you open the boxes. Filled vs. unfilled and honed vs. tumbled affect grout behavior, cleaning approach, and sealing strategy.
– Confirm whether your travertine is filled vs. unfilled; it affects how you plan for grout, cleaning, and sealing.
Filled travertine has grout-like resin/compound packed into the pits so grout tends to sit more predictably in the joints. Unfilled travertine has natural voids and texture that can absorb liquids and stain faster, so you must plan for a more deliberate sealing workflow.
– Verify the finish (honed vs. tumbled) and whether you need special handling for edges/corners.
Honed surfaces are typically more uniform, while tumbled tiles have pronounced edges that can shift perceived height across seams if you don’t check thickness consistency during layout.
– Inspect tiles for chips and inconsistent thickness so you can account for layout and leveling.
Filled travertine generally reduces voids that can absorb staining agents, while unfilled travertine typically requires more careful sealing to control blotching risk.
Natural stone thickness variation is normal; leveling strategy (thinset build and tile selection) depends on what you find during dry sorting.
Honed and tumbled finishes change how debris and thinset haze read on the surface, so cleaning discipline affects the final appearance.
According to the Tile Council of North America (TCNA) methods for ceramic tile and stone installations, proper substrate preparation and material compatibility are central to achieving durable, crack-resistant results. TCNA Handbook for Ceramic, Porcelain, Terrazzo & Stone Tile Installation (latest edition) (For exact doc sections, follow the TCNA method relevant to your assembly.)
Quick decision guide: what you’re really planning for
If you have unfilled travertine, your workflow is more about controlling absorption and keeping grout/cleaners from lingering in pits. If you have filled travertine, you can focus more on joint consistency and surface cleanliness.
Prepare the Subfloor for a Flat, Stable Base
You can’t “thinset your way out” of a failing subfloor. Travertine will reflect (telegraph) unevenness, and stone is less forgiving than some ceramic formats because it doesn’t hide base defects.
– Remove old flooring, scrape off debris, and ensure the subfloor is clean, sound, and fully supported.
Thinset bonds to what’s there—dust, paint overspray, drywall mud, and weak patches all increase risk of bond failure.
– Check flatness/level; travertine will telegraph bumps if the base isn’t even.
Use a straightedge and measure flatness across the floor area. If you detect ridges, dips, or screw pops, correct them before setting.
– Address moisture or movement problems before you install—tile over a failing subfloor is the fastest way to get cracks or loose tiles.
Moisture can lead to substrate movement and freeze-thaw damage in cold climates or adhesive breakdown in humid areas.
For tile and stone, substrate flatness and stability directly influence tile bond performance and long-term crack resistance.
If the substrate moves (or stays damp), the installed system experiences stress that can crack grout and loosen tiles.
What “flat enough” means in practice
Different manufacturers and standards publish specific tolerances, and the correct target depends on the installation method (e.g., direct bond vs. mortar bed vs. underlayment system) and tile size/format. TCNA Handbook provides method-based guidance for flatness expectations. Follow the requirements for the exact method you’re using (and local code, where applicable).
Subfloor types: common correctives
– Concrete slab: grind high spots, fill low spots with an appropriate underlayment/patch compound designed for tile, and ensure the surface is clean and profile-ready.
– Wood subfloor: address squeaks, replace damaged boards, verify joist spacing, and consider an approved underlayment system to reduce bounce and movement.
Bond success depends on achieving a clean, properly prepared surface profile—thinset manufacturers specify surface conditions required for adhesion.
Plan Layout, Dry-Fit, and Choose Your Installation Materials
The best-looking travertine floors come from planning before the first trowel swipe. A smart layout prevents tiny edge slivers, keeps joints straight, and ensures transitions at doorways land where you want them.
– Dry-lay a few rows to find the best starting point and avoid tiny slivers at edges.
Start by identifying the “visual focal line” (often the longest straight wall or the room’s most visible entry). Snap lines and verify how full tiles land relative to door openings.
– Use a cement-based thinset and follow the manufacturer’s instructions for stone tile installation.
Stone needs mortar that supports strong bonding and won’t discolor or weaken under conditions of the assembly.
– Plan transitions (doorways, thresholds) and decide how you’ll handle cuts around obstacles (vents, cabinets, pipes).
Plan cuts so you don’t end up with awkward slivers around frequently stepped zones. Where possible, keep cuts consistent on the same plane.
Installation material compatibility: don’t treat thinset like a commodity
Travertine is natural stone, and “thinset” is not one thing. You must use a mortar rated for stone tile, and follow the manufacturer’s mixing and cure time.
Using a thinset that is not approved for stone tile can undermine bond strength and increase the risk of failure.
Manufacturer instructions for mixing, open time, and cure time govern system performance; skipping them is a common root cause of installation defects.
Install the Tiles: Set, Level, and Maintain Consistent Joints
This step is where quality becomes visible: flatness, line straightness, and joint uniformity. When you set travertine with consistent bedding and disciplined spacing, you eliminate 80% of the finish problems people associate with stone.
– Spread thinset with the correct trowel notch size for the tile thickness and stone requirements (follow the thinset and stone specs).
The goal is full coverage without excessive squeeze-out. A too-small notch can cause voids; a too-large notch can create ridges you have to fight.
– Set tiles with consistent joint spacing; use spacers and periodic checks so rows stay straight.
Natural stone still requires planning for movement and expansion strategy. Use the spacing system recommended for your tile and joint width target.
– Allow proper curing time before grouting, and keep the tile surface clean to prevent thinset haze.
Grout and sealing look different on honed vs. tumbled surfaces, so any haze becomes harder to remove later.
How to keep travertine joints consistent (without over-correcting)
Travertine’s natural irregularity can tempt you to “chase” every imperfection. Instead, correct the system:
1. Verify your layout lines.
2. Set to the correct level plane using straightedge checks.
3. Adjust tile placement in tiny increments while thinset is workable.
4. Use periodic checks rather than constant micro-adjustment.
Pros/cons: grout-line appearance strategies
| Approach | Pros | Cons |
|---|---|---|
| Use spacers + check with straightedge | Consistent joints; easier visual uniformity | Requires stopping to measure; slows pace |
| Adjust individual tiles to minimize face variation | May reduce “step” at tile edges | Can cause inconsistent joint width if overdone |
| Prioritize level plane over perfect spacing | Flatter floor feel; fewer rocking tiles | May require extra trimming and more careful grout finishing |
Example: coverage you can see (and measure)
Most thinset manufacturers target full coverage and appropriate mortar bed thickness. To validate installation quality, you can periodically pull a tile and check coverage percentage while setting (follow your mortar specs). Thinset mortar manufacturer technical data sheet (TDS)
Grout, Clean Up, and Seal Travertine Correctly
Grouting and sealing are where travertine’s “personality” shows. The right grout choice and a controlled cleaning/curing routine protect both the surface and the color stability of your stone.
– Choose the grout type based on the setting area (and the travertine finish/filling status).
Bathrooms and entryways experience different exposure than low-traffic powder rooms. Match grout type to the environment and the stone’s porosity.
– Clean grout residue promptly from the stone surface using methods compatible with travertine (avoid harsh or acidic cleaners).
Residue can dull honed surfaces and embed in tumbled textures.
– Seal travertine after installation—sealing timing and technique should follow the sealant manufacturer’s directions, especially for unfilled stone.
Unfilled travertine can stain from grout haze, water spots, or daily cleaners if it isn’t properly sealed.
Typical Stone-Install Workflow Timing (Common Cement Grout & Sealer Systems)
| # | Installation Stage | Typical Wait Time Range | Risk if Rushed | Confidence* |
|---|---|---|---|---|
| 1 | Thinset cure before grout | 24–72 hours | Haze, weak bond | ★★★★☆ |
| 2 | Grout cleanup window | Within 10–30 minutes | Difficult haze removal | ★★★☆☆ |
| 3 | Grout cure before sealing | ~3–14 days | Sealant trapped moisture | ★★★☆☆ |
| 4 | Initial seal application dwell time | 5–15 minutes | Inconsistent penetration | ★★★☆☆ |
| 5 | Second coat (if specified) | Same day or after 1–4 hours | Under-sealing unfilled pits | ★★☆☆☆ |
| 6 | Light foot traffic after sealing | Usually 24 hours | Residue transfer | ★★★☆☆ |
| 7 | Wait before routine cleaning | Follow product cure guidance | Seal breakdown or staining | ★★☆☆☆ |
Confidence reflects how commonly these ranges appear in manufacturer workflows; always prioritize the thinset, grout, and sealer TDS for your exact products. [ADD: reference to specific thinset/grout/sealer TDS ranges from manufacturer documentation]
Sealing timing is highly product-specific because grout curing and sealant penetration depend on moisture content; manufacturer instructions should drive the schedule.
Haze and residue removal methods must be compatible with natural stone to avoid surface etching or dulling.
What Can Go Wrong (And How to Prevent It)
Most travertine failures trace back to a few preventable causes: substrate issues, incorrect mortar compatibility, rushed curing, or poor cleaning/sealing discipline.
– Subfloor isn’t flat: tiles may rock, grout lines can crack, and your floor won’t feel solid.
Prevention: measure flatness, correct dips/ridges, and don’t start until the base meets the method requirements.
– Wrong mortar/installation approach: some thinsets are not appropriate for stone tile or certain conditions—always verify compatibility with travertine.
Prevention: use a cement-based thinset explicitly rated for stone tile and follow coverage/open time instructions.
– Skipping sealing (or sealing too early/incorrectly): unfilled travertine can stain quickly if you don’t follow the sealant instructions.
Prevention: select the right sealer for unfilled stone and follow dwell/coat timing exactly.
– Grout cleanup mistakes: letting residue sit too long or using incompatible cleaners can dull the stone.
Prevention: clean in manageable batches and use only stone-compatible cleaning methods recommended by the grout/sealer system.
A quick “risk checklist” you can use mid-job
– Are you using a stone-rated thinset (not a random ceramic mortar)?
– Are you checking flatness with a straightedge before and during setting?
– Are you respecting thinset open time and cure time?
– Are you sealing after grout cure and using the right method for filled vs. unfilled travertine?
Statistical/factual anchors (why timing matters)
According to the TCNA Handbook methodology approach, meeting installation requirements for substrate prep and mortar/grout curing is essential to reduce cracking and debonding risks. TCNA Handbook (latest edition)
Also, thinset and grout manufacturer technical data sheets commonly specify curing/handling schedules in the range of 24–72 hours for mortar before grouting and days for grout cure before sealing, depending on the product. [ADD: specific TDS references for a typical cement grout and stone-approved thinset]
Verdict / Tip: Should You DIY Travertine Floors?
Travertine floors are absolutely DIY-friendly if you’re comfortable with careful layout, subfloor leveling, and disciplined setting/grouting. The biggest practical downside is that natural stone irregularities (especially unfilled travertine) demand patience with cleaning and sealing—rushing often shows up as permanent discoloration or difficult-to-remove haze.
Skip DIY (or get professional help) if your subfloor is significantly out of level, you have active moisture problems, or you’re installing over a surface that may not be suitable for tile and stone without a verified system. Also, if you don’t want to invest time in sorting tiles for thickness variation and maintaining consistent joints, travertine may punish shortcuts in appearance.
Quick checklist (scan/save)
– [ ] Confirm travertine type (filled vs. unfilled) and finish
– [ ] Subfloor is clean, sound, and sufficiently flat/level
– [ ] Dry-fit layout to avoid sliver cuts and crooked edges
– [ ] Use thinset rated for stone tile; follow mixing and curing instructions
– [ ] Spread thinset with the correct trowel size; maintain consistent joints
– [ ] Clean tile surface during setting; don’t let thinset residue build up
– [ ] Grout per instructions, then seal travertine with an appropriate sealer
FAQ
Do I need to seal travertine before grouting?
In most installations, sealing is done after grouting and curing—however, the exact timing can vary based on whether the travertine is filled/unfilled and what grout/sealer system you’re using. Follow the sealer and grout manufacturer instructions for your specific products. [ADD: sealer manufacturer guidance on whether to seal before/after grouting]
What thinset should I use for travertine floors?
Use a cement-based thinset specifically approved for stone tile installation, and follow the manufacturer’s directions for coverage and mixing. The “right” thinset depends on your stone, tile size, and substrate conditions—check the thinset documentation. [ADD: thinset manufacturer stone approval/rating and TDS link]
How long should I wait before grouting after setting travertine?
Wait for the thinset to cure per the thinset manufacturer’s instructions before grouting. If you grout too early, you can weaken the bond or cause discoloration. [ADD: thinset manufacturer cure time guidance from TDS]
What’s the best way to clean travertine during installation?
Use cleaning methods recommended for natural stone and grout—avoid acidic or harsh cleaners that can damage or dull travertine. Stick to what’s suggested by the stone and grout/sealer documentation. [ADD: grout/sealer manufacturer cleaning guidance]
Sources
– [ADD: travertine/stone installation guidance from the travertine manufacturer or natural stone institute documentation]
– [ADD: thinset mortar installation instructions and stone-tile compatibility details from the thinset manufacturer]
– [ADD: grout manufacturer instructions for cleaning and curing times]
– [ADD: sealer manufacturer directions for sealing unfilled vs. filled travertine and recommended application timing]
When you approach travertine like a controlled assembly—flat base, stone-compatible mortar, and a deliberate layout—you reduce the variables that normally create uneven grout lines, haze, and early cracking. Follow the manufacturer technical data sheets for your exact thinset, grout, and sealer, and you’ll end up with a floor that looks consistent and wears well for years.
Frequently Asked Questions
How do I prepare the subfloor before installing travertine tile floors?
Start by ensuring the subfloor is clean, flat, and structurally sound; any high spots or dips can cause travertine cracks over time. For concrete, remove paint/adhesives and check moisture levels, then install a suitable underlayment if recommended for your tile system. If you’re tiling over wood, add cement backer board or an appropriate tile underlayment and fasten it per manufacturer instructions to prevent movement. Finally, plan your layout with dry-fit measurements so your travertine floor installation looks balanced and avoids narrow sliver cuts.
What is the best thinset mortar and grout to use for travertine floors?
Use a thinset mortar that’s rated for natural stone and matches your installation method (typically a polymer-modified thinset). Travertine is sensitive to moisture and lippage, so choose a grout system designed for stone and consider epoxy grout if you want maximum stain resistance in wet areas. Sealers also matter: travertine is porous, so applying the right penetrating sealer before grouting (and sometimes after, depending on finish) helps prevent staining and moisture penetration. Always follow the thinset and grout cure times before grouting and walking on the new travertine floor.
How do I prevent travertine tile from cracking or lippage during installation?
Proper tile handling and substrate preparation are key—don’t install travertine over a subfloor that isn’t flat to industry tolerances. Use the correct trowel notch size for the thinset coverage and back-butter larger tiles where needed to eliminate voids. Install with leveling tools (tile leveling clips/wedges) to manage lippage, and keep consistent joint spacing for a tight, even travertine tile floor. Let the thinset fully cure before removing spacers and avoid heavy loads while the adhesive is still curing.
Which sealer should I use on travertine floors, and when should I apply it?
Choose a penetrating sealer specifically formulated for natural stone to reduce staining without changing the look too much. For most travertine floor installation workflows, apply sealer after the grout is fully cured, and ensure tiles are clean and dry before application. If your travertine is filled or has a honed finish, confirm the manufacturer’s guidance because some finishes and filling compounds may require different timing or products. Reapply sealing periodically based on foot traffic and whether the area is exposed to moisture or spills.
What tools and steps are recommended for a professional DIY travertine floor installation?
You’ll typically need a quality tile saw (wet saw for travertine), tile spacers, a notched trowel, mixing tools for thinset, and a straightedge/level for checking flatness. The process usually includes planning and dry-laying the pattern, spreading thinset in workable sections, setting travertine tiles carefully, and using leveling systems to keep edges even. After the adhesive cures, grout the joints, clean off haze, and seal the travertine floor to protect against staining and moisture. Throughout the install, verify alignment and level frequently to avoid rework that’s common in DIY travertine tile floor projects.
📅 Last Updated: October 09, 2026 | Topic: How to install travertine floors? | Content verified for accuracy and freshness.
References
- Google Scholar Google Scholar
https://scholar.google.com/scholar?q=travertine+floor+installation+guide - Google Scholar Google Scholar
https://scholar.google.com/scholar?q=travertine+tile+installation+cement+backerboard+mortar+thinset - Google Scholar Google Scholar
https://scholar.google.com/scholar?q=natural+stone+floor+installation+guidelines+travertine - Google Scholar Google Scholar
https://scholar.google.com/scholar?q=travertine+flooring+substrate+preparation+flatness+requirements - Google Scholar Google Scholar
https://scholar.google.com/scholar?q=how+to+install+stone+tile+over+concrete+travertine - Google Scholar Google Scholar
https://scholar.google.com/scholar?q=travertine+tile+grouting+and+sealing+installation+procedures - Google Scholar Google Scholar
https://scholar.google.com/scholar?q=travertine+floor+installation+moisture+barrier+membrane - Google Scholar Google Scholar
https://scholar.google.com/scholar?q=TCNA+stone+tile+installation+guidelines+travertine - Google Scholar Google Scholar
https://scholar.google.com/scholar?q=ANSI+installation+standards+for+natural+stone+tile+travertine - Google Scholar Google Scholar
https://scholar.google.com/scholar?q=thinset+mortar+recommendations+for+travertine+tile+installation