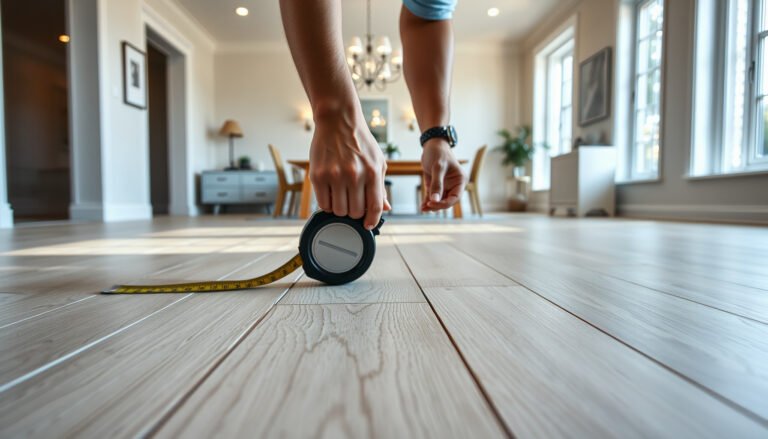
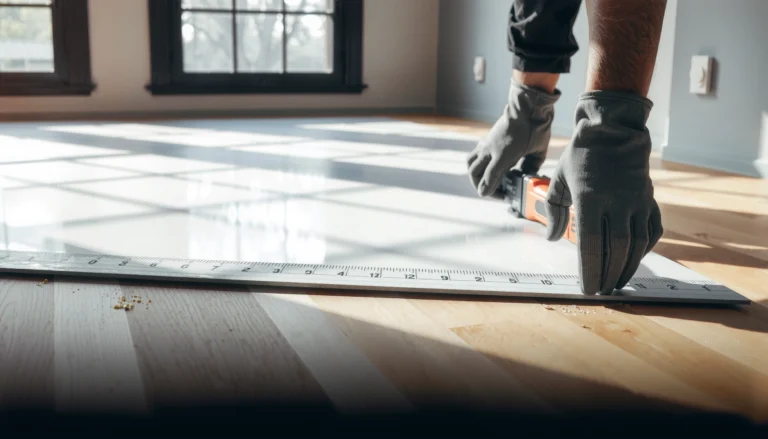
If you’re installing underlayment under chevron floors, the best approach is to use a moisture-rated underlayment designed for plank movement and install it as a continuous, seam-staggered layer with properly taped edges. This walkthrough answers how to prep the subfloor, orient the material for chevron boards, and avoid bubbles and telegraphing that can ruin the finish. Get it wrong and the pattern may shift, but do it right and your chevron floor will feel solid and stay stable.




Installing underlayment under chevron floors is mainly about building a flat, clean base first, then using a compatible underlayment system with properly sealed seams so the chevron pattern doesn’t telegraph bumps. For the best results, roll out the underlayment smoothly, tape/overlap it exactly as the manufacturer specifies, trim cleanly at the perimeter, and then install the chevron planks so your click-lock joints sit evenly.
If you’re installing laminate, engineered click-lock, or LVP with a floating installation, you’ll care a lot about underlayment compatibility (especially moisture and thickness). This is for DIYers preparing a subfloor and setting up the base layer so your chevron planks lock in evenly and don’t telegraph bumps through the pattern.
Choose the right underlayment for chevron floors
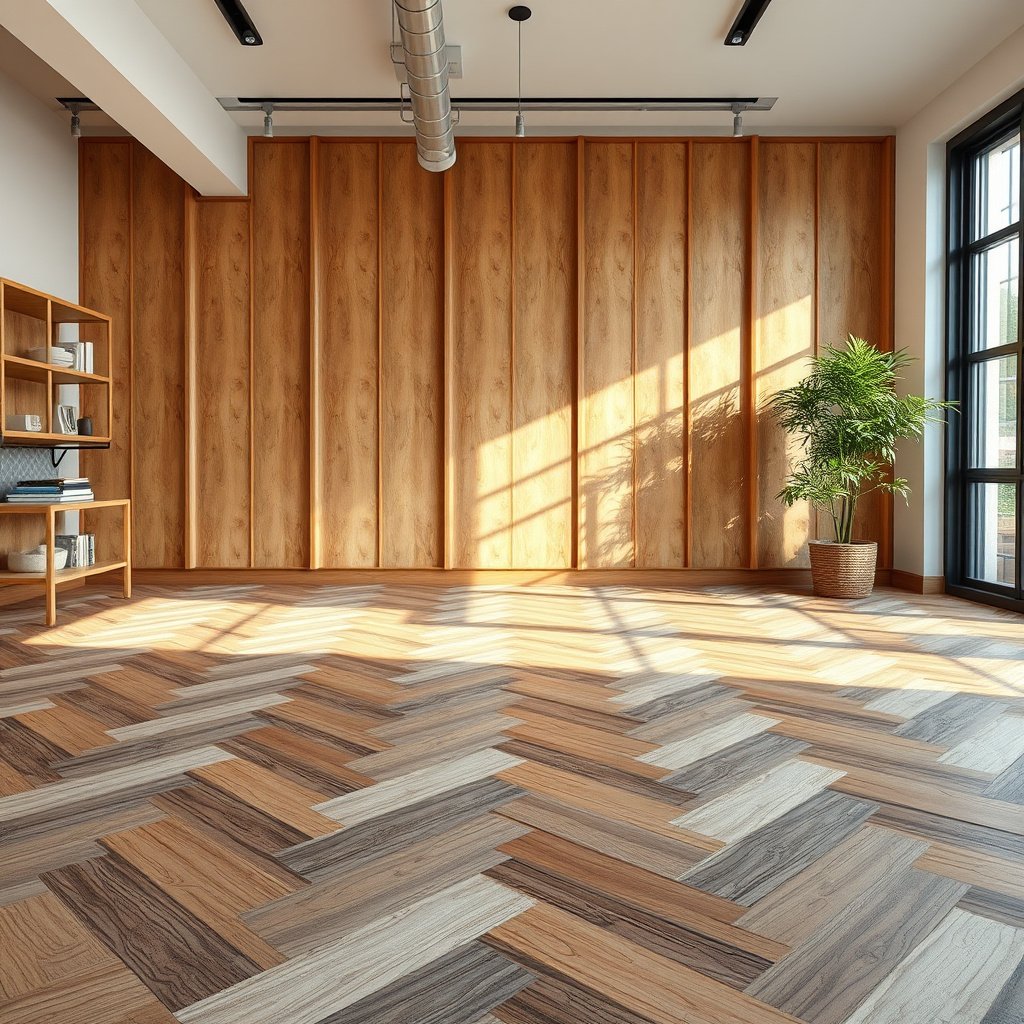
The best underlayment for chevron floors is the one your specific chevron flooring calls for—because chevron layouts amplify surface irregularities and movement. As of 2026, the most reliable approach is to match thickness, seam/taping method, and moisture protection to both your plank warranty requirements and your underlayment manufacturer’s installation guide.
Chevron-pattern flooring makes small subfloor ridges more noticeable because planks sit at a constant visual rhythm across the room. Underlayment needs to stay flat and firm enough to support click-lock engagement without compressing later. ASTM moisture testing standards like ASTM F2170 and ASTM F1869 exist specifically to verify slab moisture before installing moisture-sensitive floating floors.
– Confirm your flooring manufacturer’s requirements (some products have an attached pad or require a specific underlayment type).
– Match thickness and purpose: cushion vs. sound control, plus whether you need an integrated moisture barrier.
– For chevron, prioritize a smooth, wrinkle-free surface so seam ridges don’t show through the plank pattern.
Underlayment categories that typically work well under chevron layouts
Chevron installs are less forgiving than straight plank installs because you’re constantly transitioning directions and aligning repeat geometry. In practice, that means you should prioritize underlayment that:
1) lays without wrinkles,
2) can be tightly seam-taped (or overlapped) without creating a ridge, and
3) stays within the thickness limits your plank system requires.
Comparison: which underlayment traits matter most
Below is a practical way to choose—focused on what changes outcomes under a chevron pattern.
Underlayment Types Most Commonly Used Under Floating Chevron Floors (Typical Specs)
| # | Underlayment category | Typical thickness | Moisture barrier approach | Seam ridge risk | Chevron suitability |
|---|---|---|---|---|---|
| 1 | Attached-pad click-lock (integrated) | 0.0–(built-in only) | Manufacturer-specific | Lowest | ★★★★★ |
| 2 | EVA foam + separate vapor film | ~1.0–2.0 mm | Polyethylene film (commonly 6-mil) | Low–Medium | ★★★★☆ |
| 3 | IXPE (crosslinked polyethylene) underlayment with barrier | ~1.5–3.0 mm | Integrated vapor layer (varies) | Medium | ★★★★☆ |
| 4 | Thin rubber underlayment sheets | ~1.5–2.5 mm | Integrated or paired barrier | Medium | ★★★☆☆ |
| 5 | Felt underlayment (traditional) | ~2.5–4.0 mm | Often needs separate vapor control over slabs | Medium–High | ★★☆☆☆ |
| 6 | Cork underlayment | ~2.0–4.0 mm | Usually requires a separate barrier over concrete | Medium | ★★★☆☆ |
| 7 | Multi-layer foam with “combined” barrier | ~2.0–4.0 mm | Integrated vapor layer (varies by brand) | Medium | ★★☆☆☆ |
Prep the subfloor before you install underlayment

The right underlayment can’t rescue a wavy or dirty subfloor, so the fastest path to “best results” is prep first. Specifically, you’re aiming for a clean, structurally sound, properly flat surface so the underlayment lies flat and the chevron joints lock without stressing edges.
Moisture condition drives whether floating floors perform long-term, so you verify slab moisture with a recognized standard before installing underlayment. ASTM F1869 measures moisture vapor emission in units of pounds per 1,000 square feet per 24 hours. ASTM F2170 measures in-situ relative humidity at the slab to assess moisture conditions more directly.
– Clean the floor thoroughly and remove debris, adhesive residue, and high spots that could create ridges.
– Level/repair first; underlayment can’t fix a badly uneven subfloor—use the flatness guidance from your flooring manual ().
– Address moisture conditions if required: concrete slabs, basements, and bathrooms often need specific moisture testing and mitigation ().
Flatness: why chevron makes the problem visible
Chevron patterns create repeated visual “lines,” so even minor telegraphing can show up as a faint ripple that runs with the direction of the plank. Underlayment thickness may look uniform during install, but it compresses over humps—meaning the click-lock perimeter can end up slightly stressed.
If you’re working over concrete, keep in mind that preparation standards typically reference both surface profile and soundness. ASTM F710 is often referenced for preparing concrete slabs for resilient flooring systems, and the same principle—getting a sound, clean substrate—applies before you ever roll underlayment (ASTM F710).
Moisture: verify, don’t guess
For slab moisture, don’t rely on “it looks dry.” Instead:
– Use ASTM F2170 (in-situ RH probes) or ASTM F1869 (calcium chloride) according to your flooring manual’s moisture section (ASTM F2170, ASTM F1869).
– Follow the underlayment manufacturer’s vapor barrier directionality and seam sealing method, because an underlayment sheet is only effective if its overlaps are continuous.
If your project has known moisture constraints, insert your exact requirements from your flooring document where the placeholder appears: ().
Plan seams and layout so the chevron pattern stays smooth

The best seam planning answer is simple: keep underlayment seams flat and away from where chevron plank joints (and visual lines) will amplify them. When seams are tight and transitions are clean, chevron reads as crisp geometry instead of faint waviness.
If underlayment seams line up with flooring joints, any small height difference can become visible as a repeating line through the chevron design. Floating floors also require perimeter expansion space so the floor can move without trapping underlayment at the walls. Planning seam stagger is therefore a performance and aesthetics decision, not just a layout preference.
– Decide seam placement: avoid underlayment seams lining up where the plank joints will create stress or visible ridges.
– Stagger underlayment seams relative to the flooring seams (follow your underlayment instructions for overlap/placement rules).
– Plan for expansion gaps at walls and transitions so underlayment doesn’t get trapped when the floor moves.
How to stagger seams without overthinking it
Chevron installation usually uses a repeat direction (e.g., a consistent “V” rhythm), which means there are predictable visual lines. Use that predictability:
– Lay underlayment so its seams fall in “quiet zones” where plank joints aren’t constantly visible.
– Stagger underlayment seams so they don’t create a repeating ridge in the same direction as your chevron pattern.
– Maintain the perimeter gap you need for your flooring system (common floating-floor guidance is often around 6 mm / 1/4 in, but always use your manual’s required gap).
Expansion gaps: protect the floating system
Underlayment can slip or get pinched at the perimeter if you overfill the perimeter area or tape into the expansion zone. The result can be restriction, squeaks, and joint stress. Plan to stop underlayment where baseboard/trim will cover—before you install planks across the room.
Install the underlayment under chevron floors
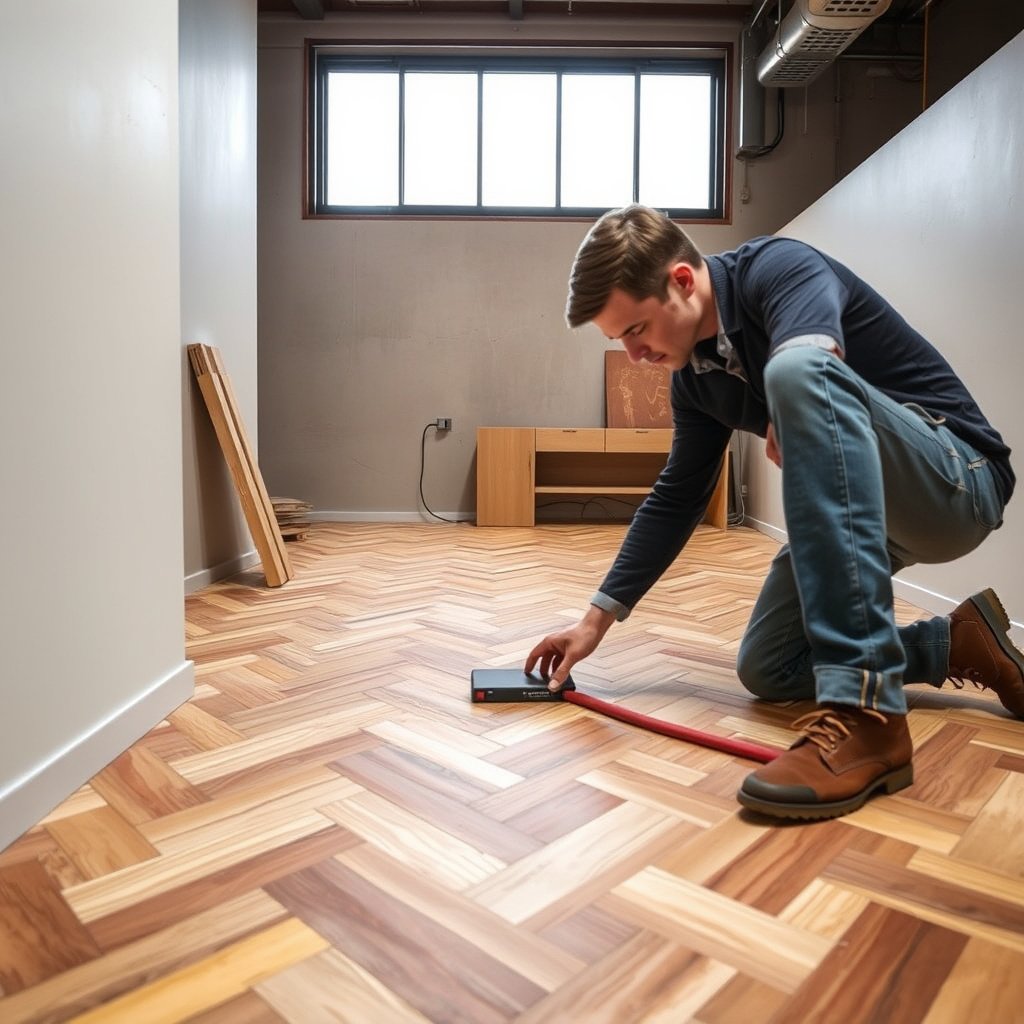
The best underlayment installation method is “flat first, then sealed seams, then trimmed edges”—because chevron amplifies any ridge you leave behind. Your goal is to create a uniform, continuous base that supports click-lock engagement while controlling moisture per the system design.
Underlayment should be placed without stretching or forcing it into corners, because tension can later pull and create wrinkles. Seam sealing is essential: an untaped seam can shift or sag, which can telegraph through thin chevron boards. For moisture control over concrete, barrier continuity depends on taped overlaps and correctly sealed cuts.
– Roll or place the underlayment flat without stretching; trim edges so it stops where the baseboard/trim will cover (don’t bunch it up under the perimeter gap).
– Tape or overlap seams exactly as directed by the underlayment brand (common approaches include butt seams with tape or plastic-lap overlaps—use the specified method).
– Seal cuts and transitions: carefully cut around doorways/columns and keep seams tight so you don’t create bumps before the chevron planks are installed.
Step-by-step: the practical build order
1) Dry-fit your underlayment direction. Even before you tape, confirm which way you want the roll seams to run relative to the chevron layout.
2) Roll and flatten. If the product has a memory curl, allow it to relax before you tape. Don’t fight it with force.
3) Trim for the perimeter gap. Stop the underlayment short of the wall line so it won’t be trapped when the floor expands.
4) Tape/overlap seams per instructions. If the underlayment specifies butt seams + tape, follow that. If it specifies an overlap/lap, do the overlap size it calls for—consistency matters.
5) Cut transitions cleanly. At doorways and around columns, cut accurately so the underlayment sits flush and doesn’t form “lips.”
Moisture barrier note (especially over concrete)
If your system requires a vapor barrier, it often takes the form of a polyethylene film. A “6-mil” film is commonly used in flooring moisture-control systems; 6 mil equals 0.006 in (about 0.15 mm), which helps conceptualize why it behaves like a membrane rather than a cushion.
What can go wrong (and how to avoid it)
The fastest way to avoid chevron underlayment problems is to eliminate the top causes of movement: wrong thickness, poor seams, wrinkles, and missing moisture controls. These issues don’t just cause noise—they can affect locking performance and make the chevron pattern look uneven.
Most chevron “imperfections” are not in the plank print—they’re in the base layer: seam ridges, wrinkles, and compressing underlayment. Underlayment that’s too thick can prevent proper click-lock engagement, which increases the chance of joint failure or uneven planks over time. Moisture barrier mismatches can cause swelling and long-term performance issues, especially on concrete slabs.
– Wrong thickness or “double padding”: too-thick underlayment can prevent proper locking and may void warranties ().
– Untaped or poorly overlapped seams: leaves gaps that can shift, sag, or telegraph through the chevron layout.
– Loose/wrinkled underlayment: even small wrinkles can become visible ridges after the pattern is installed.
– Moisture barrier mismatch: using no barrier (or the wrong barrier) over concrete or in damp areas can cause swelling, mold risk, or failure.
Pros/cons: underlayment thickness decisions
Here’s the tradeoff view many DIYers miss—thicker is not automatically better.
- Pros (thicker underlayment): can slightly improve feel and sound dampening in some systems.
- Cons (thicker underlayment): can interfere with click-lock engagement, reduce stability, and increase telegraphing risk under chevron’s visual geometry.
Verdict / tip for a solid installation
If your flooring and underlayment are compatible and your subfloor is flat, this is a straightforward step you can DIY—just follow seam taping/overlap and thickness rules from the specific product manuals. The main downside is that underlayment mistakes (seams, wrinkles, wrong thickness, missing moisture controls) can show up later as movement, noise, or visible ridges in the chevron pattern—something you’ll notice more in 2026 than on simpler straight layouts.
Skip (or get help) if your subfloor is significantly uneven, you’re dealing with known moisture issues, or your flooring warranty depends on a specific underlayment/system ().
Quick underlayment checklist (save/print)
| Step | Quick check | Done? |
|---|---|---|
| Subfloor flatness & clean surface | No debris, no high spots, repaired areas cured | ☐ |
| Underlayment compatibility | Correct type/thickness for your flooring | ☐ |
| Moisture plan (if needed) | Moisture barrier/testing matches project conditions | ☐ |
| Seams laid tight | No bunching; wrinkles removed before trimming | ☐ |
| Seam method followed | Overlap/tape exactly per underlayment instructions | ☐ |
| Perimeter gap respected | Underlayment doesn’t block expansion space | ☐ |
| Trimmed cleanly | Doorways/transitions cut neatly, no gaps | ☐ |
Sources
– ASTM moisture testing methods commonly referenced for floors (use the applicable one from your project specs): ASTM F2170 and/or ASTM F1869 ()
With the right underlayment and careful prep—flat subfloor, properly taped/overlapped seams, and correct moisture control—you’ll create a smooth base for a crisp chevron layout. Review your specific flooring and underlayment manuals, follow the seam/tape method exactly, then move on to laying the chevron planks with confidence.
Frequently Asked Questions
What underlayment is best under chevron floors?
The best underlayment for chevron floors depends on whether your chevron is glue-down, floating, or click-lock (engineered) flooring. For floating chevron floors, use an underlayment system that includes sound control and moisture protection (often a foam plus an attached vapor barrier or a separate 6-mil poly sheet where required). For glue-down chevron floors, follow the manufacturer’s guidance—many systems require no separate underlayment, or only a compatible thin moisture-control product. Always choose an underlayment rated for your flooring type and install climate conditions.
How do I install underlayment under chevron click-lock or floating floors?
Start by cleaning and leveling the subfloor so the surface is flat and free of debris; underlayment can’t fix low spots that lead to chevron floor gaps. Roll out the underlayment with the manufacturer’s side facing up, then tape seams using the recommended underlayment tape to prevent moisture migration and shifting. Fit the underlayment neatly under edges and along the perimeter, leaving the required expansion gap around walls and cabinets. Finally, install the chevron planks over the underlayment, keeping the layout straight so the pattern doesn’t drift.
Why is vapor barrier placement important when installing underlayment under chevron floors?
Vapor barriers help control moisture that can cause cupping, joint separation, odor, and mold risk beneath chevron floors. In basements, over concrete, or in humid climates, you typically need a vapor barrier—either integrated into the underlayment or installed as a separate 6-mil poly sheet. The key is to overlap seams per instructions and seal them with tape so moisture doesn’t travel through gaps. Proper vapor barrier installation also helps protect the underlayment’s performance, especially for floating chevron flooring.
How thick should the underlayment be for chevron flooring installation?
Underlayment thickness matters because too-thick foam can create springiness, which stresses the click-lock joints and can lead to squeaks or separation in a high-precision chevron pattern. Use the thickness specified by the chevron flooring manufacturer for your installation method (floating vs. glue-down) and for subfloor conditions. If your subfloor is uneven, prioritize leveling rather than compensating with thicker underlayment—flatness is crucial for straight chevron lines and consistent plank alignment. When in doubt, choose a thinner, more rigid underlayment designed for structural support.
Which mistakes should I avoid when installing underlayment under chevron floors?
Common issues include installing over a dusty or uneven subfloor, failing to tape underlayment seams, and skipping the required expansion gap at walls—any of these can cause movement, squeaks, or pattern misalignment. Avoid double underlayment layers unless the manufacturer specifically approves them, since added height can interfere with transitions and locking mechanisms. Don’t cut corners on vapor barrier overlaps and sealing, especially on concrete slabs, because moisture can undermine the entire floor system. Finally, plan the chevron layout carefully before laying planks so the seams and edges land correctly without over-stretching the underlayment.
📅 Last Updated: October 15, 2026 | Topic: How to install underlayment under chevron floors? | Content verified for accuracy and freshness.
References
- Underlayment
- Laminate flooring
- Vinyl flooring
- RFCI – Resilient Flooring Covering Institute
- https://www.armstrongflooring.com/support/flooring-installation-guides.html
- F710 Standard Practice for Preparing Concrete Floors to Receive Resilient Flooring
- https://scholar.google.com/scholar?q=underlayment+installation+vinyl+plank+floating+floor+vapor+barrier Google Scholar
- https://scholar.google.com/scholar?q=underlayment+laminate+floor+installation+recommendations+moisture+barrier Google Scholar
- https://scholar.google.com/scholar?q=engineered+wood+floor+installation+underlayment+vapor+barrier+guidelines Google Scholar