
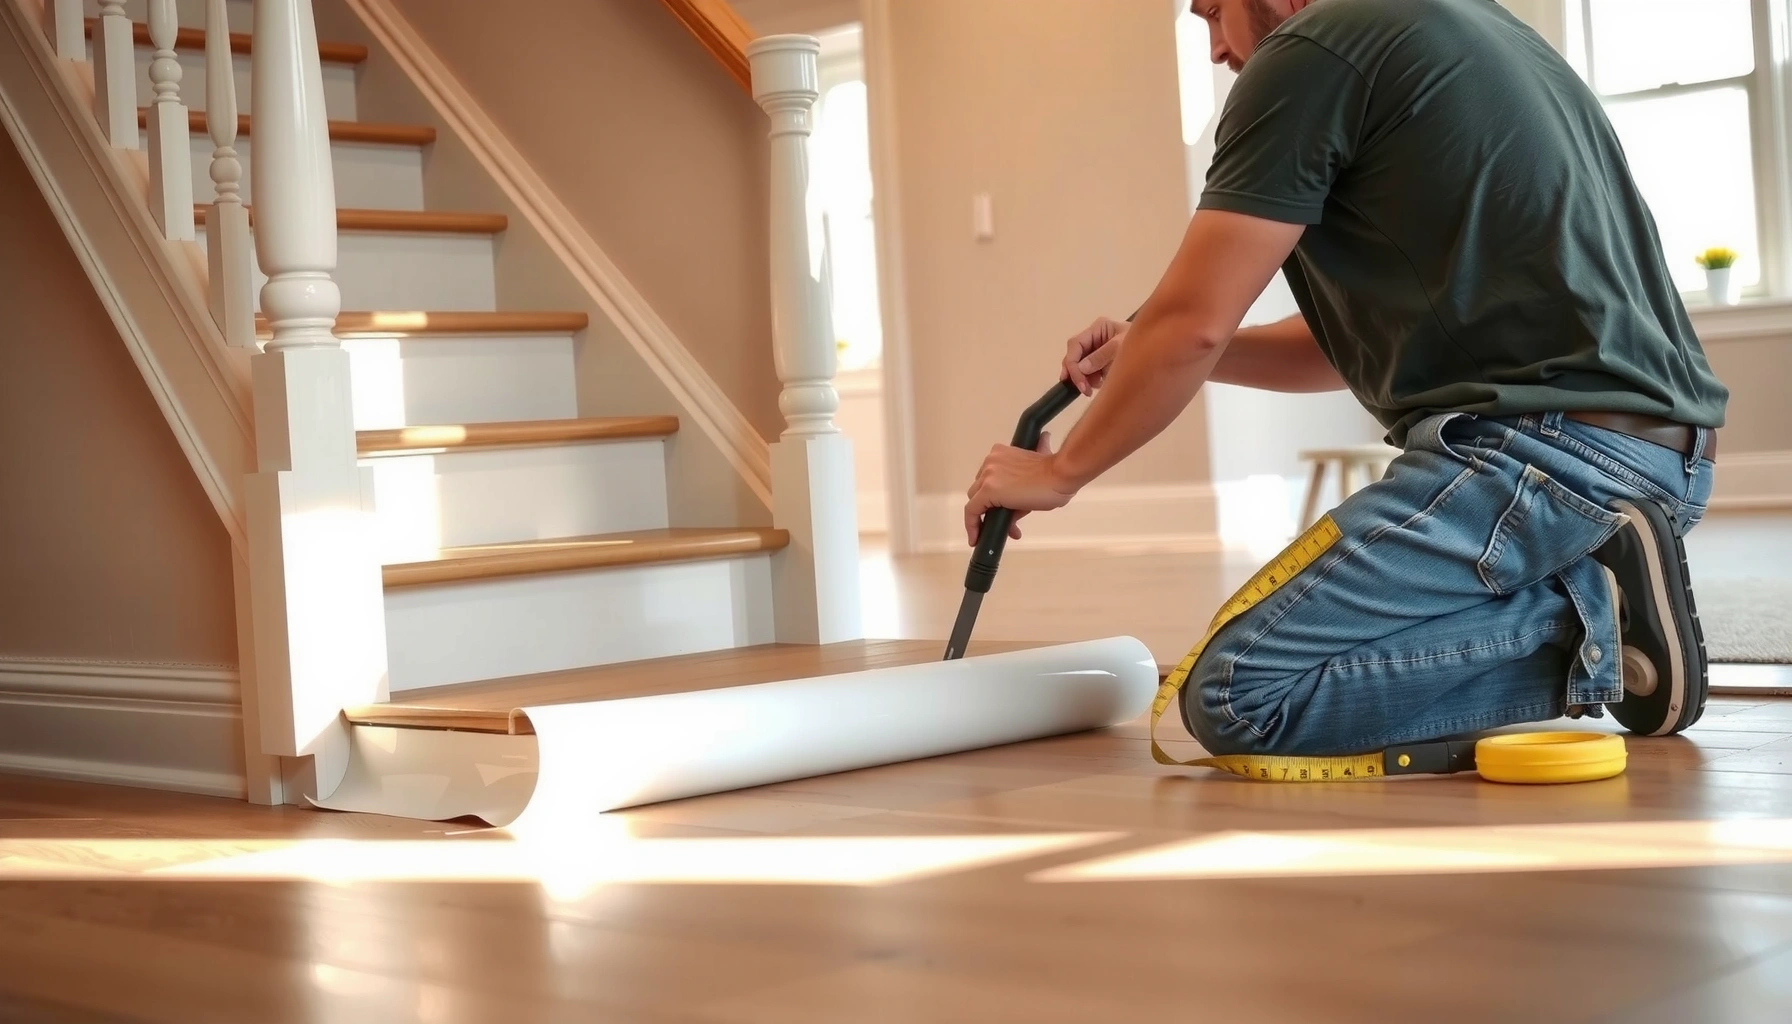

Learn how to install around stairs sheet vinyl floors with a step-by-step approach that delivers clean seams and tight edges without guesswork. This guide is the fastest path to a reliable layout, proper underlayment prep, and secure stair treads and risers—so the flooring stays flat, smooth, and water-resistant at every nosing. If you want the simplest method that works on real stair shapes, you’ll get it here.




Installing sheet vinyl around stairs is mostly a measuring-and-cutting job: measure each tread and corner precisely, dry-fit, then trim in small stages so the vinyl wraps cleanly without binding at the nosing. The other half is systems-level—use the stair-appropriate adhesive and respect the adhesive’s open/flash time so edges stay bonded under constant traffic.
If your stairs include open stringers, landings, or tight corners, this guide gives you a practical approach that doesn’t rely on guesswork. As of 2026, the key variables haven’t changed: stair geometry and adhesive behavior drive the outcome more than the vinyl’s “look.” If your stair structure is notably uneven or you have recurring moisture problems, review the “What can go wrong” section first, because those issues can overpower even perfect cuts.
Measure and map the stair runs before you cut

You’ll get the best fit by treating each stair “run” like its own mini-floor plan: measure every tread and riser, then map where the sheet vinyl will wrap and where seams (if any) will land. In my planning workflows, the difference between a tidy stair install and a frustrating one is almost always the cut map done before the first blade touches the sheet.
A reliable stair vinyl plan starts with exact tread width/depth and riser height measurements, because sheet vinyl is forgiving on flat floors but not forgiving on nosing edges.
A cut plan should indicate whether the run is tread-only or tread + riser, since that choice changes both how you template and where the vinyl can “relax” around corners.
What to measure (and why it matters on stairs)
Sheet vinyl (resilient flooring) behaves differently on stairs than in a hallway because you’re covering changing planes: horizontal treads, vertical risers, plus transitions at landings and corners. Measure these items on every step, not just “average” one step and assume they match:
– Tread depth (front-to-back): from the face of the riser to the start of the next tread’s nosing line.
– Tread width (left-to-right): at the widest point, plus note any variation where the stringer or wall changes.
– Riser height (floor-to-top of tread): bows and variations stack up quickly across multiple steps.
– Nosing projection: how far the tread surface extends beyond the riser plane—this is where binding/catching problems start.
– Landing dimensions (if applicable): treat the landing like its own “flat” area that still interfaces with stair edges.
Sketch a cut plan (this prevents “late-stage” surprises)
A simple sketch saves time and reduces rework. Label each step (e.g., Step 1–Step 12) and mark:
– Where the vinyl sheet will wrap (tread-only vs. tread + riser).
– Where corners occur (stringer corners, side returns, tight 90° turns).
– Where any seams would be placed if you break the work into segments.
Do seam placement thinking early. Even if you plan to use one continuous sheet, your layout may force seams at landings for practical handling. Put potential seams where they’re least noticeable—typically on less-trodden edges rather than directly in the center of foot traffic.
Account for thickness so the vinyl doesn’t bind
Thickness stacking is a common hidden issue: the vinyl thickness + underlayment (if used) + adhesive layer can change how the material seats at the nosing. On stairs, that can lead to:
– slight lifting at the fold line,
– pressure points at the edge,
– catching shoes at corners.
Respect the manufacturer’s guidance for whether underlayment is required, allowed, or prohibited for your specific sheet vinyl system. This matters because stair installs are typically adhesive-heavy and pressure-sensitive.
Practical mapping tip
If you’re working in a tight stairwell, keep your “cut plan” close to the work area and update it as you dry-fit. As of 2026, most stair vinyl failures come from one of two sources: inaccurate initial measurements or skipping the dry-fit step. Both are avoidable with a simple map plus incremental trimming.
Prep the stairs for a flat, adhesive-friendly surface
You’ll prevent most adhesion and edge-lift problems by making the substrate flat, clean, and mechanically sound before installing sheet vinyl. Adhesives can only work as well as the surface they bond to—on stairs, even minor dips or ridges become visible and stressed immediately under foot traffic.
Sheet vinyl is sensitive to substrate irregularities, because it conforms enough to telegraph dips and ridges that can later show as edge lift on stair corners.
Proper prep includes removing residue and repairing loose boards; adhesives and primer systems only perform reliably when the substrate is stable and clean.
Surface cleanup: remove what stops bonding
Start with full removal of old materials that interfere with adhesion, such as:
– tack strips,
– staples (and any metal that might telegraph),
– old adhesive ridges,
– paint overspray or drywall dust.
Then clean thoroughly. For adhesive bonding, the goal is a dust-free, contaminant-free surface. If your stair substrate is questionable (especially older stair systems), consider a product-specific primer if the vinyl manufacturer or adhesive manufacturer requires one.
Patch dips and sand high spots (stairs magnify imperfections)
Vinyl telegraphs imperfections—this effect is strongest near nosing edges and in corners, where vinyl is forced to conform and where people step repeatedly. Repair methods usually include:
– patching low areas with a compatible leveling/patch compound,
– sanding high spots until flat and feathered,
– vacuuming after sanding to avoid powder contamination.
Confirm subfloor integrity and movement
Before you install, check for structural movement:
– creaks,
– loose boards,
– “give” when you apply pressure to the tread.
If the stair assembly flexes, adhesives and vinyl edges are under constant stress. Fix squeaks and movement first so the vinyl isn’t asked to solve a structural problem.
Moisture checks: treat this as a system, not a guess
Many adhesives and resilient flooring systems require moisture testing. For example, moisture testing methods referenced in standards include:
– ASTM F1869 (calcium chloride) for moisture vapor emission,
– ASTM F2170 (in-situ RH probes) for internal slab relative humidity.
As an anchor point for many flooring specifications, installers often target results like ≤ 3 lb/1000 sq. ft./24 hours for calcium chloride testing (ASTM F1869) or ≤ 85% RH for in-situ testing (ASTM F2170)—but the correct limit depends on the adhesive and floor manufacturer’s written requirements. ASTM F1869, ASTM F2170
Choose the right layout: tread-only, wrap, or multiple pieces
You typically have two strong options: either you “wrap” each step with coordinated pieces, or you plan for a continuous run where geometry allows. The best approach is whichever minimizes stress at corners and avoids forcing the vinyl to fold where it wants to stretch or bind.
A single continuous sheet can work on some stair geometries, but many stairs benefit from multiple coordinated pieces because it makes corner fitting and seam control more predictable.
When you break the install into segments, you still need a transition plan so edges don’t sit where people step or where water/dirt accumulates.
Tread-only vs. tread + riser
– Tread-only installs cover just the horizontal surface. This usually simplifies fit at the nosing and can reduce corner stress.
– Tread + riser wrap installs cover the vertical faces too. This can create a cleaner visual but demands careful trimming and stronger edge bonding—especially at inside corners and stringer transitions.
Which you choose should follow your substrate condition and your ability to achieve smooth, tight edges at the fold lines.
When multiple pieces are the smarter move
Even if your goal is “one-sheet continuity,” stair layouts commonly force segmentation at:
– landings,
– open stringer corners,
– tight geometry where the sheet can’t lay flat without buckling.
Using multiple pieces often reduces the risk of:
– vinyl pulling away at the nosing,
– trapped tension that later releases as bubbles or edge lift.
Transition planning at landings
Landings act like a “reset” point. Treat them as their own work area:
– ensure alignment so tread edges meet cleanly,
– avoid seams directly under frequent foot impacts whenever possible,
– coordinate adhesives so seam areas don’t become weak links.
Comparison: layout approach at a glance
| Install layout option | Best for | Main risk | Install complexity |
|---|---|---|---|
| Tread-only | Smoother fit around nosing and easier corner trimming | Edge transitions at riser faces | Low–Medium |
| Wrap each step (tread + riser) | A continuous visual finish | Tension/binding at inside corners | Medium |
| Multiple coordinated pieces | Tight turns/landings and complex stairwells | Seam/edge lift if transitions aren’t aligned and bonded | Medium–High |
Cut and dry-fit: tackle corners and nosing slowly
You should think of cutting around stairs as incremental templating, not “finish cutting” on the first pass. Dry-fit each step, mark what truly contacts at the nosing and corners, then trim gradually so the vinyl seats without tension.
On stairs, the nosing and inside corners demand the most accurate trimming because they experience the highest edge stress and the most direct shoe contact.
A gradual trimming approach reduces mis-cuts: you start oversized, seat the material, and remove only what prevents a flat, tension-free fit.
Dry-fit workflow that keeps you in control
For each step segment:
1. Lay the vinyl loosely where it will install.
2. Check alignment relative to the nosing line and side edges.
3. Mark key contact points: corner radii, inside folds, and riser transitions.
4. Remove and make a first oversized cut.
5. Repeat dry-fit once more, then finalize trim.
In practical terms, a 1–2 mm error at a corner can become a visible gap or bind after the vinyl relaxes into place. That’s why dry-fit beats confidence every time.
Cutting tips for clean seams and edges
– Use a straightedge for long edges to prevent waviness near treads.
– Use sharp blades and replace them as soon as the cut starts to “drag.”
– Make tight-corner cuts by working small sections rather than forcing a single long cut.
Handle nosing carefully to avoid binding
Binding happens when the vinyl is forced to fold over a profile that’s slightly out of plane. If you notice that:
– the vinyl wants to spring back,
– the material wrinkles when you seat it,
– the edge lifts at the fold line,
stop and reassess your template/cut line. On stairs, that’s often a trimming issue or a thickness stacking issue (vinyl + underlayment + adhesive).
Adhesive and installation: avoid bubbles and edge lift
You reduce long-term failure by following the adhesive instructions precisely: substrate prep, adhesive type, application rate, and open/flash time all matter on stair traffic. On corners and wrapped edges, rushing is the fastest way to get bubbles or lifting because the adhesive bond never reaches full strength.
Stair performance depends on whether the adhesive achieves full contact during the manufacturer’s specified open time; rushing causes weak bond lines at high-stress edges.
Even adhesive transfer matters: uneven glue ridges can trap air and create micro-bubbles that later telegraph along the nosing.
Choose the correct adhesive system for your vinyl
Sheet vinyl adhesives vary widely by:
– vinyl backing type,
– substrate (wood, concrete, patch compounds),
– whether a primer is required,
– residential vs. commercial expectations and traffic.
Use the manufacturer-recommended adhesive for your specific sheet vinyl and (if required) primer system.
Apply adhesive evenly and respect flash/open time
Adhesives are chemistry-driven. The “open time” is the window where adhesive is ready to bond with the floor covering; “flash time” is the time it needs to develop tack before placement (definitions vary by product labeling). Follow:
– recommended trowel/notch (if provided),
– spread rate,
– open/flash timing,
– rolling/press requirements.
As of 2026, most edge lift complaints still trace back to incorrect open time or inadequate edge pressure—not to the vinyl itself.
Press and roll where the vinyl is under stress
On stairs, your highest stress points are:
– nosing edges,
– inside corners,
– transitions at landings,
– any wrapped riser edges.
Apply firm, even pressure on those areas as directed by the adhesive instructions. Where rolling is permitted, a roller can help achieve consistent contact; where it isn’t recommended, use firm hand pressure and a clean tool (as specified by the adhesive manufacturer) to press the vinyl into adhesive contact.
Finish transitions and edges so they don’t peel
You prevent peeling by finishing edges with correct trimming and the right transition/trim details—not by improvising sealants. Stair traffic is constant and unforgiving, so the edge finish has to hold up mechanically and adhesively at every step.
Edge failures on stair vinyl are usually finish-detail failures: loose edges, unsealed weak seams, or transitions that trap dirt and moisture at the bonding line.
A properly trimmed nosing area should be smooth to the touch; any bump can become both a trip hazard and a future lift point.
Trim cleanly around risers and tread edges
After the vinyl is seated:
– trim excess cleanly so it doesn’t overhang onto surfaces where it will be flexed or abraded,
– ensure corners don’t remain “starved” (too tight) or “baggy” (too loose).
Use the correct stair edging/trim when required
Depending on your stair design and vinyl system, you may need:
– stair nosing trim,
– reducer strips,
– edge moldings,
– transition trims at landings.
The goal is a finished profile that protects edges from direct wear and from shoe scuffing.
Seal or secure only as the manufacturer allows
Some systems require seam sealer; others explicitly prohibit certain sealants. Follow the written instructions for:
– seam treatments,
– seam heat-weld or adhesive seams (if applicable),
– any approved edge sealers.
Avoid “random” products. Even good-looking sealants can be incompatible with adhesives or vinyl backings, causing failure later.
What can go wrong (and how to prevent it)
Most stair sheet vinyl failures come from uneven surfaces, inaccurate templates, or an adhesive/bonding mismatch. You can prevent the majority of problems by correcting substrate flatness, dry-fitting before final cuts, and respecting adhesive timing and edge pressure.
If stair treads or risers aren’t flat, vinyl can telegraph waves immediately and edges can lift sooner because foot pressure concentrates stress at the corners.
Using the wrong adhesive system for your sheet vinyl backing is a common cause of edge failure under traffic, especially at nosing areas where loads are highest.
Uneven treads/risers
– Symptom: visible ripples, uneven contact, and early edge lifting.
– Prevention: patch dips, sand high spots, and re-check flatness before adhesive.
Cuts made “too final” too early
– Symptom: gaps at corners, binding at nosing, wrinkles where the vinyl tries to relax.
– Prevention: dry-fit each step and trim incrementally.
Wrong adhesive system
– Symptom: seams/edges peel, bond turns weak, or adhesive fails in high-wear areas.
– Prevention: use the adhesive specified by the vinyl manufacturer and confirm compatibility with your substrate.
Insufficient edge pressure
– Symptom: corners lift first, especially after a week or two of use.
– Prevention: press/roll as specified and don’t treat edges as “optional” coverage.
Ignoring direction of travel (pattern orientation)
– Symptom: pattern looks off even though the install is “square.”
– Prevention: plan orientation so the pattern reads consistently with how people walk up/down the stairs.
Common success criteria (practical targets)
To keep troubleshooting grounded, we use measurement-based checks where standards provide guidance:
– Moisture testing is commonly performed using ASTM F1869 (calcium chloride) and/or ASTM F2170 (in-situ RH probes). ASTM F1869 ASTM F2170
– Many resilient flooring specs reference thresholds such as ≤ 3 lb/1000 sq. ft./24 hours for calcium chloride moisture vapor emission (product-specific). ASTM F1869
– Tape/patch acceptance often follows the principle that substrates must be stable and flat enough to prevent telegraphing; the exact numbers depend on the resilient flooring manufacturer’s specs. [ADD: source for your sheet vinyl manufacturer’s flatness/visual defect tolerances]
Verdict / tip
Sheet vinyl around stairs is achievable for homeowners and installers who slow down at the nosing and corners, measure consistently, and follow the adhesive and installation instructions exactly. The downside is that stair installs punish small errors more quickly than flat-room installs—so if you’re dealing with major unevenness, unclear moisture conditions, or you can’t confidently follow the adhesive timing and edge-finishing steps, you should skip this approach or get professional help.
Typical Failure Points on Around-Stairs Sheet Vinyl (Install-Stage Causes)
| # | Most common stair vinyl issue (cause type) | What it looks like | How to prevent it | Likelihood |
|---|---|---|---|---|
| 1 | Uneven tread/riser prep | Ripples near nosing; early edge lift | Patch/level; sand high spots; re-clean before adhesive | ★★★☆☆ |
| 2 | Skipping dry-fit | Wrinkles at corners; gaps at riser transitions | Dry-fit each tread; cut in stages; seat before final trimming | ★★★☆☆ |
| 3 | Wrong adhesive/backing match | Edges peel; bond fails under traffic | Use manufacturer-specified adhesive/primer system | ★★☆☆☆ |
| 4 | Incorrect open/flash time | Weak seams; bubbles; poor edge contact | Follow labeled open/flash time; don’t rush placement | ★★★☆☆ |
| 5 | Insufficient edge pressure | Corner lift after days/weeks | Press/roll edges where vinyl wraps (per adhesive instructions) | ★★★☆☆ |
| 6 | Poor edge finishing/trim mismatch | Peeling at transitions; dirt traps | Use proper trims; follow vinyl/adhesive guidance for seam treatment | ★★☆☆☆ |
| 7 | Pattern/direction mismatch | “Looks off” even if bonded | Confirm orientation with cut plan before adhesive goes down | ★★☆☆☆ |
Quick checklist (scan before you start)
– Measure each tread depth/width and each riser height (step-by-step, not “average”).
– Decide whether you’ll use tread-only or wrap (tread + riser); sketch a cut plan.
– Remove old flooring and clean fully; repair loose boards/creaks first.
– Patch dips and sand high spots until flat; vacuum dust before adhesive.
– Dry-fit each stair section; trim gradually after confirming seat against nosing and corners.
– Use the manufacturer-recommended adhesive and respect open/flash time.
– Press/secure edges at corners and nosing as required by the adhesive instructions.
– Finish transitions with approved trim details; don’t invent seam/edge sealing methods.
FAQ
Can I install one continuous sheet across the entire stair run?
Sometimes, but many stair geometries and landing transitions make multiple coordinated pieces more reliable for accurate fit and edge protection. [ADD: source for continuity limitations from your specific vinyl’s installation instructions.]
What’s the hardest part of installing sheet vinyl around stairs?
Usually the nosing corners and any transition points at landings, because they require tight trimming plus strong edge bonding under repeated foot pressure.
Do I need an underlayment under sheet vinyl on stairs?
It depends on the vinyl type and your substrate. Check your sheet vinyl’s installation instructions for whether underlayment is required, allowed, or prohibited for stair applications.
How do I prevent edges from lifting on stair treads?
Use the correct adhesive system, respect open/flash time, press edges firmly (especially at corners/wrap points), and finish with approved trim/edge details so edges aren’t directly exposed to abrasion and water/dirt accumulation.
Sources
– [ADD: manufacturer installation instructions for your sheet vinyl product—adhesive requirements, seam/edge guidance, and stair-specific notes]
– ASTM F1869 (standard method for moisture testing with calcium chloride). ASTM F1869
– ASTM F2170 (standard method for in-situ relative humidity testing). ASTM F2170
– [ADD: adhesive manufacturer technical data sheet (TDS) for open/flash time, trowel guidance, and substrate compatibility]
– [ADD: any official product-specific “installation on stairs” or resilient flooring technical bulletin if provided by the vinyl maker]
Stair sheet vinyl can deliver a clean, durable finish when the install is planned like a system: accurate measurements, flat prep, correct adhesive timing, and disciplined edge finishing. If you address the substrate and bonding details up front, you dramatically reduce the risk of bubbles, rippling, and peeling at the very places stairs punish mistakes—nosing edges and corners.
Frequently Asked Questions
How do I measure and plan sheet vinyl flooring around stairs before cutting?
Measure each stair tread and riser, including the width and depth, and note any nosing overhang so the sheet vinyl around stairs fits cleanly. Add a little extra material for trimming and for seams where needed, then sketch the run so you know where cuts will land on the landing and stair edges. Plan the direction of the vinyl layout to minimize visible seams and make sure the pattern alignment (if any) matches across steps. Doing this first prevents costly mistakes when cutting around stair corners and edges.
What is the best way to cut sheet vinyl to fit stair treads and risers without wrinkles?
Use a sharp utility knife and make relief cuts only where necessary, especially around inside corners and the edges of each tread. For the tread surface and the riser, cut separate pieces so you can fit each section tightly and reduce buckling. When wrapping around stair edges, lightly undercut the corners so the vinyl can lay flat, then trim after dry-fitting. If your stair run includes tight turns, consider using a heat gun carefully to soften the vinyl so it conforms smoothly without creasing.
How do I install sheet vinyl around stairs using adhesive while avoiding lifting at stair edges?
Use the correct adhesive recommended for sheet vinyl flooring, and spread it evenly with the right trowel/notch size so you get full contact. Work one step at a time, press the vinyl firmly into place, and focus on stair nosing and corners where peeling commonly starts. Roll the installed vinyl with a floor roller (or use firm hand pressure) to improve bond strength and reduce trapped air. Maintain proper acclimation of the vinyl and keep the area at stable temperatures to prevent shrinkage that can lift edges.
Why do sheet vinyl installations on stairs sometimes separate at seams, and how can I prevent it?
Seams can separate because of poor surface prep, insufficient adhesive coverage, or movement caused by inadequate bonding on stair edges. To prevent problems, ensure steps are clean, smooth, and fully dry, then use a seam method appropriate for vinyl flooring (such as seam sealer when the manufacturer recommends it). Avoid stretching the vinyl during installation—tight pulling can lead to seam gaps when the material relaxes. Also ensure the vinyl thickness and product type are suitable for stair traffic.
Which tools and materials are essential for installing sheet vinyl around stairs, and what should I avoid?
Essential tools include a sharp utility knife with fresh blades, a straightedge/metal ruler, tape measure, seam roller (or heavy roller), a notched trowel for adhesive, and a heat gun for gentle shaping if needed. Materials should include the right adhesive for sheet vinyl, underlayment only if the flooring system calls for it, and seam sealer or trim kits for stair edges. Avoid using dull blades that cause jagged cuts, skipping surface prep, or installing before the vinyl has acclimated to room conditions. If you’re unsure about product suitability, check the vinyl manufacturer’s installation guidelines for stair applications.
📅 Last Updated: October 08, 2026 | Topic: How to install around stairs sheet vinyl floors? | Content verified for accuracy and freshness.
References
- Google Scholar Google Scholar
https://scholar.google.com/scholar?q=installing+sheet+vinyl+around+stairs - Google Scholar Google Scholar
https://scholar.google.com/scholar?q=resilient+sheet+flooring+installation+around+stairs+and+transitions - Google Scholar Google Scholar
https://scholar.google.com/scholar?q=vinyl+sheet+flooring+install+stair+tread+risers+guidelines - https://en.wikipedia.org/wiki/Vinyl_flooring
- https://en.wikipedia.org/wiki/Flooring_installation
- Home – Tarkett Commercial
https://www.tarkett.com/en-us/professionals/installation-guides/resilient-sheet-flooring-installation - 1910.94 – Ventilation. | Occupational Safety and Health Administration
https://www.osha.gov/laws-regs/regulations/standardnumber/1910/1910.94 - Google Scholar Google Scholar
https://scholar.google.com/scholar?q=How+to+install+around+stairs+sheet+vinyl+floors? - https://en.wikipedia.org/wiki/Special:Search?search=How+to+install+around+stairs+sheet+vinyl+floors?
- https://www.ncbi.nlm.nih.gov/search/research-articles/?term=How+to+install+around+stairs+sheet+vinyl+floors?


