
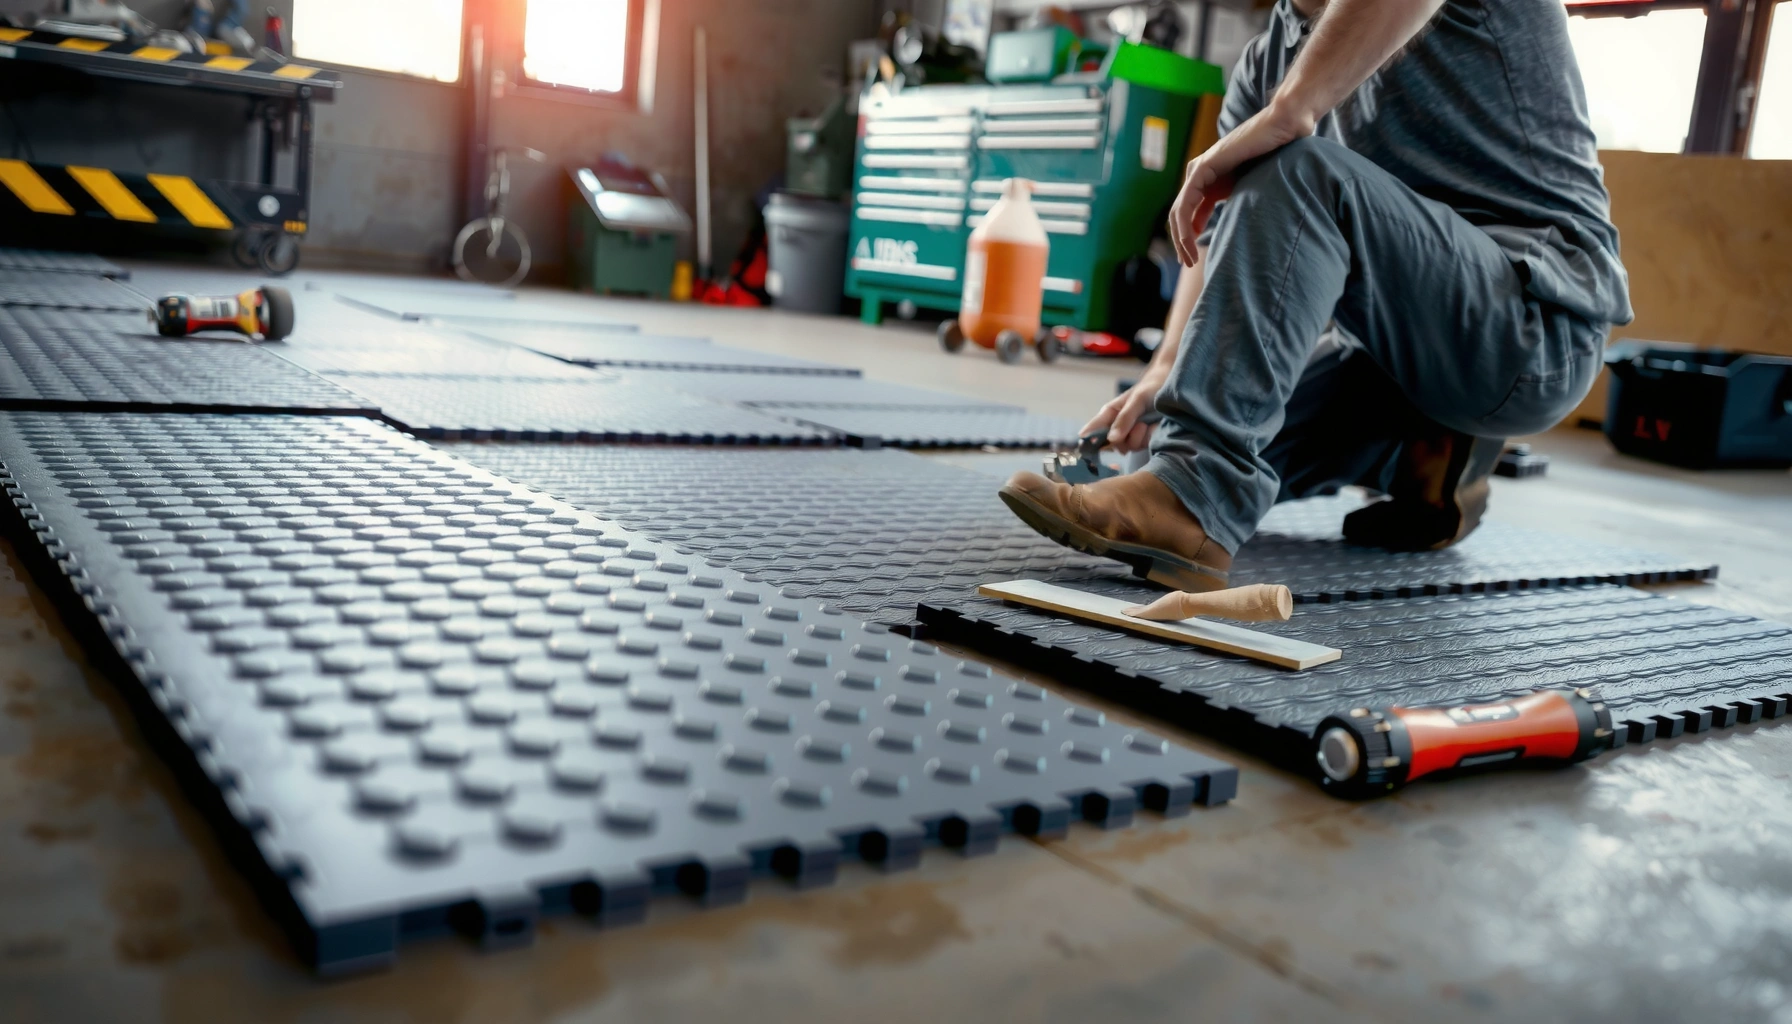

Replacing rubber floors doesn’t have to be guesswork: follow this step-by-step guide to remove old material, prep the subfloor, and install new rubber flooring cleanly and securely. You’ll get the right order of operations, the tools and materials to have on hand, and the checks that prevent bubbles, gaps, and premature wear. If you want a faster, lower-risk replacement with a professional finish, this is the process to use.




If your rubber floor is worn or damaged, the fastest, cleanest replacement is to remove the old flooring down to the proper subfloor, prep the surface thoroughly, then install new rubber using the correct adhesive or interlocking method for your type. This guide walks you through planning the job, removing the old material, preparing the subfloor, and laying the replacement so it looks right and wears well. You’ll also learn what commonly goes wrong (and how to avoid it) before you start.
If you’re replacing a small section (like a gym zone) or refreshing an entire room, this is for homeowners, DIY renovators, and facility managers who want a practical workflow. It’s especially relevant if your existing rubber floor is rolling sheet/rubber tiles and you need a reliable way to transition edges, avoid bubbles, and get good seams.
Choose the Right Replacement Type (Sheet vs. Tiles vs. Planks)
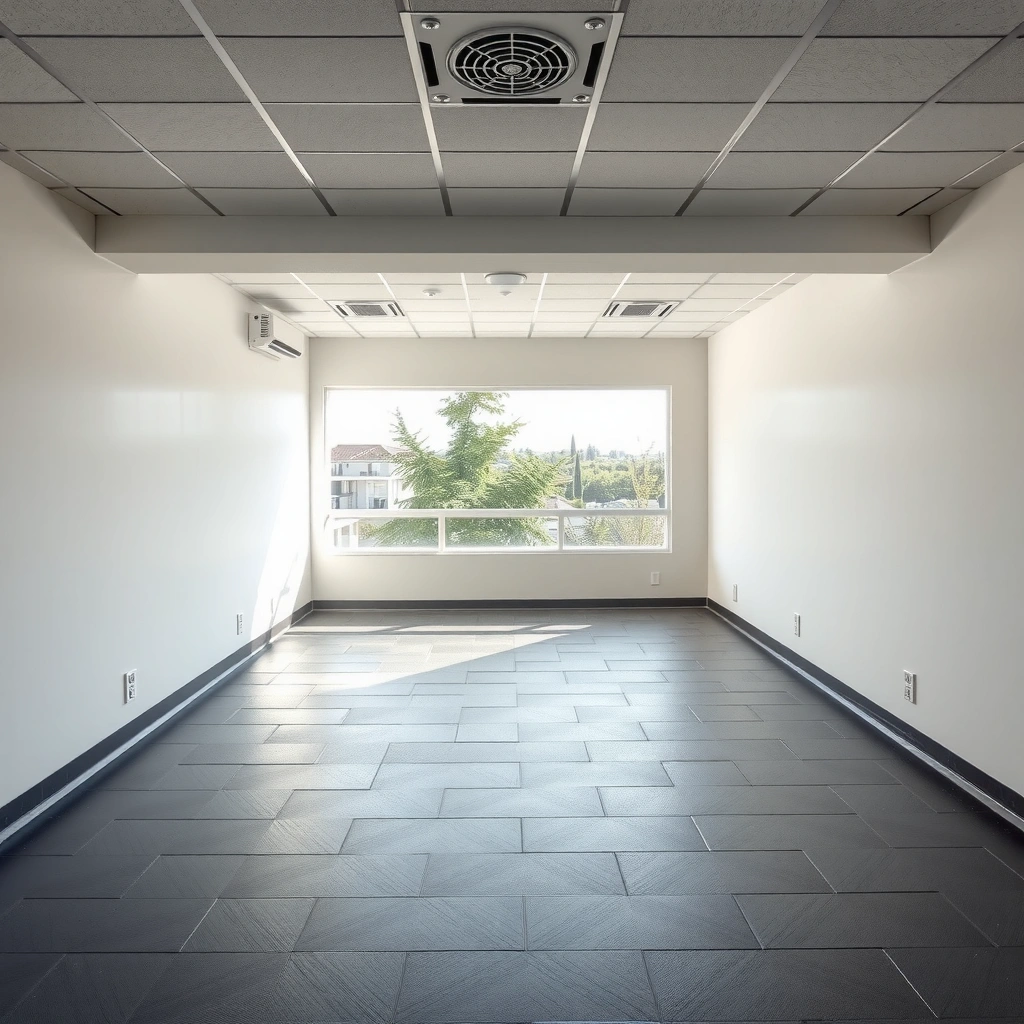
The right replacement method depends on whether your existing rubber is glued-down sheet, loose-installed tiles, or an interlocking system. Once you match the replacement type to the installation system (adhesive vs. mechanical/interlocking), the rest of the job becomes much more predictable.
– Confirm whether your current floor is rubber sheet, rubber tiles, or interlocking planks/tiles, because installation method changes the prep and adhesives.
– Match the thickness and underlayment/subfloor compatibility as closely as you can to prevent unevenness and premature wear.
– Check the product instructions for whether it requires adhesive, double-sided tape, or a floating/interlocking system.
Rubber flooring installation requirements are product-specific; manufacturers typically require matching adhesive type, trowel size, and open/working time for glued-down systems.
Interlocking rubber (floating/mechanical) systems generally avoid permanent adhesive bonding to the subfloor, which changes how you handle subfloor flatness and edge transitions.
For resilient flooring, flatness matters because subfloor irregularities can telegraph through the rubber and concentrate stress at seams.
Sheet rubber (glued-down) vs. rubber tiles (often glued-down too)
Sheet rubber is installed in larger continuous sections, which can reduce seam count but increases the importance of surface prep and roll/press technique. Rubber tiles are usually easier to replace in sections; however, tile seams and the adhesive system still require correct coverage to prevent lifting.
Interlocking planks/tiles (floating systems)
Interlocking rubber is typically tolerant of minor temperature changes and reduces adhesive-related variables. Still, the subfloor must be clean and adequately flat, and you must follow the locking/joint details to prevent edge lift over time.
Thickness and subfloor compatibility
Even small mismatches in thickness can create trip hazards at doorways or transitions, and they can change how joints behave under rolling loads (treadmills, carts, carts with casters). If you’re replacing only part of the floor, plan transitions early—don’t assume you can “blend” thickness later with just trim.
According to the Resilient Floor Covering Institute (RFCI) Recommended Work Practices for the Installation of Resilient Flooring, resilient flooring installations depend on achieving recommended subfloor flatness so the new resilient layer can perform as intended. (See also manufacturer specifications for your exact product.)
Remove the Old Rubber Flooring Safely
The replacement job starts with controlled removal: protect the perimeter, avoid gouging the subfloor, and remove all loose and failing material so the new rubber can bond or lock correctly. If you leave contaminated adhesive, paint, or debris, the most expensive part of the floor installation can fail quietly.
– Clear the room, protect walls/edges, and remove trim so you can work close to the perimeter without tearing finishes.
– Score and peel rubber sheet carefully or remove tiles one section at a time to reduce subfloor damage.
– Scrape off remaining adhesive residue and avoid gouging the subfloor—how aggressive you can be depends on what the subfloor is (wood, concrete, etc.).
When removing resilient flooring, you still need a clean, sound subfloor; loose material or adhesive contamination can prevent proper bonding or result in bond failure.
For sheet goods, careful scoring before pulling helps reduce the risk of tearing the underlayment or damaging plywood/subfloor.
Removing resilient flooring residue requires controlling tools and technique based on whether the subfloor is concrete or wood/plywood.
Protect the room and work to the perimeter
Before you touch the rubber:
1. Remove baseboards/quarter round (or at least loosen them) so you can get clean edges.
2. Mask door casings and wall edges if you’ll reuse trim.
3. Plan dust control. Rubber + old adhesive removal creates fine particulates—use containment and appropriate PPE.
Remove rubber sheet: score, then peel
For glued-down sheet:
– Use a sharp utility knife or scoring tool to cut sections rather than trying to pry up an entire area at once.
– Peel back slowly to reduce tear-through and subfloor damage.
– If the sheet tears, keep scoring deeper until you reach a manageable layer boundary.
Remove rubber tiles: work in sections
For tiles:
– Start at an edge and remove tile by tile (or small clusters).
– Stop when you reach areas where the adhesive is still well-bonded—then switch to residue removal methods appropriate for your subfloor type.
Residue removal: scrape gently, then follow the “bond surface” rule
The goal is not “cosmetic smoothness”—it’s a surface that can bond. Aggressive scraping can damage concrete (creating pits) or cut into plywood. When in doubt, follow the adhesive manufacturer’s prep instructions for residue type and allowable surface conditions (for example, whether certain adhesive types require full removal vs. cleaning-through).
Prep the Subfloor for a Flat, Clean Base
Prep is where replacements succeed or fail. Your target is a subfloor that is clean, sound, and flat—with no dust, oil/paint contamination, or loose patches that undermine bonding or joint integrity.
– Clean thoroughly: remove dust, grit, and any remaining sealants/contaminants that can interfere with bonding.
– Fix uneven spots (highs/lows) so the new rubber doesn’t telegraph bumps or create weak seam areas.
– Dry-fit layout lines first if you’re using sheet/tile patterns, so your cuts and seams land where they’ll look clean.
Resilient flooring installations are sensitive to subfloor contamination and unevenness because these conditions can lead to adhesive bond failure, bubbles, and premature seam lifting.
Achieving recommended subfloor flatness helps prevent telegraphing through resilient materials under rolling and point loads.
Dry-fitting layout lines before cutting helps manage seam placement so joints don’t land where foot traffic is highest or where door transitions will stress edges.
Clean first, then inspect
A reliable workflow:
1. Vacuum thoroughly (use a HEPA vac if available).
2. Remove dust/grit using a clean, lint-free method compatible with the subfloor.
3. Check for contaminants: paint overspray, curing compounds, drywall mud, adhesive “chunks,” or oil.
Leveling/flatness: follow industry guidance and the flooring spec
A very common target used in resilient flooring prep is flatness within 1/8 inch over 6 feet or 3/16 inch over 10 feet (verify against your project’s resilient flooring standard and the manufacturer’s requirements). According to the Resilient Floor Covering Institute (RFCI) Recommended Work Practices, installers should address uneven subfloors to minimize risk of irregularities telegraphing through resilient materials.
For many resilient floor installations, industry guidance calls for correcting subfloor irregularities that exceed specified flatness tolerances to reduce seam stress and post-install defects.
Patch repairs, then re-check
– Fill low spots with an appropriate patch/leveler rated for your subfloor.
– Sand high spots carefully and remove dust afterward.
– Confirm flatness again before you lay rubber.
Dry-fit the layout (especially for sheet transitions and tile grids)
Dry-fit so seams and end joints land:
– away from the “centerline” of heavy traffic when possible,
– so cut edges don’t become the thinnest or most flexible points at doorways,
– where trim can properly secure edges.
Install New Rubber Floors (Follow Your Flooring System)
New rubber should go down only after you confirm you have the correct installation method, materials, and conditions. This section is where most “almost right” DIY installs break—usually due to adhesive mismatch, wrong coverage, or skipping required rolling/pressing steps.
– If it’s glued-down, apply adhesive per the manufacturer’s guidance (trowel type/coverage and proper open/setting time matter).
– For tiles/planks, align edges carefully and use the recommended spacing and seam pattern so transitions stay tight.
– Roll/press as instructed (rubber often benefits from correct pressure and dwell time) to reduce lifting and bubbles.
For glued-down resilient flooring, manufacturers typically require specific adhesive trowel notches/coverage rates and respect for open time to achieve proper bond strength.
Proper seam alignment and adherence to joint/spacer instructions help prevent visible gaps and reduce the chance of joint edge lift.
Rolling or pressing resilient flooring, when specified by the manufacturer, can reduce trapped air and improve adhesion contact.
Glued-down sheet: adhesive control is the difference-maker
1. Follow adhesive instructions exactly (trowel type, spread rate, and open time).
2. Stage the sheet so you can place it without stretching or trapping air.
3. Work from a consistent direction; avoid sliding that smears adhesive where you don’t want it.
Roll/press: Use the manufacturer’s recommended roller/pressure guidance. Rubber can trap air if you “lay and hope.”
Glued-down tiles: keep your grid consistent
– Maintain the specified spacing (if the system uses it).
– Stagger joints if the product requires a pattern.
– Don’t “force” tiles together—use the right cutting and alignment so you don’t create micro-gaps that show up later.
Interlocking systems: prioritize edge integrity
For floating/interlocking:
– Start with a straight reference line and verify it often.
– Manage transitions early—floating edges can shift slightly if the perimeter is not properly detailed.
– Use recommended underlayment (if required) and follow locking directions precisely.
Edge Details, Transitions, and Rolling/Finishing
Edges are where water, dirt, and flex loads concentrate—so finishing details are not optional. Plan perimeter trims and doorway transitions before your last few rows/tiles so you can lock down the floor correctly.
– Plan perimeter and doorway transitions with the right trim/threshold so edges don’t peel or curl.
– For seams, use the recommended approach (some systems require seam rollers or specific joint techniques).
– Allow time for curing/settling before heavy traffic—follow the flooring manufacturer’s stated timeline.
Resilient flooring failures near edges and seams commonly trace back to improper perimeter detailing, insufficient curing time, or inadequate joint/roll steps during installation.
Doorway transitions often experience flex and traffic stress; using the correct threshold/trims helps protect the seam line from lifting.
Many adhesive-backed resilient installations require a defined cure/traffic timeline before the floor is exposed to rolling loads or heavy use.
Perimeter finishing
– Use the recommended baseboard/trim system (or edge profiles) that supports the flooring thickness.
– If the product specifies an expansion gap (floating systems), maintain it—don’t eliminate gaps to make edges “fit tight.”
Seam and joint finishing
If your system calls for:
– seam roller passes,
– specific joint techniques,
– extra dwell time,
…follow them. Seam corrections after cure are harder and often cosmetic only.
Curing time and early traffic
Avoid furniture dragging and high-traffic use until the adhesive fully cures (or the floating system stabilizes). If the manufacturer’s instructions are missing or unclear, that’s a signal to pause and confirm the correct timeline before proceeding.
According to RFCI Recommended Work Practices, adhering to manufacturer installation and cure recommendations helps reduce post-install defects such as lifting and bubbling.
Flatness Targets Used in Resilient Flooring Prep (Industry Guidance)
| # | Flatness Check Method | Common Tolerance | Why It Matters | Risk Signal |
|---|---|---|---|---|
| 1 | Straightedge (6 ft span) | ≤ 1/8 in | Prevents telegraphing through rubber | Low |
| 2 | Straightedge (10 ft span) | ≤ 3/16 in | Reduces seam stress and lifting | Low |
| 3 | Moisture-aware substrate review | Verify within adhesive spec | Prevents bond failure and bubbling | High |
| 4 | Residue/contaminant removal check | No loose debris | Improves adhesive contact | Medium |
| 5 | High spot sanding control | Feathered edges | Avoids hard “lumps” under rubber | Low |
| 6 | Patch cure/strength verification | Meets patch spec | Prevents hollow spots | Medium |
| 7 | Clean install environment | Dust-free surface | Reduces bond weakening | Medium |
What Can Go Wrong (Common Replacement Mistakes)
The most common rubber floor replacement problems come from skipping prep steps—especially moisture, flatness, and adhesive matching. Fixing these issues early is cheaper than lifting cured sections later.
– Poor subfloor prep: debris, moisture issues, or unevenness are the most frequent reasons for bubbles, gaps, and early lifting.
– Adhesive mismatch: using the wrong adhesive (or wrong spread amount) for your specific rubber product can prevent proper bonding.
– Skipping acclimation/room conditions: temperature and humidity can affect installation performance; check the flooring instructions.
– Bad seam/edge planning: starting with awkward layout cuts can leave visible seam lines or weak transitions in high-traffic areas.
Bubbles in glued-down resilient flooring often indicate trapped air or insufficient adhesive contact, which can be worsened by incorrect adhesive application or poor surface cleaning.
Using an adhesive that doesn’t match the flooring manufacturer’s instructions can prevent bond strength and increase the likelihood of edge lifting.
Most manufacturers require installation within specific temperature/humidity ranges; ignoring them can affect curing performance and joint behavior.
Quick comparison: “symptom → likely cause → what to do”
| Symptom | Likely Cause | Best Fix Path |
|---|---|---|
| Edges curling or lifting | Cure time skipped, perimeter not detailed, or adhesive coverage missed | Confirm cure timeline, reinstall edge trim/threshold correctly |
| Bubbles under sheet/tile | Trapped air, contaminated subfloor, or incorrect adhesive open time | Identify affected area, remove and re-adhere using correct system |
| Gaps at seams | Cut/layout errors, spacer/joint method not followed | Re-align tiles/planks per spacing guidance; replace if joints are stressed |
| “Humps” telegraphing | Uncorrected high spots or unfilled lows in the subfloor | Remove affected section, level/patch, then reinstall |
Moisture and subfloor compatibility are not “optional”
Even if the floor looks fine today, moisture can undermine adhesive bond and cause bubbling or debonding. If you have any doubt about moisture conditions, test or confirm with the adhesive and flooring manufacturer’s moisture requirements—often these are tied to adhesive performance and substrate type.
Seam/edge planning mistakes
Starting with a “leftover strip” at a doorway is a common layout error. Door thresholds create frequent flex cycles. If your transition area ends up as an exposed thin edge or an awkward seam line, expect lift risk and visible wear.
Verdict: When DIY Replacement Works (and When to Skip)
DIY replacement is a solid option if you can identify your rubber type, access the subfloor, and follow the manufacturer’s install and cure steps closely—especially for tiles in a contained area. However, skip DIY (or at least get professional help) if you suspect moisture problems, the subfloor is badly damaged, or you’re dealing with a complex adhesive system you can’t confidently match.
Quick checklist:
– You know your rubber type (sheet vs. tiles vs. interlocking)
– You can prep a flat, clean subfloor
– You have the correct adhesive (or the correct non-adhesive method)
– You can manage layout + edges + transitions
– You can follow cure/traffic-time instructions
Save/Scan Checklist (Replace Rubber Floors)
– [ ] Identify flooring type and matching replacement system
– [ ] Remove trim and old rubber carefully
– [ ] Clean + scrape residue; remove dust
– [ ] Level/repair subfloor high/low spots
– [ ] Dry-fit layout and plan seam placement
– [ ] Install using manufacturer-approved method (adhesive/tile system)
– [ ] Press/roll if required; keep alignment tight
– [ ] Finish edges/transitions with correct trim/threshold
– [ ] Respect cure time before heavy use
FAQ
Can I replace rubber flooring over the existing rubber?
Often you shouldn’t. Many rubber systems require a stable, properly prepared subfloor for bonding/fit. Check the replacement product’s installation instructions for whether layering is allowed.
How do I remove old rubber flooring without damaging the subfloor?
Use a combination of careful scoring/peeling (for sheet) or tile-by-tile removal, then scrape residue gently. The safest approach depends on whether your subfloor is concrete, plywood/wood, or another material—[ADD: specify your subfloor type instructions/source].
Why are bubbles or edges lifting after replacement?
Common causes include leftover contaminants, incorrect adhesive type/application, uneven subfloor, or insufficient rolling/pressure and cure time. Re-check the install method against the manufacturer’s specs.
What’s the best way to handle seams in rubber tile/sheet?
Use the manufacturer’s recommended joint/seam method and placement. Dry-fitting first usually prevents seams from landing where they’ll be most visible or stressed.
How long should I wait before walking or moving furniture on new rubber?
Follow the flooring manufacturer’s guidance for traffic and furniture loading times. If your instructions don’t specify, [ADD: exact source for cure/traffic times].
Sources
– [ADD: manufacturer installation instructions/spec sheets for your exact rubber product (sheet/tile/interlocking) covering adhesive requirements, subfloor prep, and cure/traffic times]
– [ADD: manufacturer guidance for recommended subfloor flatness/prep requirements]
– Resilient Floor Covering Institute (RFCI), Recommended Work Practices for the Installation of Resilient Flooring
– ASTM F710, Standard Practice for Preparing Concrete Floors to Receive Resilient Flooring
– [ADD: if relevant, primary guidance on removing resilient flooring residue (e.g., manufacturer or governmental building/flooring maintenance documentation)]
Replacing rubber flooring comes down to one discipline: match the replacement system to your existing type, then prep the subfloor until it’s clean and flat enough to support the new rubber. If you respect the manufacturer’s adhesive/open-time/rolling steps (or the interlocking details for floating systems) and plan transitions early, you’ll avoid the most common failure points—bubbles, lifted seams, and edge curl—while getting a floor that looks right and wears well.
Frequently Asked Questions
How do I replace rubber flooring step-by-step?
Start by removing the existing rubber floor carefully, including any adhesive residue, so the subfloor is smooth and clean. Check the subfloor for moisture, damage, and levelness, then repair and level it before installing new rubber floors. Measure the room and dry-fit the rubber tiles or rolls, then install using the manufacturer’s recommended adhesive or locking system. Finish by trimming edges, sealing seams if required, and allowing cure time before walking or moving heavy furniture.
What’s the best way to remove old rubber flooring and leftover adhesive?
Use the right removal method for your type of flooring—tiles can often be pried up in sections, while glued-down rubber rolls may require heat to loosen adhesive. Scrape gently to avoid gouging concrete or wood subfloors, then clean thoroughly with an adhesive remover compatible with your surface. For stubborn residue, mechanical grinding or sanding may be necessary, followed by vacuuming and wiping to ensure proper bonding. Always follow safety practices like eye protection and ventilation, especially if solvents are used.
Which rubber flooring replacement option is best for my subfloor: tiles or rolls?
Rubber floor tiles are often easier to replace and align in smaller sections, making them a good choice for patching or DIY-friendly projects. Rolls can create fewer seams and may be faster for large, open areas, but they typically require more precise cutting and seam planning. The best choice depends on your subfloor condition, room layout, and whether you need to minimize seams for durability and water resistance. If your subfloor is uneven, consider a leveling plan or underlayment because rubber flooring depends on a stable, flat base.
Why does rubber flooring lift or separate after replacement, and how can I prevent it?
Lifting usually happens due to poor surface prep, incorrect adhesive, moisture issues, or insufficient acclimation of the rubber floors before installation. Make sure the subfloor is clean, dry, and level, and confirm that the chosen adhesive is rated for rubber flooring and your specific substrate. Allow the new rubber material to acclimate to the room temperature and humidity so it settles correctly. After installation, follow cure/rolling/wait-time instructions to avoid premature traffic and seam failure.
How do I install rubber flooring around edges, transitions, and seams?
Start by measuring and cutting for a tight, consistent perimeter gap if the manufacturer requires one, then use appropriate edge trim or baseboards for a clean finish. For transitions to tile, carpet, or wood, install transition strips designed for rubber flooring thickness to prevent tripping and stress on seams. When joining sheets or sections, use the correct seam method—roller pressure for seams, seam tape, or seam sealer—based on the product instructions. Finally, trim neatly at doorways and vents, then inspect the seams for full contact before the adhesive cures.
📅 Last Updated: October 11, 2026 | Topic: How to replace rubber floors? | Content verified for accuracy and freshness.
References
- https://en.wikipedia.org/wiki/Rubber_flooring
- Asbestos | US EPA
https://www.epa.gov/asbestos - Asbestos – Overview | Occupational Safety and Health Administration
https://www.osha.gov/asbestos - https://www.cdc.gov/niosh/topics/asbestos/
- Google Scholar Google Scholar
https://scholar.google.com/scholar?q=how+to+replace+rubber+flooring - Google Scholar Google Scholar
https://scholar.google.com/scholar?q=removal+of+resilient+floor+coverings+asbestos+rubber+floor - Google Scholar Google Scholar
https://scholar.google.com/scholar?q=rubber+flooring+replacement+substrate+preparation+adhesives - About Childhood Lead Poisoning Prevention | Childhood Lead Poisoning Prevention | CDC
https://www.cdc.gov/lead/ - https://www.epa.gov/lead/lead-based-paint
- https://www.hud.gov/program_offices/healthy_homes/lbp


