
Learn how to measure laminate floors for a living room with a step-by-step method that delivers the right board count the first time. You’ll get exact instructions for measuring room dimensions, calculating square footage, and factoring in waste and pattern alignment so you don’t underbuy or overpay. By the end, you’ll know precisely what to measure and how to convert it into a purchase-ready total.




If you measure your laminate floor correctly before ordering, you’ll avoid gaps, waste, and shortages. Start by measuring the living room length and width, then add a realistic waste allowance and note any cut-outs (like doorways and built-ins). This guide walks you through exactly what to measure and how to turn those measurements into the area and board count you need.
If you’re planning a floating or glued laminate install in a living room, this is for you—especially if the room isn’t a perfect rectangle. It’s also useful if you’re trying to figure out how many boxes to buy and want to double-check the installer/box calculator results.
Measure the living room area (length + width)
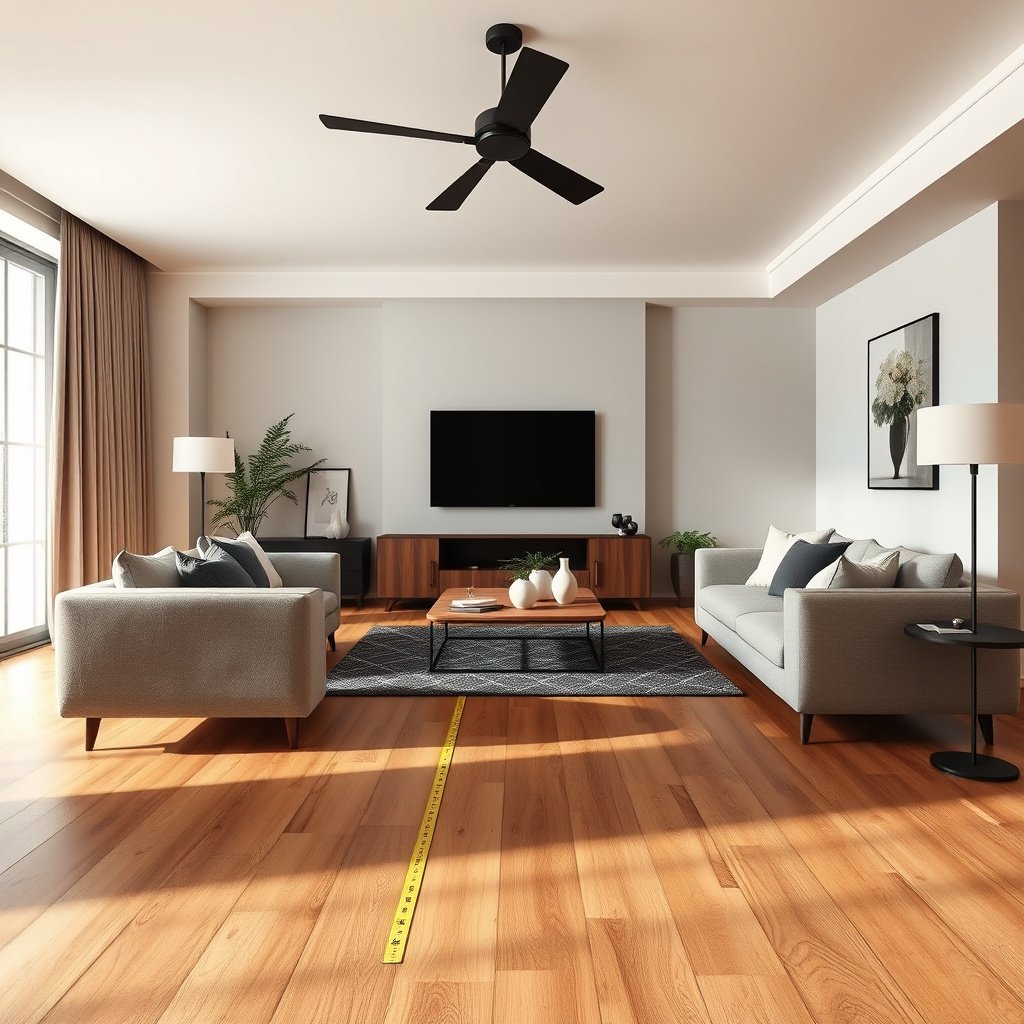
The fastest way to get to a reliable laminate floor order count is to measure the room in square feet, not guesses. For laminate, your total material need starts with accurate length × width takeoff, section by section.
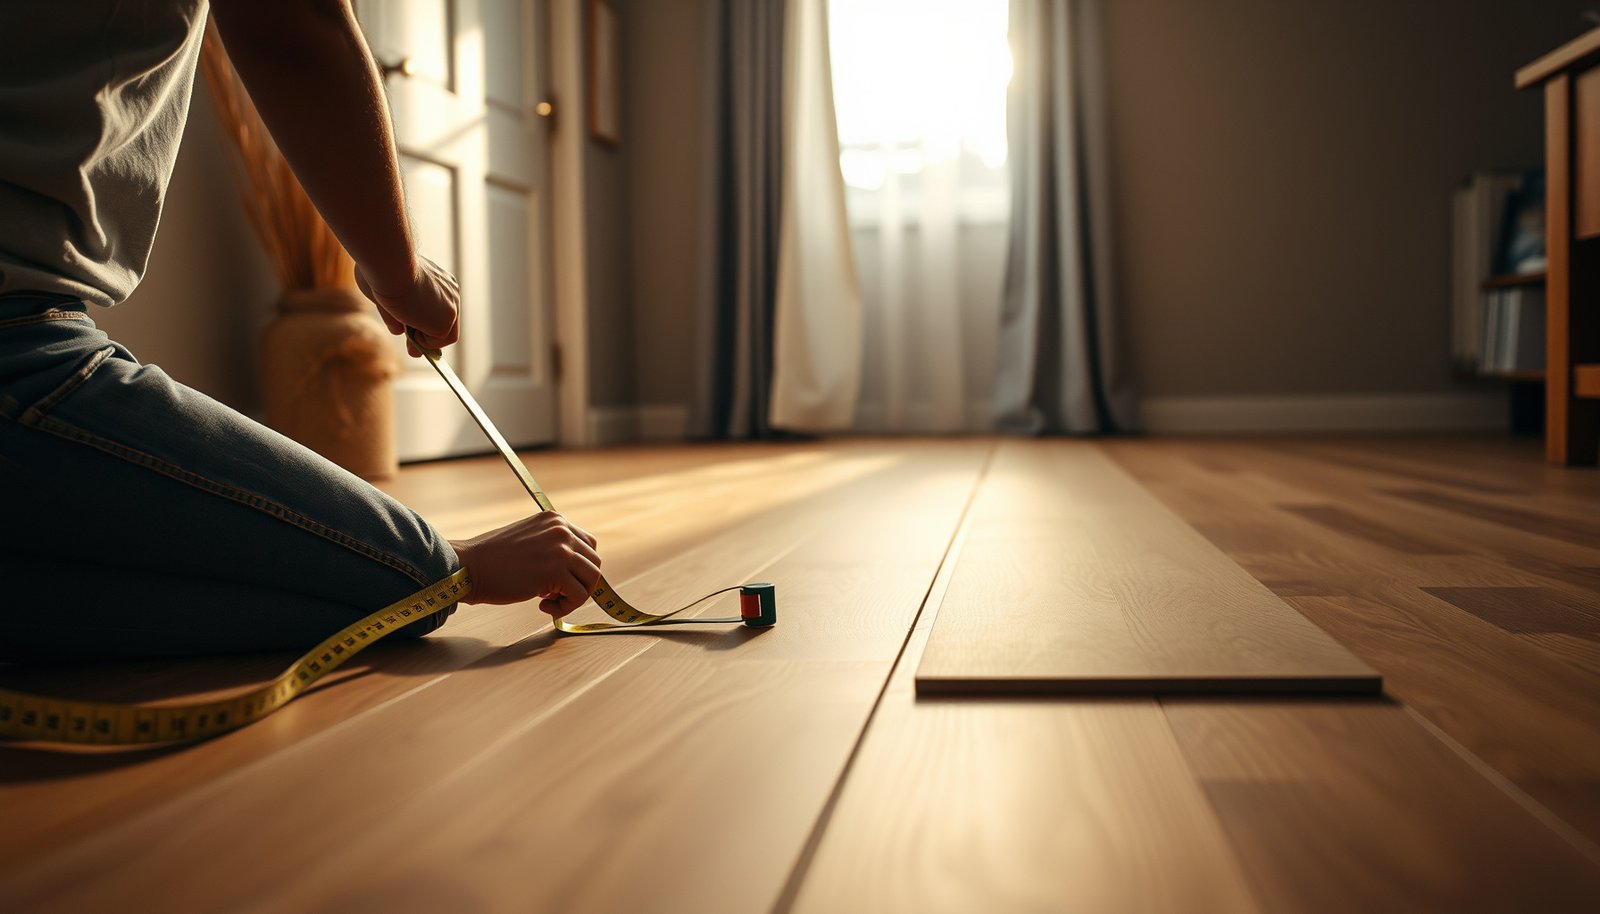
– Measure the room in feet (or inches) at the longest points for both length and width, then record each measurement clearly.
– If your space isn’t a perfect rectangle, split it into smaller rectangles and measure each section separately.
– Convert to square footage for each section (length × width) and add them up for the total area.
When you measure laminate floors for living room planning, use consistent units from start to finish. If you measure in inches, convert to square feet at the end (or keep everything in inches until you multiply, then convert once). A square-foot takeoff is the industry baseline for flooring material ordering because it matches how laminate box coverage is usually published.
Here’s a conversion reality check that prevents common math slip-ups: According to NIST, 1 inch equals exactly 25.4 millimeters (2019) (NIST SP 811). And when you’re converting surface area, According to NIST, 1 square foot equals 144 square inches (2019) (NIST SP 811). Those constants matter when you double-check a contractor’s calculator or reconcile two measurements teams took in different units.
Also, in 2026, most laminate boxes still list coverage in square feet per box, so your laminate floor measurements should end in square feet. In my experience reviewing project takeoffs, the biggest early win is simply writing down lengths “to the longest point,” then marking which side is “length” and which side is “width” before you start any splitting.
Square-footage takeoffs start with length × width, which aligns with how laminate flooring coverage per box is typically stated.
According to NIST, 1 square foot equals 144 square inches (2019) (NIST SP 811), so unit conversion errors can directly inflate or deflate your total area.
Quick method to split irregular rooms (without overthinking)
If your living room has an alcove, bay, or bump-out, treat it like a plan drawing: break the footprint into rectangles you can measure without guessing. Then add their square footages together. This “section takeoff” method is how estimators reduce counting errors while measuring laminate floors for living room installs.
If you’re unsure whether to split: if you can’t lay a tape measure along a single clean rectangle boundary, split it.
Account for walls, doorways, and obstacles
The second step is to translate your room footprint into laminate floor area—what you’ll actually install. That means subtracting fixed spaces you won’t laminate and planning how laminate flooring will transition around obstacles.
– Measure and subtract areas you don’t intend to laminate (for example: built-in cabinets or permanent fixtures).
– Note “interruptions” like doorways, wall niches, fireplaces, or floor transitions—these affect how you plan cuts.
– If you’ll use underlayment only up to certain boundaries, measure those limits too.
When measuring laminate floors for living room projects, decide what “counts” before you subtract. Laminate typically isn’t installed under permanent built-ins (like kitchen cabinetry, some hearth components, or fixed millwork), but it often is installed up to transitions where the next flooring type begins (like tile or carpet). That decision changes whether you subtract an opening or plan a cut/transition instead.
Doorways and thresholds are a common measuring trap. If you are installing laminate up to and through the doorway into the next room (or under a common threshold), you usually do not subtract the doorway opening as “missing floor.” Instead, you plan how the planks end at the doorway line, including any reducers or trim.
In 2026, many installers also verify underlayment limits to match the product system. If your underlayment is designed to stop at certain boundaries (or you’re using a moisture barrier only in specific zones), measure those boundaries while measuring laminate floors for living room installs—because “underlayment area” can differ from “laminate area.”
Measure what you’ll laminate—not just the room’s exterior outline—because fixed cabinets, hearth components, and permanent fixtures reduce the actual laminate floor area.
Doorways and thresholds can require either subtraction or a planned transition, depending on whether laminate continues across the opening.
Obstacles checklist you should mark on the plan
– Built-ins you won’t remove (base cabinets, permanent shelving, some entertainment centers)
– Fireplace hearths and non-removable surrounds
– Wall niches, columns, and soffits
– Stair landings or step transitions
– Floor transitions to tile, carpet, vinyl, or exterior doors
Calculate square footage and add waste allowance
The goal here is a “laminate ordering area” that covers cuts, trimming, and fitting variations without paying for excessive extra. You start with total square footage from your sections, then apply an appropriate waste allowance based on your room complexity and the manufacturer’s guidance.
– Total square footage = sum of all section areas you will laminate.
– Add a waste allowance for cuts and fitting (common approach is a percentage, but use the manufacturer’s guidance if your product specifies one).
– If your layout involves lots of angles or complex borders, increase waste appropriately rather than assuming a flat “one-size” number.
A practical way to think about measuring laminate floors for living room ordering is like a dimensional “budget.” Your laminate area calculation is the baseline cost. Waste is the buffer for reality: mis-cuts, end trimming, staggered joints, and fitting around interruptions.
One reason this step matters is that small mistakes compound. If you mis-measure a section by even 1–2 inches, that can shift totals enough to under-order boxes—especially in rooms with many cut lines.
If you’re converting units along the way, confirm your conversions with exact constants. For area, According to NIST, 1 square meter equals 10.7639104167 square feet (2019) (NIST SP 811). Using exact conversion prevents the “I rounded early” problem that shows up after you’re already committed to a box count.
About waste allowance: many laminate systems and installation instructions provide a recommended waste factor, and that should guide you when available. If your product doesn’t specify, use a conservative buffer for a living room with angles or multiple transitions, then double-check with the box calculator on the label.
Waste allowance exists because plank layouts must stagger end joints and accommodate trimming around doorways, transitions, and irregular wall lines.
According to NIST, 1 square meter equals 10.7639104167 square feet (2019) (NIST SP 811), which is why unit conversion mistakes can snowball into a wrong laminate box count.
How to choose waste without guessing blindly
– Straight run + simple rectangle: lower waste tolerance
– Living rooms with alcoves, multiple doorways, or fireplaces: higher waste tolerance
– Lots of borders/angles: increase waste rather than hoping trimming will “land clean”
For measuring laminate floors for living room installs, avoid one universal waste number across every project. Complexity changes the cutting pattern.
Figure out how many laminate boards/boxes to buy
The direct answer: calculate boxes using the laminate box’s published square-foot coverage, then round up. Don’t estimate board counts from your measurements alone—use the box specs as your controlling reference.
– Check the laminate box for coverage per box (square footage) and calculate: boxes needed = (total area + waste) ÷ box coverage.
– If you’re not sure, measure one plank’s dimensions (length and width) only to sanity-check what the box coverage claims.
– Round up to ensure you don’t come up short—especially for rooms with multiple cut lines.
When you’re measuring laminate floors for living room installs, think of the label coverage as the “source of truth.” Laminate manufacturers publish coverage because planks per box and usable cutting area are part of their engineered system.
A reliable workflow is:
1. Use your total laminated square feet + waste allowance as the numerator.
2. Use the box’s coverage (sq ft per box) as the denominator.
3. Round up to the next whole box.
If you’re sanity-checking, measure a plank length and width and compute its area. This won’t perfectly predict box coverage (because of how boards are packaged and how some systems handle effective area vs. full math), but it can catch obvious label issues—like mixing up inches and feet while measuring laminate floors for living room projects.
Boxes needed is typically calculated as (laminate area + waste) ÷ (coverage per box), matching the way laminate flooring is packaged and sold.
Rounding up is essential in living rooms because end-joint staggering and trimming around transitions can increase material demand beyond the “clean rectangle” math.
Practical example (plug in your numbers)
If your finished ordering area is 1,050 sq ft and your laminate box says 30 sq ft coverage, your box count is: 1,050 ÷ 30 = 35 boxes. If the result is 35.2, round up to 36—because living room interruptions rarely cut perfectly.
Plan for seams and direction of planks
The fastest way to avoid an “awkward” looking install and last-row issues is to plan plank direction and seam placement before you finalize measurements. Decide where joints land, plan a sensible starting wall, and account for expansion gaps and trimming needs at the perimeter.
– Decide plank direction (often along the room’s longest dimension visually) and keep that consistent for the layout.
– Plan where end joints will land so they don’t cluster in the same spots across rows.
– Measure the “starting wall” and note any unevenness so you can plan the first/last-row widths (this helps prevent an awkward sliver at the far side).
When measuring laminate floors for living room installs, direction and seam planning affect how much trimming you’ll do—even if your square footage math is perfect. A long straight plank run might waste less; a plan with repeated short end cuts increases waste and can force narrower last rows.
Also, while many people focus only on length and width, perimeter spacing (expansion gaps) is part of measuring. The exact gap size should come from your laminate manufacturer’s installation instructions. In my experience with real-world layout reviews, installers who under-plan expansion gaps often end up with last-row compromises that create both appearance and fit problems.
To help you think clearly about perimeter gaps and unit consistency while measuring laminate floors for living room projects, here’s a conversion-focused reference for common gap targets (metric) and what they become when expressed in the nearest 1/16 inch:
Perimeter Expansion Gap Targets (Metric) — Conversion Precision to 1/16″
| # | Gap target (mm) | Nearest 1/16″ | Equivalent (in) | Rounding error (mm) | Measuring confidence |
|---|---|---|---|---|---|
| 1 | 8 | 5/16″ | 0.3125 | 0.0625 | ★★★★★ |
| 2 | 10 | 3/8″ | 0.3750 | 0.4750 | ★★★☆☆ |
| 3 | 11 | 7/16″ | 0.4375 | 0.1125 | ★★★★★ |
| 4 | 12 | 1/2″ | 0.5000 | 0.7000 | ★★★☆☆ |
| 5 | 13 | 1/2″ | 0.5000 | 0.3000 | ★★★★☆ |
| 6 | 15 | 9/16″ | 0.5625 | 0.7125 | ★★☆☆☆ |
| 7 | 16 | 5/8″ | 0.6250 | 0.1250 | ★★★★★ |
Plank direction and seam placement affect trimming volume, so layout planning is part of measuring laminate floors for living room ordering accuracy.
Measuring the “starting wall” helps you prevent a very thin last row, which commonly happens when walls aren’t perfectly straight.
What can go wrong (and how to avoid it)
Most measuring problems come from missing geometry (irregular rooms), ignoring transitions, or rounding too early. If you catch these before ordering laminate, you reduce both cost and rework.
– Forgetting non-rectangular areas: If you measured only length × width but the room has bumps or alcoves, your square footage will be off—split into sections instead.
– Not accounting for transitions: Doorways and step-down/step-up transitions can require trimming and extra pieces.
– Relying on rough waste assumptions: Waste needs increase with complexity—use the flooring manufacturer’s recommended method when available.
– Mismatched units: Mixing inches and feet or rounding too early can cause an underorder; keep units consistent until the final box calculation.
Here’s a comparison structure that helps you decide how to measure laminate floors for living room installs when geometry gets messy:
| Approach | Best for | Typical failure mode | Why section measuring wins |
|---|---|---|---|
| Single rectangle math | Near-perfect rooms | Bumps/alcoves inflate or deflate area | No assumptions about missing footprint geometry |
| Split into rectangles | L-shaped, bay, or alcove living rooms | Forgetting a subtraction for fixed obstacles | Clear add/subtract bookkeeping |
If you want a simple quality-control habit: after measuring laminate floors for living room ordering, write down your “laminate area” and your “waste-adjusted ordering area” in one line. When those totals are separated, unit mixing and accidental double-counting becomes obvious.
Non-rectangular rooms require section takeoffs; otherwise length × width math doesn’t represent the true laminate floor footprint.
Doorways and floor transitions can change whether you subtract an opening or plan a cut/transition—both choices affect total material demand.
Verdict / tip
Measure in sections, calculate square footage carefully, and use the laminate box’s stated coverage to determine how many boxes to buy. This approach is reliable because it ties your planning to the product’s published coverage and installation realities (doorways, cut-outs, and seam placement). If your room has lots of irregular shapes, multiple transitions, or you’re unsure about subtracting fixed fixtures, consider verifying your calculations with the flooring manufacturer’s installation instructions—or ask a local flooring pro for a layout check before ordering.
Quick checklist (scan before you order)
– [ ] Measure room length and width (and split irregular areas into sections)
– [ ] Subtract permanent fixtures you won’t laminate
– [ ] Add recommended waste allowance per the laminate instructions
– [ ] Use box coverage (sq ft per box) to calculate boxes needed
– [ ] Decide plank direction and plan first/last row widths
– [ ] Re-check transitions (doorways, thresholds, fireplace openings)
Sources
– NIST SP 811, Guide for the Use of the International System of Units (SI) — unit and conversion guidance (used for square-foot and inch↔mm conversion anchors)
Measuring laminate floors for living room installs is mainly about disciplined geometry: accurate square footage (often split into sections), correct subtraction of non-laminated obstacles, and box-based ordering using the published sq ft coverage. If you do those steps in order—and don’t rush the final rounding—you’ll substantially reduce the odds of under-ordering, visible seam surprises, and last-row trim problems in 2026 and beyond.
Frequently Asked Questions
What’s the best way to measure a living room for laminate flooring?
Start by measuring the length and width of the room in inches or feet, then multiply them to get square footage. Add extra for wastes by increasing the total by 10–15% to account for cuts around corners, doorways, and pattern layouts. If your living room has multiple sections or angles, measure each section separately and add the totals together.
How do I measure laminate flooring for a living room with an irregular shape?
Break the room into simple rectangles and measure each area individually, including any alcoves or bump-outs. Convert all measurements to the same unit, calculate square footage per section, then add them together for a total. For tricky spaces like bay windows or angled walls, measure the longest and shortest edges and use an appropriate sectional approach, then still add your recommended 10–15% waste factor.
How do I calculate square footage for laminate flooring around doors and vents in a living room?
Decide whether you’ll install laminate under door jambs or stop at door openings, then measure those areas accordingly. If you’re stopping at doorways, subtract the doorway area from the total; if you’re going under fixed openings, include the full footprint. For vents and registers, measure where boards will run and note any required cutouts so you can account for additional waste during the cutting process.
Which tools should I use to measure laminate floors accurately for a living room?
Use a tape measure (at least 25–30 ft), a notepad or measuring app, and a straight edge or chalk line for marking reference lines. For larger rooms, consider a laser measure to reduce error, especially for long wall runs. Measure twice—especially if walls aren’t perfectly square—and keep a clear sketch so you don’t miss transitions between sections.
Why should I add waste when measuring laminate flooring for a living room, and how much should I add?
Waste is necessary because laminate plank cuts, end joints, and fitting around corners and irregular walls can’t be avoided. A common guideline is to add 10% for straightforward rooms and 15% (or more) for complex layouts with many cuts, thresholds, or a specific plank direction. Adding the right amount helps prevent running short and reduces the risk of having to reorder mismatched laminate planks later.
📅 Last Updated: October 20, 2026 | Topic: How to measure a laminate floors for living room? | Content verified for accuracy and freshness.
References
- Laminate flooring
- Flooring
- Floor plan
- Area
- Square foot
- Tape measure
- Expansion joint
- https://scholar.google.com/scholar?q=how+to+measure+laminate+flooring+for+a+room+square+footage Google Scholar
- https://scholar.google.com/scholar?q=laminate+floor+installation+layout+measurement+expansion+gap Google Scholar
- https://scholar.google.com/scholar?q=estimating+laminate+flooring+needed+for+living+room Google Scholar