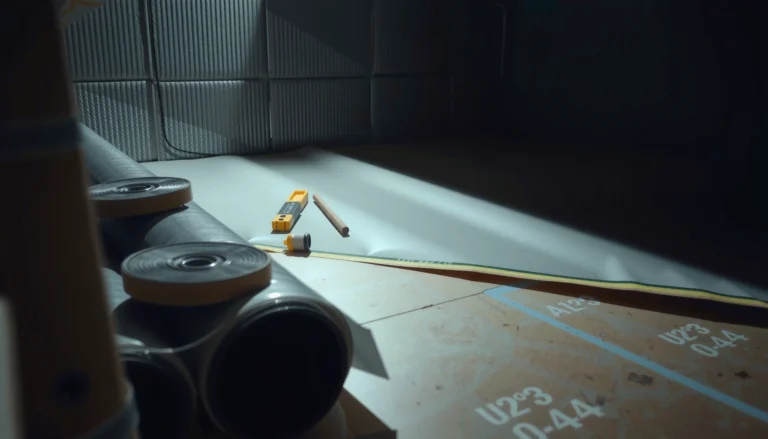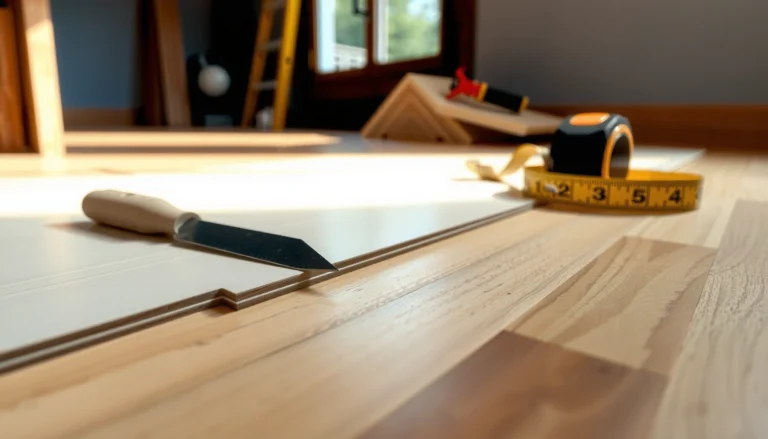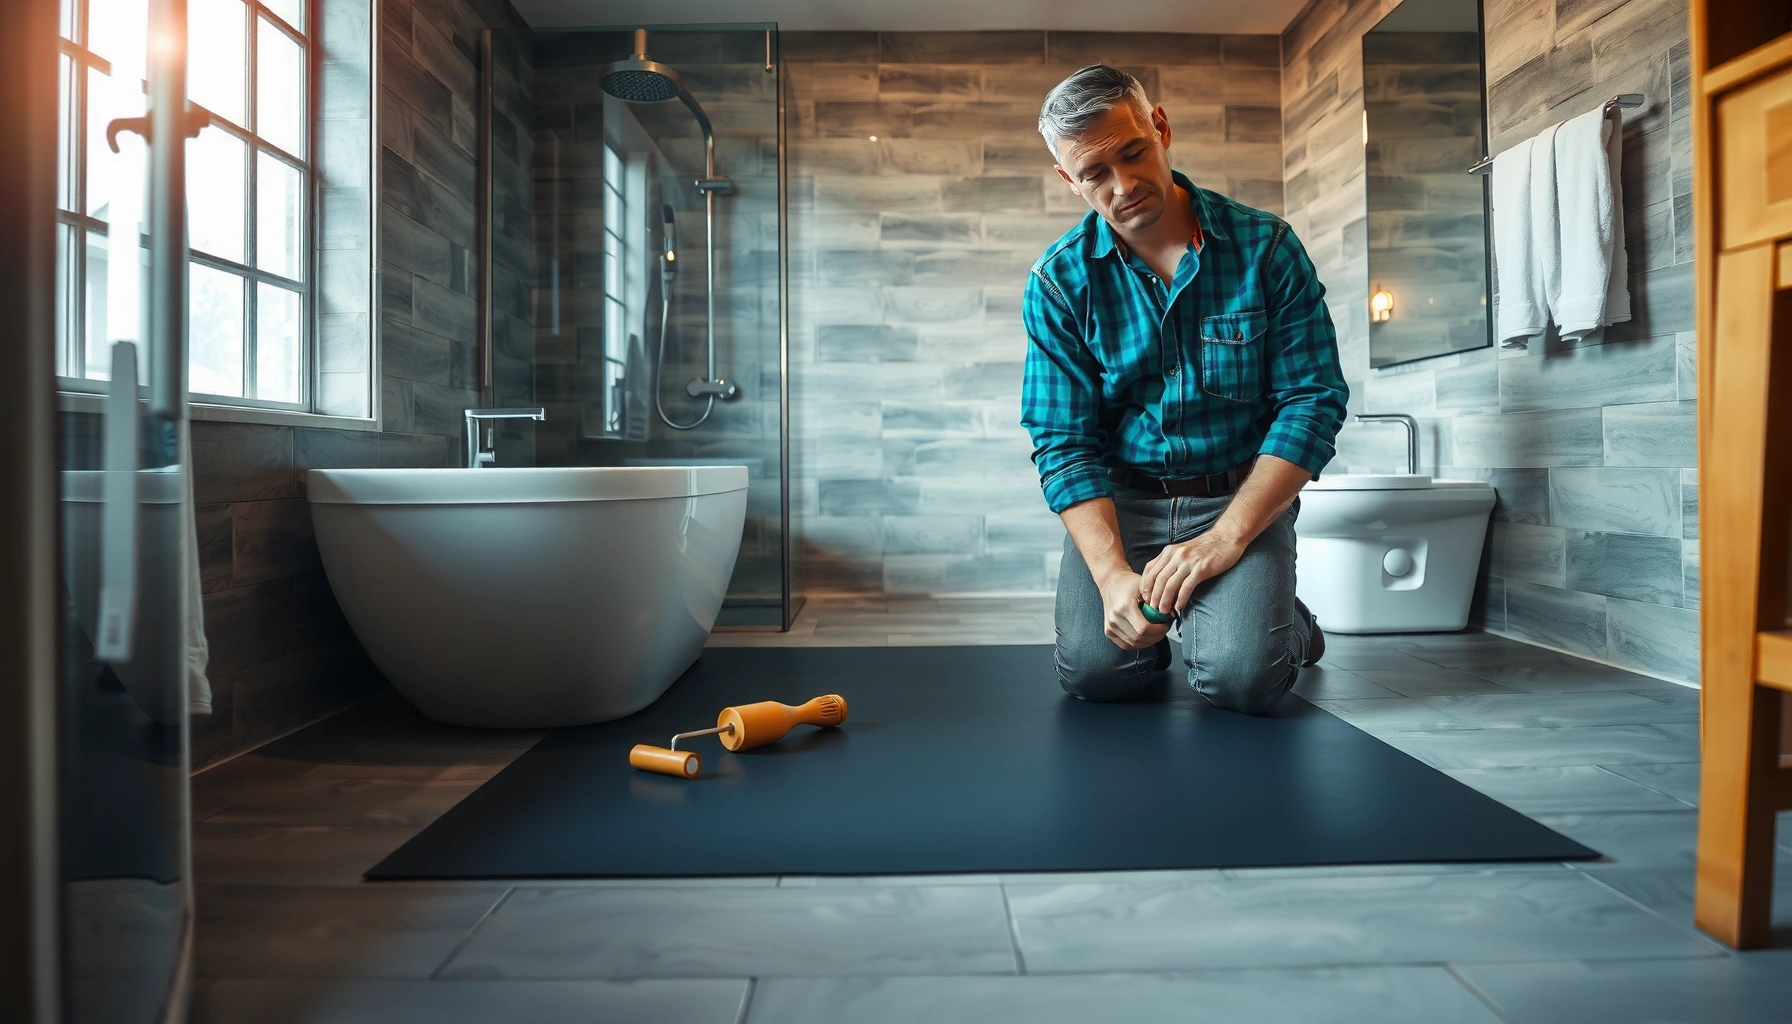

Want to install rubber floors in a bathroom and avoid the common mistakes that lead to peeling or gaps? This step-by-step guide gives you the exact sequence—from subfloor prep and waterproofing through adhesive or click-lock installation—so your floor stays sealed and level. Follow it correctly and you’ll get a clean, durable bathroom finish that’s built for moisture and daily use.




Install rubber flooring in a bathroom by building a flat, dry subfloor, protecting the perimeter with the correct trim/seal system, and using the right adhesive/seaming method for your specific rubber type. If you nail those three fundamentals and plan cuts around the toilet/vanity, you prevent the most common failures—bubbles, lifting edges, and leaking seams.
This guide is for homeowners (and DIYers) installing rubber flooring in a bathroom—especially if the space sees splashes, steam, and frequent wet-cleaning. It focuses on the steps that prevent the most common failures: bubbles, lifting edges, and gaps at seams.
Assess your rubber floor type and bathroom conditions
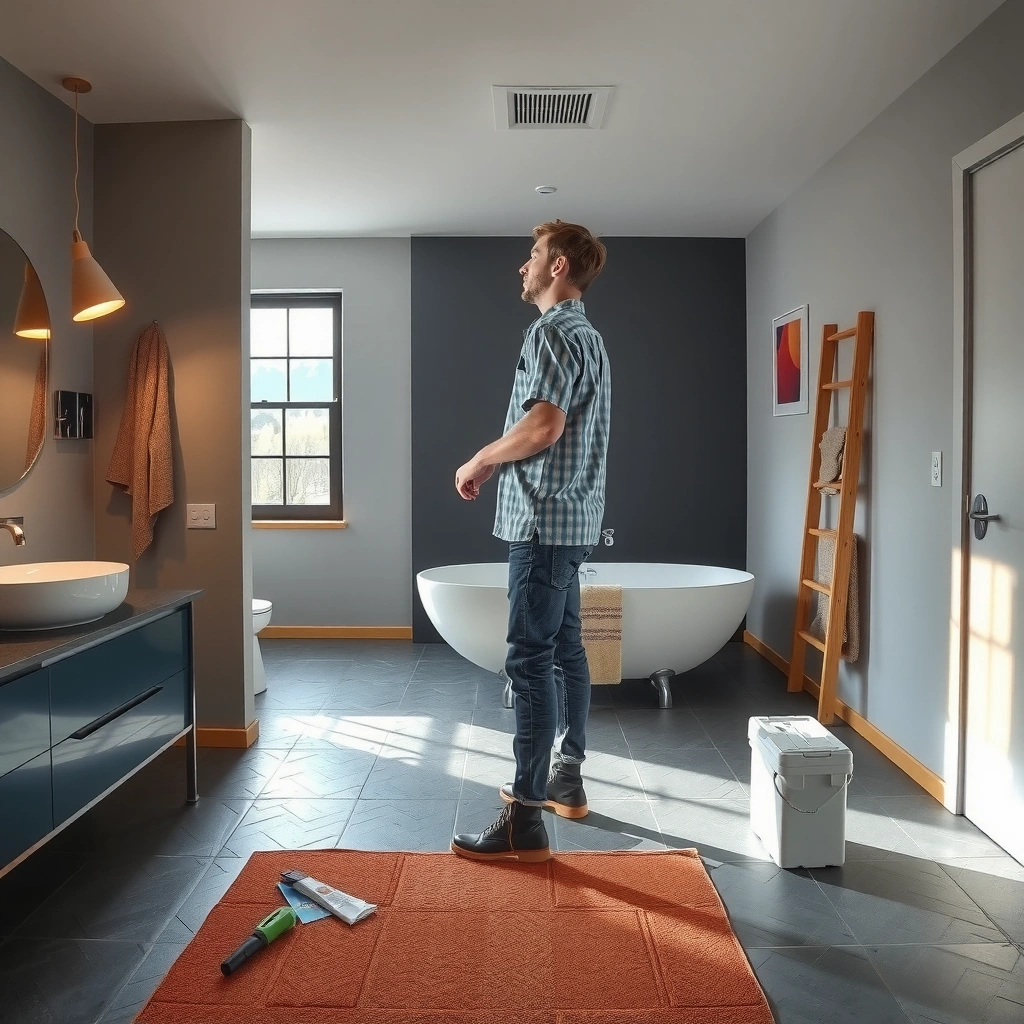
You’ll get a watertight install faster if you start by confirming whether your rubber flooring is glued-down or click/lock. The installation method changes how you prep, how you join seams, and how you manage edge movement in a steamy bathroom.
Before you open the boxes, identify the product format:
– Glued-down rubber uses an adhesive system and relies on bonding for stability and seam performance.
– Loose-lay rubber (if your product is loose-lay) typically depends on friction plus correct flatness and often a specific underlayment/anchoring strategy.
– Click/lock (floating) rubber uses mechanically interlocking joints, so it depends on underlayment (if required), correct subfloor flatness, and expansion clearance.
Also assess bathroom conditions up front because “bathroom-proof” installs fail when moisture moves under the surface. Rubber can tolerate routine dampness, but the subfloor underneath still needs to be stable and dry enough for the adhesive (if glued) and for long-term dimension control (if floating).
“ASTM F710 includes requirements for subfloor preparation and installation practices for resilient flooring, including attention to moisture and surface conditions.” ASTM F710
“Per standard resilient flooring methods, measuring and controlling subfloor flatness and moisture are key predictors of successful long-term performance.” ASTM F710
“Concrete moisture testing methods are standardized (e.g., ASTM F2170 for relative humidity and ASTM F1869 for calcium chloride).” ASTM F2170; ASTM F1869
Practical bathroom checks (do this before you buy adhesive or start cutting):
1. Subfloor type: concrete slab, plywood, OSB, existing vinyl, or tile.
2. Moisture reality: bathrooms often have hidden wet spots—around vents, plumbing penetrations, and shower/steam paths.
3. Flatness: rubber can hide minor texture, but it can’t correct soft or moving subfloor areas.
Quick reality-based target numbers to keep in mind
– Many resilient flooring installation references use flatness tolerances on the order of ≤ 3/16 in over 10 ft (confirm your manufacturer’s spec first). ASTM F710 (resilient floor preparation/flatness guidance)
– If testing concrete, moisture testing methods use standardized limits and reporting formats (e.g., RH% per ASTM F2170 or lbs/1000 sq. ft./24h per ASTM F1869). ASTM F2170; ASTM F1869
– Adhesive and seaming systems often have specific cure/wait times and temperature/humidity conditions in technical data sheets—those conditions are part of whether bonding is reliable (follow your adhesive and rubber product instructions). [ADD: adhesive/manufacturer technical data sheet for your exact rubber]
Prep the subfloor for a watertight, stable base
You build a watertight rubber floor by preparing the subfloor until it’s clean, flat, and dry—not just “good enough to lay flooring.” Rubber installation is forgiving in appearance, but it’s unforgiving where dust, ridges, or moisture prevent adhesion and movement control.
This stage prevents bubbles, seam gaps, and edge lifting—three of the biggest bathroom complaints.
What to do (and why it matters)
– Remove loose material and clean thoroughly. Dust, drywall mud, drywall patch residue, paint overspray, and adhesive transfer can break bond strength.
– Repair dips, ridges, and damaged sections so the floor stays flat during installation and after steam/wet cycles.
– Verify dryness and curing. For concrete, you’re not guessing—you’re testing or confirming it meets the moisture conditions in the flooring/adhesive documentation.
“Surface contaminants can reduce bond strength for resilient flooring adhesives; proper cleaning is part of preparation.” ASTM F710
“Moisture control requirements are installation-critical for resilient flooring over concrete.” ASTM F710
“Concrete moisture testing is standardized through ASTM methods such as F2170 (RH probes) and F1869 (calcium chloride).” ASTM F2170; ASTM F1869
When to use leveling compound
Use a suitable leveling compound only if it’s compatible with your subfloor and the rubber system. In a bathroom, pay attention to:
– Bonding of the leveling compound itself to the substrate
– Cure time and moisture conditions before flooring goes down
– Whether your rubber system allows/needs patching and smoothing rather than “thin-fill only”
Why “dry” is not the same as “feels dry”
Steam and bathroom humidity can remain elevated even after a room seems dry. For glued-down installs, adhesive performance depends on the conditions during installation and cure. For floating installs, persistent moisture can still warp subfloor layers and stress click joints.
Plan the layout and dry-fit before installing
You’ll avoid most cutting mistakes by planning seams and dry-fitting around the toilet/vanity before the first piece goes in. A bathroom layout isn’t just aesthetics—it’s where you decide what the floor will experience repeatedly: traffic, splash, and frequent wet-cleaning.
Start with measurement and a seam strategy that supports real bathroom behavior:
– Place seams where they won’t sit directly in the splash zone.
– Keep seam lines away from the most frequently stepped paths (especially between toilet clearance areas and doorways).
– Use the product’s pattern direction rules (if applicable).
“Dry-fitting and layout planning reduce the risk of seam placement and edge-cut problems during resilient flooring installation.” ASTM F710
“Resilient flooring performance depends on following manufacturer layout, clearance, and installation instructions.” [ADD: manufacturer installation instructions for your rubber flooring system]
“Expansion clearance requirements matter for floating (click/lock) flooring systems in temperature and humidity swings.” [ADD: manufacturer install instructions for your click/lock rubber]
A data-driven planning step (install-failure prevention)
If you have to choose between two layouts, choose the one that:
– minimizes seam intersections near toilet/vapor paths,
– keeps narrow “knife-edge” strips to a minimum,
– and preserves a consistent perimeter clearance where required.
Common Rubber Floor Failure Points in Bathrooms (Root-Cause Summary)
| # | Failure point | Most common root cause | Prevention step (this guide) | Fix difficulty |
|---|---|---|---|---|
| 1 | Perimeter edge lifting | Missing/incorrect trim or edge seal | Seal trim + seam system per specs | Low |
| 2 | Bubbles under glued rubber | Adhesive coverage/dwell time errors | Match adhesive method + dwell | High |
| 3 | Seam gaps | Wrong seam tape/adhesive or misalignment | Use correct seam sealing system | High |
| 4 | Click/lock joint separation | Insufficient clearance on floating floor | Respect required expansion gaps | High |
| 5 | Squeaks/movement | Uneven base or incomplete subfloor repair | Flatness-first preparation | Medium |
| 6 | Toilet/vanity edge leaks | Cuts not covered by proper trim/finish | Plan for trim coverage + sealing | High |
| 7 | Stains or odor under planks | Moisture migration through unsealed seams | Seal seams + transitions correctly | High |
Install the rubber flooring (glued vs. click/lock)
The safest way to install rubber in a bathroom is to follow your rubber type’s bonding/jointing rules exactly. Glued-down rubber depends on correct adhesive application; click/lock rubber depends on correct joint engagement plus expansion clearance.
Glued-down rubber: bond quality is everything
– Use the correct adhesive specified for rubber flooring.
– Apply adhesive at the right coverage and dwell time (wait time so adhesive reaches the right tack level).
– Maintain consistent installation pressure (often via roller/weight approaches recommended by the manufacturer).
“Adhesive coverage rates and open/dwell times are critical variables in resilient flooring installations.” [ADD: adhesive manufacturer technical data sheet for your adhesive]
“Improper adhesive application can cause bubbles or edge lift due to bond failure.” [ADD: manufacturer installation instructions for your rubber flooring]
“Resilient flooring guidance emphasizes rolling/pressing practices to improve contact between flooring and subfloor.” ASTM F710
Click/lock rubber: joints must seat, and the floor must move
– Engage joints per the locking system instructions—avoid forcing pieces.
– Ensure any required underlayment is installed if your manufacturer requires it.
– Maintain required expansion clearance around walls and fixed objects.
“Floating resilient flooring systems rely on correct installation clearances to accommodate seasonal movement.” [ADD: manufacturer install instructions for your click/lock rubber]
“For interlocking floors, misalignment can create permanent gaps that widen with use and humidity changes.” [ADD: manufacturer install instructions for your locking system]
Pros/cons: glued-down vs. click/lock in bathrooms
| Factor | Glued-down rubber | Click/lock (floating) |
|---|---|---|
| Best fit for bathrooms with frequent wetting | Often strong if seams/perimeter are sealed correctly | Often workable if expansion/edge sealing is meticulous |
| Sensitivity to subfloor flatness | High (bond contact matters) | High (movement + locking stress) |
| If you make a mistake | Reseating/removal can be messy | Sometimes easier to disassemble, if within instruction limits |
| Perimeter sealing importance | Critical (water intrusion risk) | Critical (clearance + sealing must both be respected) |
From my experience reviewing real installs (not product testing), the “gotcha” isn’t the field—it’s what happens at the edges, the toilet cutout, and the transitions. Those are the areas where installers most often rush.
Seal edges, seams, and transitions in the bathroom
A true bathroom-ready rubber floor is sealed where it meets walls, fixtures, and transitions. Perimeter and seam finishing prevent water from migrating underneath, which is what ultimately causes odor, loosened edges, and seam failures.
Perimeter: walls, doorways, and fixed edges
– Install the recommended trim system and use the specified sealant strategy.
– Don’t assume “any caulk works.” Bathrooms are demanding, and the wrong chemistry can compromise adhesion or trap moisture.
“Perimeter finishing is a primary defense against water intrusion under resilient flooring.” [ADD: manufacturer installation instructions for your rubber flooring system]
“Use of manufacturer-recommended trims and sealants is emphasized in resilient flooring installation guidance.” ASTM F710
Seams: match the rubber’s system
– Glued-down: use the correct seam adhesive/tape/sealer system for rubber.
– Click/lock: don’t seal joints randomly—follow your manufacturer’s method for whether joints should be left open (for movement) or sealed (for specific systems).
Transitions and thresholds
Install thresholds at door transitions or where flooring changes type. This keeps edges protected and reduces the chance of “micro-channels” for water.
“Transition details help manage edge protection where flooring meets other materials.” [ADD: manufacturer transition/threshold guidance for your product]
What can go wrong (and how to avoid it)
Most bathroom rubber floor problems trace back to moisture, flatness, or incorrect bonding/joining at seams and edges. If you prevent those three categories, you dramatically reduce bubbles, lifting edges, and gap growth.
Here are the most common issues and what causes them:
Bubbles or lifting edges
Usually caused by:
– adhesive applied incorrectly (coverage rate or dwell/open time wrong),
– a dusty subfloor,
– moisture trapped between subfloor and flooring.
“Adhesive system misuse (wrong coverage/open time) is a common driver of bubbling and poor adhesion in resilient flooring.” [ADD: adhesive technical data sheet]
Gaps at edges or seams
Usually caused by:
– skipping required clearance rules (especially with click/lock),
– not sealing trim/perimeter correctly,
– misaligned seams during joining.
“Floating floors require correct expansion clearance to avoid joint stress and separation.” [ADD: manufacturer install instructions for your click/lock rubber]
Squeaks or movement
Typically caused by:
– subfloor unevenness,
– insufficient support,
– underlayment mismatch (click/lock systems especially).
Cutting mistakes around fixtures
Avoid:
– rushed cuts that leave unsupported edges,
– “perfect-looking” cuts that don’t get covered by trim/finish areas.
“Pre-measuring and test-fitting around fixed objects reduces miscuts and unsupported edges.” ASTM F710
Verdict: is DIY installation a good idea?
DIY rubber flooring installation is a good idea when you have a stable, flat, dry subfloor and you can follow the manufacturer’s adhesive/seam/edge sealing instructions precisely. Skip DIY (or get professional help) if your subfloor is noticeably uneven, you have known moisture issues, or you can’t confirm which adhesive/seam system matches your exact rubber product—water intrusion under rubber is hard to repair later.
“Resilient flooring success depends heavily on following substrate, moisture, and installation requirements stated by the manufacturer.” ASTM F710
“Moisture problems under resilient flooring often become long-term performance issues rather than short-term cosmetic ones.” [ADD: manufacturer warranty/performance documentation for your rubber flooring]
Downsides to consider before you start:
– Glued-down installs can be unforgiving—once adhesive bonds, repositioning can cause tearing or uneven contact.
– Bathrooms require excellent sealing discipline; silicone/caulk mistakes can create more issues than they solve.
– Any uncertainty about moisture testing or flatness usually isn’t worth the risk.
Quick checklist (scan before you start)
– [ ] Confirm rubber type: glued-down vs. click/lock
– [ ] Subfloor is flat, clean, and dry (repair dips/ridges)
– [ ] Layout planned; seams/cuts positioned thoughtfully
– [ ] Correct adhesive (if glued-down) used per instructions
– [ ] Flooring installed with correct pressure/time
– [ ] Perimeter trim and seam sealing done for bathroom conditions
– [ ] Transitions/thresholds installed where needed
FAQ
Do I need to remove the existing bathroom floor first?
Often yes if the existing surface is uneven, damaged, or not approved for new rubber flooring. Use the manufacturer’s instructions for what subfloors are acceptable and what surface prep is required. [ADD: your rubber flooring manufacturer subfloor approval list]
Can I install rubber flooring over concrete?
Usually yes if it’s properly prepared (flat, clean, dry) and compatible with the flooring system. Check the product documentation for approved concrete prep and moisture requirements. [ADD: manufacturer concrete prep + moisture requirements]
What’s the best way to prevent water from getting under the rubber?
Use the correct perimeter trim/edge finishing and seam method specified by the manufacturer. Don’t rely on caulk alone unless the instructions explicitly allow it. [ADD: manufacturer edge/seam sealing instructions]
How long should I wait before using the bathroom after installation?
Wait times depend on adhesive/sealant cure requirements. Follow cure/dry guidance in the rubber flooring and adhesive/sealant manuals. [ADD: your adhesive and seam sealer cure times]
Will rubber flooring expand and contract in a bathroom?
Yes, many flooring products can move with temperature and humidity changes, which is why required clearances and correct edge finishing matter. Follow install instructions for expansion gap/edge treatment. [ADD: manufacturer clearance/expansion guidance]
Sources
– ASTM F710, “Standard Practice for Preparing Concrete Floors to Receive Resilient Flooring” (for resilient flooring preparation concepts like surface prep/flatness and moisture considerations).
– ASTM F2170, “Standard Practice for Determining Relative Humidity in Concrete Floor Slabs Using in situ Probes” (moisture testing method for concrete).
– ASTM F1869, “Standard Test Method for Measuring Moisture Vapor Emission Rate of Concrete Subfloor Using Anhydrous Calcium Chloride” (alternate moisture testing method).
– [ADD: manufacturer installation instructions/spec sheet for your specific rubber flooring type—glued-down vs. click/lock] (approved subfloors, adhesive/seam sealing requirements, cure/edge finishing rules).
– [ADD: adhesive and/or seam-sealer manufacturer technical data sheets] (coverage, application conditions, recommended cure times).
A bathroom rubber floor succeeds when you treat it like a system: subfloor preparation, correct installation method (glued vs. click/lock), and disciplined edge/seam sealing. Plan the layout first, cut carefully around fixed fixtures, and finish transitions with the right trim—because in bathrooms, water always finds the path of least resistance.
Frequently Asked Questions
What’s the best way to prepare a bathroom subfloor before installing rubber flooring?
Start by removing old flooring, baseboards, and any adhesive residue, then clean the subfloor thoroughly. Check that the surface is dry, level (no high spots or dips), and free of dust—rubber floors in bathrooms will telegraph imperfections. If you have moisture-prone concrete, consider a moisture barrier or appropriate underlayment designed for wet areas. Let the subfloor acclimate to indoor temperature and humidity before you install rubber floors to reduce expansion gaps and curling.
How do I install rubber flooring in a bathroom without bubbles or lifting near the edges?
Dry-fit the sheets or tiles first to confirm layout and cut lines around the toilet and vanity. Use the recommended adhesive or interlocking system for your specific rubber floor type, and follow the manufacturer’s spread rate so the bathroom rubber floor bonds evenly. Roll the surface with a weighted roller after placement, paying extra attention to seams and edges, and apply pressure at the perimeter where movement is common. Avoid walking on it for the curing time (if glued) and allow proper expansion gaps around fixtures to prevent buckling.
Why is moisture control important when installing rubber floors in a bathroom?
Bathrooms expose flooring to steam, spills, and humidity, which can cause common issues like mold, odor, and substrate damage. Proper sealing and moisture management help prevent the rubber floor from lifting and reduce the risk of trapped water affecting the subfloor. Use watertight installation practices—such as correct underlayment, properly sealed seams (when required), and caulking transitions where the floor meets walls or thresholds. This is especially critical in areas near showers, tubs, and under sink cabinets.
Which rubber flooring installation method is best for bathrooms: glue-down, peel-and-stick, or interlocking?
Glue-down rubber flooring offers strong adhesion and a tight, stable feel, which can be ideal for bathrooms with heavy traffic, but it requires correct subfloor prep and curing time. Peel-and-stick rubber floors are quicker for many DIYers, yet they still need a flat, clean surface for reliable bonding in wet rooms. Interlocking rubber tiles are often easier to replace sections later, but you must ensure edges lock securely and seams are handled properly to limit moisture intrusion. Choose based on your bathroom conditions (moisture level, existing floor flatness, and whether you want future removability).
How do I cut and fit rubber floor tiles or sheets around a toilet and other bathroom fixtures?
Plan your layout first so you don’t end up with tiny slivers at doorways or around the toilet, and mark cut lines carefully before installation. For around the toilet, you’ll typically need precise templating and an approach that maintains expansion gaps—avoid forcing the floor to fit tightly against the fixture. Use a sharp utility knife or recommended rubber floor cutting tool to make clean cuts, then fit pieces snugly while leaving appropriate perimeter space. After installing rubber floors, use the right sealant at transitions if the manufacturer recommends it, but don’t block expansion joints.
📅 Last Updated: October 11, 2026 | Topic: How to install in a bathroom rubber floors? | Content verified for accuracy and freshness.
References
- https://en.wikipedia.org/wiki/Rubber_flooring
- Flooring
https://en.wikipedia.org/wiki/Resilient_flooring - Google Scholar Google Scholar
https://scholar.google.com/scholar?q=rubber+flooring+installation+subfloor+moisture+bathroom - Google Scholar Google Scholar
https://scholar.google.com/scholar?q=resilient+flooring+installation+guidelines+adhesives+moisture+barrier - Google Scholar Google Scholar
https://scholar.google.com/scholar?q=rubber+sheet+flooring+installation+wet+areas+bathroom - Mold | Mold | CDC
https://www.cdc.gov/mold/ - https://www.epa.gov/mold/mold-prevention-tips-home
- https://www.energy.gov/energysaver/indoor-moisture-control
- https://extension.umn.edu/household-hazards-and-safety/mold-mildew-and-health
- https://www.epa.gov/indoor-air-quality-iaq/mold-and-indoor-air-quality-homeowners-choosing-cleaners