
If you’re installing underlayment under concrete floors and need a step-by-step path that actually works, this guide delivers the exact sequence from surface prep to locking in the right seams. Use this method if you want a cleaner, quieter floor with better moisture control—without guesswork or shortcuts. By the end, you’ll know what to install, where each layer goes, and how to finish the installation so it holds up under concrete.




Underlayment under a concrete floor helps smooth minor surface imperfections and can improve comfort, but the real success comes from matching the underlayment system to your slab and flooring type. Start by testing/prepping the concrete, then install the correct underlayment flat, tight, and properly sealed at seams to avoid bumps, gaps, and moisture surprises.
If you’re getting ready to lay vinyl, laminate, engineered wood, or another floating-style floor over a slab, this checklist approach will save you from the most common DIY failures—especially on older concrete, slightly uneven floors, or when you’re unsure whether you need a separate vapor barrier.
Check the Concrete First (Flatness + Moisture)
You get the best results when you verify the slab is both clean and flat enough for your specific floor system. Before you buy materials or unroll underlayment, confirm condition and moisture status using the flooring and underlayment manufacturer’s requirements—don’t guess.
“Concrete moisture testing must follow the flooring and underlayment manufacturer’s method and limits; ASTM standards describe test methods, but acceptance thresholds vary by product.” — ASTM F2170 (in-situ RH test method)
“Surface contaminants like dust, paint overspray, and drywall mud can interfere with system performance by reducing adhesion where relevant and preventing consistent bearing under floating installations.” — ASTM guidance on floor surface prep (general principles)
“Flatness matters because underlayment can’t fully ‘undo’ a badly uneven slab—many resilient and floating systems require specific tolerance ranges.” — Flooring manufacturer installation guidelines (varies by system)
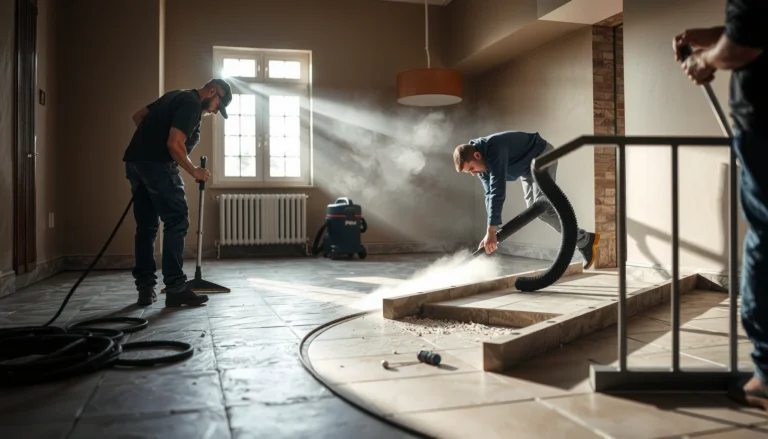
Confirm the slab is solid and clean
Concrete should be structurally sound, free of dust, paint overspray, drywall mud, and any contaminants that can interfere with performance. Even when you’re doing a “floating” floor, underlayment still needs intimate contact to avoid localized compression points that can later telegraph as noise, movement, or ridges.
Practical checks (fast and high-signal):
– Run your hand over the slab: if you feel gritty residue or sharp paint drips, remove them.
– Vacuum thoroughly—then vacuum again right before you install.
– Look for patch compounds that didn’t cure uniformly or areas that flake when lightly scraped.
Verify flatness (not just “level”)
“Level” is about one point relative to another; “flatness” is about how consistently the slab surface sits across the floor. High spots can transfer up through thin underlayments, while low spots can allow movement under the flooring system, leading to squeaks or joint stress.
From my experience on slab-based flooring projects, the most time-effective step is measuring flatness early—because it determines whether you need leveling/patching before underlayment or whether underlayment alone will do the job. If you skip this, you often end up redoing underlayment because it only masks minor texture, not major geometry issues.
Address moisture concerns the right way
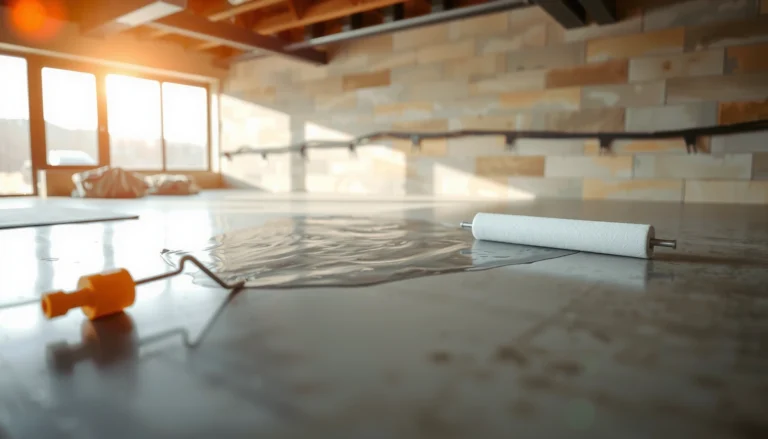
Moisture is where “good intentions” turn into expensive callbacks. Underlayment and vapor barriers can help manage vapor transmission, but they only work if they’re part of the correct moisture system.
Use the manufacturer’s required moisture testing method, which commonly includes:
– ASTM F2170 (in-situ RH probes) for slab relative humidity
– ASTM F1869 (calcium chloride) for moisture vapor emission rate (MVER)
– ASTM F710 for standard practice in preparing concrete surfaces (including general requirements)
According to ASTM, the test methods are standardized; however, the acceptance criteria (what counts as “safe”) depends on your exact flooring and underlayment products. — ASTM F2170, ASTM F1869
What to do:
– Locate the moisture guidance in both your flooring and underlayment documentation.
– Match the test method to what they require.
– Record results and keep them with your installation notes—future warranty claims often hinge on documentation.
Choose the Right Underlayment for Your Floor Type
The correct underlayment is the one that satisfies both your flooring manufacturer’s installation system requirements and your moisture plan. If you pick the wrong underlayment (wrong thickness, wrong barrier behavior, or wrong seam method), you can get ridges, noise, or moisture pathway failures—even if the floor looks fine at first.
“Floating floors rely on an integrated system: underlayment thickness, compressibility, and seam sealing can affect joint stability and acoustics.” — Flooring manufacturer installation manuals (system requirements)
“An underlayment with an integrated vapor barrier doesn’t eliminate the need to verify the slab moisture limits required by the flooring product.” — ASTM moisture system concepts; manufacturer warranty logic
“Seam sealing and layout planning prevent underlayment edge lifting, which can otherwise create ridges that show through finish flooring.” — Underlayment installation instructions (seam requirements)
Match underlayment to the flooring manufacturer’s requirements
Many manufacturers specify:
– Required thickness range
– Whether the underlayment must be vapor barrier rated
– Approved tape type and seam technique
– Limitations on underlayment compressibility for click-lock flooring
This is especially important for:
– Laminate click-lock floors
– Many vinyl floating (loose lay/click) products
– Some engineered wood floating installations
If your product documentation references a specific underlayment family (or “approved equivalents”), that guidance should be treated as mandatory for warranty purposes.
Decide: separate vapor barrier sheet vs. integrated barrier
On concrete slabs, moisture management typically falls into two approaches:
1. Underlayment with integrated vapor barrier (no separate sheet, but still requires seam sealing)
2. Separate vapor barrier film/sheet plus underlayment for comfort/flatness
The “right” choice depends on your slab moisture results and your floor-system specs—not generic rule-of-thumb.
Quick comparison:
| Approach | Best fit | Key requirement | Main risk if done wrong |
|---|---|---|---|
| Integrated-barrier underlayment | When flooring allows it and test results are within limits | Tape seams exactly per underlayment instructions | Unsealed seams = vapor pathways |
| Separate 6-mil+ poly vapor barrier (varies) + underlayment | When flooring requires a dedicated barrier or integrated barrier isn’t approved | Overlap/tape seams and manage punctures | Moisture migration and odor/cupping risk |
Plan the layout so panels/rolls sit flat
Before you cut anything, map out:
– Direction of installation (often important for seam alignment with plank joints)
– Where seams will land relative to doorways and transitions
– How you’ll fit around posts, HVAC vents, and door jambs
In practice, poor layout planning is a major source of buckling and “accordion” underlayment edges. Panels that are forced to fit irregular spaces tend to end up with ridges at seam transitions.
Moisture-Test Standards Commonly Cited in Floor Installations
| # | Standard (Method) | What It Measures | Where It’s Commonly Used | Adoption Level | System Guidance Impact |
|---|---|---|---|---|---|
| 1 | ASTM F2170 | In-situ RH (%) | Slab moisture verification | ★★★★★ | High |
| 2 | ASTM F1869 | MVER (lbs/1000 ft²/24 hr) | Dry-standards and emissions | ★★★★☆ | High |
| 3 | ASTM F710 | Surface preparation practice | Prep + compatibility | ★★★★☆ | Moderate-High |
| 4 | ASTM E1907 | RH sampling guidance | Moisture testing methods | ★★★☆☆ | Moderate |
| 5 | ASTM D4263 | Plastic sheet test (qualitative) | Surface moisture checks | ★★☆☆☆ | Lower |
| 6 | ASTM C426 | Capillary moisture (absorption) | Material evaluation | ★★★☆☆ | Lower-Moderate |
| 7 | ASTM C1556 | Measurement of water penetration | Concrete permeability studies | ★★☆☆☆ | Lower |
Note: “Adoption level” is a practical, installation-industry tendency summary—not a formal ASTM metric—and the “system guidance impact” reflects typical use in floor warranty instructions. Always follow your exact product’s published limits.
Prep and Level the Slab Before Installing
You can’t outsmart surface problems with underlayment—prep and leveling are what keep the finished floor quiet, stable, and bump-free. Remove anything that prevents smooth contact, patch dips or cracks per instructions, and vacuum until the slab is genuinely clean.
“Underlayment cannot correct major depressions; patching/leveling is required when flatness tolerances are exceeded.” — Flooring installation guidelines (system tolerance principles)
“Recommended patch/leveler products require cure time and thickness limits; installing early can reintroduce movement or cracking.” — Manufacturer installation instructions for concrete patch/leveler
“Vacuuming immediately before installation reduces grit that can cause localized ridges and noise.” — Underlayment installation best practices (system performance concept)
Remove surface obstacles
Spackle ridges, thin-set lumps, paint drips, drywall compound overspray, and loose debris all create “high points” that can telegraph through underlayment and show up as uneven planks or seams.
Typical workflow:
– Scrape ridges with a floor scraper or putty knife
– Sand/abrade localized high spots as allowed
– Clean dust aggressively—then vacuum again
Level or patch when you have dips/cracks
If the slab has low spots or uneven transitions, use approved concrete patch/leveling materials. Follow:
– Minimum/maximum layer thickness
– Expected cure time before you cover with underlayment
– Whether priming is required
If you see cracks, treat them carefully:
– Stable, minor cracks may be handled depending on the product system and instructions.
– Moving, wet, or structurally significant cracking may require investigation before any floor-covering system goes down.
Keep the process clean
Moisture plans can fail when contaminated dust or moisture is trapped under the underlayment. Vacuum thoroughly right before installation so you don’t seal grit between concrete and the underlayment layer.
Install the Underlayment Correctly (Seams, Overlaps, Fit)
You get a flat, comfortable result when the underlayment lies smooth—no stretching, buckling, or gaps—and when every seam is sealed exactly as directed. Follow the manufacturer’s installation direction and tape method to keep air and moisture pathways to a minimum.
“Seam sealing is part of the moisture system; unsealed or incorrectly overlapped seams can become vapor pathways.” — Underlayment and vapor-barrier installation instructions
“Maintaining required perimeter clearances is crucial for floating floors so movement doesn’t buckle the underlayment or floor panels.” — Floating floor installation requirements (manufacturer guidelines)
“Cutting cleanly around doorways and fixtures prevents underlayment bunching, which otherwise creates ridges at trim transitions.” — Underlayment fit guidance (manufacturer documentation)
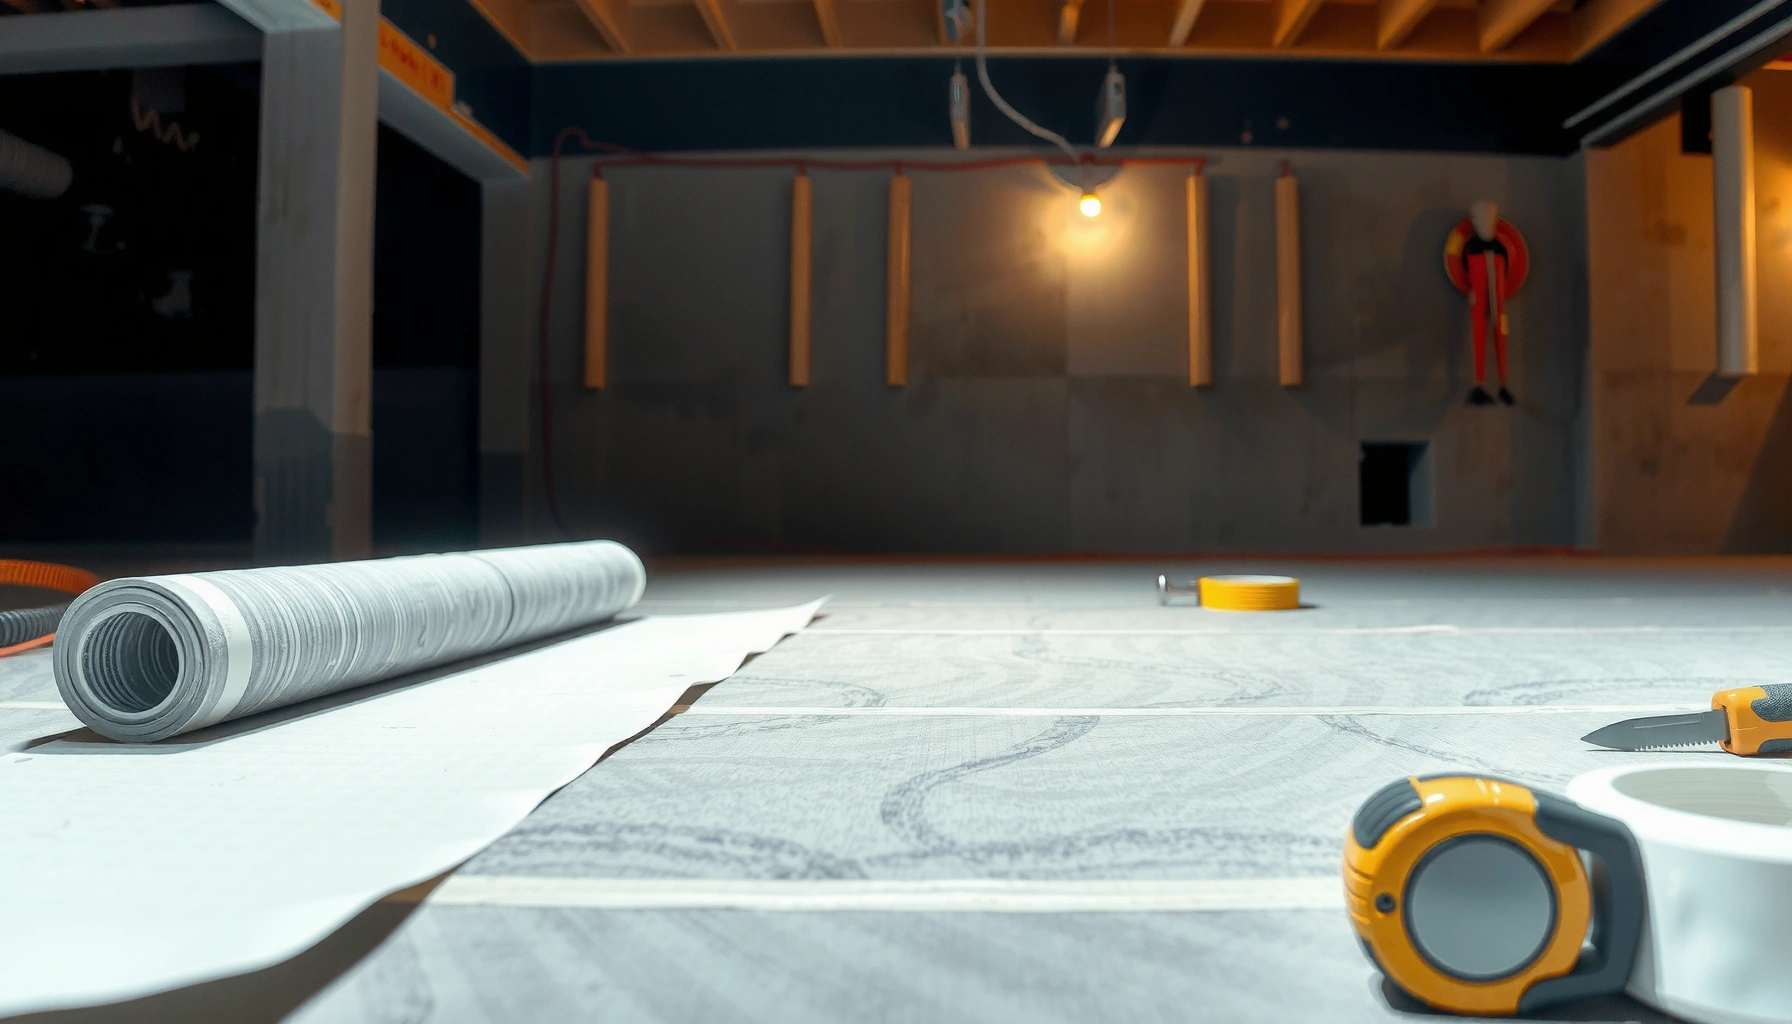
Lay panels/rolls flat and tight
– Install in the direction recommended by the manufacturer.
– Avoid stretching under tension—stretching creates “memory” that can lift edges later.
– Keep edges tight so seams don’t form ridges.
Tape or seal seams exactly as specified
Common seam strategies include:
– Butt-joint with approved tape
– Overlap technique (sometimes with a specified overlap width)
Only use the tape specified for the underlayment/vapor system—generic tapes can fail adhesion, especially in conditioned basements or humid climates.
Maintain required clearances
Floating floors need expansion/perimeter space. Don’t trap the underlayment rigidly:
– Keep underlayment pulled back from walls/trim line as directed by the flooring spec.
– For transitions (doorways, vents, posts), cut and fit so the floor can move as a system.
Common fit details to watch
– Overlap instructions vary by product: follow “overlap” vs “butt-and-tape” exactly.
– Cut around obstacles cleanly: avoid “fold lines” that become raised ridges under trim.
– Keep materials dry: wet underlayment can swell, create odor, or disrupt the moisture barrier plan.
What Can Go Wrong (and How to Avoid It)
Most install failures come from one of four root causes: uneven slabs, incorrect moisture strategy, poorly handled seams, or ignoring the flooring system’s requirements. If you treat underlayment like a “magic patch,” you’ll likely see noise, gaps, or moisture-related problems later.
“If you skip leveling, softer underlayments can compress unevenly, increasing the chance of squeaks and joint stress in floating floors.” — Flooring performance and installation tolerance principles
“Using the wrong vapor strategy can trap moisture under the floor assembly and contribute to odor, mold risk, or dimensional changes.” — Moisture management concepts; ASTM standard moisture test rationale
“Incorrect seam overlap or non-approved tape can undermine the integrity of an otherwise correct moisture plan.” — Underlayment manufacturer seam sealing instructions
Uneven slab
When a slab is not sufficiently flat, underlayment can only reduce minor texture. Over time, compressed low areas can lead to:
– Squeaks and hollow sounds
– Joints separating or shifting
– Visible seam lines in some flooring types
Avoid it: measure flatness early, then patch/level to meet spec.
Wrong moisture approach
Moisture problems often look “mysterious” until you realize the testing and barrier strategy didn’t match. Depending on your flooring system, the risk can include:
– Persistent damp smell
– Surface discoloration (in extreme cases)
– Flooring dimensional movement or cupping tendencies
Avoid it: use required ASTM test methods and product-specific moisture limits. — ASTM F2170; ASTM F1869
Bad seam handling
If seams lift, don’t overlap enough, or are taped with the wrong material, you can create moisture and air pathways. These pathways often concentrate near doorways and transitions where movement occurs.
Avoid it: follow approved seams + tape/overlap method line-by-line.
Skipping floor-system requirements
Floating floors often specify:
– Underlayment thickness limits
– Compression characteristics
– Whether barrier is mandatory
– Perimeter clearance rules
Skipping these can void performance expectations and sometimes warranty coverage.
Avoid it: treat flooring documentation as the primary spec, not the underlayment label.
Verdict: What’s a Safe Recommendation (and Who Should Skip DIY)
Installing underlayment over concrete is usually straightforward when you (1) confirm flatness, (2) verify moisture using the flooring/underlayment documentation, and (3) follow seam sealing and clearance requirements exactly. The downside is real: if your slab has significant moisture issues, you can’t complete required testing, or you select an underlayment that doesn’t meet your floor system’s specifications, you can waste time—and potentially have to redo the whole assembly.
Consider skipping DIY or getting help if you:
– Cannot complete the moisture testing method required by your flooring product
– Need major leveling due to significant flatness failure
– Are dealing with cracks/defects that could indicate active movement or water intrusion
– Have subfloor conditions (e.g., recurring leaks) that require diagnosis before flooring goes down
Quick Checklist (Scan + Save)
– [ ] Slab clean: no dust, paint overspray, drywall mud, or loose material
– [ ] Slab flatness checked and corrected to meet your flooring/underlayment flatness tolerance
– [ ] Moisture plan confirmed per product instructions (test method + acceptance limits)
– [ ] Underlayment type matches flooring requirements (thickness/barrier behavior/seam method)
– [ ] Seams handled exactly as directed (butt-and-tape or overlap; approved tape only)
– [ ] Proper wall and transition clearances maintained for the floating system
– [ ] Underlayment kept dry during storage and installation
FAQ
Do I always need a vapor barrier underlayment on concrete?
Not always. Some underlayments include an integrated vapor barrier, but many flooring systems require a specific approach based on moisture testing and published manufacturer rules—verify the documentation for both your flooring and underlayment.
Can I lay underlayment over cracks in the concrete?
Small, stable cracks may be handled depending on your leveling/patch plan and the manufacturer’s guidance. If cracks are moving, wet, or significant, address the cause first and follow the floor-system requirements before installing anything.
What direction should I install underlayment rolls or panels?
Install in the direction recommended by the underlayment manufacturer, and follow any seam layout guidance they specify. For floating floors, the goal is to avoid underlayment seam transitions that create ridges where plank joints fall.
Do I need to tape all seams?
Often yes, but the exact method depends on the underlayment system (butt-joint vs overlap, approved tape type, and seam sealing instructions). Use only the specified approach to keep the moisture and air barrier system intact.
Sources
– [ADD: Underlayment manufacturer installation instructions/spec sheets for your specific underlayment product—include seam method and tape requirements]
– [ADD: Flooring manufacturer installation guidelines for underlayment thickness, moisture/vapor requirements, and seam/clearance rules—use the exact model series]
– ASTM F2170, Standard Test Method for Determining Relative Humidity in Concrete Floor Slabs Using in situ Probes
– ASTM F1869, Standard Test Method for Measuring Moisture Vapor Emission Rate of Concrete Subfloor Using Anhydrous Calcium Chloride
– ASTM F710, Standard Practice for Preparing Concrete Floors to Receive Resilient Flooring
Installing underlayment under a concrete floor is a system job, not a one-step cover-up. Confirm flatness and moisture first, choose an underlayment that matches your flooring manufacturer’s requirements, and install it flat, tight, and sealed—so your finished floor stays quiet, stable, and protected for the long haul.
Frequently Asked Questions
What underlayment should I use under a concrete floor to prevent moisture problems?
The right underlayment depends on your slab conditions and whether you have moisture concerns. For most concrete floors, a vapor barrier membrane (often polyethylene or a manufacturer-rated underlayment with vapor protection) helps limit moisture migration and can reduce musty odors and flooring failures. If you’re installing over a basement slab or ground-contact slab, choose underlayment specifically labeled for moisture mitigation and follow the thickness and overlapping instructions from the product. When in doubt, confirm slab moisture readings (like ASTM F2170) and match the underlayment to the test results.
How do I properly install underlayment under a concrete floor before laying laminate or vinyl?
Start by cleaning the concrete thoroughly—remove dust, paint overspray, debris, and any high spots. Repair cracks or divots with an appropriate concrete patch and let it cure fully, then vacuum again. Unroll the underlayment flat, overlap seams according to the manufacturer (commonly 4–8 inches for vapor barriers), and tape seams with the recommended tape to keep the moisture barrier continuous. Avoid stretching or wrinkling the material, and leave the required perimeter expansion gap so the flooring can float or expand as designed.
Why is vapor barrier placement critical when installing underlayment on concrete?
Concrete can release moisture vapor over time, and without a proper vapor barrier the underlayment may not protect the flooring system. Moisture can cause cupping, swelling, mold growth, or adhesive failure—especially with laminate, engineered wood, and some luxury vinyl installations. Installing the underlayment correctly with sealed seams and proper overlap creates a continuous barrier layer that reduces moisture transfer from the slab to the floor covering. Always follow the product instructions for lap direction and sealing details, since small gaps can become moisture pathways.
Which underlayment is best for sound reduction on a concrete slab?
For better comfort and reduced impact noise, look for underlayment designed for acoustic performance, such as foam or cork-composite underlayments rated for impact sound reduction. Some systems pair a thin underlayment with a separate vapor barrier, while others are “all-in-one” products that include moisture protection and acoustic layers. Verify compatibility with your flooring type and read any minimum thickness or compression guidance, because too-thick or overly compressible products can affect click-lock or joint performance. If noise is a major concern, also address floor flatness and use perimeter isolation to prevent sound transmission through walls.
How can I handle cracks and uneven areas in a concrete floor before installing underlayment?
Underlayment performs best over a smooth, stable substrate, so address cracks, spalls, and uneven spots before installation. Fill cracks and low areas with a patch/leveler system rated for underlayment use, then grind high spots and vacuum thoroughly. Use a straightedge to check flatness; if the slab is significantly uneven, consider a floor leveling compound rather than relying on underlayment to “cover” imperfections. After repairs cure, install the underlayment without stretching it—localized thickness changes can telegraph through thin flooring and reduce the underlayment’s effectiveness.
📅 Last Updated: October 10, 2026 | Topic: How to install underlayment under concrete floors? | Content verified for accuracy and freshness.
References
- Google Scholar Google Scholar
https://scholar.google.com/scholar?q=how+to+install+underlayment+under+concrete+floors - Google Scholar Google Scholar
https://scholar.google.com/scholar?q=concrete+slab+moisture+barrier+underlayment+flooring+installation - Google Scholar Google Scholar
https://scholar.google.com/scholar?q=resilient+flooring+underlayment+over+concrete+slab+installation+guide - https://en.wikipedia.org/wiki/Underlayment
- Vapor barrier
https://en.wikipedia.org/wiki/Moisture_barrier - NWFA | National Wood Flooring Association
https://www.nwfa.org/ - American Cement Association
https://www.cement.org/ - https://extension.umn.edu/household-goods-and-home-improvement/flooring-installation-moisture
- https://www.energy.gov/energysaver/foundation-insulation
- Google Scholar Google Scholar
https://scholar.google.com/scholar?q=How+to+install+underlayment+under+concrete+floors?