
Removing travertine floors is straightforward when you follow the right sequence: protect adjacent surfaces, prep the floor properly, then break the tile methodically without damaging the subfloor. This step-by-step guide walks you through exactly how to remove travertine tile and clean up residue so the area is ready for new flooring. If you want the fastest, cleanest removal with the fewest surprises, start here.



If you’re removing travertine floors, the safest approach is to protect surrounding surfaces first, then remove the stone in controlled steps (tile piece-by-piece or slabs carefully) with strict dust control. Plan for thinset/mortar cleanup and test what’s under the stone before you pry or grind—otherwise you can damage the subfloor or leave an uneven base for new flooring.
This guide is written for homeowners and DIYers tackling travertine tile or slab removal during a remodel—especially when replacing flooring, exposing subflooring, or addressing cracked/lifting stones. If your travertine is installed over an unknown substrate (plywood, cement board, or a prior underlayment), the “test and prep” steps matter even more than the demolition itself.
Assess Your Travertine Setup (Tile vs. Slab, Mortar Type, Base Layer)

You get better results when you treat travertine removal as a “system,” not just a demolition job. First determine whether you’re removing travertine tile or slabs, then identify the likely mortar/underlayment so your pry points, blades, and cleanup plan match what’s actually beneath the stone.
What to check before you touch a chisel
– Tile vs. slab: Tile (small units) typically comes up after grout removal and careful lifting; slabs (large pieces) often require loosening at perimeter edges and lifting with more controlled access.
– Bond layer (thinset vs. mortar bed): Many travertine floors use a thinset mortar bed (thin layer), but older installs can use a thicker mortar bed. The deeper the bond layer, the more work and dust you’ll face.
– Base layer / substrate: Common underlayers include plywood, cement backer board, mud bed, or other underlayment systems. Your subfloor condition determines whether removal should be conservative or whether replacement sections are likely.
Safety context you should not skip
Crystalline silica exposure is a known construction hazard when grinding/cutting stone. OSHA’s respirable crystalline silica requirements for construction are a key reference point when planning demolition dust control. According to OSHA, the action level is 25 µg/m³ (8-hour TWA) and the PEL is 50 µg/m³ for respirable crystalline silica (OSHA 29 CFR 1926.1153). Also, the International Agency for Research on Cancer (IARC) classifies crystalline silica (inhaled from occupational sources) as carcinogenic to humans (IARC Monographs, Volume 100C).
Before removing travertine, you should confirm whether you have tile or slabs because the lifting method changes the risk of cracking and subfloor damage.
For construction work that generates respirable crystalline silica, OSHA sets an 8-hour action level of 25 µg/m³ and a PEL of 50 µg/m³.
If you’re not sure what the stone is bonded to (thinset, mortar bed, backer board, or plywood), plan a careful test area before full removal.
OSHA benchmarks for respirable crystalline silica (construction, 8-hour TWA)
| # | OSHA benchmark (construction) | Value / requirement | Context in travertine removal | Regulatory strength |
|---|---|---|---|---|
| 1 | Action level (AL) | 25 µg/m³ | Triggers exposure assessment duties if exceeded | ★★★★★ |
| 2 | Permissible exposure limit (PEL) | 50 µg/m³ | Controls required to keep exposure at/below limit | ★★★★★ |
| 3 | Engineering controls / dust reduction | Required approach | Use HEPA vac + appropriate tools | ★★★★★ |
| 4 | HEPA vac / dust capture | Listed as a key measure | Essential if cutting or grinding residue | ★★★★☆ |
| 5 | Regulated work practices | Part of the silica standard | Impacts containment and cleanup | ★★★★☆ |
| 6 | Respiratory protection (when required) | Required under specific exposure conditions | Not a substitute for dust control | ★★☆☆☆ |
| 7 | Silica hazard classification | Carcinogenic to humans (IARC) | Supports strict control expectations | ★★★★★ |
Prep the Area and Control Dust
You keep demolition manageable by isolating the work area before you start removing stone. Protect walls, vents, and doorways, then set up dust capture early—especially if you’ll cut tile, trim edges, or grind thinset.
Containment basics that prevent “fine dust everywhere”
– Mask/cover and isolate: Remove or cover furniture, cover HVAC returns, and seal door gaps with plastic sheeting and painter’s tape.
– Use PPE correctly: Eye protection, gloves, and respiratory protection are non-negotiable when stone dust is present.
– Contain debris path: Stage demolition materials in a dedicated zone, and plan a controlled exit route for buckets, bags, and tools.
Work method choices
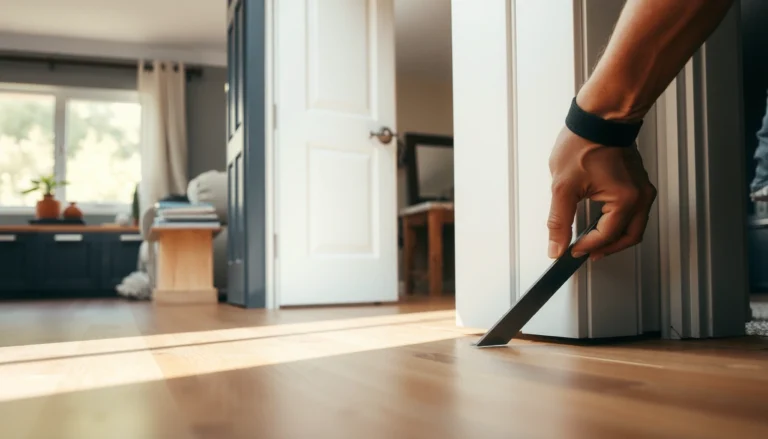
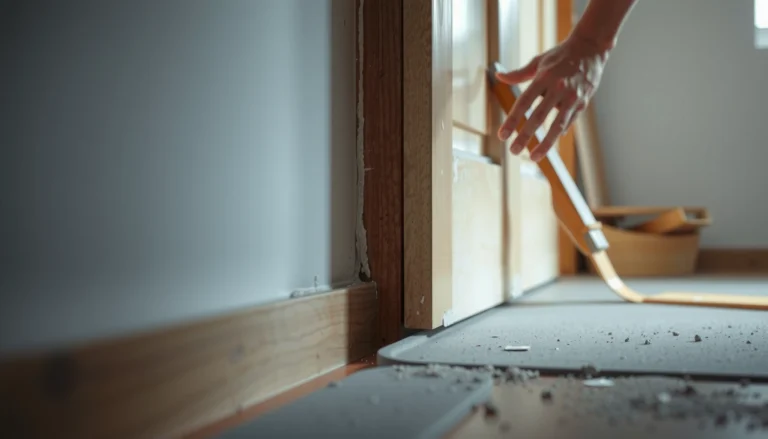
– Score before you pry: Where travertine meets baseboards or adjacent trim, score the joint (for example, with a utility blade) so you reduce drywall/trim splintering.
– Avoid uncontrolled dry cutting: Dry cutting with a grinder typically increases airborne dust. Where cutting/grinding is necessary, use a vacuum attachment and follow silica control expectations from OSHA (OSHA 29 CFR 1926.1153).
Dust containment matters because stone work can generate respirable crystalline silica under OSHA’s construction standard.
Scoring trim and edges before prying reduces collateral damage, especially where baseboards meet tile edges.
Engineering controls (like HEPA dust capture) are preferred over relying only on respirators when managing silica risks.
Remove Travertine Tile by Tile (or Slabs Carefully)
You get the cleanest results when you remove grout/caulk first and then lift in controlled increments from an access edge. Whether you’re working with tile or slabs, the goal is to reduce stress on the stone and avoid gouging the subfloor.
For travertine tile: remove with controlled leverage
– Remove grout/caulk lines first: Cutting/grinding grout at joints (or carefully removing it with a grout tool) reduces how strongly tiles “lock” together.
– Start from an edge or corner: Begin where you can access the underside or create a safe pry path.
– Lift gradually: Use a chisel/flat bar to lift small sections, keeping your pry angle steady rather than forcing large breaks.
For travertine slabs: loosen perimeter and lift strategically
– Work the perimeter: Loosen the stone at edges where the bond is exposed and where you can get a controlled lifting point.
– Avoid snapping: Slabs can crack if you “wedge” under unsupported spans—take time to free sections evenly.
– Plan for underlayer exposure: Slabs often reveal more mortar/skim layers, so expect greater thinset cleanup after removal.
Pros/cons comparison: tile vs. slab removal
| Approach | Pros | Cons / risks |
|---|---|---|
| Tile (piece-by-piece) | Better control; easier to stop when an area looks stable | More individual joints to remove; thinset still requires scraping |
| Slabs (careful lift) | Fewer cuts; faster removal if slabs release cleanly | Higher chance of cracking stone; larger potential to damage subfloor |
Removing grout before prying reduces tile “interlock,” which lowers the chance of pulling up multiple pieces unpredictably.
Slab removal should begin at perimeter edges because unsupported lifting can snap stone and tear up the substrate.
Remove Thinset/Mortar and Flatness-Check the Subfloor
You’re not done when the travertine lifts—you’re done when the base is clean, stable, and flat enough for the next floor system. Start by removing residual mortar with the right tools for your substrate, then inspect flatness and replace compromised base materials.
Clean-up workflow
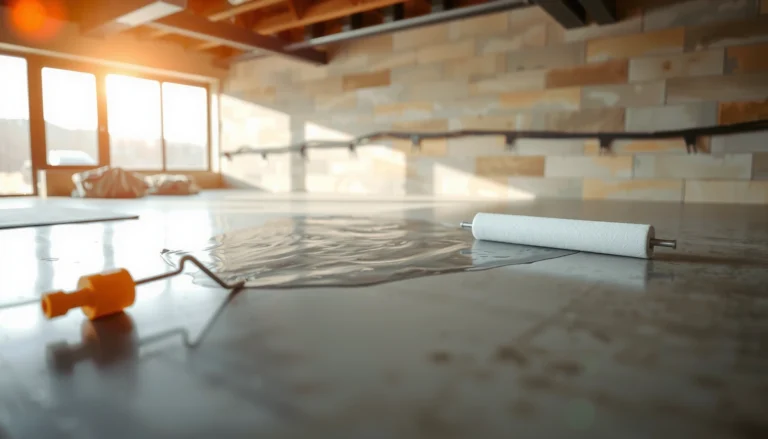
– Scrape first: Use a floor scraper to remove most leftover thinset/mortar.
– Switch tools as needed: For concrete, a carbide blade or appropriate grinder attachment can help; for plywood, you must be more careful to avoid gouging or removing material needed for support.
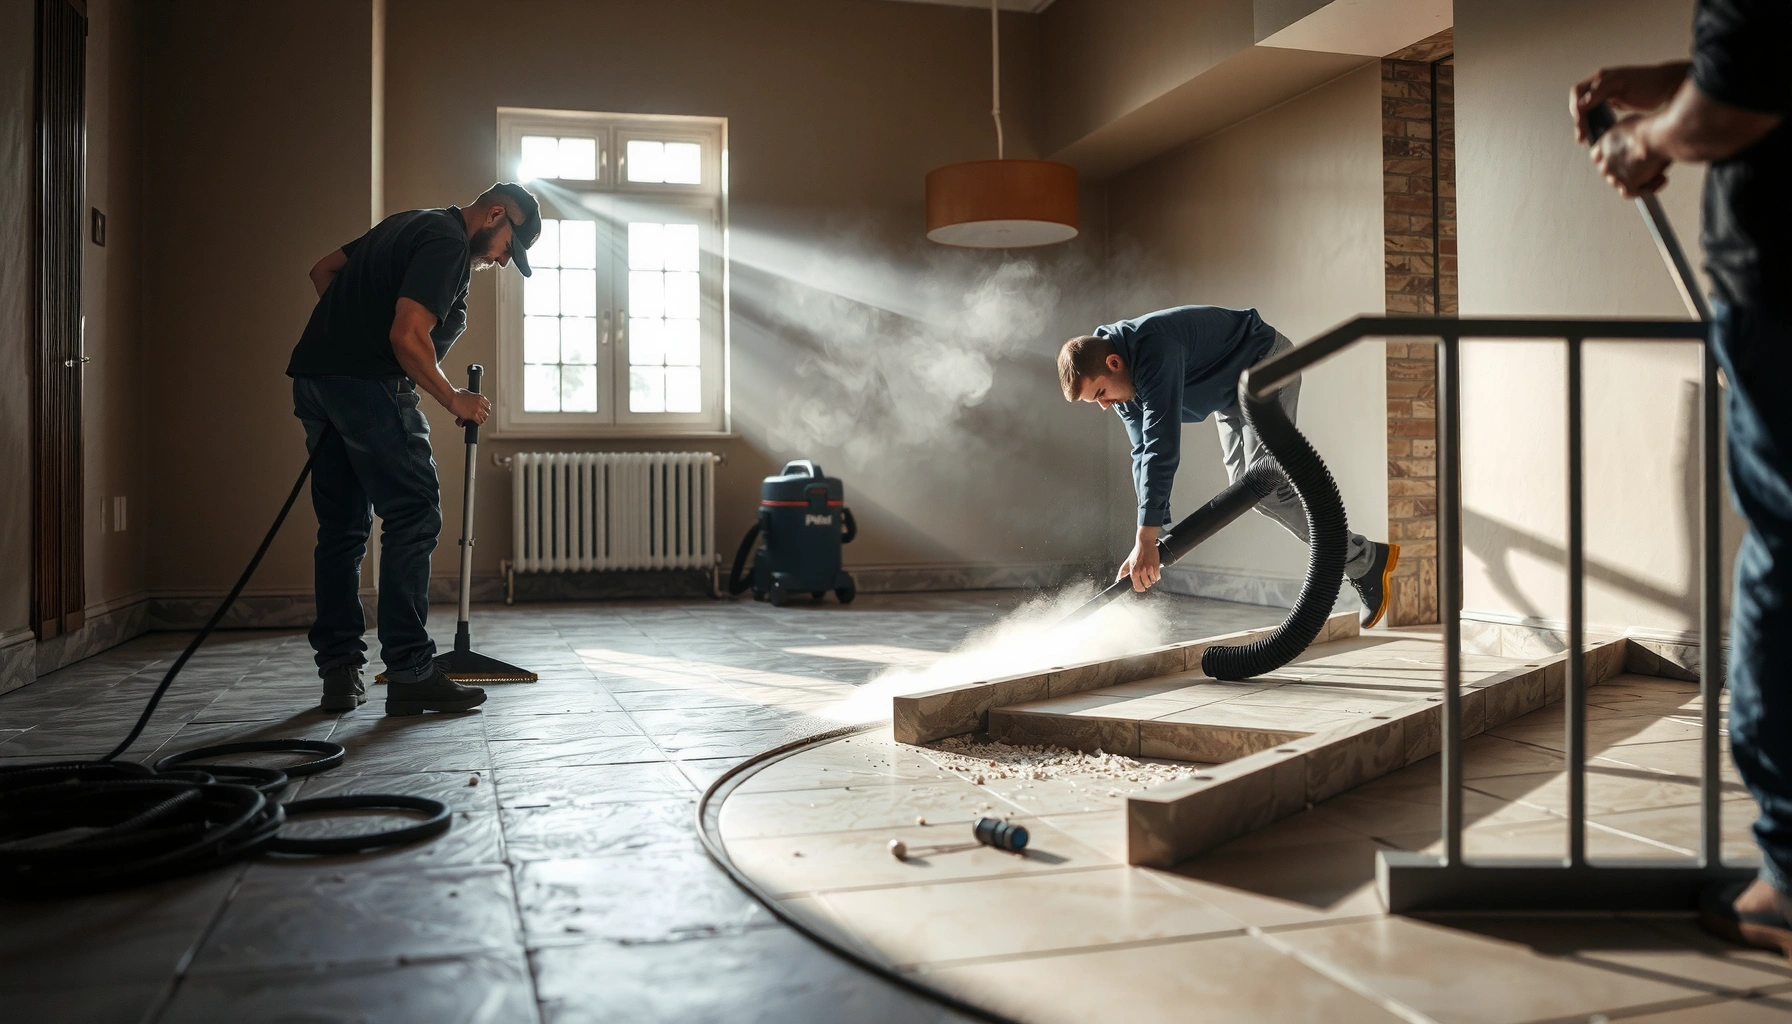
– Vacuum thoroughly: Fine stone dust and mortar residue can ruin bonding for new flooring if left behind.
Flatness and condition checks
– Inspect for ridges and voids: New flooring—especially tile or engineered systems—often needs a flatter surface than you think.
– Check base layer integrity: If you find compromised plywood, failing backer board, or soft spots, replacement may be necessary before installation continues.
After demolition, new flooring performance depends heavily on a clean, stable, and sufficiently flat substrate—not just on removing the visible tile.
Vacuuming after thinset removal is critical because mortar dust can interfere with bonding for many underlayment and tile systems.
What Can Go Wrong (Common Mistakes and Edge Cases)
Most failures in travertine removal come from rushing the sequence or treating the stone like it’s the only material that matters. If you pry aggressively, skip grout release, or ignore underlayment unknowns, you can crack travertine, damage plywood, or create an uneven base that your new floor won’t tolerate.
Common mistakes
– Breaking more stone than necessary: Forcing large sections early can crack brittle travertine and leave sharp shards.
– Damage to subflooring: Pry at the wrong angle or without edge access and you can gouge plywood/cement board.
– Unknown underlayment: If there’s existing adhesive, backer board, or prior flooring, removal steps may change—sometimes mid-project.
– Excess dust: Dry cutting/grinding without containment spreads fine stone dust into HVAC and other rooms.
– Grout still binds tiles: Skipping grout removal often turns “tile lifting” into “tile tearing,” increasing cleanup.
The most common quality problem after travertine demo is substrate damage or unevenness, not the stone removal itself.
Skipping grout removal can cause tiles to remain mechanically bonded, leading to larger breaks and more residue.
Verdict: What We Recommend (and When to Stop DIY)
If your travertine is tile and you can access edges, piece-by-piece removal with grout-first and dust-controlled methods is usually the most DIY-friendly path. If you’re dealing with large slabs, thick mortar beds, significant subfloor damage, or older assemblies with unknown layers, it’s smarter to pause and have a qualified installer evaluate the substrate and removal scope.
When to consider professional help
– You suspect a thick mortar bed or a deteriorated base layer that will require rebuilding.
– You need aggressive grinding in occupied areas without adequate containment.
– The project timeline is tight and you can’t tolerate extensive cleanup delays.
DIY vs. Pro decision snapshot
| Factor | DIY removal fits best when… | Professional removal fits best when… |
|---|---|---|
| Stone type | You’re removing travertine tile with edge access | You must lift large travertine slabs intact or avoid major breakage |
| Bond thickness | You expect thinset-level residue and manageable scraping | You likely have thick beds requiring heavy grinding and extended dust control |
| Substrate condition | Subfloor looks sound during test removals | You find soft spots, failing backer board, or structural concerns |
If you find compromised base layers during test demolition, stopping DIY early can prevent expensive rebuilds later.
OSHA’s respirable crystalline silica standard is a reason to treat dust control as a primary demolition “task,” not an afterthought.
Quick Checklist Before You Start
– [ ] Confirm tile vs. slab and note what it’s set on ([ADD: substrate type you have])
– [ ] Protect walls/doorways/vents with plastic sheeting and tape
– [ ] PPE ready (eye protection, gloves, respiratory protection)
– [ ] Dust control plan (vac attachment / contained workspace)
– [ ] Plan grout/edge removal before prying
– [ ] After removal: scrape thinset/mortar and flatness-check subfloor
– [ ] Dispose of debris safely and clean thoroughly before new flooring
FAQ
Can I remove travertine flooring without cracking the stone?
Often you can reduce cracking by removing grout first and lifting slowly from edges, but travertine can still fracture—especially if it’s brittle, tightly bonded, or already damaged.
What’s the hardest part: removing the travertine or the thinset?
Thinset/mortar residue is usually the most time-consuming part because it can be firmly bonded and may require scraping or controlled grinding depending on the subfloor.
Do I need to remove all thinset before installing new flooring?
Most new flooring systems require a clean, stable surface with appropriate flatness. In many cases that means removing loose material and flattening ridges—exact requirements depend on the new flooring type and manufacturer guidance. ([ADD: your new flooring system/manufacturer requirements])
What tool should I use to remove thinset from concrete or plywood?
Use the method that matches your subfloor: scraping and specialized blades often work for tile residue on concrete, while plywood is more sensitive to gouging—[ADD: your subfloor material] determines the safer choice. When in doubt, do a small test patch first.
Should I hire someone if the travertine is set in a thick mortar bed?
If there’s a deep mortar bed, aggressive removal can escalate into major subfloor rebuilding and extensive dust control needs. [ADD: your mortar-bed depth or substrate details] will help decide whether DIY is realistic.
Sources
– OSHA 29 CFR 1926.1153 — Respirable Crystalline Silica (construction) (action level and PEL benchmarks and dust-control framework)
– IARC Monographs, Volume 100C (2012) — Carcinogenicity of crystalline silica inhaled from occupational sources (hazard classification)
– OSHA / silica standard guidance materials associated with 29 CFR 1926.1153 (engineering control and work practice expectations)
– [ADD: manufacturer instructions/spec sheet for travertine tile removal approach or thinset mortar compatibility, if known]
– [ADD: flooring/underlayment installation guidelines for your specific base layer type (e.g., cement board or plywood) from the manufacturer’s documentation]
If you remove travertine floors with a system mindset—protect the space, control silica dust, lift in controlled steps, then clean and verify flatness—you can minimize both stone breakage and substrate damage. The trade-off is time and discipline: grout release, edge scoring, and substrate inspection are what separate a smooth remodel from a messy rebuild. When you encounter thick mortar beds, major subfloor deterioration, or uncertain assemblies, pausing DIY and getting professional assessment can save money and protect your new flooring investment.
Frequently Asked Questions
What’s the safest way to remove travertine floors without damaging the subfloor?
Start by protecting walls, vents, and baseboards, then remove any trim and shoe molding so you can access the tile edges cleanly. Use a grout removal tool and razor scraper to open the grout lines first, which helps reduce breakage. For removal, work in small sections with a chisel or floor scraper, and stop if you see mortar adhering to the concrete—use a heat gun or floor prep chemical to soften it instead of forcing it.
How do you remove travertine tile that’s set in mortar or thinset?
Travertine removal usually requires grinding or chipping out the grout, then breaking up tile so mortar/thinset can be lifted in manageable pieces. If thinset is present, you’ll often need mechanical removal (floor scraper, oscillating multi-tool, or floor grinder) to get down to the subfloor surface. For stubborn spots, apply a thinset remover designed for stone floors and follow the dwell time before scraping to avoid gouging the subfloor.
How can you remove travertine flooring while keeping some tiles intact for reuse?
To preserve travertine tiles, focus on removing all grout thoroughly and cutting through any caulk or adhesive at edges and transitions. Use a grout saw and then carefully insert a tile removal chisel to lift each tile from the corners, applying steady pressure rather than prying aggressively. Expect that some tiles may still crack if the installation bond is strong, so plan to test a small area first before committing to whole-floor removal.
Why does travertine removal create dust, and how do you control it?
Travertine floors can produce fine stone dust and silica particles when tiles, mortar, or thinset are chipped or ground, which can be harmful to inhale. Use a HEPA-filter vacuum during scraping/grinding, seal off doorways, and wear proper respiratory protection and eye protection. Wet methods can help reduce dust in some cases, but be careful—excess moisture can spread into cracks and complicate cleanup.
What’s the best method to remove travertine floor adhesive after tile is taken up?
For adhesive or thinset left behind, the “best” approach depends on how thick it is: thin layers often come off with a floor scraper plus a manufacturer-approved adhesive remover, while thick coverage may require mechanical grinding. Avoid harsh chemicals that can damage cement backer, wood subflooring, or leave residues that prevent new tile bonding. After removal, scrape and vacuum thoroughly, then check flatness—travertine floor installs need a smooth, properly prepped surface for the next flooring system.
📅 Last Updated: October 09, 2026 | Topic: How to remove travertine floors? | Content verified for accuracy and freshness.
References
- Google Scholar Google Scholar
https://scholar.google.com/scholar?q=How+to+remove+travertine+tile+floor - Google Scholar Google Scholar
https://scholar.google.com/scholar?q=removing+natural+stone+tile+thinset+adhesive+procedure - Google Scholar Google Scholar
https://scholar.google.com/scholar?q=travertine+floor+removal+grinding+silica+asbestos+precautions - Travertine
https://en.wikipedia.org/wiki/Travertine - https://www.britannica.com/science/travertine
- https://www.osha.gov/crystalline-silica
- Silica and Worker Health | Silica | CDC
https://www.cdc.gov/niosh/topics/silica/ - Asbestos | US EPA
https://www.epa.gov/asbestos - https://www.cdc.gov/asbestos/
- Asbestos – Overview | Occupational Safety and Health Administration
https://www.osha.gov/asbestos