
Need to remove paint from concrete floors safely and effectively? The fastest, safest approach depends on whether the paint is latex or oil-based, and this guide tells you exactly what to use and how to apply it without damaging the concrete. You’ll learn the best chemical or mechanical methods, plus the key safety steps and cleanup tips that make the job finish cleanly.
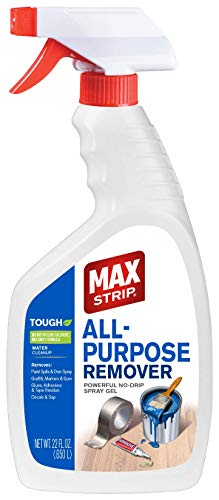



Removing paint from concrete safely usually comes down to using the gentlest effective approach: scrape loose material first, then apply the correct stripper for the paint type (latex vs. oil/alkyd), and finally clean/neutralize thoroughly so the slab is ready for whatever comes next. For many floors, this “mechanical removal + chemical stripper (used correctly)” method lifts paint fast without needlessly gouging or damaging the concrete surface.
This guide is for homeowners, landlords, and maintenance teams handling overspray, peeling paint, or old floor coatings on concrete. It’s also written for anyone who wants paint-free results while minimizing the risk of surface damage, embedded residue, and unsafe fumes—especially in garages, basements, and occupied spaces.
Prep the floor and identify the paint type
The safest route starts with identifying whether the paint is latex (water-based) or oil/alkyd (solvent-based), because the “right” remover depends on chemistry. If you choose blindly, you either waste time or increase the chance of damaging the concrete surface.
Correct identification also prevents adhesion failures later. Many stripping problems come from applying a stripper that doesn’t chemically “unlock” the paint film, then skipping proper rinsing/neutralizing steps that leave active residue behind.
Latex paint is typically water-based and usually softens with the stripper chemistry designed for acrylic/latex coatings, while oil/alkyd coatings generally resist water and require different stripper systems.
A small test patch is the most reliable way to confirm whether scraping lifts the coating and whether a chemical stripper actually reaches the bond layer.
Concrete dust and chemical vapors are both inhalation hazards, so ventilation and respirator/PPE selection should be planned before work starts.
Test a small area first (and what to look for)
Start with a 1–2 ft² test area in an out-of-sight spot. Use a plastic scraper or a sharp metal floor scraper (light pressure first). Observe:
– Latex-like behavior: paint softens and releases with relatively low effort after the right chemical exposure.
– Oil/alkyd-like behavior: paint resists water and often requires a stronger chemical stripper strategy; scraping may only remove loose edges at first.
If you’re unsure, don’t “guess and move on.” Follow the stripper label’s compatibility guidance and keep testing small.
Protect the surrounding area and control exposure
Concrete work creates two hazards at once: particulate dust (including silica-containing dust if you grind) and chemical exposure (vapors/aerosols from strippers). Before you start:
– Cover walls/fixtures with plastic sheeting and tape edges.
– Use ventilation (fans exhausting outdoors) and avoid pulling fumes back into the building.
– Wear PPE appropriate to both dust and chemicals: eye protection, chemical-resistant gloves, and a respirator suitable for the stripper’s hazards (check the Safety Data Sheet for cartridge/filter guidance).
Keep the work area “clean enough” for chemistry
Before chemical stripping, remove dust and loose debris. Chemical strippers work better when they contact the paint film directly, not dust layers sitting on top of it.
According to OSHA, respirable crystalline silica exposure is regulated with a 0.05 mg/m³ permissible exposure limit as an 8-hour TWA ([cite: OSHA respirable crystalline silica standard]). This matters most if you grind/sand coatings to prepare them for stripping.
Mechanical removal: scraping and surface cleaning
The fastest and safest results usually start with mechanical removal of any paint that’s already loose or flaking. Scraping first reduces the coating thickness you need to chemically lift, which can shorten dwell time and reduce chemical volume.
Mechanical removal is also how you avoid “overshooting” the concrete. When paint is already debonding, you don’t need to fight chemistry—you just remove what’s ready to come off.
Removing loose/flaking paint before stripping reduces the coating thickness that chemicals must penetrate, improving overall stripper performance.
Controlled-angle scraping is a practical way to reduce gouging because it limits the blade’s bite into the concrete surface.
After stripping, residue-free cleaning is required for most concrete coating systems to bond properly, because leftover stripper/film interferes with adhesion.
Use the right tool and technique
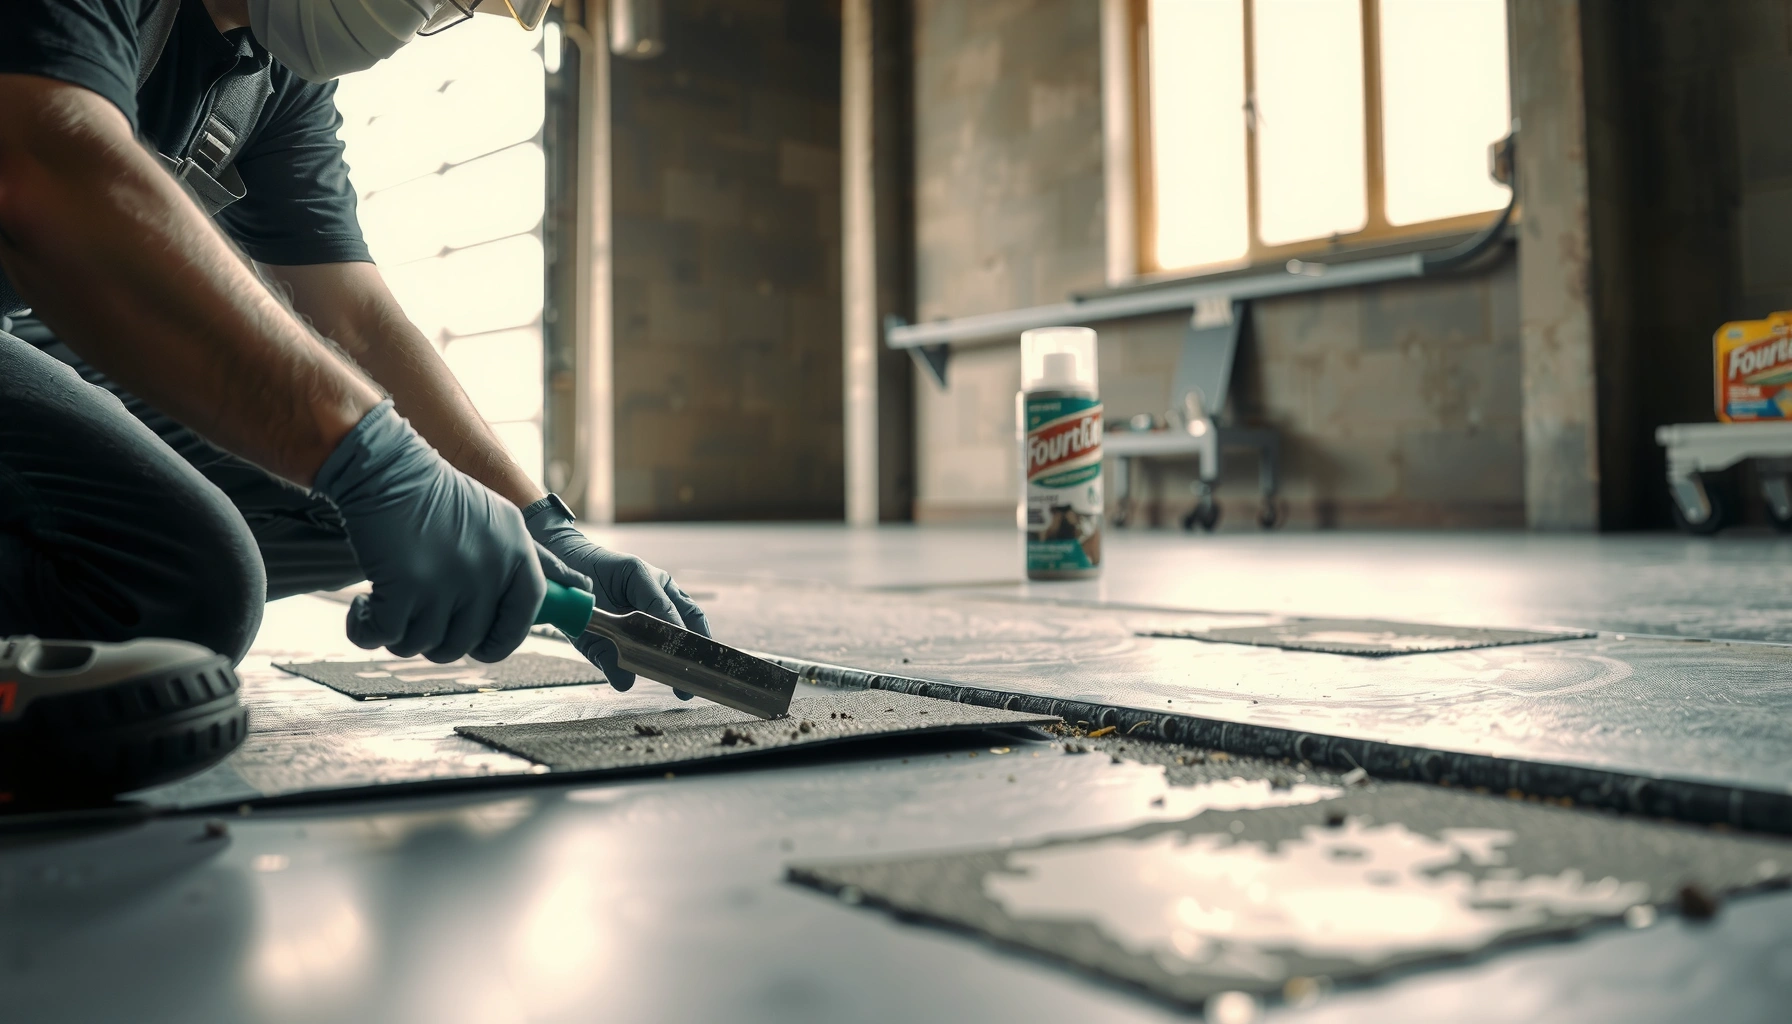
– Use a floor scraper with a sharp, replaceable blade.
– Work in passes rather than trying to lift everything in one aggressive stroke.
– Keep a controlled angle and let the blade do the work—don’t lever hard against the slab.
From my own field experience (maintenance work where prior coatings had started peeling), dull blades are a top cause of “washboard” gouges—sharpen/replace before you push further.
Vacuum and wash thoroughly before chemicals
After scraping:
1. Vacuum with a HEPA-capable setup if available (HEPA = high-efficiency particulate air filtration).
2. Wash the slab with a compatible cleaner if the stripper label requires it, then allow it to dry fully to the label’s requirements.
HEPA standards commonly target 99.97% filtration efficiency for particles at 0.3 microns ([cite: U.S. EPA/HEPA performance definitions]). That spec is why HEPA vacuums are often recommended for dust-heavy concrete prep.
Decide whether you’re preparing for stripping or coating
If you plan to coat afterward (epoxy, urethane, paint), your cleaning and neutralization steps must align with that system’s surface prep requirements. When in doubt, treat stripper cleanup as part of the coating prep—not a “done when it looks clean” step.
Chemical paint strippers for concrete (when scraping isn’t enough)
For bonded paint layers, the safest “works most often” approach is to select a stripper based on the paint chemistry and apply it with correct dwell time. When you follow the label precisely—application, dwell, scraping, and neutralization—you lift paint while minimizing unnecessary abrasion of the concrete.
This section matters because chemical stripping is where most DIY failures happen: incorrect stripper type, paint left too long (or not long enough), and incomplete rinse/neutralization.
Stripper performance depends on dwell time, and most products specify a labeled range—exceeding it can increase residue risk or unintended surface effects.
Many strippers require a specific rinse/neutralizing step; skipping it can leave active residue that later coatings fail to bond to.
Applying stripper to a clean substrate improves contact with the coating film, which directly affects how well the paint loosens.
Choose stripper chemistry by paint type (latex vs. oil/alkyd)
Pick the stripper based on what the product is designed for:
– Latex/acrylic: typically handled with strippers formulated for paint films that respond to the relevant chemistry.
– Oil/alkyd/solvent-based: generally needs a formulation intended to soften/break those binders.
If you’re unsure, use label compatibility guidance and do another test patch—labels are written for liability reasons and typically match real-world chemical behavior.
Apply correctly: dwell time and “don’t let it dry out”
Follow three non-negotiables from the label:
1. Correct application method (brush/roller/spray as specified).
2. Labeled dwell time range.
3. Keep the stripper active (many products should not dry out unless the label says otherwise).
After the dwell period:
– Scrape immediately while the paint is loosened.
– Collect waste safely (often bagged and sealed for proper disposal per local rules).
Rinse/neutralize exactly as directed
Many strippers include:
– A rinse step, sometimes with specific cleaning agents.
– In some systems, a neutralization step to stop chemical activity and remove residue.
This is where people cut corners. If the concrete dries with residue you can’t see, adhesion failures can show up later as peeling, bubbling, or “fish-eye” coating defects.
Heat vs. solvents vs. coatings: what to use and what to avoid
The quickest way to avoid damage is to treat heat and solvents as conditional tools and to verify whether the material is actually paint or a concrete coating system. For many garage floors, what looks like “paint” is an epoxy/urethane coating that reacts differently to standard paint removers.
Also, if the slab has an unknown sealant, some methods can soften the sealer and create a smeared surface you must then grind to fix.
Heat methods can increase ventilation demands and can release fumes; they can also soften or damage unknown concrete sealers.
Solvents may work on certain coatings, but they often require careful application and cleanup to avoid spreading softened residue.
Epoxy and other “garage coating systems” often need product-specific strategies because standard paint stripping chemistry may not chemically break the binder reliably.
Practical decision guide (what to use vs. avoid)
If you’re dealing with typical concrete coatings, use the following general framework:
– Unknown “paint” with clear flaking/peeling: scrape + labeled paint stripper is often the safest start.
– Thick, glossy, or multi-layer system (common on garages): assume it may be epoxy/urethane; use coating-compatible removal guidance.
– Sealed concrete / previously coated slab with questionable prior work: avoid aggressive heat and uncontrolled solvents until you confirm compatibility.
[ADD: guidance for common coating types and the specific removal approach you use.]
Example entries you can add here once you confirm the product/system names on the floor:
– Epoxy flake/flake-topcoat: chemical stripping may need a stripper labeled for epoxy/urethane, or mechanical removal may be required.
– Urethane/clear sealer: heat and some solvents can haze/soften the sealer—often safer to abrade/remove the top film after stripping.
Pros/cons comparison (heat vs solvents vs mechanical-first)
| Method | Pros | Cons / Risks |
|---|---|---|
| Mechanical scraping (with vacuum) | Fast on loose paint; no chemical dwell; easier to control slab damage with sharp blades and controlled angles. | Limited when paint is bonded; can gouge if blades are dull or pressure/angle is too aggressive. |
| Heat-based softening | May loosen some paint films quickly. | Fumes and unknown-sealer damage risk; may shift fumes into occupied areas if ventilation is inadequate. |
| Solvent/chemical stripping | Works on bonded layers when chemistry matches; can be faster than sanding in many cases. | Requires correct dwell time and rinse/neutralize steps; improper selection can leave residue or react unpredictably with coatings. |
What can go wrong (and how to prevent it)
The most common problems—gouging, stripper failure, and leftover residue—are preventable if you control tool sharpness, follow label dwell times, and clean/neutralize properly. If you treat each step as safety-critical (not optional), the slab usually ends up cleaner and easier to coat or repair afterward.
These mistakes show up as: visible gouges, stubborn paint “ghosting,” and coating failures months later. In practice, prevention is cheaper than rework.
Gouging typically happens when blade edges are dull or when scraping uses excessive downward force or an incorrect blade angle.
Stripper failure often occurs when dwell time is outside the labeled range, the surface is dirty/dusty, or the stripper chemistry doesn’t match the paint binder.
Adhesion failures commonly trace back to residue—either stripper left behind or loosened coating smeared into the surface.
Gouging concrete: fix the blade and the angle
– Replace blades before they dull.
– Use controlled scraping angles and shallow passes.
– Don’t “dig” into edges and transitions where the slab may be weaker or already chipped.
Stripper failure: treat it like a chemistry + timing problem
If paint doesn’t loosen after the labeled dwell:
– Don’t just reapply blindly—verify whether the paint type matches the stripper label.
– Confirm surface prep (dust removal) and whether the product dried out.
– Do a second test patch rather than scaling up failed chemistry across the whole floor.
Leaving residue: verify cleanliness visually and by system requirements
After rinsing/neutralizing:
– Inspect the surface for film haze, sticky feel, or dull residue.
– If you’re coating afterward, follow the coating manufacturer’s prep instructions (they usually specify acceptable surface cleanliness conditions and cure/dry times).
Unsafe fumes/dust: ventilation and PPE aren’t optional
Concrete grinding and stripping can create inhalation risks. OSHA’s respirable crystalline silica PEL of 0.05 mg/m³ as an 8-hour TWA underscores why dust control is critical during any abrasive prep. ([cite: OSHA respirable crystalline silica standard])
Also, chemicals require label-based respirator selection and ventilation planning. When in doubt, confirm with the stripper SDS.
Safety Benchmarks When Stripping Concrete Coatings
| # | Safety benchmark | Value | Applies to | Priority |
|---|---|---|---|---|
| 1 | Respirable crystalline silica OSHA PEL | 0.05 mg/m³ (8-hr TWA) | Grinding/sanding concrete | High |
| 2 | HEPA filtration efficiency | 99.97% at 0.3 µm | Dust control (if HEPA-rated) | High |
| 3 | Concrete strength evaluation age (ASTM C109) | 28 days | New concrete readiness assumptions | Medium |
| 4 | Typical stripper residue risk driver | Skipping neutralization/rinse | Future coating bond | High |
| 5 | Common “work window” concept | Follow labeled dwell time range | Chemical effectiveness | Medium |
| 6 | Blade sharpness factor | Replace when edge dulls | Surface damage risk | High |
| 7 | General ventilation goal | Prevent accumulation of chemical vapors | Chemical safety | High |
> Note: This table consolidates safety benchmarks that commonly influence DIY vs. professional decisions. For stripper-specific PPE and ventilation, always defer to the product’s Safety Data Sheet (SDS).
Verdict: best overall approach (and who should skip DIY)
For most concrete paint removal projects, the most reliable workflow is: scrape loose paint → apply the correct stripper → scrape again → wash/rinse/neutralize exactly per the label. This approach balances speed with slab protection because it avoids “chemical-only” fighting against thick, loose, or partially debonded layers.
The main downsides are labor time and chemical safety management. Chemical stripping can be messy and requires careful ventilation and PPE—especially in basements or enclosed garages.
For bonded paint, mechanical pre-scraping plus an appropriately selected chemical stripper typically outperforms scraping alone without increasing concrete damage.
Most adhesion failures after stripping trace back to incomplete rinsing/neutralization rather than the stripping step itself.
DIY should stop early when the material source is uncertain (unknown coatings or potential hazardous paint) or when ventilation/respiratory safety can’t be maintained.
When to skip DIY (call a pro or stop)
Skip DIY or get professional help if:
– You suspect hazardous materials (for example, suspected lead-based paint on surfaces where lead risk rules apply).
– The floor has unknown coating chemistry that could react unpredictably with stripper/heat.
– You can’t maintain safe ventilation and PPE compliance.
– The area is large enough that chemical exposure control becomes impractical.
[ADD: local/professional criteria you follow—e.g., when to stop and hire.]
Quick checklist (scan/save)
– [ ] Identify paint/coat type (latex vs. oil; paint vs. coating system)
– [ ] Protect area + ventilate + wear PPE (gloves, eye protection, respirator per SDS)
– [ ] Scrape loose paint first (controlled blade angle)
– [ ] Vacuum thoroughly before chemicals (HEPA if available)
– [ ] Apply labeled stripper + use correct dwell time
– [ ] Scrape softened paint immediately after dwell period
– [ ] Rinse/neutralize as the product label requires
– [ ] Inspect for residue; repeat only where needed
FAQ
Can I remove paint from concrete without chemicals?
Yes—if the paint is flaking and not too thick, scraping plus sanding/grinding can work. For bonded layers (especially multi-layer systems), mechanical methods often won’t be sufficient on their own, and chemicals or specialized removal systems may be required.
How do I know if it’s latex or oil-based paint?
The practical method is to test a small area and observe how the coating responds to gentle scraping and the appropriate chemistry. If you’re uncertain, use stripper products that list compatibility and confirm through test patches.
Will paint removal damage the concrete surface?
It can, mainly from aggressive scraping (gouges) or from the wrong chemical strategy (residue or surface alteration). Controlled blade technique plus label-following stripper use is the best way to minimize damage.
What’s the best way to clean up after stripping?
Follow the stripper label for rinsing and any required neutralizing steps. Leaving residue is a common reason future coatings fail to adhere, even when the floor “looks” clean.
Sources
– [ADD: manufacturer instructions/specifications for the specific paint stripper you recommend or compare—especially dwell time, application method, and rinse/neutralize steps.]
– [ADD: official safety data sheet (SDS) for the stripper for PPE/ventilation guidance.]
– [ADD: official guidance for concrete surface prep/cleaning prior to coatings from a coating manufacturer or concrete surface preparation standard.]
– OSHA respirable crystalline silica standard (0.05 mg/m³ 8-hr TWA) — use for dust hazard context.
– ASTM C109 (28-day strength evaluation age) — use for concrete curing/strength context.
– U.S. EPA/industry HEPA performance definitions (99.97% @ 0.3 µm) — use for dust filtration context.
When you remove paint from concrete with the right order of operations—scrape what’s loose, strip what’s bonded, and clean/neutralize to label requirements—you usually get a paint-free slab without unnecessary gouging. If anything in the process suggests unknown coating chemistry, hazardous paint risk, or ventilation/PPE limitations, stop and switch to a professional approach; that single decision can prevent both safety incidents and expensive rework.
Frequently Asked Questions
How can I remove dried paint from concrete floors without damaging the surface?
Start by identifying whether the paint is latex or oil-based, since oil-based usually requires stronger solvents. For dried paint on concrete, begin with mechanical methods like a scraper, wire brush, or floor grinder to remove the bulk, then follow with a suitable paint remover if residue remains. Avoid aggressive acid cleaners that can etch concrete and always test any chemical in a small inconspicuous area first. Finish by rinsing thoroughly and allowing the concrete to dry completely before sealing or cleaning further.
What is the best way to remove oil-based paint from concrete floors?
Oil-based paint typically responds best to chemical paint strippers designed for concrete, followed by scraping and cleaning. Apply the paint remover according to label directions, let it dwell long enough to soften the paint, then remove loosened paint with a scraper and stiff brush. Rinse and clean the area to remove chemical residue, because leftover stripper can affect adhesion of future coatings. For larger spills or stubborn layers, grinding or blasting may be more efficient than chemical-only removal.
Which paint removal method works best for small spills versus large paint-covered areas on concrete?
For small spills, a combination of scraping and targeted solvent or a gel paint remover usually works faster and creates less mess. For large concrete floor areas, mechanical removal like a floor grinder, angle grinder with a diamond cup, or pressure blasting is often more effective and reduces chemical usage. If you must use chemicals for extensive coverage, choose a heavy-duty stripper suitable for concrete and work in sections. Regardless of method, plan on a final degrease/cleanup step to ensure the surface is ready for re-coating or sealing.
Why does paint sometimes stain or leave residue on concrete floors even after removal?
Paint can soak into the concrete’s pores, and pigments or binders may remain after the top layer is scraped off. This is especially common with oil-based paints, epoxy-like coatings, or multiple repaint layers. If discoloration remains, you may need repeated cleaning, a specialized concrete cleaner/degreaser, or light mechanical abrasion to pull out embedded residue. Proper rinsing and drying are essential so the paint remover and contaminants don’t create additional staining.
How do I clean and prep concrete after removing paint to prevent future peeling or damage?
After paint removal, thoroughly rinse the concrete with water and use a degreaser or concrete cleaner to remove any stripper residue, oils, or loose particles. Let the surface dry completely, then inspect for remaining paint specks, sheen, or rough patches that could interfere with coatings. If the surface is still uneven or has embedded pigment, consider sanding or grinding lightly to achieve a consistent profile. Finally, apply a primer or sealer made for the type of paint and flooring system you plan to use next.
📅 Last Updated: October 10, 2026 | Topic: How to remove paint from concrete floors? | Content verified for accuracy and freshness.
References
- Google Scholar Google Scholar
https://scholar.google.com/scholar?q=how+to+remove+paint+from+concrete+floor - Google Scholar Google Scholar
https://scholar.google.com/scholar?q=paint+removal+masonry+concrete+chemical+mechanical+methods - Google Scholar Google Scholar
https://scholar.google.com/scholar?q=lead-based+paint+removal+concrete+surface+cleaning+methods - https://www.epa.gov/lead/lead-based-paint
- https://www.epa.gov/lead/renovating-repairing-and-painting-program
- Lead – Overview | Occupational Safety and Health Administration
https://www.osha.gov/lead - Silica, Crystalline – Overview | Occupational Safety and Health Administration
https://www.osha.gov/silica - Lead paint
https://en.wikipedia.org/wiki/Lead-based_paint - https://www.cdc.gov/nceh/lead/prevention/index.htm
- https://pubmed.ncbi.nlm.nih.gov/?term=lead+paint+removal+renovation+cleaning