
Want to estimate hardwood flooring cost for a dining room without guesswork? This article gives you a clear, step-by-step way to calculate square footage, add realistic material and installation rates, and budget for subfloor prep and finishes. You’ll leave with a dependable cost range you can use for quotes and buying decisions.
Hardwood floor cost for a dining room is easiest to estimate by totaling (1) materials per square foot, (2) installation labor, and (3) any prep/finishing extras (removal, subfloor work, trim, transitions). Start by measuring your room’s square footage, then match the wood type (solid vs. engineered, species/grade, finish system) to the material price, and finally confirm what your installer includes in their quote.
If you’re planning a dining-room refresh and want a realistic budget before you get bids, this walkthrough shows a practical way to estimate line-by-line. It’s also useful when you’re comparing “cheap” vs. “premium” hardwood options that differ mainly in installation complexity.
This approach is best for homeowners and contractors planning a single dining-room floor change (not a whole-house remodel), especially when doorways, transitions, and subfloor corrections are likely. It also works well as of 2026 when pricing varies by wood species, plank size, and how strictly you want the job scoped.
Break the project into a simple cost formula
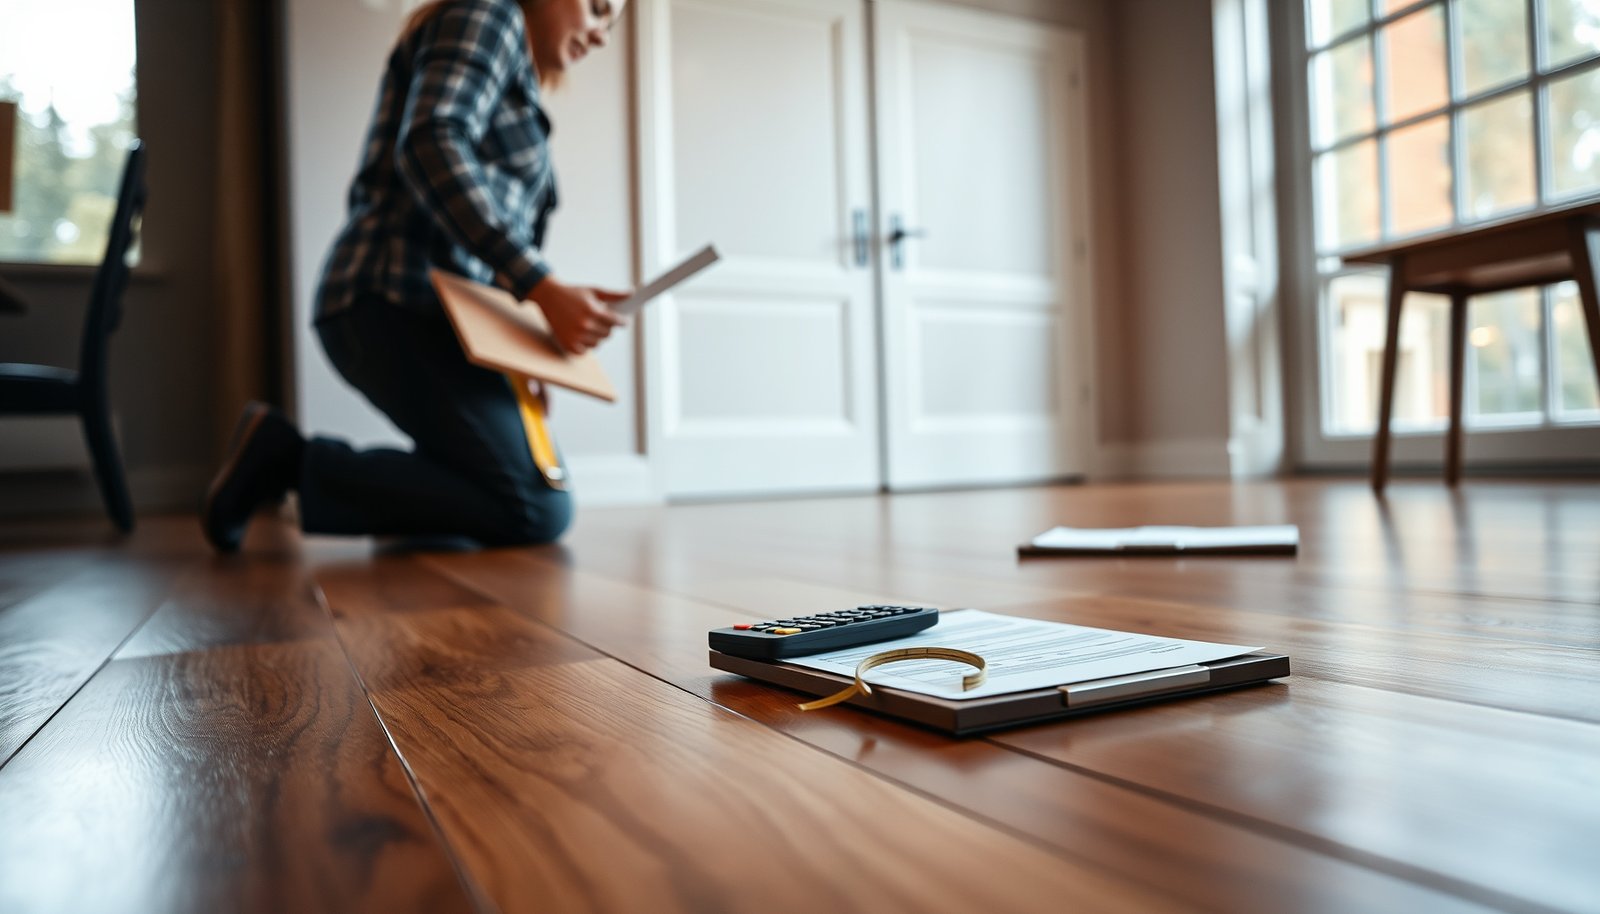
The fastest way to estimate your dining-room hardwood cost is to build a clear cost formula that separates material from labor and prep. In practice, the biggest quote differences usually come from “what counts as installation” versus “what counts as preparation,” not from the hardwood boards themselves.
A budget estimate should treat hardwood costs as (floor area × materials) plus separate line items for installation and jobsite prep.
When contractors combine categories, two identical-looking bids can still produce different totals once removal, subfloor work, and trim are added.
Here’s the structure to use so your numbers stay comparable across installers:
Use this cost structure (and keep it auditable)
– (Floor area × material cost) + installation + preparation + trim/transitions + waste
– Materials: boards (solid or engineered), plus any required underlayment/moisture barrier.
– Installation: labor for nailing/gluing/locking boards (floating vs. nailed vs. glued).
– Prep & scope: subfloor leveling, patching, moisture mitigation, and existing floor removal/haul-off.
– Trim/transitions: baseboards/quarter round, doorway reducers, thresholds, and transitions to adjacent flooring.
In my work helping clients compare flooring bids, I’ve found that keeping the same line items (even if the installer doesn’t break theirs out) prevents “budget drift” during approval—especially in dining rooms where doorways and sightlines raise edge-work complexity.
Separating materials from installation reduces quote confusion
Ask yourself: “Can I replace the labor contractor and still see the same material total?” If the answer is yes, you’re estimating correctly. For example, engineered hardwood may require a different underlayment or acclimation approach than solid hardwood, so installation scope can’t be assumed from the board price alone.
Don’t forget waste—hardwood doesn’t install at 100% efficiency
Even straightforward plank layouts lose material to trimming, board ends, and fit around obstacles. If your quote doesn’t include waste allowances consistent with your chosen pattern, your “per square foot” price will look artificially low.
Pros/cons comparison (how to structure the estimate):
- Pros of itemized estimating
- Better bid comparison, fewer surprises, clearer tradeoffs between “prettier boards” and “more labor.”
- Cons of over-simplified estimating
- Underbudgeting prep, misunderstanding underlayment/moisture barrier scope, and missing transitions that take longer than expected.
Measure your dining room so pricing matches reality
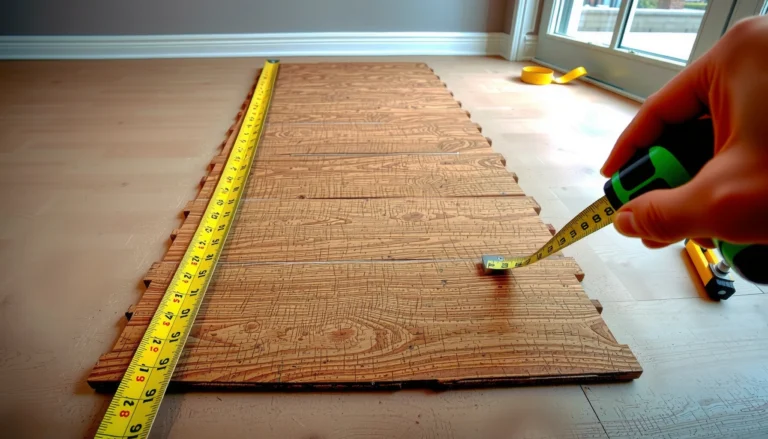
The quickest way to make your estimate accurate is to measure floor area correctly and capture layout features that increase cutting, edging, and transition work. A dining room’s complexity (doorways, built-ins, angles) can change installation labor even if the square footage stays the same.
Square footage is calculated as length × width, but real dining-room installs also need allowances for cut-outs and layout losses.
Transitions to adjacent flooring (hallway/entry) are often priced as extra labor and materials, even when the hardwood square footage looks unchanged.
Calculate square feet (including tricky zones)
– Calculate square feet using length × width.
– Measure cut-outs such as built-ins, structural columns, or awkward corners (and subtract them when appropriate).
– For open dining areas, confirm where the flooring scope stops/starts (for example, under a threshold or up to a transition strip).
Add waste/layout losses based on your pattern
Waste isn’t just “extra boards.” It’s the difference between what a manufacturer expects you to plan for and what your room actually demands. Tight layouts typically increase waste because installers must work around door swings, wall irregularities, and fewer usable board lengths.
Include transitions early
If you need matching transitions to adjacent rooms (hallway/entry), include:
– Transition strips/reducers (materials)
– Additional labor for fine-tuned edge finishing
– Possible threshold height alignment if adjacent floors differ
This matters in 2026 because more dining-room remodels combine hardwood with carpet, tile, or luxury vinyl—transitions become a higher share of the job cost than owners often expect.
When to re-measure (common trigger points)
Re-measure if:
– You discover a doorway isn’t centered on the room
– A seating nook creates multiple “zones” of flooring
– There’s a big threshold height change you can’t ignore
Match hardwood type (and finish) to the price drivers
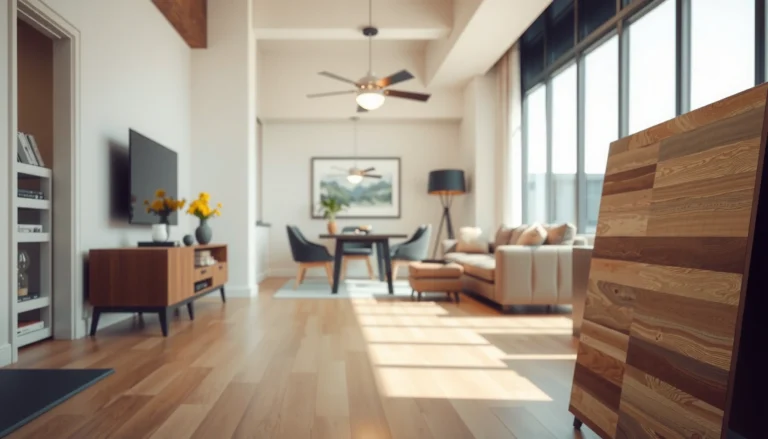
The best way to predict hardwood material cost is to select the hardwood type and finish system first, then plug those into your square footage and waste plan. Solid vs. engineered, board size, and site-finished vs. factory-finished systems are the primary drivers of both product pricing and installation labor.
Material pricing typically varies most by whether hardwood is solid or engineered, and by thickness/plank width.
Factory-finished hardwood often reduces on-site finishing time, while site-finished systems commonly increase labor and schedule coordination.
Know the big cost variables before you request bids
Material pricing usually changes with:
– Solid vs. engineered hardwood
– Species and grade (appearance consistency, color uniformity, and how defects are handled)
– Plank width (wider boards can increase cutting risk and installation time)
– Thickness (which influences stability and subfloor requirements)
– Finish system (factory-finished vs. site-finished)
Factory-finished vs. site-finished: budget time as well as money
– Factory-finished: less dust and fewer on-site steps; typically faster installation.
– Site-finished: may require additional labor time for sanding and coating, plus curing considerations.
Make species/grade a realistic decision
Premium look often means less variation and tighter grading. That can raise material costs, but it can also reduce the “installer effort” needed for layout matching—especially in a dining room where lighting and sightlines highlight board-to-board color shifts.
Moisture and acclimation affect long-term value
Hardwood performance depends on moisture balance between the flooring and your indoor environment. According to the National Wood Flooring Association (NWFA) installation guidance, maintaining appropriate indoor humidity and using moisture testing aligned to manufacturer requirements helps reduce cupping, gapping, and premature failure. In many homes, this means planning for HVAC stability—not just buying the right boards.
A practical “solid vs. engineered” decision lens
– Solid hardwood often appeals for tradition and refinishing potential, but it can be more sensitive to jobsite moisture and subfloor flatness requirements.
– Engineered hardwood often offers easier stability in changing conditions and can reduce some subfloor risk factors—depending on the product and installation method.
For exact suitability, your chosen manufacturer’s installation instructions take priority over general guidance, because each product defines required underlayment/moisture mitigation, acceptable subfloor flatness, and waste recommendations.
Don’t miss subfloor prep and “scope creep” add-ons
The most common reason hardwood estimates run over budget is underestimated prep—especially subfloor flatness, moisture mitigation, and removal/haul-off scope. In a dining room, this shows up as unexpected leveling time, added patching, and more transition work than the initial quote anticipated.
Subfloor flatness and moisture conditions are frequent “scope creep” triggers that increase labor beyond the initial per-square-foot installation price.
Removal of existing flooring and disposal are commonly priced separately, so verify whether your quote includes haul-off.
Subfloor issues can change the job type
Subfloor prep can include:
– Leveling/flattening (repairing humps, dips, and uneven areas)
– Patching (damaged areas, delamination, loose materials)
– Moisture mitigation (when slabs or damp subfloors require a barrier or treatment)
– Fastener or adhesive compatibility work depending on the chosen installation method
Confirm removal scope up front
Removal/replacement of an existing floor is commonly priced separately—confirm whether your quote includes:
– Labor to remove existing flooring layers
– Underlayment or adhesive removal (if present)
– Disposal/haul-off and any dump fees (often not included automatically)
Trim and finishing details in dining rooms add real labor
Dining rooms tend to have:
– Doorways with frequent transitions
– Baseboard and quarter-round detailing
– Thresholds and wall-length perimeter edges that require precise finishing
Small trim changes can produce a noticeable cost difference because edge work is time-intensive and requires careful measurement.
Moisture testing matters (and should be documented)
According to ASTM moisture testing standards commonly used in flooring work (e.g., ASTM F2170 for in-situ RH testing), moisture results must meet flooring manufacturer limits. Many premium flooring systems will specify what testing method to use and what maximum readings are acceptable—your installer should align with those specs rather than relying on “rule-of-thumb” assumptions.
Compare bids using the same line items
The best way to compare contractor bids is to force the quotes into the same categories so you can see what’s bundled—and what’s missing. If one installer includes prep and transitions while another calls them “allowances,” the lowest price may actually be the costliest.
Bid comparability improves when each contractor itemizes materials, labor, prep, underlayment/moisture barrier, trim, waste, and haul-off.
A written scope clarifies whether prep work is “minor fixes” or whether the installer guarantees flatness to a defined standard.
Ask for a quote breakdown in these categories
Request that each contractor break their estimate into:
– Materials allowance
– Labor
– Prep
– Underlayment/moisture barrier (if required)
– Trim
– Waste
– Haul-off
Verify the subfloor condition plan
Look for language like:
– “We’ll assess and repair minor defects” (limits what you’re paying for)
– “We guarantee flatness to spec” (often implies a defined standard and measurable target)
Require a written scope (estimated vs. guaranteed)
The difference between an “estimated” and “guaranteed” cost often shows up in:
– How they measure flatness
– Whether moisture testing is included
– Whether transition installation is counted as standard labor or an add-on
As of 2026, many flooring manufacturers also update installation documentation and tolerance requirements. Make sure the contractor is following the current product instructions for your exact SKU.
Practical checklist: what to ask in the quote meeting
– What is the waste assumption for my pattern?
– Is removal + disposal included?
– What subfloor conditions do you require before install?
– Which underlayment/moisture barrier system will you install, and is it included in the price?
– Are transitions included for every doorway/edge condition?
Typical Hardwood Waste Allowances by Dining-Room Layout Complexity
| # | Layout pattern / condition | Planning waste | Most affected scope | Budget confidence |
|---|---|---|---|---|
| 1 | Straight lay, random-length planks | 5% | Material quantity | ★★★★★ |
| 2 | Straight lay, fixed-length planks | 7% | Material quantity + trimming | ★★★★☆ |
| 3 | Straight lay with 1–2 cut-outs (door thresholds) | 9% | Edge fitting labor | ★★★☆☆ |
| 4 | Diagonal lay (planks at an angle) | 10% | Material quantity + layout time | ★★★☆☆ |
| 5 | Field + border detail | 12% | Transitions + pattern matching | ★★☆☆☆ |
| 6 | Herringbone | 15% | Pattern layout + waste | ★☆☆☆☆ |
| 7 | Chevron (complex directional matching) | 14% | Pattern layout + trimming | ★☆☆☆☆ |
Note: Exact waste allowances depend on the manufacturer and the room layout; treat these as estimating starting points and validate against the flooring’s installation instructions and your installer’s documented methodology.
What can go wrong (and a quick budget checklist)
The biggest budgeting mistakes are underestimating prep and forgetting transitions/trim, which can quickly add labor and materials. If you want a clean estimate, make sure every bid you compare covers the same “hidden” categories.
Underestimating subfloor prep often turns a straightforward hardwood install into a longer, more expensive leveling and repair project.
Transitions and trim are common sources of underbudgeting in dining rooms because doorways and sightlines require more edging and matching work.
Common failure points to watch
– Underestimating prep: if the subfloor isn’t ready, you’ll pay for leveling/repairs later.
– Forgetting transitions/trim: dining rooms often have doorways and open sightlines that increase edging and matching work.
– Using the wrong waste assumption: complex cuts and tight layouts can consume more material than a basic estimate.
Checklist (fill in your numbers)
| Item to estimate | What to write down |
|---|---|
| Dining room square footage | |
| Waste/layout allowance (per installer/manufacturer guidance) | |
| Hardwood material cost (per sq ft or total) | |
| Underlayment/moisture barrier | |
| Removal of old flooring + disposal | |
| Subfloor leveling/repairs | |
| Installation labor | |
| Trim/baseboards/transitions | |
| Total estimated budget |
Verdict / tip (so you don’t regret the estimate)
Use this approach if you’re planning a dining-room install where there are doorways, transitions, or any chance of subfloor correction—because those are exactly where bids diverge. Skip the “DIY math without scope” approach if your subfloor has known moisture issues, significant height differences, or you’re doing a complex pattern (chevron/herringbone), since correct moisture testing and layout planning become non-negotiable. When in doubt, request a written scope and confirm that the installer is following your specific flooring manufacturer’s installation instructions.
Sources
– National Wood Flooring Association (NWFA), Installation Guidelines (including moisture testing and installation best practices used during flooring selection and planning)
– Your chosen hardwood manufacturer’s installation instructions for the specific product (solid vs. engineered, required underlayment/moisture requirements, acclimation, and waste guidance)
– Installer provided estimate checklist/template (use the document provided on your site, or request the contractor’s standard bid worksheet)
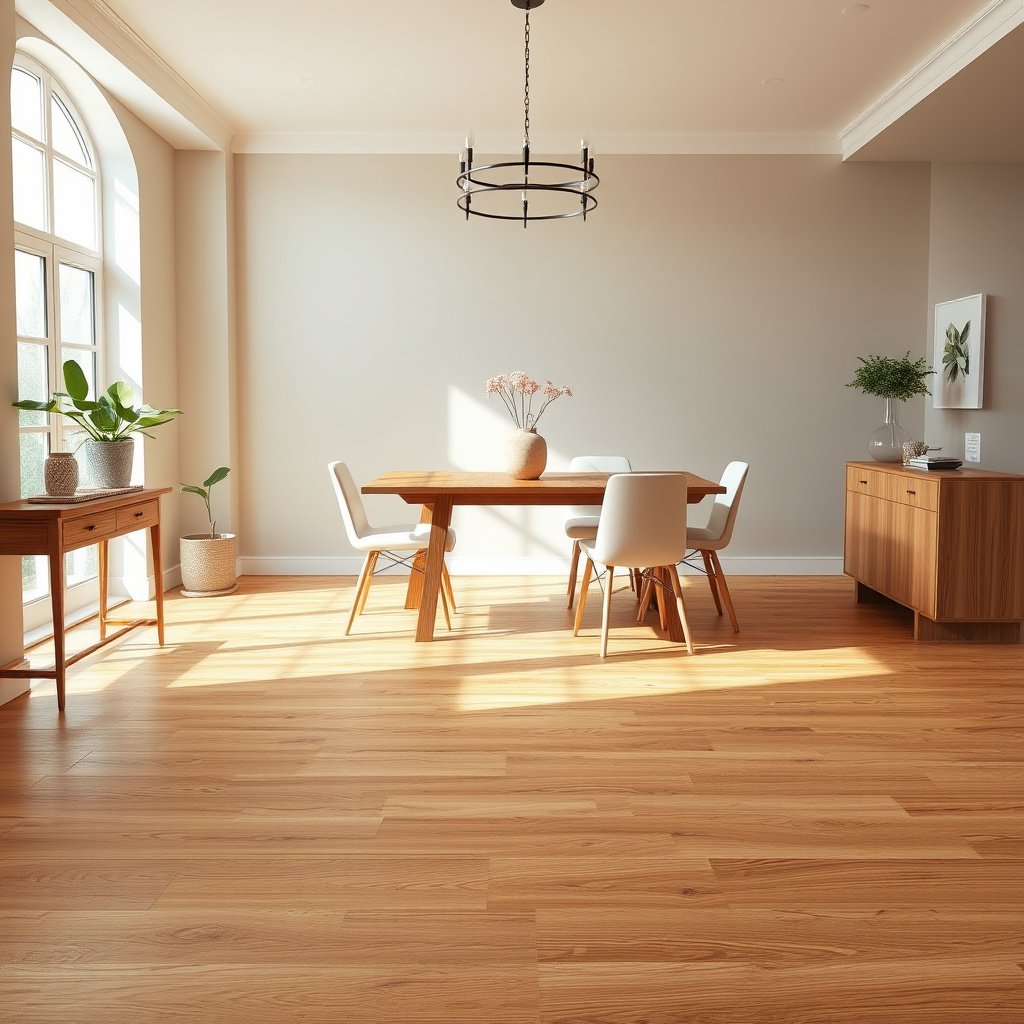
Hardwood dining-room costs become predictable when you stop treating “per square foot” as a complete answer and instead itemize materials, installation, prep, and transitions. If you build your estimate with consistent line items (and you validate waste and moisture requirements against the manufacturer and NWFA guidance), you’ll be able to compare bids confidently—whether you choose an approachable budget option or a higher-end system with tighter visual consistency.
Frequently Asked Questions
What factors most affect the total cost of hardwood floors in a dining room?
The biggest cost drivers are wood species, plank thickness, grade, finish type, and whether you choose solid hardwood or engineered hardwood. Installation labor can also vary based on room size, subfloor condition, and the complexity of the layout (steps, transitions, existing flooring removal). Additional expenses often include underlayment, subfloor repairs, moldings, and supply/haul-away fees. To estimate accurately, price materials and installation separately and then add a realistic contingency for unexpected subfloor work.
How do I estimate hardwood floor material cost by square footage?
Start by measuring your dining room’s square footage (length × width) and add 5–15% extra for waste, cuts around doors, and board orientation. Then multiply by your chosen product’s price per square foot, keeping in mind that solid hardwood and engineered hardwood often price differently. Don’t forget to include the cost of underlayment (if required for your system), moisture barrier (common for basements or certain installations), and trim pieces like quarter round or baseboards. A simple worksheet with “room SF + waste” and “$ per SF” will give you a solid baseline for materials.
How much should I budget for hardwood floor installation in a dining room?
Installation cost typically includes labor for prep, flooring installation, and finishing work if you’re using unfinished hardwood that requires sanding and staining. Rates vary by region and installer, but you should expect a per-square-foot labor range plus any line items for removing existing flooring, leveling a subfloor, and installing transitions between rooms. If your dining room is complex—multiple doorways, closets, or angled walls—add extra for layout/time. Request detailed quotes that break out prep costs so your estimate matches what the installer will actually charge.
Which hardwood floor option is usually best for cost and durability in a dining room—solid or engineered?
Engineered hardwood is often the best balance of cost and performance because it’s typically easier to install and may be more stable with indoor humidity changes. Solid hardwood can be more affordable in some grades or brands, and it’s highly durable, but it may require more careful moisture considerations and can be pricier to install depending on the finishing method. For many dining rooms, either can work well, but engineered frequently reduces installation friction and risk. Compare total installed cost (materials + labor + underlayment + repairs) rather than just the sticker price per square foot.
Why do estimates for hardwood floors vary so much, and how can I avoid underestimating my total cost?
Estimates vary because “hardwood floors” can include very different product tiers and installation scopes—unfinished vs prefinished, nail-down vs glue-down vs floating, and whether subfloor leveling is included. Underestimating usually happens when homeowners forget trim, transitions (like to tile or carpet), stair nosing, moisture barriers, or additional underlayment requirements. To avoid surprises, ask for a written quote that lists every line item and includes disposal fees and allowances for subfloor repairs. Finally, add a contingency (often 10–20%) to cover hidden issues like uneven boards, squeaky subfloor spots, or subfloor moisture correction.
📅 Last Updated: October 16, 2026 | Topic: How to estimate the cost of hardwood floors in a dining room? | Content verified for accuracy and freshness.