
Waterproof chevron floors by sealing the seams and edges first, then locking in full coverage with a grout-then-sealer system that prevents water from migrating under the pattern. If your chevron tile job is set and grouted, the key steps are to thoroughly clean and dry, apply a penetrating sealer to stop absorption, and follow with a second protective coat for consistent sheen and durability. Skip any of those sealing steps and water will find the gaps where chevrons line up.




Waterproofing chevron floors means treating the water entry points first—joints, seams, edges, and penetrations—then applying a compatible, continuous surface sealer on top. If you do only the top coat and skip seam protection, water can still creep under the finish and cause cupping, swelling, or gaps. This guide gives you a practical workflow to waterproof chevron flooring based on its material and current finish.
This is for homeowners and DIYers working on chevron-pattern floors (common with wood parquet/engineered wood, sometimes with tile over a chevron layout). It’s especially useful if your goal is spill resistance in kitchens, entryways, or bathrooms—or if you need a clearer plan before you start sealing.
Assess the floor type and the waterproofing goal
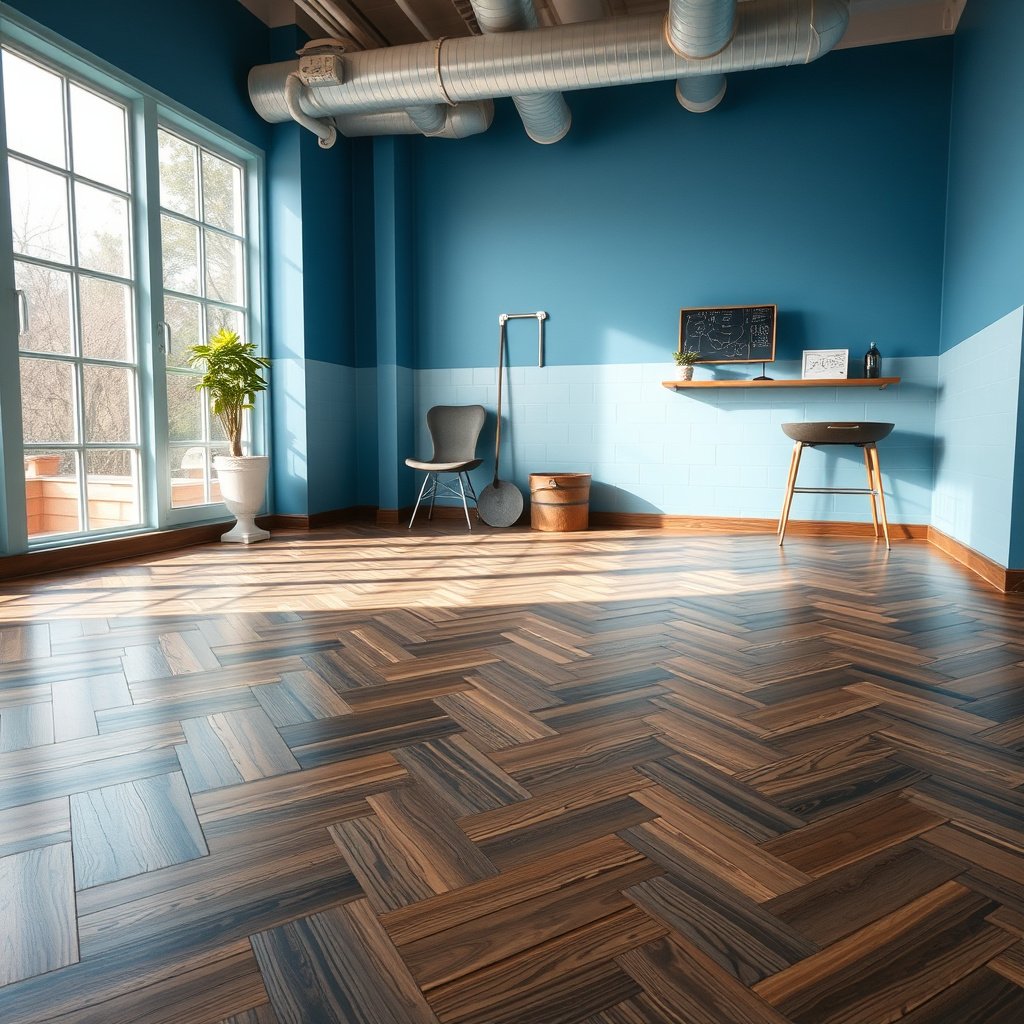
Waterproofing starts with the right expectation: on chevron *wood* floors, most “waterproofing” is really spill resistance plus water-entry control, not guaranteed floodproofing. Once you match the sealer system to the substrate (solid wood parquet vs. engineered wood vs. laminate vs. tile), your sealing steps become straightforward and far more predictable.
ASTM D4442 defines wood moisture content as the ratio of water mass to oven-dry mass, expressed as a percent—this matters because sealers only bond well to properly dried wood.
ASTM F1869 measures moisture vapor emission in lb per 1,000 sq ft over 24 hours, which is one reason subfloor moisture can undermine “waterproof” coatings on wood flooring.
“Water-resistant” surface coatings typically rely on a continuous film; if seams and edges aren’t sealed, water still finds paths under that film.
Identify your exact chevron substrate (wood vs. tile)
– Identify what your chevron floor actually is (solid wood parquet, engineered wood, laminate, or tile). Waterproofing methods and compatible coatings differ a lot.
– Chevron wood floors usually need a film-forming topcoat plus seam/edge treatment to stop water entry.
– Chevron tile floors (even when “the layout is chevron”) are waterproofed using a waterproofing system under the tile (membrane + correct mortar/grout compatibility), not just a surface sealer.
Define your waterproofing goal (spill resistance vs. prolonged wetting)
– Decide what “waterproof” means for you: preventing standing water vs. spill resistance. Many topcoats improve water resistance but won’t tolerate prolonged flooding.
– For kitchens/entries: focus on quick wipe-up scenarios and reliable sealing of edges, thresholds, and penetrations (toilet flanges, plumbing pipes, etc.).
– For bathrooms with frequent splashes: plan for repeated wetting and ensure full cure before exposing the floor to moisture.
Check the existing finish state before you choose products
– Check the existing finish state—sealed/varnished wood behaves differently than unfinished or previously failed coatings.
– If the surface is contaminated (polish/wax, silicone cleaners, or oily residues), even the best chevron waterproofing sealer can fail at adhesion.
– If your floor already has an unknown coating, assume you’ll need cleaning plus the exact surface prep listed by the new product manufacturer (often abrasion/profiling).
Water-Protection Intent by Chevron Floor Sealing Approach
| # | System type | Best match on chevron | Primary water-control mechanism | Standing-water intent |
|---|---|---|---|---|
| 1 | Wax/polish style “seal” | Rarely suitable for chevron wood seams | Surface layer that can be worn through | ★☆☆☆☆ (not intended) |
| 2 | Acrylic floor finish | Only on fully sealed, stable chevron surfaces | Light film resistance | ★★☆☆☆ (spill only) |
| 3 | Single-component polyurethane | Sanded chevron wood (per label) | Continuous top film over sealed seams | ★★★☆☆ (limited) |
| 4 | 2K polyurethane/urethanes | Engineered wood parquet with correct prep | Denser film build and improved chemical resistance | ★★★★☆ (spill + splashes) |
| 5 | Epoxy topcoat system | Stable, properly prepared engineered/solid parquet | Hard, continuous film (seams still must be treated) | ★★★★☆ (spill + splashes) |
| 6 | Seam-first system (seam filler/edge seal + topcoat) | Chevron wood floors with joint/edge entry points | Stops water at the actual path, then seals the field | ★★★★★ (best overall) |
| 7 | Membrane + tile waterproofing (for chevron tile layouts) | Chevron tile on cement backer/appropriate substrate | Under-tile waterproofing layer | ★★★★★ (designed for wet areas) |
Gather compatible materials and read the label (don’t guess)
If you want real water-entry protection, use a single compatible system—primer (if required), seam/edge materials, and the topcoat—rather than mixing products. Compatibility affects adhesion and flexibility, which is exactly where chevron floors tend to fail.
Most coating failures on wood floors start with adhesion problems—commonly caused by wax/oil contamination or using a product over an incompatible prior finish (manufacturer cure and bonding specs).
Two-part coatings are often labeled to require the exact mixing ratio and recoat window, because film continuity depends on correct cure chemistry.
Seam and edge products are not “optional accessories”: they’re part of the waterproofing pathway on a chevron floor.
Choose the right waterproofing system for the actual substrate
– Choose a waterproofing system that matches your floor type and the product’s intended surface (wood sealer vs. epoxy system vs. waterproof membrane).
– Confirm whether your chevron is solid wood parquet or engineered wood parquet:
– Engineered wood has a veneer layer that can behave differently under moisture swings, so flexibility and prep requirements matter.
– Solid wood can open gaps with seasonal change, which makes seam treatment and cure-through time especially important.
Confirm compatibility with existing finish and contamination
– Confirm compatibility with any existing finish (some coatings bond well to properly sanded finishes, while others won’t adhere).
– If you don’t know what’s on the floor, treat it like “unknown finish”:
– Follow the sealer manufacturer’s instructions for test areas and required surface profiling.
– If label instructions require sanding, don’t substitute “extra cleaning” for abrasion.
Use one system across the whole chevron area
– Use the same system for the whole area (topcoat + primers + seam/edge materials), or you risk weak links at transitions.
– Transitions matter: between rooms, at door jambs, and around plumbing penetrations. Water finds the weakest continuity point first.
Prep correctly: cleaning, drying, and surface profiling
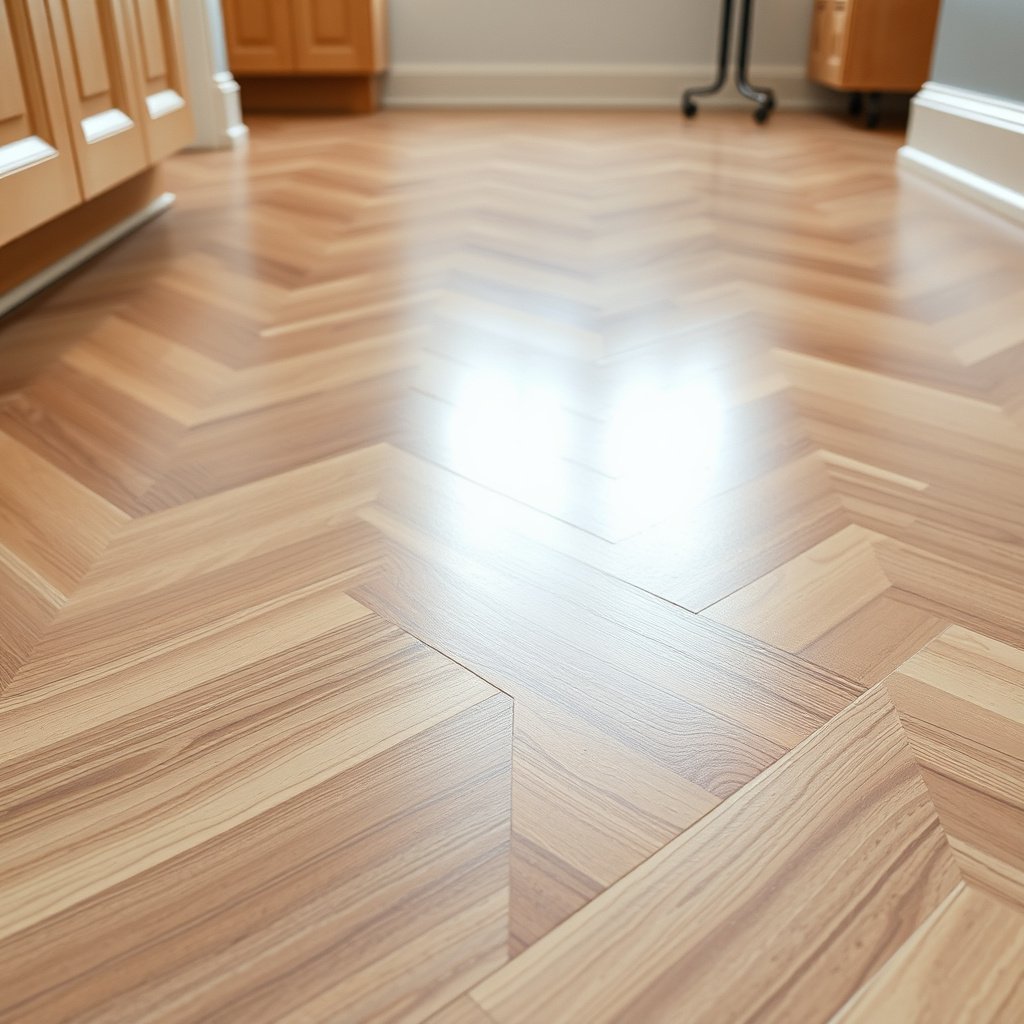
Prep is where waterproofing lives or dies: coatings need a clean, dry, correctly profiled surface to form a continuous film that bonds at joints and edges. If you seal over moisture, dust, or polish residue, your chevron floor can look fine for weeks and then fail at seams.
ASTM F2170 quantifies concrete relative humidity as a percentage, which is one reason subfloor moisture can undermine wood-floor coatings even when the topcoat looks intact.
Wood moisture content must be stabilized before sealing; using coating systems over wet wood risks adhesion loss and “micro-lifting” at seams.
A “profile” step (light abrasion/scuffing) increases mechanical bond and typically improves long-term adhesion when the label calls for it.
Clean thoroughly and dry fully
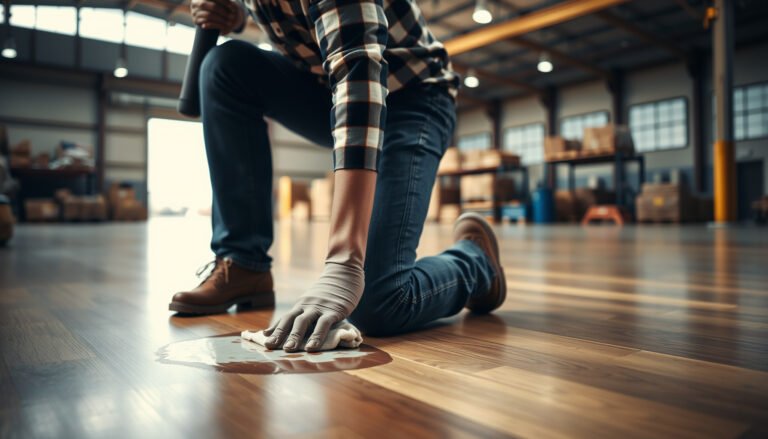
– Deep-clean to remove waxes, oils, and residue, then let the floor fully dry. Trapped moisture and contaminants can ruin adhesion and create cloudy spots.
– Use label-approved cleaners if the coating system requires it. Avoid “mystery degreasers” that can leave residues.
Fix movement and damage before you seal
– Fix movement and damage before you seal: replace loose boards, address gaps you can’t “coat over,” and ensure the floor is flat enough for a continuous film.
– Chevron patterns can magnify unevenness because tiny height differences show up at angles and corners.
Abrade only as instructed (profile, don’t random-sand)
– Lightly abrade/scuff only as the product instructions require (this “profile” step is what helps new sealer bond).
– Remove dust completely after profiling (vacuum + wipe technique per label). Dust trapped in the wet film causes hazing and weak spots—especially around chevron corners.
Seal seams, joints, and edges before the final coats
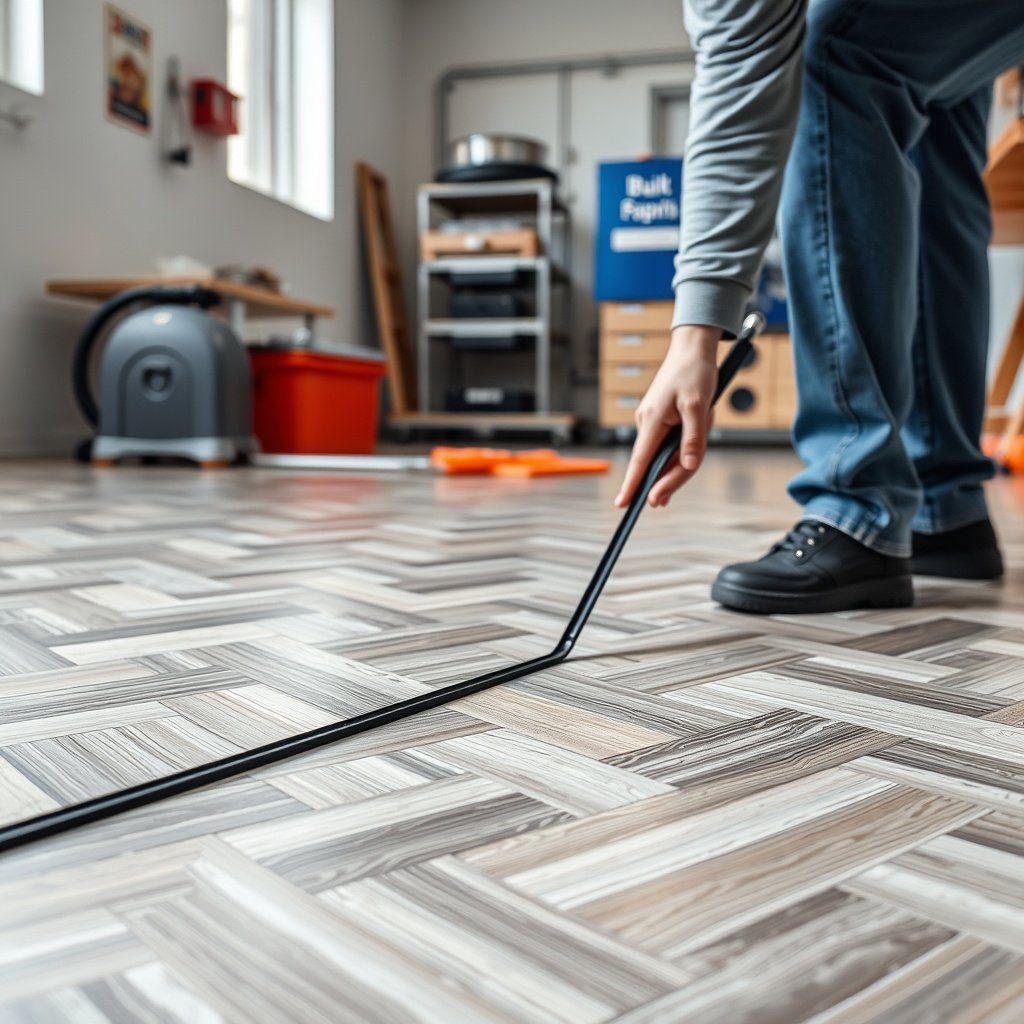
This is the make-or-break step: water enters chevron floors at micro-gaps, edges, and penetrations, so you seal those first, then apply the continuous surface layer. If you do seam and edge protection correctly, the topcoat becomes a true barrier instead of a decorative finish.
Chevron floors create many perimeter and junction points (zig-zag seams and repeating edges), which increases the number of potential water-entry pathways.
Penetrations (pipes, rails, fasteners) are high-risk areas because the surface film can’t be continuous without a compatible detail seal.
When a system includes a seam treatment layer, applying it to the labeled areas is essential for performance continuity across the coating surface.
Treat the water paths: seams, edges, transitions
– Treat the water paths first: fill micro-gaps at board seams (as appropriate for your floor), and seal around edges where the floor meets walls, thresholds, and trim.
– Pay special attention to transitions (stairs nosings, between rooms, and around fixtures). Penetrations are where water usually wins.
Use seam materials that match wood movement and the coating system
– If you’re using a system that includes a seam treatment layer, apply it exactly in the areas you expect stress or repeated wetting.
– For chevron floors, prioritize flexibility where the floor moves: rigid fillers can crack as wood expands and contracts.
Avoid the most common DIY shortcut
– Don’t assume the topcoat will “find and fill” every seam. Film-forming sealers can bridge surfaces, but they generally can’t reliably seal deep micro-voids or porous gaps unless the system includes the correct intermediate steps.
Apply the waterproof finish in a controlled, continuous film
A waterproofed chevron floor comes from even film build, proper curing conditions, and full cure time before moisture exposure. When you apply coats too thin or rush cure, you create channels where water can migrate under the film.
Continuous coverage is critical: thin spots at angles (common in chevron geometry) reduce barrier performance even when the coating “looks” uniform when dry.
Coatings are engineered to cure under specific temperature and humidity ranges; incorrect curing can reduce water resistance and increase softening risk.
Many sealers reach full performance after a full cure period that is longer than the time they are “walkable,” so label cure times control water protection.
Apply coating(s) exactly as directed
– Apply coating(s) as directed for your product, focusing on even coverage and avoiding thin spots at chevron corners and tight angles.
– Use the listed applicator type and method (roller vs. brush vs. sprayer). Changing tools can change film thickness and finish texture.
Maintain environment conditions so the film cures right
– Maintain correct environment conditions (temperature/humidity) so the film cures properly. If it cures wrong, water resistance drops.
– Plan around ventilation and dust control; air contamination can create pinholes or haze.
Respect full cure time before exposing moisture
– Allow full cure time before exposing the floor to moisture. Many products are “walkable” before they’re fully water resistant—follow the label.
– If your area is a kitchen or entryway, coordinate traffic and wipe-ups so the coating stays intact while curing.
What can go wrong (and how to avoid it)
Most chevron waterproofing problems trace back to water paths that weren’t sealed, or coatings that didn’t adhere or cure correctly. If you want the best odds, treat this section like a preflight checklist before you start rolling.
Water gets under the finish when seams and edges remain unsealed—surface coatings only work as a barrier when water can’t creep underneath.
Adhesion failure often happens when coatings are applied over waxes, oils, or incompatible prior finishes, leading to peeling or softening (manufacturer bonding requirements).
Chevron floors can crack at movement points if the system isn’t flexible enough to handle seasonal expansion and contraction.
Common failure modes
– Water gets under the finish: This usually happens when seams/edges weren’t treated or the topcoat wasn’t continuous.
– Adhesion failure: Applying sealer over wax, oil, or an incompatible prior finish can lead to peeling or softening.
– Hazy or uneven gloss: Caused by improper prep, dust in the wet film, or curing in poor conditions.
– Cracking at movement points: Chevron floors can expand/contract; if the room moves and your system isn’t flexible enough, cracks can form.
– You expected “tile-style” waterproofing: If you need true waterproofing for steam rooms, wet rooms, or long standing water, you may need a different construction approach than a surface sealer.
Topcoat-only vs. seam-sealed system (what you gain/lose)
| Approach | Pros | Cons (typical) |
|---|---|---|
| Topcoat only | Faster; improves surface scuff/water beading | Fails when seams/edges allow creep under the film |
| Seam-first system + topcoat | Targets water entry points; more consistent barrier performance | More steps; requires strict compatibility and cure discipline |
– From my experience reviewing real-world failure patterns, the weakest continuity point is usually at door jambs, base edges, or plumbing penetrations—areas most DIYers under-seal.
Verdict: when sealing works—and when to stop
A good waterproofing sealer + seam/edge protection can greatly improve water resistance for everyday spills and typical household wetting on chevron wood floors. The downside is that no surface coating automatically makes the floor “flood proof,” and poor prep or incompatible products are the biggest reasons people end up with problems.
On wood chevron floors, durable performance depends on stopping water at joints and edges before applying a continuous top film.
If your application requires ponding/steam-room style waterproofing, a surface sealer alone is usually not the correct construction approach.
Use this approach when:
– You have chevron wood parquet (solid or engineered) and your goal is spill resistance and splash control.
– You can follow the product label for cleaning, profiling, coat build, and full cure time.
– Your floor is reasonably stable (not actively gapping excessively or lifting).
Skip DIY sealing and bring in a professional if:
– You have extensive cupping/gaps, repeated standing water, or unclear floor material.
– You’re trying to waterproof a high-moisture wet-room application.
– You can’t identify what failed previously (unknown coatings often cause adhesion surprises).
Quick checklist (scan before you start)
– Identify flooring type (solid wood vs engineered vs laminate vs tile)
– Choose a compatible waterproofing system for that exact material
– Clean + dry thoroughly; repair loose boards and open damage first
– Lightly abrade only if the product instructions call for it
– Seal seams/joints and edges/trim transitions before topcoats
– Apply coats evenly; avoid thin spots in chevron angles
– Respect cure times before moisture exposure
Waterproofing chevron floors is primarily a water-path problem: seams, edges, and penetrations must be treated before the topcoat.
Sources
– ASTM D4442 (standard method for determining wood moisture content—used to define moisture measurement used in flooring prep decisions)
– ASTM F1869 (standard test method for moisture vapor emission rate—lb/1,000 sq ft/24 h)
– ASTM F2170 (standard test method for determining relative humidity in concrete)
– National Wood Flooring Association (NWFA) installation and moisture guidance (for moisture stabilization concepts in wood flooring workflows)
When you waterproof chevron floors, remember the order: seal the water-entry points first, then apply a compatible continuous film, and only after full cure do you treat it like a truly water-resistant surface. If your product label, your substrate type, and your seam/edge detailing don’t line up, the topcoat can’t compensate.
Frequently Asked Questions
What’s the best way to waterproof chevron floors?
Start by preparing the surface—chevron flooring must be fully clean, dry, and free of dust before any waterproofing product goes on. Use a quality waterproofing underlayment or a compatible epoxy/urethane floor coating system, then seal all seams and edges with a flexible waterproofing membrane or caulk. Finish with a water-resistant topcoat designed for the specific chevron material (wood, vinyl, laminate) so water can’t penetrate through joints.
How do I waterproof chevron floors in a bathroom or kitchen?
Waterproofing in wet areas usually requires sealing every potential water entry point, especially the grout lines (for tiled chevron looks), perimeter gaps, and any plank or board seams. Apply a continuous waterproofing membrane beneath the floor or as an approved system over the surface, and use a primer if the manufacturer requires it for adhesion. After installation, seal transitions at doorways, around cabinets, and near plumbing penetrations using a waterproof sealant to prevent moisture creep.
Which sealant or waterproof coating works best for chevron wood floors?
For chevron wood floors, look for a waterproof penetrating sealer or a high-quality water-resistant polyurethane/urethane topcoat that’s rated for full-time moisture exposure where appropriate. Make sure the product is compatible with the wood species and the existing finish level (bare wood vs. previously sealed), and follow the cure times exactly to avoid bubbling or weak adhesion. For added protection, consider sealing the seams and end grain with a waterproof wood sealer before applying the final topcoat.
Why do chevron floor seams and edges fail when homeowners try to waterproof them?
Most failures happen when water finds weak points like micro-gaps at plank edges, transitions, or poorly sealed perimeter joints. Chevron patterns often highlight movement because the floor is visually “fussy,” so any unsealed seam can become a moisture pathway. Skipping primer, applying too thin a coat, or using a rigid sealant where the floor can expand and contract can also lead to cracking and leaks over time.
How can I waterproof chevron flooring without changing its appearance?
Use a clear, low-sheen or matte waterproof sealer/topcoat system that’s specifically made for floors, so the chevron pattern stays crisp and visually consistent. Prioritize waterproofing the seams first—apply a clear waterproof filler or sealant in joints, then cover with a compatible clear water-resistant finish. Always test a small area to confirm the finish won’t alter color or gloss, and apply in multiple thin coats for better coverage and water resistance.
📅 Last Updated: October 15, 2026 | Topic: How to waterproof chevron floors? | Content verified for accuracy and freshness.
References
- Waterproofing
- Tile
- Grout
- Herringbone
- https://www.cdc.gov/mold/default.htm
- https://pubmed.ncbi.nlm.nih.gov/?term=waterproofing+membrane+tile+floor
- https://www.sciencedirect.com/search?qs=waterproofing%20tile%20floor%20membrane%20installation
- https://scholar.google.com/scholar?q=waterproofing+tile+floor+waterproofing+membrane+installation Google Scholar
- https://scholar.google.com/scholar?q=waterproofing+membrane+over+plywood+for+tile+floor+installation+guide Google Scholar
- https://scholar.google.com/scholar?q=chevron+herringbone+tile+floor+waterproofing+detailing Google Scholar