
Removing stains from LVP floors in a living room is easiest when you match the cleaning method to the stain type—grease, scuffs, pet accidents, or dark marks. This guide delivers the fastest, safest steps to lift stains without dulling the finish or damaging seams. By the end, you’ll know exactly what to do first, what products to use, and when to stop.




LVP stains usually lift best when you match the cleaner to the stain and avoid harsh chemicals that can dull the surface. Start with gentle, low-residue cleaning, then step up only if the stain remains—always after testing in a hidden spot. This guide walks you through the safest approach for common living-room stains and what to avoid so you don’t damage your LVP finish.
If you’ve got scuffs, food spills, pet mess residue, or dark marks on your LVP in a living room, this is for you. It’s also a good fit if you’re trying to figure out whether you should use a cleaner, a specific spot-treatment, or just time + blotting before the stain sets.
Step 1: Identify the stain (so you don’t make it worse)
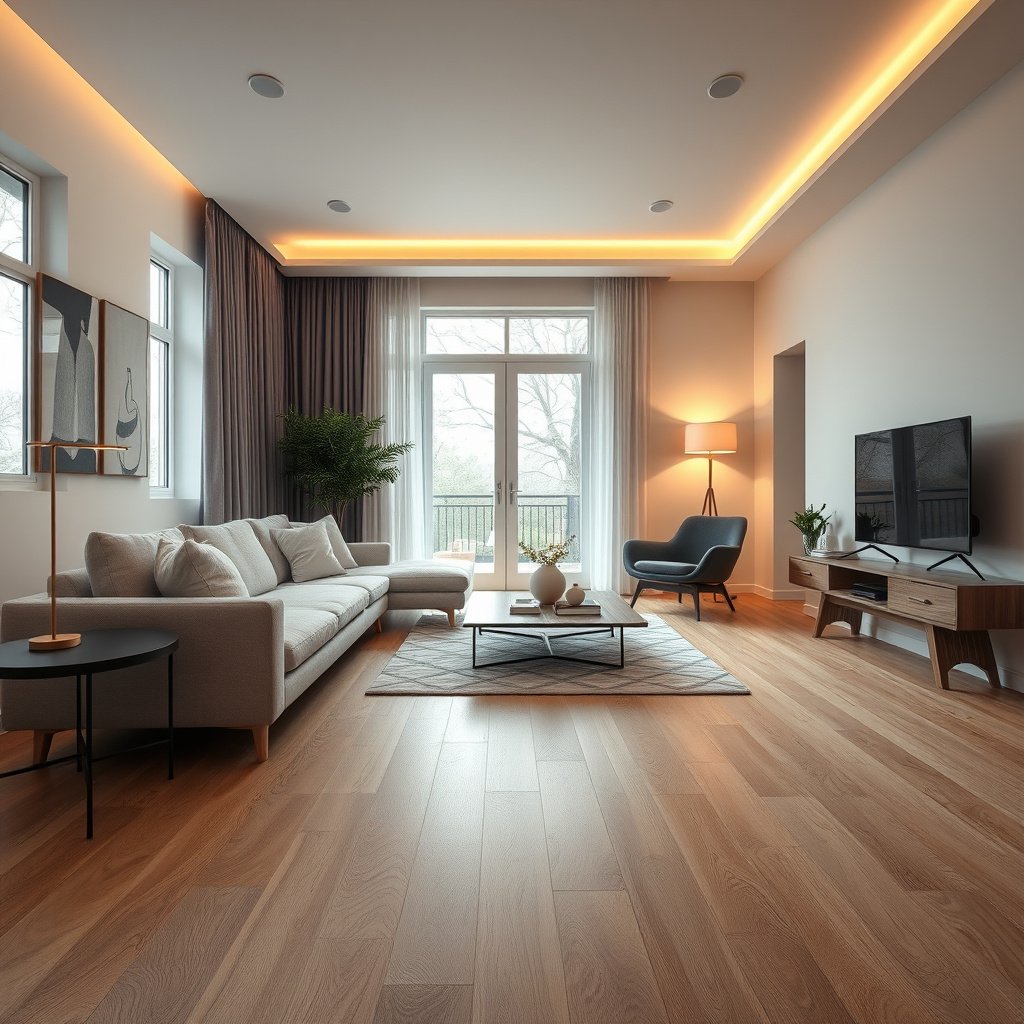
Before you clean LVP, identify what caused the mark—because the wrong chemistry can spread residue and create hazing. The safest way to protect your LVP wear layer (the top protective coating) is to treat the stain mechanism, not just the appearance.
“pH-neutral” cleaners are chosen because they’re closer to the neutral range (around pH 7) that resilient flooring finishes are typically designed to tolerate.
Fresh spills on LVP usually lift with blotting and controlled moisture, while dried-on residue often needs softening first to avoid smearing.
– Look for the source: food/drink, grease, pet-related marks, dye transfer, or everyday scuffs/black rubber marks.
– Check whether it’s “on the surface” (wipe-up possible) or looks like a deeper discoloration (may need a different approach).
– If the spot is still fresh, blot and rinse first; if it’s dry or crusted, you’ll need a careful loosen-and-lift step (details below).
What “surface vs. deeper discoloration” looks like on LVP
On LVP, many living-room stains start as residue sitting on top of the wear layer. You can often tell it’s surface-level if wiping with a damp microfiber pulls up color or grime. If the area stays dark after careful blotting and rinsing, it may be dye transfer or finish alteration that won’t fully “clean off” with mild detergents.
A quick decision rule (helps you choose cleaner strength)
– Smears or transfers when dampened? Treat as surface residue.
– Looks “inked in” or unchanged by damp microfiber? Treat as dye/transfer; escalate only if your LVP manufacturer explicitly allows it.
– Feels greasy? Treat as oils/grease first—don’t rely on water alone.
Step 2: Use LVP-safe supplies and test first
Before you remove stains from LVP, use LVP-safe tools and test in a hidden area—because dulling and hazing often come from residue or incompatible chemicals. The goal is to use the mildest effective product first and only increase strength when the care guide supports it.
A hidden-spot test should check for dulling, hazing, and color change before you apply a cleaner to visible living-room areas.
Steam cleaners and abrasive scrubbers can introduce heat, moisture, or mechanical wear that many LVP care guides discourage.
– Gather basics: soft microfiber cloths, a pH-neutral cleaner recommended for resilient/LVP floors, and a bucket of clean water.
– Have “do not use” items ready: steam cleaner, abrasive scrubbers, and harsh chemicals (commonly advised against for many LVP finishes)—if you’re unsure, check your floor’s care instructions.
– Do a hidden-spot test: apply the cleaner to an inconspicuous area, wait , then wipe and re-check for dulling or hazing.
Typical pH of Common Living-Room Stain Sources (Why pH-neutral cleaning helps)
| # | Stain source (example) | Typical pH range | Chemistry you’re dealing with | pH-proximity score to neutral |
|---|---|---|---|---|
| 1 | Cola / soft drink | 2.3–2.8 | Acidic carbonated beverage residue | ★ ★ ★ |
| 2 | Lemon juice | 2.0–2.6 | Strongly acidic fruit liquid | ★ ★ |
| 3 | Ketchup | 3.2–3.9 | Acid + sugars + pigments | ★ ★ ★ |
| 4 | Coffee (brewed) | 4.5–5.2 | Acidic beverage + dark tannins | ★ ★ ★ |
| 5 | Black tea | 4.8–5.6 | Tea tannins + moderate acidity | ★ ★ ★ |
| 6 | Red wine | 3.2–3.8 | Acid + tannins/pigments | ★ ★ |
| 7 | Whole milk | 6.4–6.8 | Mildly acidic protein/fat residue | ★ ★ ★ ★ ★ |
In practical terms for LVP, acidic spills (like cola or lemon juice) are more likely to leave behind sticky residue and pigments that “set” if you let them dry. That’s why Step 2 focuses on pH-neutral cleaning and controlled moisture—your LVP floor generally doesn’t want aggressive pH swings, pooled water, or residue left behind.
Step 3: Remove common LVP stains (start gentle, then escalate)
Before you use a stronger cleaner, treat most living-room stains on LVP with a gentle, residue-removal approach first. LVP usually responds best when you blot, wipe, rinse-wipe-dry, and avoid scrubbing that can abrade the finish.
For fresh food and drink spills on LVP, blotting first (not rubbing) minimizes spread and reduces the chance of dye transfer.
If residue is dried, softening it before lifting helps prevent smears that can look like “permanent” discoloration.
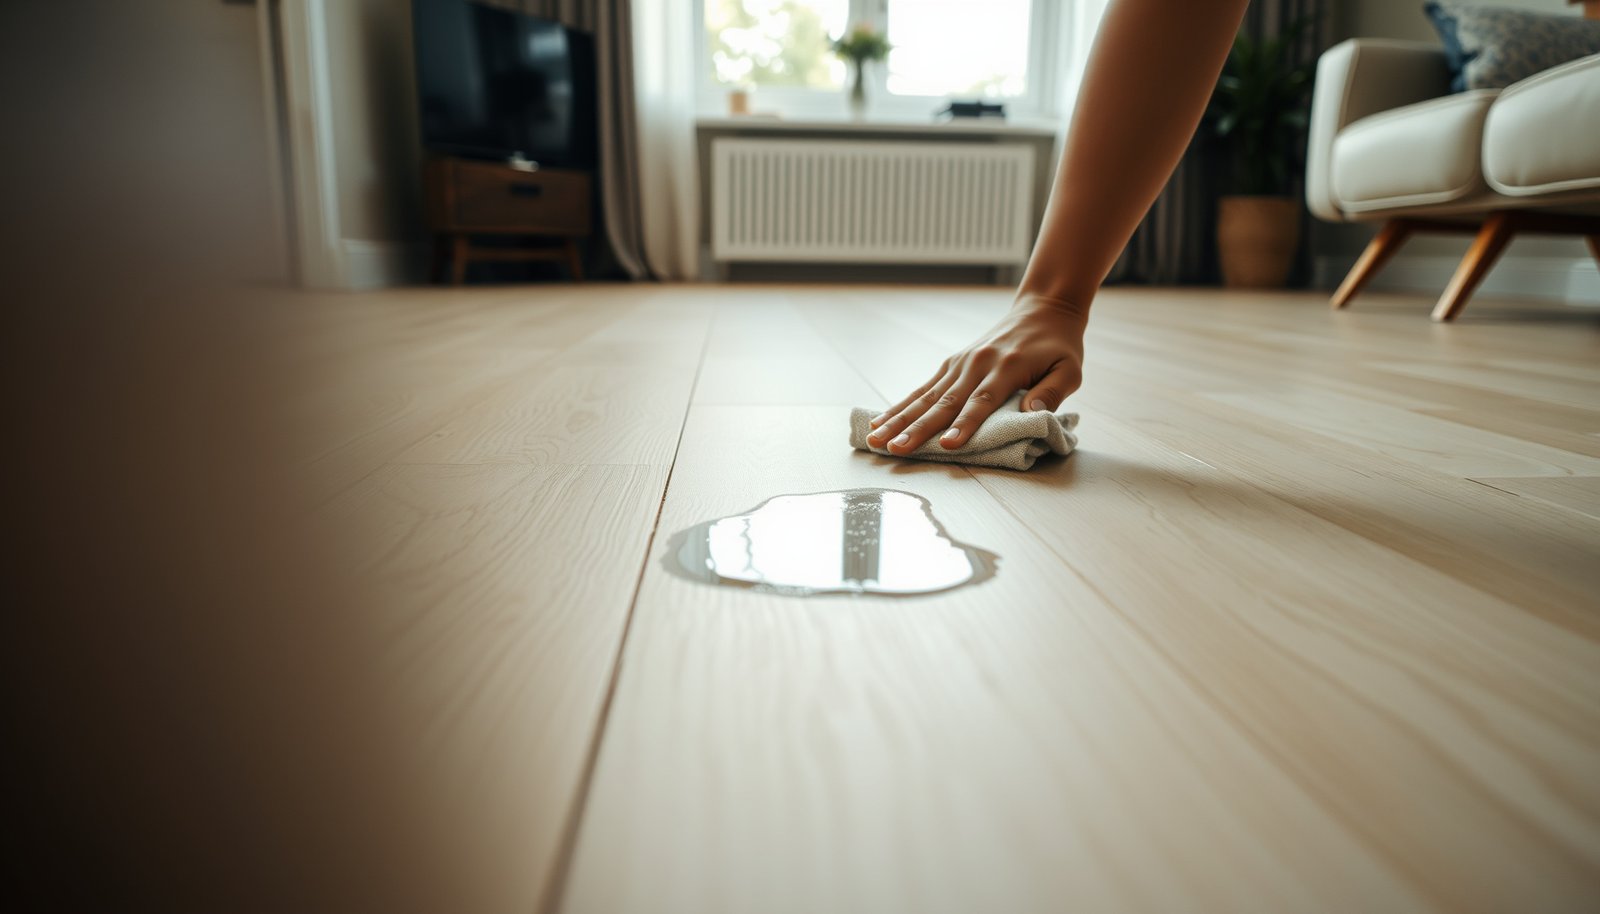
– Fresh spills (food/juice/soda): blot (don’t rub), then wipe with a damp cloth and a small amount of pH-neutral cleaner; rinse by wiping with clean water and dry with a towel.
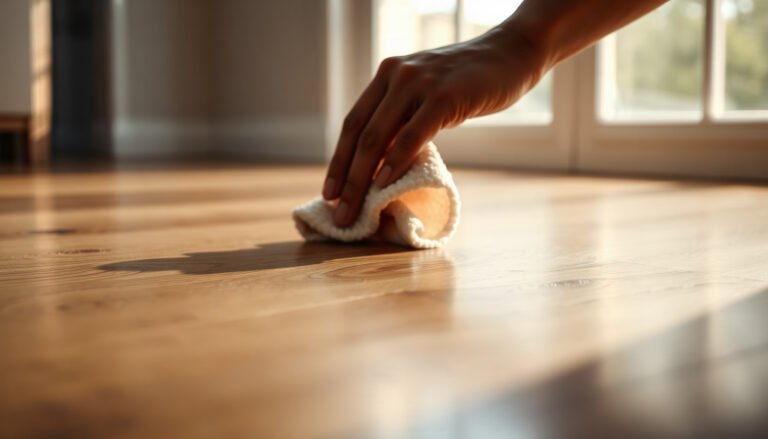
– Dried-on mess: soften first with a lightly damp cloth (hold it on the area for a minute or two), then gently lift residue with a plastic scraper or your cloth.
– Grease or oily marks: use a small amount of pH-neutral cleaner and warm (not hot) water, blot/wipe repeatedly, and avoid letting liquid pool at seams.
Fresh spill technique that protects LVP seams
When a stain lands on LVP, liquid can travel beyond the obvious spot. That’s why the technique matters: use microfiber to blot until the transfer stops, then wipe with a barely damp cloth. After that, rinse-wipe with clean water and dry immediately. On many LVP floors (especially click-lock constructions), seams are where excess moisture can creep—this is a major reason LVP care guides emphasize damp, not wet.
Dried stains: “soften then lift” beats “scrub”
For dried-on residue, the wear layer can take damage if you scrub dried particles across it. Instead, soften with a damp microfiber held in place for , then lift gently. If you need a tool, use plastic (not metal) so you don’t scratch the top coating.
Grease/oil marks: remove residue, don’t just mask it
Grease can leave an invisible film that later attracts dust and looks darker over time. For LVP, pH-neutral cleaners plus repeated blot/wipe cycles usually work best because you’re removing the emulsified residue rather than spreading it wider.
Pros/cons summary (cleaning approach)
- Start gentle (pH-neutral + microfiber)
- Pros: lower risk of finish dulling, fewer haze issues, fits most LVP care guides.
- Cons: may not fully remove dye/ink transfer without approved spot-treatment.
- Escalate only when the care guide allows
- Pros: reduces the chance of “mystery damage” to the wear layer.
- Cons: you may need a professional if the stain is dye-based or solvent-related.
Step 4: Tackle stubborn marks (scuffs, rubber, and darker discoloration)
Before you reach for stronger products, understand what stubborn marks usually are on LVP: abrasion transfer (scuffs), rubber carbon transfer, or dye/tannin staining embedded on the surface. For all three, LVP tends to respond to controlled cleaning—then careful escalation only if permitted.
Black shoe or rubber transfer is often carbon-based and can require repeated gentle wipes rather than aggressive scrubbing on LVP.
If an area looks dull after cleaning, residue or over-wetting is a common cause—rinsing and drying thoroughly often helps.
– Scuffs and black transfer (shoes/wheels/rubber): try gentle, repeated cleaning with pH-neutral cleaner; for some marks, a slightly more targeted wipe with a microfiber cloth can work without abrasives.
– Water spots or haze: if the area looks dull after cleaning, stop and reassess—many LVP issues come from over-wetting or residue left behind, so rinse-wipe-dry thoroughly.
– Deep dye/ink-like transfer (paint, marker, some dyes): only proceed if your LVP manufacturer explicitly allows a stronger spot treatment; otherwise, you risk damaging the wear layer—use a “follow-the-care-guide” approach.
Scuffs and rubber: why pressure matters
Even if you use a “safe” cleaner, heavy pressure and repeated back-and-forth scrubbing can abrade LVP’s protective layer. That’s why Step 4 prioritizes repeated gentle passes. If the mark doesn’t lift after careful cycles, escalation is not automatic—LVP care instructions often list specific approved methods or explicitly warn against solvents.
Haze: treat it as a residue problem first
Haze after cleaning is frequently residue left by cleaner, or a dulling effect from using too much product. This is especially common when homeowners skip the rinse-wipe step. In LVP cleaning, “rinse” typically means wiping with clean water, not flooding.
Dye/ink transfer: “looks surface-level” can be misleading
Dyes (tannins from coffee/tea, pigments from wine, marker ink) can bind to the surface layer. If the LVP manufacturer doesn’t approve a stronger remover, “trying anyway” can permanently alter the wear layer’s appearance. As of 2026, many resilient-floor guidelines still emphasize that finish damage may be irreversible once the protective coating is compromised—so you should treat approved spot removal as the decision gate, not the stain’s appearance.
Step 5: What can go wrong (common mistakes and limits)
Before you clean LVP stains, know the most common failure points: wrong chemicals, too much moisture, and abrasive scrubbing that damages the wear layer. These mistakes often create new problems (haze, dull patches, permanent discoloration) that are harder to fix than the original stain.
Bleach, ammonia, and strong solvents are frequent “do not use” items in LVP care instructions because they can dull or alter the finish.
Pooling water near edges and seams increases the chance of moisture-related issues and can make LVP discoloration worse.
– Using the wrong chemical: bleach, ammonia, strong solvents, or “heavy-duty” all-purpose cleaners may strip or haze the finish; many manufacturers warn against them in their care guides.
– Over-wetting the floor: pooling liquid can seep at edges and seams—use damp (not wet) cloths and wipe-rinse-dry.
– Scrubbing too hard: abrasives (including rough pads) can scratch the protective layer and make future stains easier to see.
Three physics-of-cleaning reasons LVP gets damaged
1) Finish tolerance is limited: pH-neutral is safer because many LVP finishes are engineered for near-neutral cleaners. According to NIST, the pH scale runs from 0 to 14 and “neutral” is pH 7, which is a useful reference point when selecting LVP cleaning products (NIST, pH scale reference).
2) Heat + moisture can be risky: steam cleaners deliver very hot water/steam; pure water boils at about 100°C (212°F) at standard atmospheric pressure (NIST, boiling point reference). If a manufacturer doesn’t explicitly allow steam for LVP, you should treat heat and moisture as a risk multiplier.
3) Residue creates haze: leaving cleaner behind can form a dull film that darkens the area over time—so the rinse-wipe-dry sequence matters as much as the cleaner choice.
When the “safe” approach still won’t fix it
Even careful LVP cleaning won’t guarantee removal for:
– certain dye transfers,
– solvent-related marks (e.g., some inks or chemicals),
– or finish damage already caused by abrasive pads.
If your first hidden-spot test shows dulling or hazing, stop and revise—don’t keep escalating.
Step 6: Verdict + honest tip on when to stop
If you want the safest odds, start with pH-neutral cleaning, use controlled moisture, and step up only when the manufacturer’s care guidance supports it. This approach is usually enough for typical living-room stains, and it helps avoid the “mystery damage” caused by harsh products.
The lowest-risk path for LVP stains is “blot → pH-neutral wipe → rinse-wipe → dry,” escalating only in ways approved by the floor’s care guide.
If you see finish haze after cleaning, the problem is often residue or over-wetting—stop, rinse, and dry before trying stronger chemicals.
Downsides: you may not fully remove dye transfer or deeply set discoloration without an approved chemical treatment. Skip this DIY approach and go by manufacturer instructions (or consider a flooring professional) if the stain is from something the care guide treats as “not guaranteed to remove” (e.g., certain dyes/solvents) or if you notice finish damage from your first test spot.
Scan-and-save checklist (quick order of operations)
| Step | What to do | Key “don’t” |
|---|---|---|
| 1 | Blot (fresh spills) or soften (dried mess) | Don’t rub dirt into the surface |
| 2 | Wipe with pH-neutral cleaner (small amount) | Don’t soak or flood seams |
| 3 | Rinse-wipe with clean water | Don’t leave cleaner residue |
| 4 | Dry with a microfiber towel | Don’t air-dry wet patches |
| 5 | Test escalation only if allowed by your LVP care guide | Don’t use bleach/ammonia/steam unless approved |
Sources
– installation/care guide (for approved cleaners, banned chemicals, and guidance on spot treatment) — .
– (warnings about abrasives/solvents/steam and moisture limits) — .
– NIST (National Institute of Standards and Technology), pH and related reference information (for pH scale/neutral reference).
– NIST boiling point reference (for water boiling point used to contextualize steam temperature risk).
– (use manufacturer-independent food chemistry references to support the pH data table).
LVP stain removal in a living room is most successful when you keep the process controlled: identify the stain type, use pH-neutral cleaning on microfiber, blot/soften before lifting, and rinse-wipe-dry to prevent haze. If the spot is dye-based or your care guide doesn’t approve stronger chemistry, stop escalating—finish protection matters more than quick cosmetic results.
Frequently Asked Questions
How do I remove stubborn stains from LVP (luxury vinyl plank) floors in my living room?
Start by identifying the stain source (food, grease, ink, pet accidents) because LVP cleaning works best with the right approach. For most stubborn spots, mix a few drops of mild dish soap with warm water, then blot the area with a soft cloth and rinse with clean water to avoid residue. If the stain remains, use a non-abrasive cleaner made for vinyl floors, and always test in a hidden area first to protect the LVP finish.
What’s the best way to remove grease or oily marks from LVP flooring?
For grease stains, apply a small amount of dish soap solution directly to the spot and let it sit for 3–5 minutes to break down the oil. Gently scrub with a microfiber cloth or soft-bristle brush, then wipe with a clean damp cloth to remove any soapy film. Avoid harsh degreasers or abrasive pads, since they can dull or damage the protective wear layer on LVP.
Which household products are safe for cleaning stains on LVP floors?
In general, mild dish soap, warm water, and cleaners labeled safe for vinyl flooring are the safest options for removing LVP stains. For sticky residues, you can use a small amount of isopropyl alcohol on a microfiber cloth, but wipe afterward with plain water so the floor doesn’t get tacky. Skip products like bleach, ammonia, strong solvents, and magic erasers with abrasive action, since they can harm the finish or cause discoloration.
How do I remove pet urine or organic stains from LVP without damaging the finish?
Blot up the mess immediately, then clean the area with a mild soap-and-water solution and rinse thoroughly to lift organic residue. If the stain or odor persists, use an enzymatic cleaner made for pet urine on vinyl floors, following the label and letting it dwell for the recommended time. Afterward, wipe dry with a soft towel—standing moisture can seep into seams over time and lead to discoloration.
Why do LVP stains sometimes look worse after cleaning, and how can I prevent that?
LVP stains can appear worse when cleaning leaves behind residue or when the cleaner spreads the discoloration across the plank surface. To prevent this, rinse with clean water after using any soap-based cleaner and dry the area to reduce streaking. Also, address spills quickly and use protective felt pads under furniture so stains don’t set into the wear layer.
📅 Last Updated: October 27, 2026 | Topic: How to remove stains from LVP floors in a living room? | Content verified for accuracy and freshness.
References
- Vinyl flooring
- https://www.epa.gov/coronavirus/cleaning-and-disinfecting-your-facility
- https://www.cdc.gov/coronavirus/2019-ncov/community/organizations/cleaning-disinfection.html
- https://www.armstrongflooring.com/support/care-and-cleaning.html
- https://www.karndean.com/en-us/care-and-maintenance
- https://scholar.google.com/scholar?q=how+to+remove+stains+from+LVP+vinyl+plank+flooring Google Scholar
- https://scholar.google.com/scholar?q=vinyl+flooring+stain+removal+best+practices+mopping+detergent Google Scholar
- https://scholar.google.com/scholar?q=care+and+maintenance+vinyl+plank+resilient+flooring+stain+removal Google Scholar