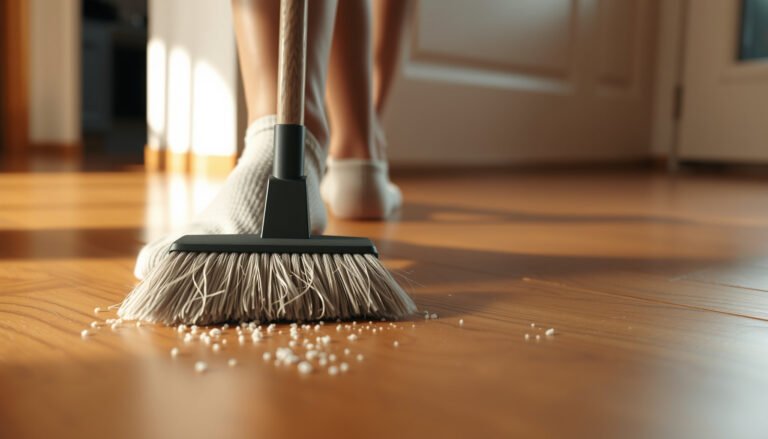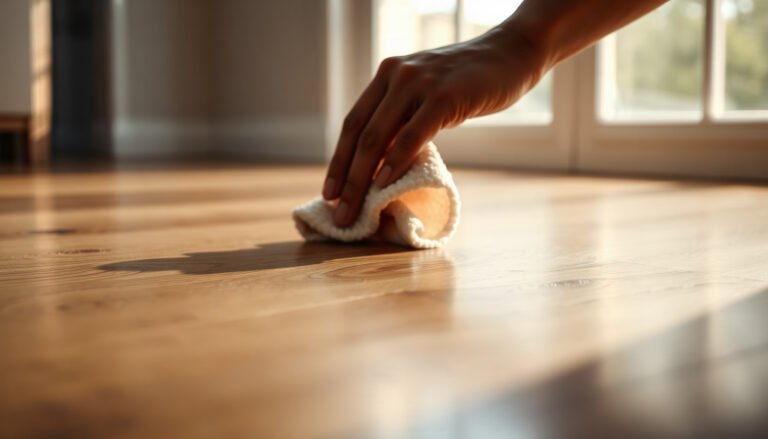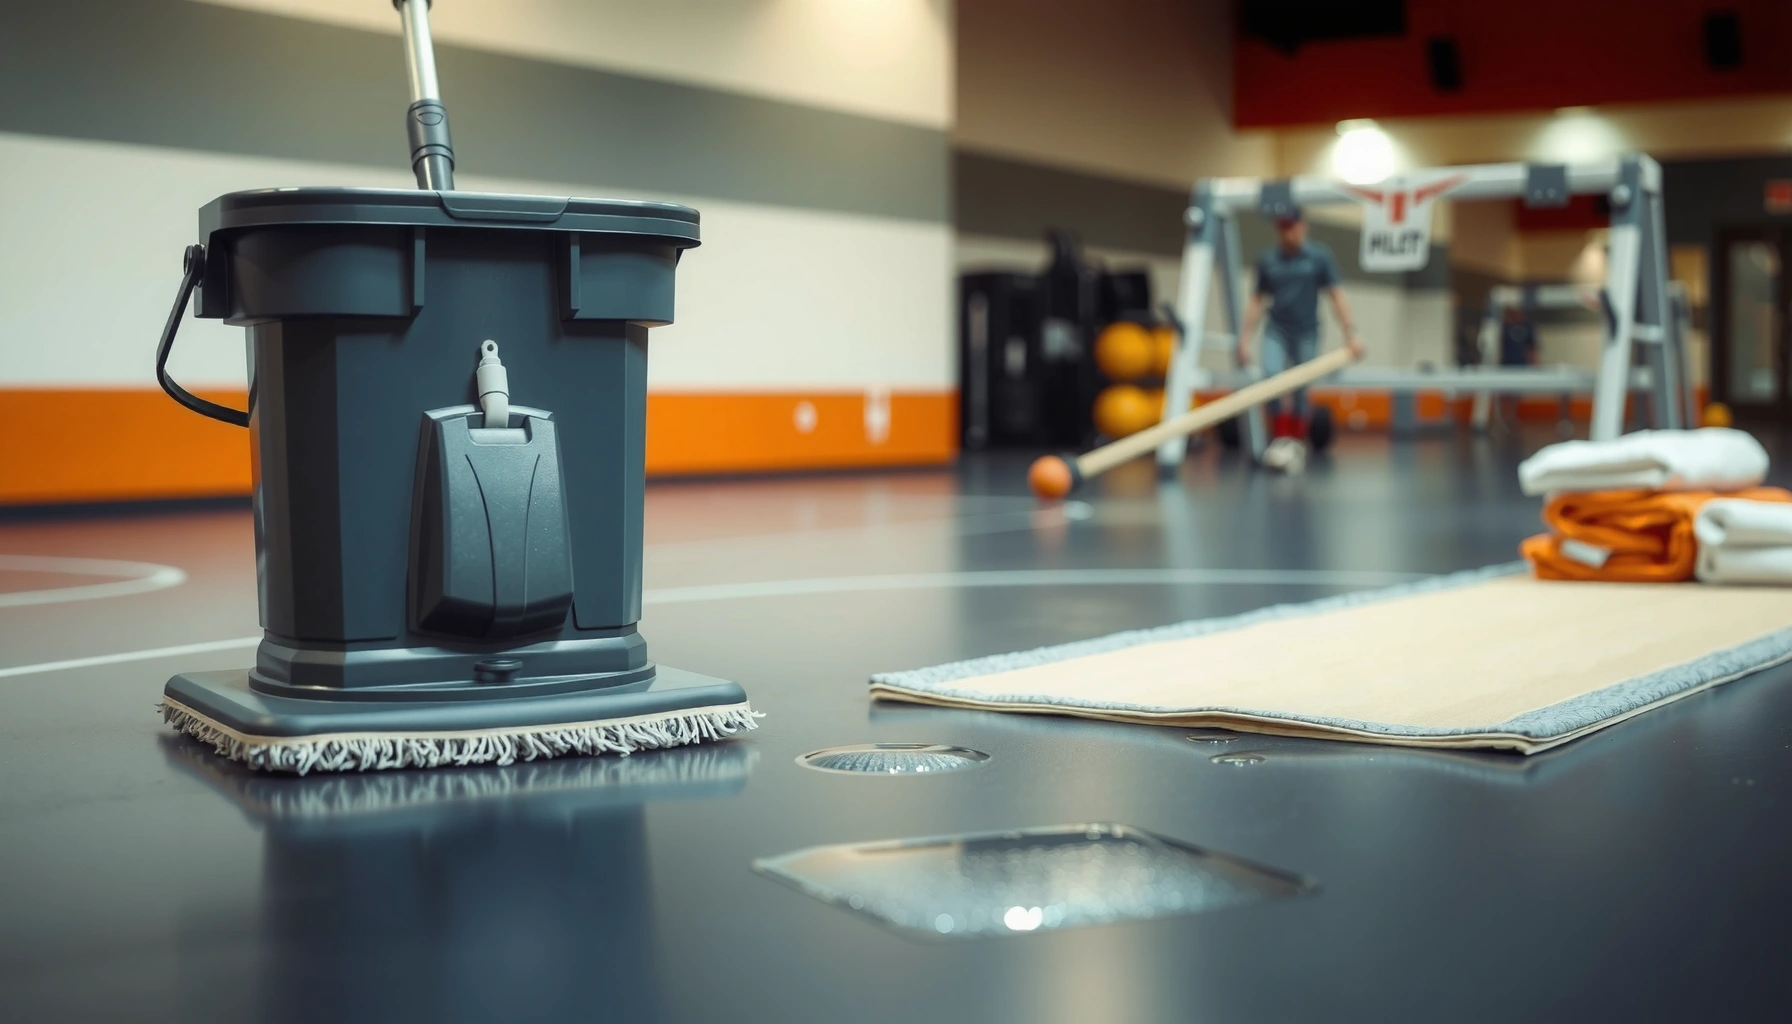

Stop water before it reaches your gym floor by controlling entry sources (leaks, wet mopping, outdoor tracking) and installing containment where water is most likely. Then protect the floor system with fast, low-wet cleaning and consistent humidity/airflow control so moisture can’t linger long enough to warp, buckle, or trigger odors.




If your gym has frequent mopping, sweat-heavy use, wet entries (rain/snow), or occasional plumbing issues, this is for you. It’s especially relevant for facilities with rubber, vinyl, wood, concrete, or layered gym flooring where moisture can cause bubbling, odor, surface breakdown, or edge lifting.
Find and block the water sources first
The fastest way to prevent gym-floor water damage is to eliminate recurring moisture inputs—because even “small” leaks and tracking can quietly overwhelm your cleaning and drying process. Here, you’re not just finding water; you’re removing the cycle that keeps re-wetting the floor and its seams.
According to the U.S. CDC, mold can begin growing on building materials within 24–48 hours after water damage occurs (CDC, “Mold and Moisture” guidance).
ASHRAE humidity recommendations commonly target indoor relative humidity in the roughly 30–60% range to reduce condensation and moisture risk (ASHRAE guidance commonly referenced in building comfort/moisture control documentation).
According to the U.S. EPA, addressing moisture problems promptly is one of the most effective ways to prevent mold growth (EPA “Mold” and “Mold Prevention” guidance).
From a risk-management perspective used in facilities and industrial hygiene, prevention focuses on controlling the source, pathway, and exposure—“source control” is the highest leverage step for moisture events.
Do a walkthrough audit for likely entry points
Start with a “walkthrough audit” during the conditions that create moisture—early morning after wet commutes, right after a cleaning shift, and after any maintenance calls. You’re looking for where water enters the building envelope or gets transported across the floor.
Common gym entry points:
– Exterior doors and vestibules (especially the door nearest parking, docks, or sidewalks)
– Wet mop storage / janitor closets (leaks from sink faucets, clogged floor drains, or open mop buckets)
– Restrooms and sinks near training zones
– Floor drains close to equipment (or drains that run infrequently)
– HVAC condensate lines (where “drip” becomes a repeat visitor)
In practice, we recommend mapping the top 3 moisture routes first (door → mat → floor; mop area → bucket leaks; HVAC → drip line). That lets you prioritize containment and staffing—rather than treating every wet spot as unrelated.
Fix active leaks immediately (not eventually)
Treat recurring leaks as a maintenance priority, not a “we’ll get to it” item. Repeated small leaks often cause larger floor damage because the moisture repeatedly re-wets seams, underlayers, and edges.
Leak categories that commonly affect gyms:
– Plumbing leaks: supply lines under sinks, damaged valves, slow drips behind wall panels
– HVAC condensation: condensate overflow, clogged drain lines, or failed condensate pumps
– Roof/ceiling moisture: roof penetrations, condensate staining that later turns into active seepage
– Water heater / boiler area: floor-level drips during cycle changes
If the water source is hidden (ceiling stains, wall wetness, recurring odor), pull the maintenance logs and correlate them with floor issue timestamps. That turns speculation into a traceable cause.
Reduce tracking with properly sized entry mats and rules
Tracking is a major source of water and dissolved salts (road grime, snow melt, chlorides). Mats reduce both water volume and how far moisture travels across the gym.
What to do:
– Place appropriately sized entry mats at all outside-facing doors (front-of-house, staff entrances, loading-related doors)
– Add a “shoe-drying rule” during wet weather (e.g., change to indoor footwear; use designated doormats)
– Keep mats from becoming a moisture reservoir (clean and dry them on a schedule)
If you only do one thing to reduce slip hazards, do this: make sure mats exist at every wet-entry path and that they’re actively maintained.
Use the right floor protection and containment
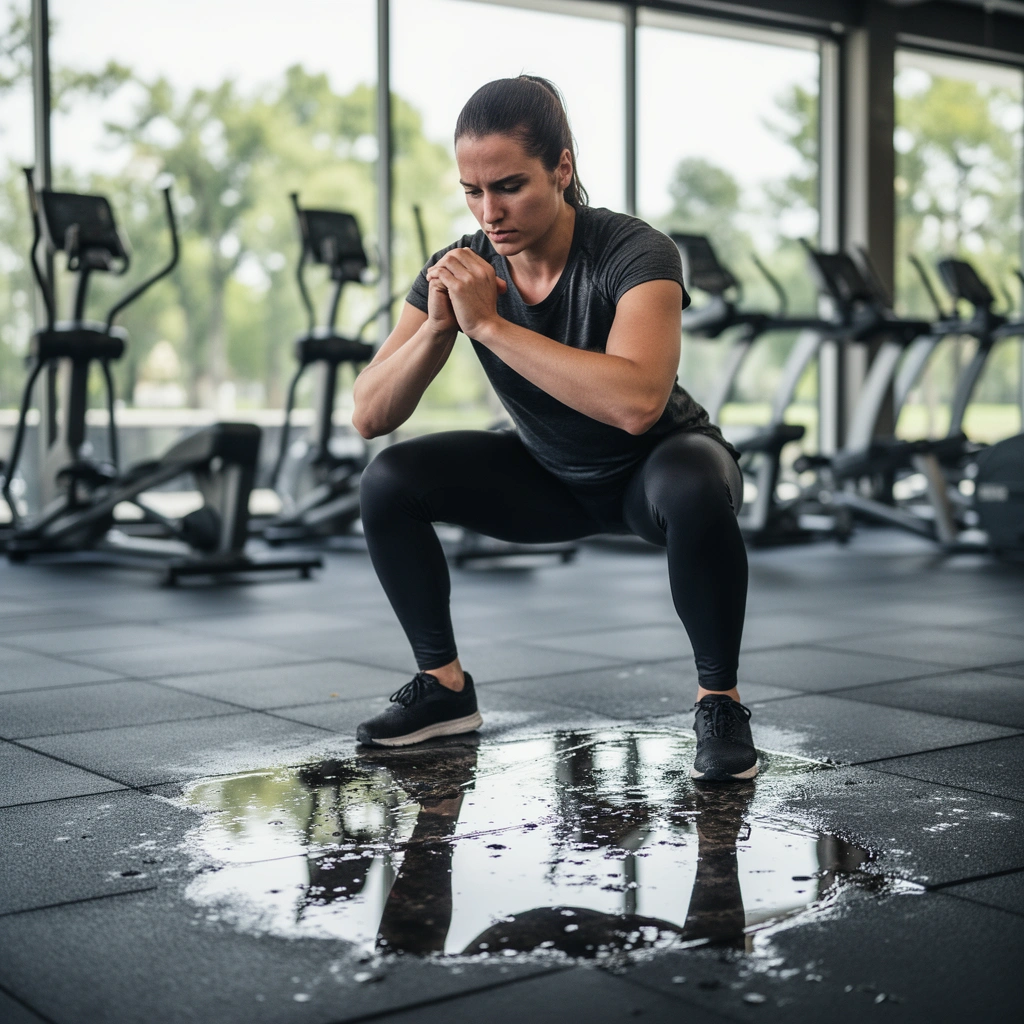
The best containment strategy is targeted: protect the zones where water is most likely to land, be generated, or be transferred—not just the entire floor. This reduces how much water reaches seams and subfloor layers, where damage usually starts.
Containment measures work best when they intercept water before it reaches joints—industrial moisture control programs emphasize “stopping at the source/pathway.”
EPA mold prevention guidance consistently points to moisture control and cleanup as the central defense, reinforcing the value of containment before moisture spreads (EPA, mold prevention guidance).
Cleaning systems that minimize standing water reduce the probability that moisture will penetrate seams and stay long enough to drive odor or microbial growth (CDC/NIH mold and moisture prevention principles).
Install containment where water is most likely
Containment should mirror your gym’s workflows:
– Entrance mat systems (runner mats, multi-zone mat layouts)
– Under-mop zones / splash zones near cleaning areas
– Splash guards and shields near hydration stations, sinks, and towel stations
– Visual barriers that keep buckets and wet tools from being stored in traffic routes
A key detail: containment fails when it’s installed but not maintained. A mat that stays saturated for days becomes a slow-release water source against the flooring system.
Use floor coverings designed for gyms—not generic rugs
Generic rugs can trap moisture at the edges and prevent evaporation. For gym use:
– Choose coverings intended for high-traffic, wet-conditions environments
– Avoid designs that hold water against the subfloor
– Ensure the covering can be cleaned and dried reliably on your schedule
Consider moisture barrier layers only with manufacturer guidance
For layered flooring systems (rubber tiles, vinyl with underlayers, some wood systems over concrete), an underlayment or moisture barrier can help only if it’s compatible with your floor manufacturer and your subfloor conditions.
Before you modify layers:
– Confirm your flooring manufacturer’s moisture limitation and approved assembly method
– Verify whether your subfloor has existing moisture (concrete testing may be required)
– Align barrier directionality (vapor movement) with the manufacturer’s design
Clean in a way that prevents moisture from staying
Your goal is simple: remove soils and water without adding enough moisture to dwell in seams or under layers. In most gyms, the difference between “clean” and “damaging” is whether water sits long enough for penetration and delayed evaporation.
The CDC’s mold guidance highlights that moisture after water damage is what enables mold growth, so dwell time matters (CDC, “Mold and Moisture”).
Facility best practices used in remediation planning prioritize “drying and removal of moisture” rather than repeated wet rinsing that increases water dwell time (CDC/EPA moisture control principles).
Choose methods that minimize standing water
Avoid practices that over-wet:
– Damp mopping or controlled “spot extraction” rather than saturating large sections
– Using vacuums designed for wet pickup where appropriate
– Switching mop heads and wringers often so they don’t turn into a water-delivery device
If your gym has equipment that can be moved safely (bench racks, small rigs), consider zoning—clean smaller areas, remove water immediately, and dry faster.
Keep water dwell time short
Reduce the time water stays on the surface:
– Use wringers/squeegees to physically remove water
– Change mop heads when they’re saturated (saturated mops spread water, not just clean it)
– Prioritize remove water over “rinse and leave”
From a practical facilities perspective, we see damage patterns follow cleaning habits: when the cleaning workflow allows a wet film to remain until “later,” the underlayer inevitably gets wetter—especially near edges and seams.
Dry fast after cleaning with airflow and, if needed, dehumidification
After cleaning:
– Increase airflow with fans positioned to avoid lifting loose edges
– Use dehumidification in spaces with poor ventilation
– Make sure the drying plan fits your gym schedule (e.g., between classes rather than overnight only)
If your HVAC supports it, confirm condensate management is functioning. A dehumidifier that’s fighting an HVAC moisture problem can still lose the battle.
Control humidity, airflow, and temperature
Humidity and airflow control are what stop “cleaning moisture” from turning into long-term moisture exposure. When indoor moisture stays within safe ranges and evaporates quickly, even occasional wet events are less likely to cause warping, odors, or microbial issues.
ASHRAE moisture/comfort guidance commonly targets indoor relative humidity around 30–60% to reduce condensation and moisture-related risks (ASHRAE humidity control recommendations).
EPA guidance for mold prevention emphasizes controlling indoor moisture levels to limit mold growth opportunities (EPA mold prevention guidance).
In building science practice, blocked supply/return airflow can create “moisture pockets” that delay drying and raise local humidity at floor level.
Maintain a humidity level appropriate for your flooring
Different gym flooring systems tolerate moisture differently, but the operational principle stays the same: avoid condensation and persistent elevated RH. Use flooring-manufacturer guidance first; then align HVAC and dehumidification to meet it.
Operational tips:
– Install a calibrated RH/temperature sensor in the gym (ideally near representative floor conditions, not only in the office)
– Review readings across seasons—winter wet entries often drive RH spikes
– If you don’t have manufacturer targets, treat 30–60% RH as a baseline comfort/moisture control range per common ASHRAE references (ASHRAE guidance)
Improve air movement across the floor
Air movement matters because it accelerates evaporation and helps dry edges:
– Use fans to promote gentle, even airflow
– Avoid blasting air that can lift edges or spread water droplets
– Ensure air isn’t “short-circuiting” back into HVAC returns without drying the floor zone
Keep HVAC maintained (quiet moisture drivers)
Moisture problems often hide in HVAC details:
– Blocked intakes
– Failed condensate management
– Underperforming dehumidification during peak wet-entry seasons
Maintenance isn’t just about comfort—it’s about removing moisture loads before they settle into the floor system.
Moisture-Control Targets Used to Prevent Floor Damage in Indoor Facilities
| # | Target / Metric | Recommended Range | Why it Matters | Practical Priority |
|---|---|---|---|---|
| 1 | Indoor Relative Humidity (RH) | 30–60% | Reduces condensation risk and supports drying | ★★★★★ |
| 2 | Time-to-intervention after water damage | Within 24–48 hours | Moisture can enable microbial growth quickly | ★★★★☆ |
| 3 | Surface drying goal (no visible pooling) | Remove standing water immediately | Standing water drives penetration into seams | ★★★★★ |
| 4 | Airflow strategy | Fans after cleaning | Speeds evaporation and helps dry edges | ★★★★☆ |
| 5 | Mop/water dwell control | Dwell time minimized | Shortens moisture exposure at seams | ★★★★☆ |
| 6 | Dehumidification support | Use when RH stays elevated | Prevents prolonged high moisture after cleaning | ★★★☆☆ |
| 7 | Mat maintenance | Clean/dry on schedule | Prevents mats from becoming moisture reservoirs | ★★★★☆ |
Notes: The RH and 24–48 hour timing reflect widely used public-health moisture guidance. For facility-specific targets (especially for wood or specialized floor assemblies), align with your floor manufacturer’s moisture-limit and approved drying requirements.
Train staff and set a simple response plan
The most reliable water-damage prevention program is the one staff can follow under time pressure. Training reduces “how long it stays wet” during spills and mopping—exactly what drives warping, slipping hazards, and long-term deterioration.
CDC and EPA mold guidance consistently treats rapid cleanup and drying as critical because moisture conditions can enable growth within 24–48 hours (CDC/EPA moisture guidance).
Facilities best practices in industrial hygiene use standardized response steps (contain → absorb → remove → dry) to reduce variability across shifts and staff.
Create standard operating routines for spills and inspections
Staff routines should cover:
– Spill response: what to do immediately when water is found
– Mopping workflow: how to damp mop, wring, and avoid pooling
– Floor inspections: where to check first (edges, transitions, near drains)
Put this into plain language. You want a routine that works even when the gym is busy and people are moving fast.
Post a “spill response” checklist
Use a short, repeatable sequence:
1. Contain (limit spread with barriers or towels)
2. Absorb (use the correct absorbents)
3. Remove (extract remaining moisture rather than spreading it)
4. Dry (fans/dehumidification as needed)
The biggest failure mode we see in gyms is skipping the “remove + dry” steps because someone assumes mopping will finish later.
Inspect floors on a schedule for early warning signs
Make inspections routine, not reactive:
– Edge lifting
– Bubbling (surface or underlayment)
– Soft or spongy spots
– Discoloration (often near seams or transitions)
– Lingering odors even after cleaning
If you find issues, treat them as system signals: a localized problem can point to a specific water source path.
What can go wrong (and how to avoid it)
Most gym water damage comes from predictable mistakes: over-wetting, incompatible flooring layers, slow leak response, and poor mat management. If you avoid these traps, your prevention program works even when the gym is busy.
Mold prevention focuses on controlling moisture and avoiding conditions that persist; repeated re-wetting delays drying and increases risk (EPA mold prevention guidance).
Because moisture growth can begin within 24–48 hours after water damage, “we cleaned it later” still counts as delayed response for microbial risk (CDC, mold guidance).
Common failure modes
Here are the practical gotchas:
– Over-mopping and leaving puddles: even “safe” cleaners can damage floors if water pools or seeps into seams.
– Using the wrong barrier/underlayment: some layers can trap vapor and slow drying—especially if they’re not part of the floor manufacturer’s approved assembly.
– Ignoring small leaks: slow plumbing drips and condensate overflow often create persistent sub-surface moisture.
– Assuming mats solve everything: mats reduce tracking, but they can become moisture reservoirs if not cleaned, dried, or replaced.
– Using heat without airflow control: heaters can raise evaporation, but without airflow and humidity control, they often just redistribute moisture.
Pros/cons: containment vs. “cleaning harder”
To help you choose the right emphasis, here’s a simple comparison.
| Approach | Pros | Cons / Risk |
|---|---|---|
| Containment first (mats, splash guards, targeted barriers) | Reduces water reaching seams; lowers cleaning overload | Requires maintenance so mats don’t become reservoirs |
| “Clean harder” (more water, more passes) | May improve visual cleanliness quickly | Increases dwell time and penetration; can worsen warping/odor |
Verdict: what to do first (and who should skip)
Start with the highest-impact basics: stop leaks, reduce tracking with proper mats, clean without over-wetting, and dry quickly using airflow and dehumidification when humidity stays high. This works across most gym floor types because it breaks the moisture cycle (entry → transfer → dwell → evaporation).
Skip DIY changes to flooring layers (like adding underlayment or barrier systems) unless you’ve confirmed compatibility with your specific floor manufacturer’s guidance. If you suspect subfloor water intrusion, ongoing condensation, or a hidden leak behind walls or ceilings, prioritize diagnosis and professional inspection before changing the flooring assembly.
EPA and CDC guidance on mold prevention converge on the same principle: controlling moisture and prompt cleanup are more effective than relying on cleaning alone (EPA/CDC moisture guidance).
Quick checklist to scan
– [ ] Fix leaks fast (plumbing/HVAC/roof/ceiling)
– [ ] Use entry mats at wet doors; clean and dry them regularly
– [ ] Mop damp, not wet; avoid standing water
– [ ] Remove water quickly after cleaning (wring/squeegee/spot extract)
– [ ] Increase airflow; consider dehumidification if humidity runs high
– [ ] Inspect edges and seams weekly for lifting, bubbling, soft spots
– [ ] Have a spill response routine: contain → absorb → remove → dry
FAQ
What’s the biggest cause of water damage in gyms?
Most often, it’s moisture that stays on the floor longer than intended—usually from over-wetting during cleaning or from recurring sources like leaks and wet entries.
Are entry mats enough to prevent moisture problems?
They help a lot with outdoor tracking, but they don’t prevent damage from internal spills, mopping routines, or condensation—those need separate controls.
How can we dry gym floors after mopping?
Use airflow (fans) to promote evaporation and remove excess water immediately after cleaning. If humidity is high, dehumidification is often the missing piece—[ADD: specific humidity target from your flooring/manufacturer guidance].
Should we steam clean gym floors?
Steam can introduce more heat and moisture than typical damp mopping, and whether it’s suitable depends heavily on your flooring type. Check your flooring manufacturer’s cleaning instructions first—[ADD: source for your floor type’s approved methods].
What signs mean water damage is already happening?
Look for bubbling, edge lifting, persistent discoloration, soft or spongy spots, and lingering odors—these can indicate moisture intrusion beneath the surface.
Sources
– CDC (Centers for Disease Control and Prevention) — Mold and Moisture guidance (including timing after water damage).
– U.S. EPA (Environmental Protection Agency) — Mold prevention and moisture control recommendations.
– ASHRAE (American Society of Heating, Refrigerating and Air-Conditioning Engineers) — Indoor humidity/comfort and moisture-control guidance used for setting RH targets in buildings.
– [ADD: flooring manufacturer’s care/maintenance documentation for your specific gym floor type—moisture limits, approved cleaning methods, and drying requirements]
If you control moisture at the source, prevent pooling with containment, and enforce fast “remove + dry” cleaning, you dramatically reduce warping, odors, and seam damage over time. The practical win is consistency: with a simple staff response plan and humidity/airflow monitoring, your gym floor stays safer, cleaner, and more reliable throughout the year.
Frequently Asked Questions
How can I prevent water damage to my gym floor during cleaning and mopping?
Use a “damp not wet” approach by wringing mops thoroughly and applying minimal water. Choose low-water cleaning systems or spray-and-wipe methods, and avoid flooding areas near drains, doorways, and equipment bases. After cleaning, dry the floor with fans or a wet/dry vacuum to remove trapped moisture that can cause swelling or mold.
What are the best ways to stop leaks from equipment and avoid puddles on gym flooring?
Inspect plumbing, hydration stations, and ice/water machines regularly for drips, loose fittings, and slow leaks. Add drip trays, trays under bottle-fill units, and leak-detection measures near water sources. Address damaged hoses and worn seals immediately, since even small, repeated wet spots can degrade rubber and cause odors.
Why does water damage happen faster on rubber and vinyl gym floors, and how do I reduce it?
Water can seep through seams and surface textures, breaking down adhesives and causing cupping, cracking, or delamination. To reduce risk, seal vulnerable joints, keep mats and flooring transitions protected, and promptly blot spills instead of letting them soak. Managing humidity with proper ventilation also helps prevent moisture buildup under the gym flooring.
Which drainage and containment solutions work best for wet areas like entryways, locker rooms, and outdoor transitions?
Install floor mats, grates, and sloped transitions to direct water away from the main training area. Use trench drains, channel drains, or properly placed catch basins in high-risk zones where water frequently enters. Pair these with moisture barriers under the flooring (where applicable) and routine drain cleaning to keep the system functioning and prevent backflow.
What’s the recommended routine to inspect and maintain gym floors so water damage doesn’t spread?
Do weekly checks for seam separation, bubbling, soft spots, and discoloration—these are early signs of water infiltration. Dry and repair small affected areas right away using manufacturer-approved patching materials, since neglect can spread moisture under the surface. Maintain gutters, roof edges, and window seals to prevent rainwater intrusion, and schedule professional assessments if you notice persistent dampness.
📅 Last Updated: October 12, 2026 | Topic: How to prevent water damage to gym floors? | Content verified for accuracy and freshness.
References
- Google Scholar Google Scholar
https://scholar.google.com/scholar?q=preventing+water+damage+gym+flooring+moisture+control - Google Scholar Google Scholar
https://scholar.google.com/scholar?q=sports+facility+flooring+water+intrusion+prevention+subfloor+moisture - Google Scholar Google Scholar
https://scholar.google.com/scholar?q=indoor+floor+water+damage+mold+prevention+best+practices - https://www.epa.gov/mold/mold-prevention-tips-residents-and-property-managers
- https://www.cdc.gov/mold/default.htm
- https://www.euro.who.int/en/health-topics/environment-and-health/air-quality/activities/dampness-and-mould
- Water damage
https://en.wikipedia.org/wiki/Water_damage - Mold
https://en.wikipedia.org/wiki/Mold - https://www.mayoclinic.org/diseases-conditions/allergies/expert-answers/mold/art-20047288
- https://pubmed.ncbi.nlm.nih.gov/?term=indoor+mold+prevention+water+damage