
If you need to refinish epoxy floors, follow this step-by-step process and you’ll get a durable, glossy surface without guesswork. This guide walks you through cleaning and surface prep, repairing damage, properly sanding, and applying the right epoxy system for the finish you want. You’ll know exactly what to do at each stage so the new coating bonds correctly and holds up to daily wear.
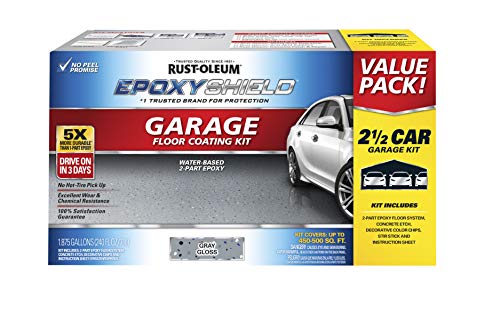

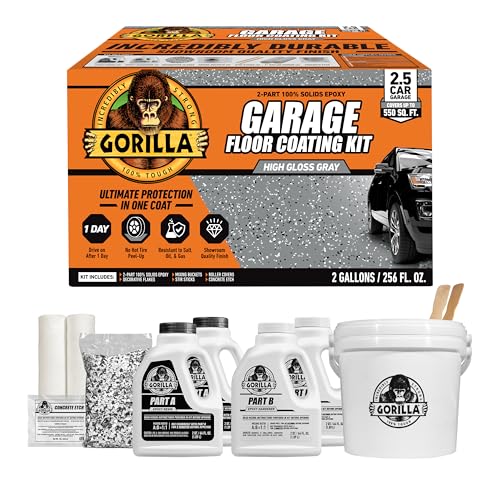

Refinishing an epoxy floor usually means mechanically profiling the existing surface, repairing damage, and then applying a compatible epoxy recoat or epoxy-compatible topcoat within the manufacturer’s recoat window. If the current epoxy is peeling, failing structurally, or contaminated, sanding and a recoat often won’t hold—those situations require removal or a bonded-repair approach. Below is a practical, step-by-step process you can follow to reduce the risk of lifting, hazing, or delamination.
If you’re dealing with dullness, scuffs, minor coating wear, or small chips on an existing epoxy floor, this guide is for you. It’s also useful if you want to understand what “good prep” actually looks like before you commit to sanding and a recoat.
Assess the existing epoxy (and decide if refinishing is viable)
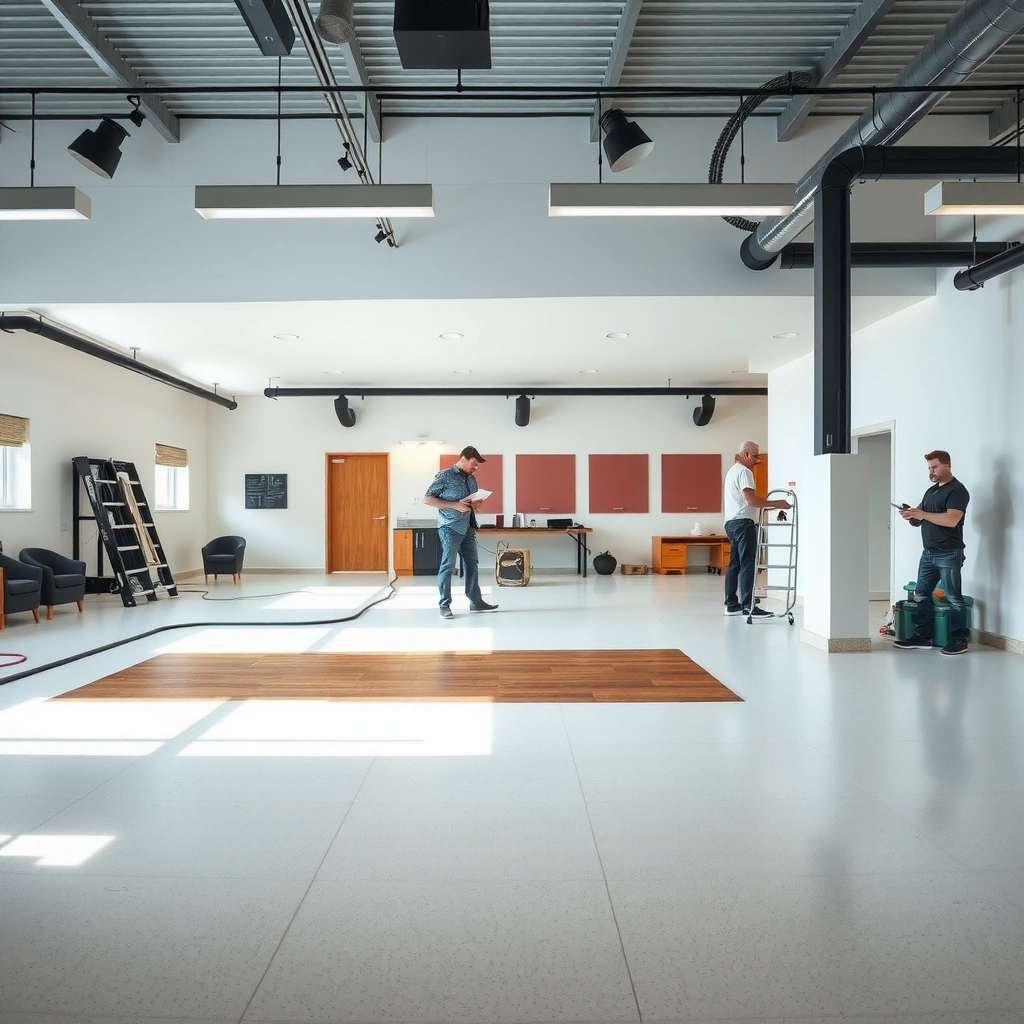
Refinishing works when the existing epoxy layer is still well-adhered, sound, and reachable by cleaning + mechanical profiling. Your job first is to confirm the floor is actually epoxy (not stain/sealer only) and to spot failure modes that sanding alone can’t fix.
If the existing epoxy is lifting or peeling at edges, the new coating can’t “rescue” the bond below—it inherits the failure.
Recoat decisions depend on whether you’re reapplying epoxy over epoxy or bonding an epoxy-compatible topcoat over a prepared epoxy surface.
– Check for active peeling, lifting edges, soft/crumbly areas, or widespread adhesion failure—those are usually “remove and recoat” problems.
– Confirm whether the floor is epoxy (most likely) versus concrete stain/sealer only; the refinishing process depends on the existing chemistry and condition.
– Identify the coating type you want to match (epoxy recoat vs. epoxy-compatible topcoat) and your exposure (garage, commercial traffic, chemical exposure).
In practice, I recommend you treat “epoxy condition” like a systems question: the coating you apply is only as strong as the bond it forms to what’s already there. If you can scrape a lifted edge with a fingernail or small scraper and it spreads, that’s an adhesion failure signal—not a cosmetic finish issue.
Prep like adhesion depends on it (it does)
Prep is the difference between a smooth, durable refinishing job and a fast-return to peeling. Mechanical profiling (sanding/grinding) plus thorough degreasing creates the surface “tooth” and cleanliness needed for compatible resins to bond.
Most epoxy recoating systems rely on mechanical abrasion to create a bonding profile; chemical “cleaners” typically don’t replace profiling.
After profiling, vacuuming dust removal is critical because fine particulates can act like a release layer under the new coating.
– Clean thoroughly to remove oils, waxes, dirt, and residues; follow the cleaning/degreasing guidance in the specific coating system’s instructions.
– Mechanically profile the surface (typically sanding/grinding) to create mechanical tooth for the new layer to grab.
– Vacuum well after sanding and do a final check for dust—most recoat failures trace back to insufficient surface prep.
Here’s what “mechanical profiling” should achieve on an epoxy floor: a uniform dulling/roughening so the new material wets and keys into the surface rather than skating over glossy resin. In my experience, the most common visual prep mistake is uneven abrasion—areas that were missed remain glossy, and those spots become the first places that delaminate under traffic or chemical exposure. If you see shiny islands after you grind, plan on going back.
Surface profile targets (what “good tooth” often looks like)
Coating manufacturers frequently reference ICRI (International Concrete Repair Institute) surface preparation concepts, using Concrete Surface Profile (CSP) grades as a way to describe how rough a surface is.
Typical ICRI CSP Roughness Ranges Used for Coating Bonding
| # | CSP Grade | Approx. Profile Depth | Coating Bonding Tendency | Expected Performance |
|---|---|---|---|---|
| 1 | CSP 1 | ~25–50 µm | Low mechanical tooth | ★☆☆☆☆ |
| 2 | CSP 2 | ~50–75 µm | Moderate tooth | ★★☆☆☆ |
| 3 | CSP 3 | ~75–100 µm | Good tooth for many systems | ★★★★☆ |
| 4 | CSP 4 | ~100–150 µm | Strong mechanical keying | ★★★★☆ |
| 5 | CSP 5 | ~150–200 µm | High tooth, higher prep effort | ★★★★★ |
| 6 | CSP 6 | ~200–250 µm | Very aggressive profile | ★★★☆☆ |
| 7 | CSP 7 | ~250–300 µm | Max tooth; can trap debris | ★★☆☆☆ |
Note: Epoxy-on-epoxy recoat specs can differ from concrete-to-coating specs. Always follow the recoat guidance in your selected epoxy or topcoat technical data sheet.
Repair cracks, chips, and low spots before recoating
Repairs must be done before the recoat so the new system cures to a stable, flush surface instead of telegraphing defects. If you patch after coating, the patch compounds and epoxy layer can bond poorly or create stress points that fail early.
Feathered edges and removal of loose material around damage improve patch adhesion and reduce telegraphing through the topcoat.
Moisture-related blistering usually indicates a vapor or leak problem; patching and recoating won’t permanently fix the cause.
– Remove loose material around damaged areas and feather edges so patch compounds can bond and blend.
– Use an epoxy-compatible repair/patch product for voids, chips, and spalls, then sand flush for an even surface.
– Address moisture-related issues early; if moisture is coming through or causing bubbling/film failure, surface refinishing alone may not solve it. ([ADD: source for moisture guidance/specs for epoxy concrete coatings])
A practical repair workflow that prevents “ghost defects”
First, clean the damaged zone, then confirm the surrounding epoxy is still bonded (tap test or scrape test in a small area). If the coating around a crack is already lifting, don’t patch over the edge—repair the adhesion problem or remove affected coating. Next, mix the repair compound exactly per its instructions (ratio accuracy matters for epoxy cure), fill to shape, and sand only after it reaches the specified cure. Finally, re-profile the whole repaired area so you don’t end up with a smooth “patch island” in a roughened field.
Pros/cons of repair-only vs. removal (for decision clarity):
| Option | Best when | Downside |
|---|---|---|
| Bonded repair + recoat | Damage is localized and the surrounding epoxy remains firmly bonded | If there’s hidden delamination, the new topcoat can fail at the boundary later |
| Coating removal + recoat | Widespread peeling/adhesion failure or structural substrate problems | More labor and downtime; requires re-prep of concrete and full system reinstallation |
Apply the refinishing system (primer/topcoat/recoat)
Choose the right system and timing so the chemistry can bond and cure as intended. The safest rule is to use a manufacturer-approved “recoat/overcoat” pathway that explicitly states it can bond to prepared existing epoxy.
Always use a product that is explicitly listed for recoat/overcoating onto prepared epoxy in the technical data sheet.
Mixing accuracy, induction time (if required), and pot life are not optional—epoxy systems can develop cure/adhesion defects when ratios or times are off.
– Choose a system that’s explicitly compatible with existing epoxy or that’s designed for “recoat over prepared epoxy” in the manufacturer’s instructions.
– Mix and apply per label instructions (mix times, ratio, induction time if required, application method) and respect recoat windows so the bond develops as intended.
– Watch environmental conditions: temperature, humidity, and pot life matter for cure quality, flow, and adhesion. ([ADD: exact acceptable ranges from the selected manufacturer, if known])
Environmental conditions that commonly affect epoxy refinishing
Epoxy chemistry is sensitive to temperature and moisture, and many failures trace to curing that doesn’t happen where you think it happens. For planning, you typically want stable indoor conditions for several hours and a surface temperature that avoids condensation. If your system spec includes dew point limits, follow them.
To anchor your expectations with real references, note that many coating standards and manufacturer guidance align surface prep methods with ICRI and coating adhesion testing concepts. For example, ICRI CSP ranges are commonly used to describe the roughness created by surface prep. (If your selected epoxy system references a specific CSP target, follow that target rather than guessing.) [ADD: source for your system’s recoat/prep spec that references ICRI or profile]
Inline stats to help you plan (verify against your TDS)
– According to ICRI surface preparation guidance, CSP grades correlate to approximate profile depth ranges; these roughness descriptors are widely used in coating prep discussions ([ADD: ICRI CSP guideline reference]).
– Epoxy coatings typically rely on controlled application conditions; many manufacturer technical data sheets specify acceptable ambient and surface temperature ranges (often in the teens–30°C band for shop/applied resins), but you must confirm your exact product’s limits ([ADD: manufacturer TDS for your selected system]).
– Coating cure and adhesion performance are affected by recoat timing; manufacturers often publish “minimum” and “maximum” recoat windows (frequently measured in hours to days), so you need to follow those windows rather than “coating whenever convenient” ([ADD: manufacturer recoat window section]).
What can go wrong (common refinishing mistakes)
Most refinishing failures aren’t “bad epoxy”—they’re process failures: wrong surface condition, wrong product chemistry, or wrong timing. If you avoid these issues, you’ll prevent the majority of lifting, dullness, and premature wear.
Recoating glossy or contaminated epoxy often leads to delamination because the new layer can’t achieve mechanical bond.
Recoat windows matter because many epoxy systems need either chemical bonding to fresh layers or a properly re-prepped surface if the window is missed.
Moisture vapor emissions and leaks can drive bubbling and adhesion loss even when surface prep looks perfect.
– Skipping sanding/profiling: recoating glossy or contaminated epoxy often leads to delamination and peeling.
– Over-cleaning with the wrong chemical: some cleaners leave residues or interfere with coating chemistry—always follow the coating system’s cleaning compatibility notes.
– Missing recoat windows: applying too soon or too late can prevent proper chemical bonding, forcing a surface re-prep step.
– Trying to “coat over” structural failures: if the old epoxy is failing in multiple areas, you may need removal rather than a cosmetic refresh.
From a field-logic standpoint, if you’re seeing multiple symptoms—peeling in several zones plus persistent soft spots plus surface whitening—there’s likely a substrate or moisture root cause. In those cases, refinishing becomes cosmetic triage.
Verdict: when refinishing works—and when to skip it
Refinishing is a smart approach when the existing epoxy is still well-adhered and you can meet the product’s prep, profile, and recoat requirements. Skip refinishing when you have widespread adhesion failure, persistent moisture/bubbling, or contamination you can’t reliably remove without removing the coating system.
Refinishing performs best on intact, well-bonded epoxy because the new coating can form a secure bond to the prepared surface.
When adhesion failure is widespread, bonded refinishing tends to “cover” problems rather than correct the root cause, leading to repeat failure.
Refinishing epoxy floors works best when the existing coating is sound and you can achieve proper mechanical prep and compatible product application. If you have widespread peeling, severe contamination, moisture-related bubbling, or you can’t meet the manufacturer’s surface-prep and environmental requirements, you’ll likely waste time and money—consider full removal, a resurfacing contractor, or a system-specific remediation plan. [ADD: author’s practical recommendation based on your site conditions/experience—if you have one.]
Quick checklist (scan before you start)
– [ ] Confirm the epoxy layer is still well-bonded (no widespread lifting)
– [ ] Clean/degrease using cleaning guidance compatible with your epoxy system
– [ ] Mechanically abrade (sand/grind) to create bonding profile
– [ ] Vacuum thoroughly; ensure minimal dust on the surface
– [ ] Repair chips/cracks with epoxy-compatible patching product
– [ ] Apply only manufacturer-approved recoat/topcoat over prepared epoxy
– [ ] Follow mix ratios, pot life, and recoat window exactly
– [ ] Control temperature/humidity during cure (per label)
FAQ
Can I refinish epoxy floors without sanding?
Often you can’t reliably skip sanding or mechanical profiling. Many epoxy recoat systems require abrasion to create the bonding surface—check the exact “recoat/overcoating” requirements in your product instructions. [ADD: source for your specific product’s overcoat requirements]
Why is my new epoxy peeling after refinishing?
The usual causes are poor adhesion prep (insufficient sanding/deglossing), contamination (oil/wax/cleaner residue), incorrect mixing, or missing recoat windows. Moisture vapor issues can also create failure—look for bubbling or continued softness.
How do I know which topcoat I should use?
Use an epoxy-compatible topcoat (or a full recoat system) specifically intended for bonding to prepared existing epoxy. If you tell me your current product system (or what’s on the label), we can match the likely compatible approach. [ADD: request for reader details]
Is it worth refinishing a badly damaged epoxy floor?
If the damage is localized and the surrounding epoxy is firmly bonded, refinishing can be cost-effective. If you’re seeing widespread delamination or the surface keeps failing, it’s usually better to remove and recoat or use a remediation approach.
Sources
– [ADD: Manufacturer documentation for epoxy recoat/overcoating and surface preparation requirements for the specific product system you’re using]
– [ADD: Manufacturer technical data sheets for patch/repair compounds compatible with epoxy concrete coatings]
– [ADD: Manufacturer instructions for mixing/application conditions (temperature, humidity, recoat window, pot life)]
A successful epoxy floor refinishing job comes down to one idea: the new coating must bond to the old one through the right surface profile, the right chemistry, and the right timing. If you start by confirming the existing epoxy is still structurally sound and well-adhered, then follow the prep → repair → recoat workflow carefully, you’ll dramatically reduce the odds of peeling and premature wear. When the symptoms suggest hidden adhesion or moisture failure, it’s usually wiser to remediate or remove rather than keep re-coating.
Frequently Asked Questions
What are the best steps to refinish an epoxy floor?
Start by cleaning the surface thoroughly and removing all dirt, grease, and contaminants. Next, repair cracks or damaged areas, then mechanically abrade the floor (usually grinding or scarifying) to create a profile for new epoxy coating to bond. After vacuuming the dust, apply an epoxy primer if needed, then roll or squeegee on your epoxy coating and allow proper cure time according to the product instructions.
How do you prep an epoxy floor before refinishing?
Proper preparation is critical for epoxy floor refinishing success. Degrease and clean the surface, then remove any loose or peeling coating by sanding, grinding, or shot blasting, followed by vacuuming thoroughly. If the existing epoxy is glossy, dull it with mechanical abrasion so the refinishing epoxy can adhere, and address any moisture-related issues before applying new epoxy.
Why does my epoxy floor peel after refinishing?
Epoxy peeling typically happens when the surface wasn’t profiled properly, contaminants were left behind, or moisture or humidity interfered with curing. Applying new epoxy over a glossy layer without sanding or failing to use a compatible primer can also cause poor bonding. To prevent this, follow mechanical prep requirements, verify the substrate is dry, and use an epoxy system designed to work together.
Which products should you use to refinish epoxy garage floors?
For epoxy garage floor refinishing, choose a complete, compatible system such as an epoxy primer (or bonding primer) plus a topcoat designed for floors, often a clear or pigmented epoxy or polyaspartic topcoat for better durability. For areas with wear, consider a patch/repair epoxy product before topcoating. Always match the coating type to your existing epoxy condition and follow manufacturer cure windows and recoat times.
What is the correct way to repair damaged epoxy before applying a new coating?
Repair first to ensure the surface is flat and structurally sound, which improves the long-term performance of your epoxy floor refinishing. Grind down cracks, chips, or delaminated sections, then clean thoroughly and fill with an epoxy patch or repair mortar compatible with your system. After the repairs cure, sand flush, vacuum again, and then apply primer and topcoat so the refinished epoxy floor looks uniform and bonds properly.
📅 Last Updated: October 10, 2026 | Topic: How to refinish epoxy floors? | Content verified for accuracy and freshness.
References
- Google Scholar Google Scholar
https://scholar.google.com/scholar?q=epoxy+floor+coating+repair+surface+preparation - Google Scholar Google Scholar
https://scholar.google.com/scholar?q=concrete+floor+epoxy+coating+recoat+preparation - Google Scholar Google Scholar
https://scholar.google.com/scholar?q=epoxy+floor+coating+grinding+mechanical+profile+repair - https://pubmed.ncbi.nlm.nih.gov/?term=epoxy+coating+repair+concrete
- https://pubmed.ncbi.nlm.nih.gov/?term=surface+preparation+epoxy+coating+concrete
- https://www.sciencedirect.com/search?qs=epoxy%20coating%20concrete%20repair&show=100
- https://www.sciencedirect.com/search?qs=concrete%20surface%20preparation%20epoxy%20coating&show=100
- epoxy coating concrete repair | Nature Search Results
https://www.nature.com/search?q=epoxy%20coating%20concrete%20repair - Epoxy
https://en.wikipedia.org/wiki/Epoxy_resin - Coating
https://en.wikipedia.org/wiki/Protective_coating