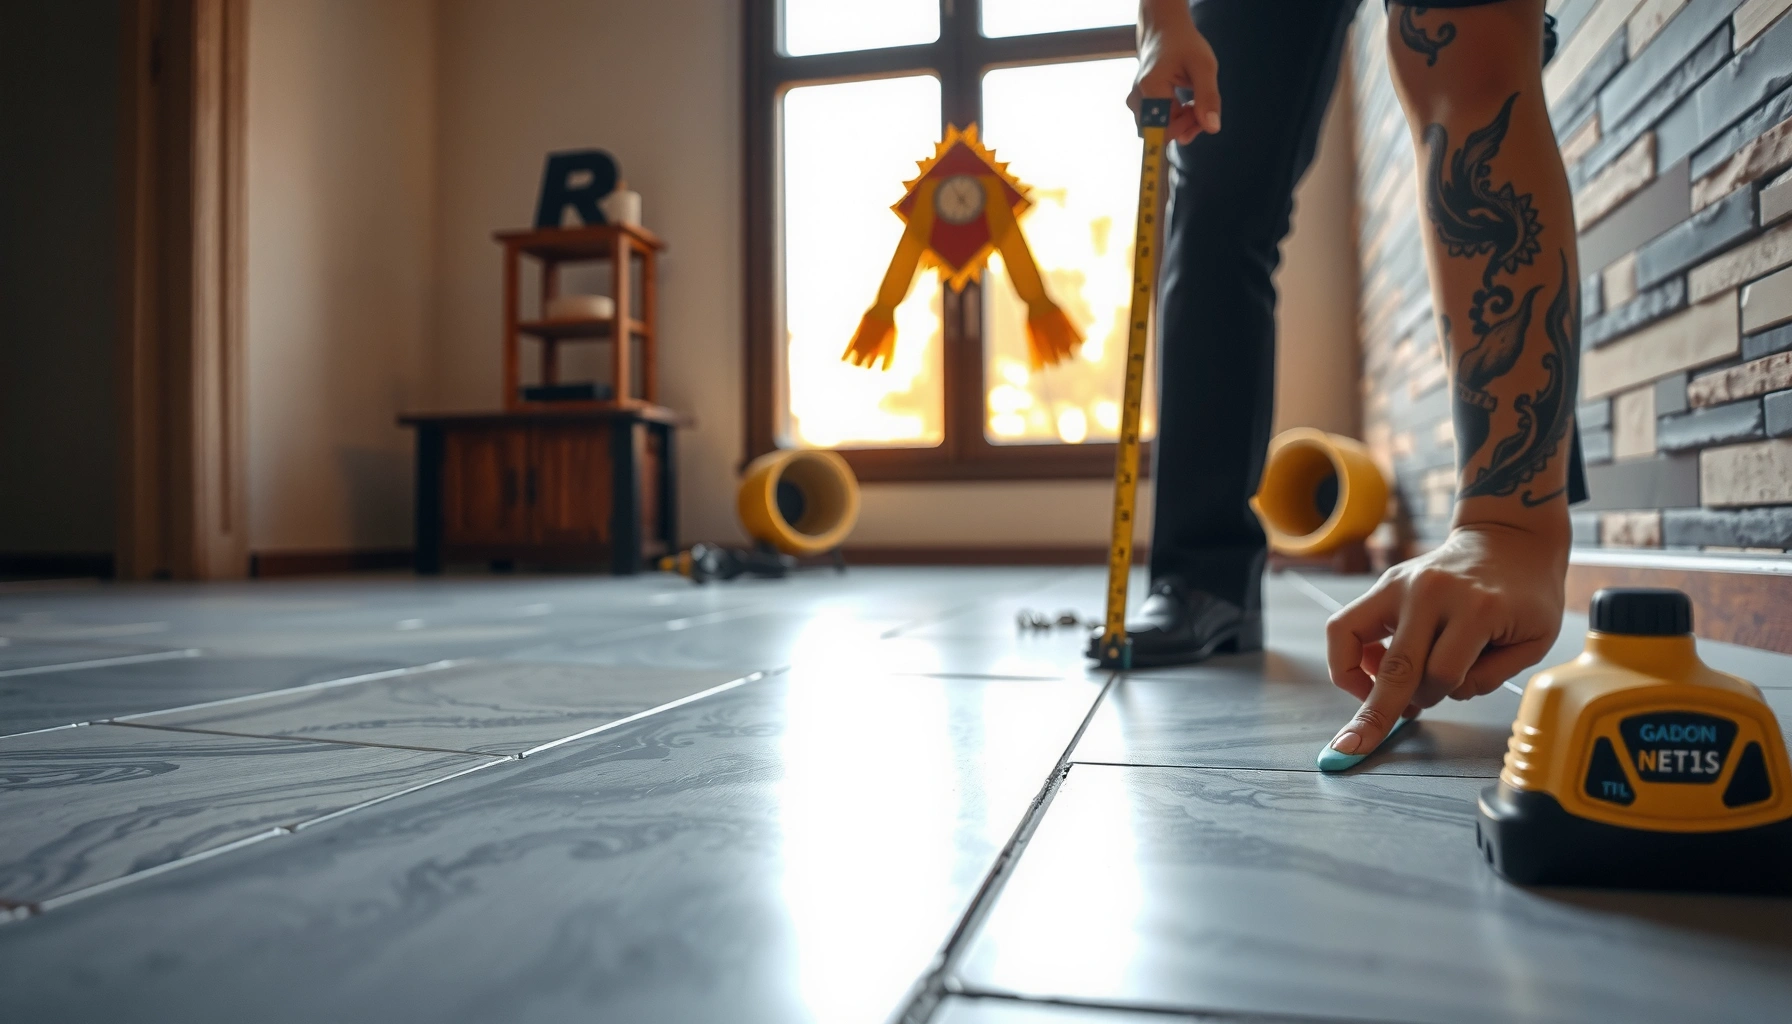

Get exact steps for how to measure for limestone floors so you can order the right amount the first time. This checklist walks you room by room through everything that matters—length and width, waste factor, bullnose or edge details, and cut-layout allowances—so you avoid costly shortfalls. Follow it and you’ll produce measurement-ready dimensions you can hand to your installer or supplier with confidence.




Measure your limestone floor by taking the finished-tile dimensions (length × width) from the actual tiling surface, then add the right allowance for cuts, seams, and waste before ordering. Map the room first—especially if it’s not rectangular or has fixed obstacles—so your final square footage matches the layout you plan to install.
This guide is for homeowners, renovators, and installers planning a limestone floor that needs careful ordering and layout planning. It’s especially helpful if your room isn’t perfectly rectangular or has obstacles like islands, vanities, or built-ins. If you’re ordering stone online or coordinating trades, getting the measurements and allowances right on the first pass prevents costly “missing box” delays and mismatched batches.
Before You Measure: What You’ll Need
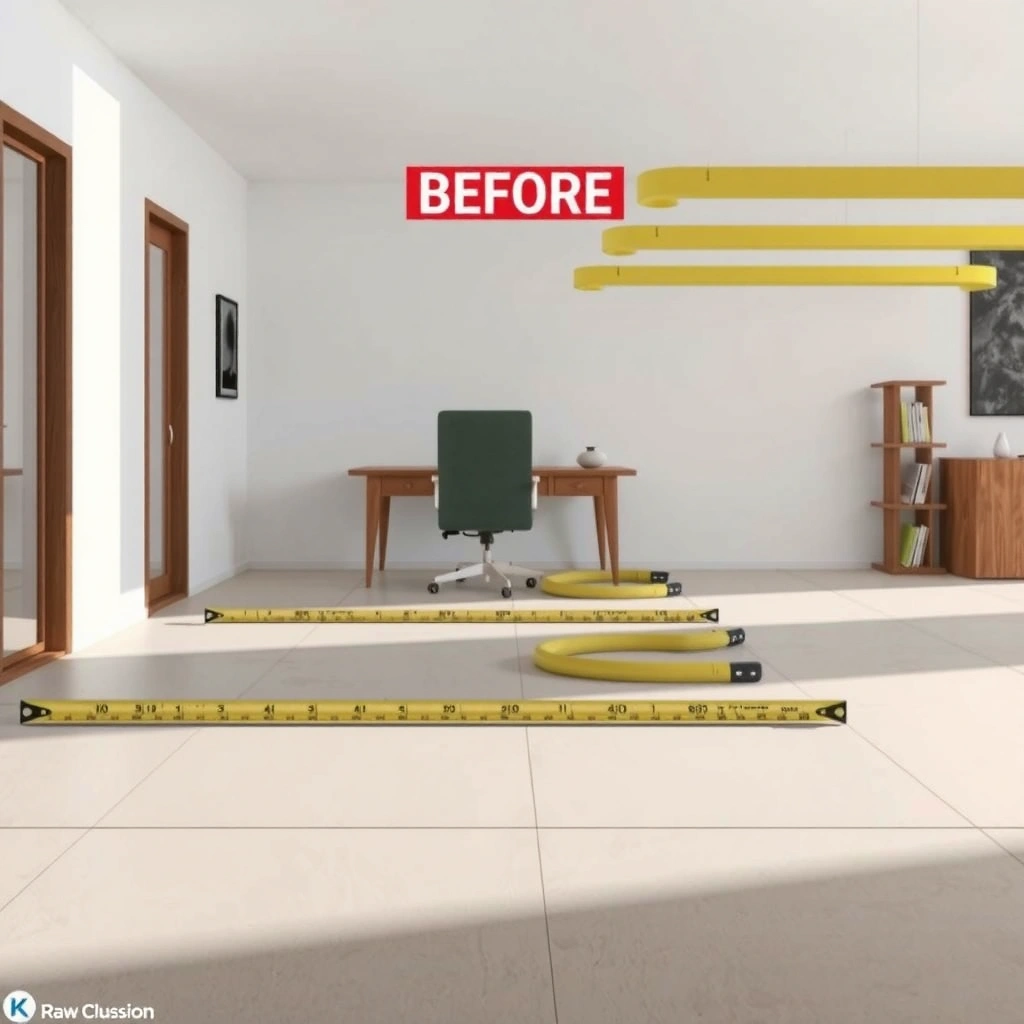
Get organized before you pull a single measurement: use a consistent reference line, a room sketch, and a clear install orientation plan. This reduces guesswork later when you calculate square footage and convert that into the number of boxes you need.
A reliable measurement starts with choosing one “finished surface” reference line—where the tile will actually sit—not the wall or baseboard edge.
Tile layouts (straight vs. diagonal) change how many cuts you’ll make, which directly affects waste and material ordering.
What you’ll need is straightforward, but each item plays a role:
– Tape measure (standard and/or laser measure for longer rooms)
– Pencil + paper (or a sketch app)
– A simple room sketch showing the outline and key obstacles: doors, closets, vanities, columns, islands, built-ins, and transitions to other flooring
– Your installation plan: straight lay (parallel to walls) or diagonal (often yields more frequent edge cuts)
– Notes on tile format (tile size, and how your installer plans to handle grout joints and movement joints)
Reference decision (important): Measure the finished floor line—the area where tile will be installed—rather than the baseboard outer edge. If your baseboards are staying and will be trimmed, the reference line changes. If your scope includes removing baseboards, it changes again. Current best practice is to align the measurement to the tile laying plane your contractor intends to install.
Also confirm what you mean by “room size” for ordering:
– If you’re ordering by total tile coverage, your measurement must reflect the tiling footprint, not the entire room volume.
Take Room Measurements (Plus Openings and Irregular Shapes)
Measure each tiling surface dimension where tile will actually land, then break irregular spaces into simpler sections. When you do this, your square footage calculation becomes accurate and repeatable—even with bump-outs, arches, alcoves, and partial-height walls.
For non-rectangular rooms, the most reliable method is to split the plan into rectangles and triangles, calculate each area, then add them together.
Openings like doorways, niches, and built-in cabinetry are usually treated as areas you don’t tile (or tile differently), so you should track them separately.
Step-by-step: how to measure length and width
1. Identify the tiling boundary (the footprint you’ll tile—this is your “finished” area).
2. Take length and width at the actual tiling points:
– Measure at multiple points if any walls bow or aren’t straight.
– Use the dimension that reflects the tiled field, not the outermost wall line.
3. Record every obstacle on your sketch:
– Door openings
– Closets (if tile stops at the closet threshold)
– Bay window recesses or offsets
– Bathroom vanities, kitchen islands, and fixed cabinetry footprints (depending on your scope)
How to handle irregular shapes correctly
If the room is not perfectly rectangular:
– Split the plan into 2–4 basic shapes (commonly rectangles + right triangles).
– Measure each sub-area precisely.
– Add sub-areas together.
Practical example (layout logic):
– A room with a small alcove: measure the main rectangle, then measure the alcove as a rectangle or triangle and add it.
– A room with a rounded corner: measure using a conservative “chord” rectangle/triangle approach unless your installer plans a specific radius layout.
Track openings separately
Don’t blend obstacles into one “overall rectangle.” Instead, record them as separate entries on your sketch:
– Subtract openings/areas you won’t tile (common for toilets, vanity bases, and built-ins that remain fixed)
– Do not subtract openings if your installer plans to tile up to them and cover the opening area (for example, some flooring runs through doorways)
According to typical tile industry estimating practices, estimating waste depends heavily on the number of cuts and the edge complexity—so tracking openings is not optional; it affects the cut count. [ADD: TCNA/industry estimating practice source for waste drivers].
Calculate Square Footage and Add Waste
Calculate area from your measured tiling footprint, then add an overage buffer to cover cuts, seam layout needs, and breakage. This is where many orders go wrong—either by under-ordering (stopping the job) or over-ordering (wasting money and risking batch variation).
Square footage is calculated from geometry: area = length × width for each sub-section, then summed across the plan.
Waste isn’t “just breakage”—it includes discarded cuts, matching offsets, and the realities of edge and corner geometry.
Core math (use it for each sub-area)
For each section you identified:
– Area (sq ft) = length (ft) × width (ft)
– Total area = sum of all section areas
– Minus openings (if you won’t tile them)
Add waste/overage buffer (required)
Now convert “tiling area” into “ordering area.”
Add a buffer based on your installer guidance and your tile layout complexity:
– Straight lay in a simple rectangular room typically needs a smaller buffer than
– Diagonal layouts, lots of edges, many doorways, and complex obstacles
Use this formula:
– Ordering area = (Total tiling area − subtract openings) × (1 + waste %)
– Then divide by coverage per box (coverage is stone/tile specific and stated by your manufacturer/distributor).
You must follow your limestone/tile installer guidance for the waste percentage. Industry guidance varies; many estimating workflows treat waste as a function of layout complexity and tile size. [ADD: TCNA or distributor estimator guidance].
Concrete data points to anchor your planning (geometry + workflow):
– Area formula: length × width yields square footage (no unit conversion errors when you keep everything in feet).
– Waste categories: cut-off loss + breakage + seam alignment adjustments are typically bundled into the “overage” figure. [ADD: installer estimating methodology source].
– Box coverage: coverage per box depends on tile format and installation method (e.g., thinset + grout joint assumptions), so it must be taken from your exact tile documentation. [ADD: your limestone tile’s box coverage spec].
How to choose a waste buffer (without guessing blindly)
When you’re deciding waste %, ask your installer:
– Do you anticipate lots of perimeter cuts?
– Are you matching patterns across thresholds?
– Are there many notches around built-ins?
– Are you installing diagonally or straight?
If you don’t have installer guidance yet, your ordering checklist should still reserve the final decision as “installer-determined,” not a random web number:
– Use: [ADD: installer-recommended waste %, based on tile size/pattern]—follow your limestone/tile installer guidance.
Plan for Cuts, Thresholds, and Tile Orientation
Plan cuts and orientation before finalizing quantities so the “waste” number reflects the layout reality, not just generic breakage. Your goal is a balanced edge treatment that doesn’t leave tiny slivers at walls or thresholds.
A centered layout often produces more balanced edge cuts than shifting the pattern to one side, especially with diagonal installs.
Threshold and transition zones can change your effective measurement footprint because tile meets other floors at specific heights and thicknesses.
Step-by-step: where cuts will fall
1. Mark the perimeter on your sketch (the tile edges that stop at walls, cabinets, or openings).
2. Decide the layout centerline:
– Many installers start from a central reference to keep edges visually consistent.
3. Identify high-visibility edges:
– The fireplace wall, entry run, or sightline from the main doorway often gets the best-balanced cuts.
Address thresholds and transitions
Transitions matter because:
– Different flooring thicknesses can require changes in underlayment or height compensation.
– Some thresholds use separate transition pieces (or require specific overlap and alignment).
Track transitions explicitly on your sketch:
– Hallways
– Stairs
– Sliding door tracks (if applicable)
– Bathroom thresholds
Multiple zones (measure per zone)
If your project includes multiple rooms or levels, measure each separate tiling zone:
– It keeps box counts consistent with how the tile is actually sequenced and reduces mix-and-match risk.
Double-Check Measurements Before Ordering
Double-checking prevents ordering the wrong amount based on incomplete geometry, missed openings, or inconsistent reference lines. Once you’ve verified your totals, you’re ready to convert square footage into boxes with confidence.
Before you order, verify the total area equals the sum of your sub-areas (minus openings) exactly—sheet-to-sheet math errors are common.
When a room sketch is accurate, it becomes a “reality check” during installation because you can compare each obstacle and recess against the plan.
Use this audit sequence:
1. Re-verify the geometry:
– Confirm every sub-area measurement appears on the sketch.
– Confirm every subtract/opening area is documented.
2. Recalculate totals:
– Total tiling area
– Final ordering area after waste buffer
3. Confirm unit consistency:
– Are you using feet and square feet?
– Does your tile supplier require square meters instead?
4. Compare to the install plan:
– If your install plan changes (straight → diagonal), your waste buffer likely changes too.
A quick comparison: common errors vs. what fixes them
What Can Go Wrong (And How to Avoid It)
The most common measurement failures are missing geometry, subtracting the wrong areas, and underestimating layout-driven waste. Fixing these early is cheaper than re-ordering stone after cuts begin.
Rooms that look “square” often aren’t—measuring at multiple points protects you from tile layout drift.
Underestimating waste is usually a layout problem (more edges, more cuts), not a breakage problem.
Here are the pitfalls we see most often—plus practical prevention:
– Measuring only one side of a “square” room
Rooms can bow or vary. Measure multiple points and rely on the planned tiling footprint, not a single idealized dimension.
– Forgetting to subtract areas that won’t be tiled
Toilets, fixed vanities, and cabinetry can inflate totals. Confirm what’s staying and what’s being removed.
– Underestimating waste for complex layouts
Lots of edges, niches, and patterned or diagonal installs increase waste due to cut-offs and matching.
– Choosing tile orientation after ordering
Switching from straight to diagonal mid-project usually increases waste and can create uneven edge pieces.
Downsides and limits of this approach
– If you’re still unsure about thresholds (what gets covered vs. transitioned), you may need a second pass after someone confirms the final substrate and height plan.
– If your room has irregular curved walls or specialty transitions, splitting into rectangles/triangles may be “close enough” for ordering, but not always for final layout—your installer may need to verify on-site.
Quick Measurement Checklist (Save This)
Use this checklist as a “final gate” before you purchase limestone tile and set materials. If you can check every box, your order quantity should match your layout plan closely.
A measurement checklist prevents the two biggest failures: forgetting a subtract area and trusting a single, one-point measurement.
– [ ] Sketch the room and label each dimension
– [ ] Measure length/width (and multiple points if walls aren’t straight)
– [ ] Break irregular areas into simple shapes
– [ ] Subtract non-tiled openings/areas (only where tile won’t be installed)
– [ ] Add waste/overage buffer: [ADD: recommended %]
– [ ] Note thresholds/transitions and tile orientation plan
– [ ] Double-check totals match your sketch
Tile Square Footage Planning Examples (15% Over-Order Buffer)
| # | Room Size (ft) | Tiling Area (sq ft) | +15% Buffer (sq ft) | Cut Complexity | Ordering Risk |
|---|---|---|---|---|---|
| 1 | 10 × 12 | 120 | 138 | ★★★☆☆ | Low |
| 2 | 12 × 16 | 192 | 221 | ★★★★☆ | Low–Med |
| 3 | 14 × 18 | 252 | 290 | ★★★★☆ | Med |
| 4 | 9 × 20 | 180 | 207 | ★★★☆☆ | Low |
| 5 | 16 × 16 | 256 | 294 | ★★★★★ | Med–High |
| 6 | 8 × 22 | 176 | 202 | ★★★★☆ | Med |
| 7 | 13 × 15 | 195 | 224 | ★★★☆☆ | Low–Med |
> Note: These examples assume 15% over-order purely for illustration. Your project’s correct waste % should follow your installer’s limestone/tile guidance.
FAQ
Should I measure in square feet or square meters for limestone floors?
Use whatever unit your tile supplier/installer quotes. If your supplier uses square feet, calculate in square feet; if they use square meters, convert. [ADD: supplier’s unit requirement.]
What if my room is not perfectly rectangular?
Split it into smaller shapes (rectangles/triangles), calculate each area separately, then add them together (and subtract openings). This is usually more accurate than forcing one “overall” rectangle.
How much extra should I order for waste and breaks?
A common approach is to add waste, but the right percentage depends on tile size, layout complexity, and pattern. Use [ADD: exact waste % from your tile installer/manufacturer guidance].
Do I measure from the wall or from baseboards?
Measure from the finished tiling reference line (typically where tile will actually sit). If baseboards/built-ins will be removed or changed, measure according to the final finished condition.
How do thresholds affect measurement?
Thresholds and transitions can require specific cuts and sometimes separate pieces. Measure each transition zone and plan how tile meets adjacent flooring at the correct alignment.
Sources
– [ADD: Manufacturer installation documentation for limestone/tile thickness/coverage guidance you’re following]
– [ADD: Installer standard (e.g., TCNA or other named tile industry guidance) for estimating tile waste and layout practices]
– [ADD: Manufacturer or distributor spec for how they define coverage/sq ft per box for your limestone tile]
When you measure for limestone floors, accuracy comes from planning first (layout orientation + reference line), geometry second (sub-areas + openings), and overage last (installer-approved waste buffer). Follow the steps above, double-check your totals against your sketch, and you’ll order the right quantity the first time—without scrambling for extra boxes mid-install. If your room is heavily irregular or has multiple thresholds, bring in your installer early so the waste and cut plan matches the real installation path.
Frequently Asked Questions
How do I measure my room for limestone floor tiles?
Measure the length and width of the room in feet (or inches) and multiply to get the square footage. If the space has alcoves, closets, or cutouts, break it into smaller rectangles and add the totals together. Always measure multiple points if walls aren’t perfectly square, and use the smallest workable dimensions. Then add an extra 10–15% for waste, cuts, and grout lines when calculating how many limestone floor tiles you’ll need.
What’s the best way to calculate limestone floor square footage for uneven spaces?
Use a “measure-and-add” approach: map the room into sections that are easy to measure, such as rectangles and triangles, then calculate each area separately. For angled corners or irregular layouts, measure the longest and shortest edges and use a diagonal method to approximate the area accurately. Mark key reference points so you don’t double-count or miss sections like under stairways or built-in cabinetry. Finish by rounding up and adding waste so your limestone floor installation stays on track.
Which thickness and coverage should I measure for when ordering limestone flooring?
Measure the existing floor height constraints—like door clearances, transitions, and stair riser requirements—because limestone floor thickness affects the finished height. For stone, also confirm the tile size and how much coverage you’ll get per box, then compare that to your measured square footage plus waste. Don’t forget to account for grout joints and any offsets if you’re doing a staggered or patterned layout. If you’re using underlayment, membranes, or leveling compound, factor those added heights into your measurement plan.
How do I measure for limestone floor leveling and subfloor preparation?
Measure the floor’s flatness by checking for high and low spots with a straightedge or long level across multiple directions. Record the maximum out-of-flatness areas and note where the dips are, since these affect how much self-leveler or floor patch you’ll need. If you’re installing limestone on a mortar bed or thinset, consistent support is critical to prevent cracked stone or grout failure. Accurate flatness measurements help you estimate materials and ensure your limestone floor installation meets typical substrate requirements.
Why should I measure for expansion gaps and perimeter spacing with limestone floors?
Limestone expands and contracts with temperature and humidity, so leaving proper perimeter gaps reduces the risk of cracking and tenting. During measurement, include space along walls, around posts, and at transitions for expansion joints or movement joints. A common approach is to allow a small gap at edges that gets covered by baseboards or trim and to plan movement joint locations for larger areas. Measuring these factors before you cut tiles ensures your limestone floor looks clean and performs reliably over time.
📅 Last Updated: October 09, 2026 | Topic: How to measure for limestone floors? | Content verified for accuracy and freshness.
References
- Google Scholar Google Scholar
https://scholar.google.com/scholar?q=measure+square+footage+tile+flooring+layout+waste+factor - Google Scholar Google Scholar
https://scholar.google.com/scholar?q=tile+flooring+installation+measurement+pattern+layout+spacers+calculation - Google Scholar Google Scholar
https://scholar.google.com/scholar?q=natural+stone+floor+tile+installation+estimating+materials+measurement - Floor area
https://en.wikipedia.org/wiki/Floor_area - https://en.wikipedia.org/wiki/Floor_tiling
- How To Tile a Bathroom Floor – This Old House
https://www.thisoldhouse.com/flooring/21015419/how-to-tile-a-floor - https://www.angieslist.com/articles/how-to-measure-for-tile-floor
- https://www.remodelista.com/posts/how-to-measure-for-tile-floors/
- Google Scholar Google Scholar
https://scholar.google.com/scholar?q=How+to+measure+for+limestone+floors?