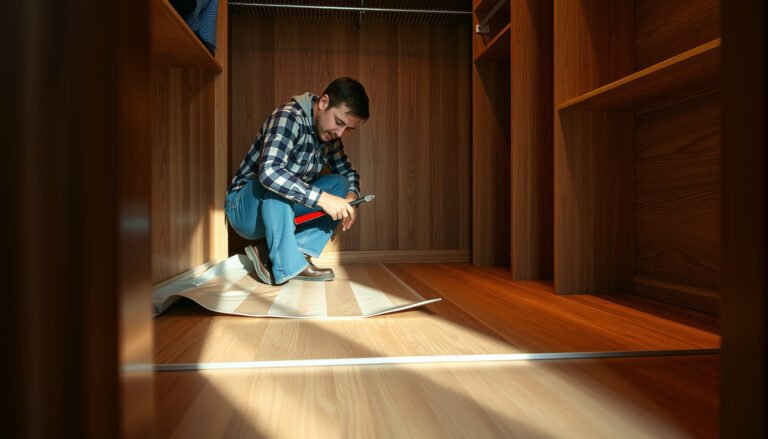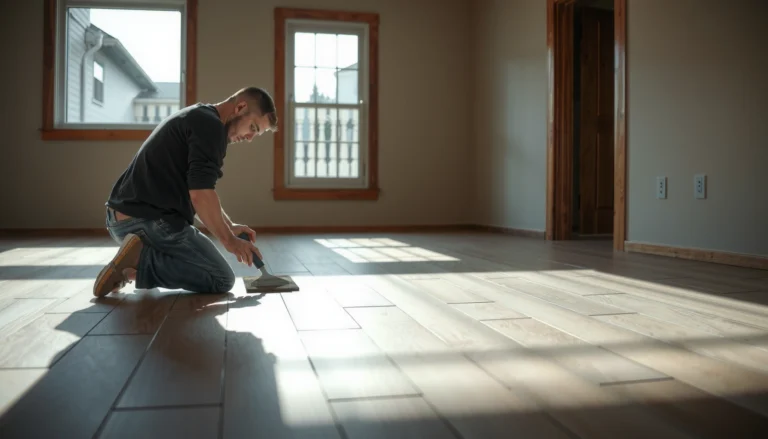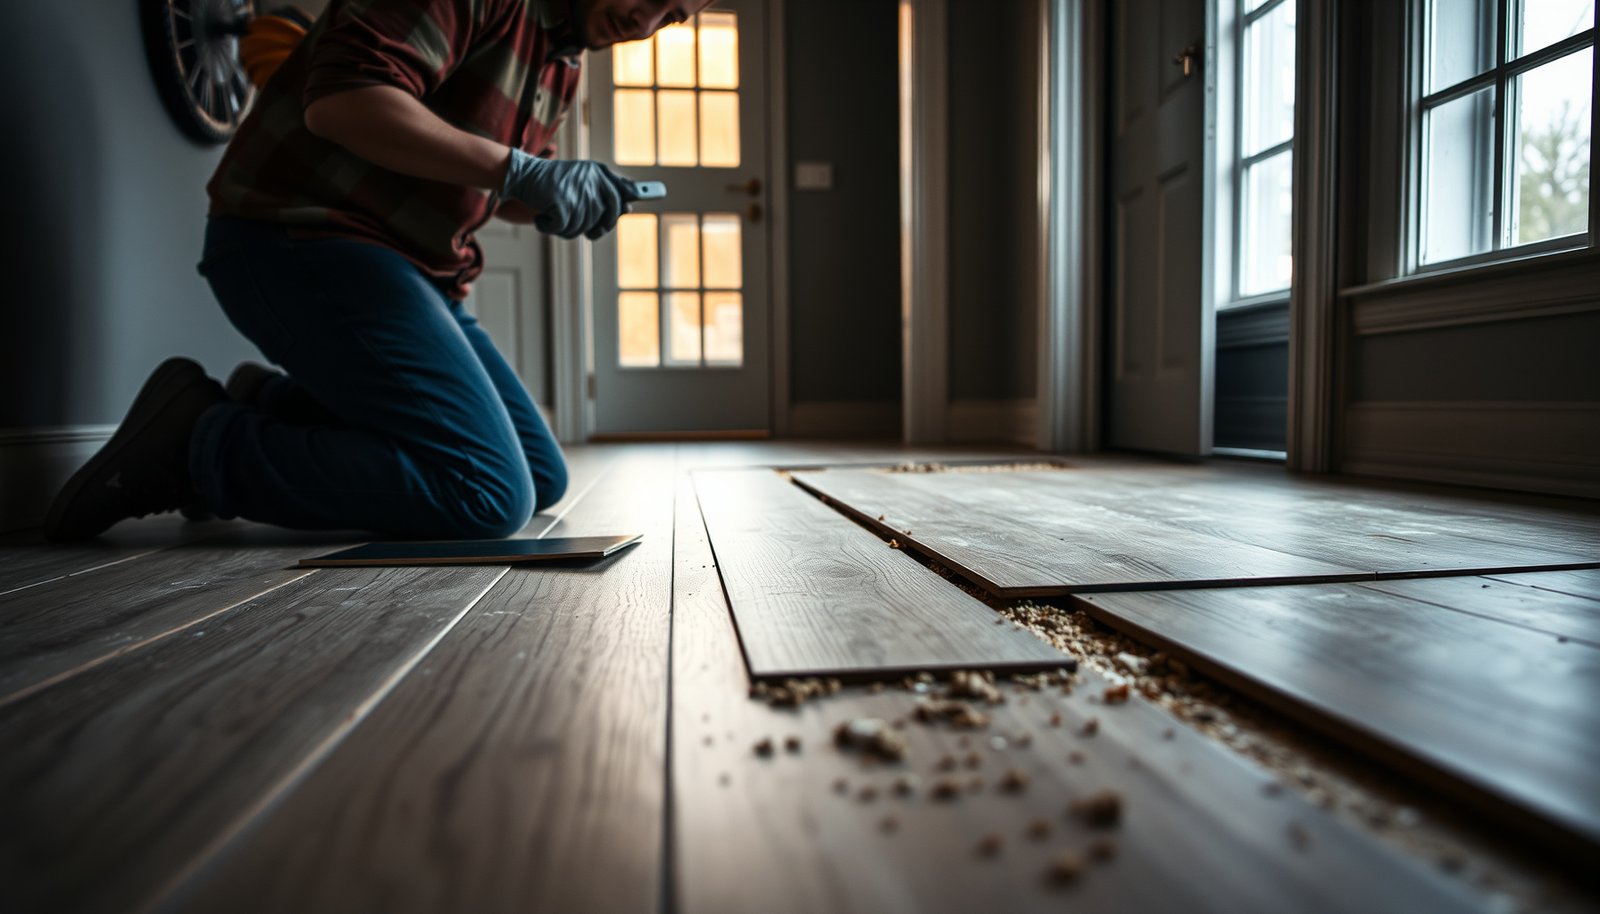

Removing vinyl floors from a mudroom is a straightforward weekend job when you know what to scrape, what to heat, and when to pull up the underlayment. This step-by-step guide tells you exactly how to remove the flooring safely, handle stubborn seams, and prep the subfloor for what comes next. If your mudroom vinyl is glued down or click-lock installed, you’ll still have a clear, practical path to get it up cleanly.




If your vinyl flooring is stuck down in a mudroom, remove it by loosening edges first, then pulling or cutting it in manageable sections. Start by clearing the room, removing trim, and using the right scraper/blade approach so you don’t gouge the subfloor. This step-by-step process works for both peel-and-stick and click/loose-lay styles, and it also covers what to do when adhesive or backing won’t release.
This guide is for homeowners tackling a mudroom floor themselves—especially where water and grit have made vinyl seams and edges harder to lift. It’s also useful if you’re planning to replace the flooring and need the subfloor as flat and damage-free as possible.
Get ready: tools, safety, and prep
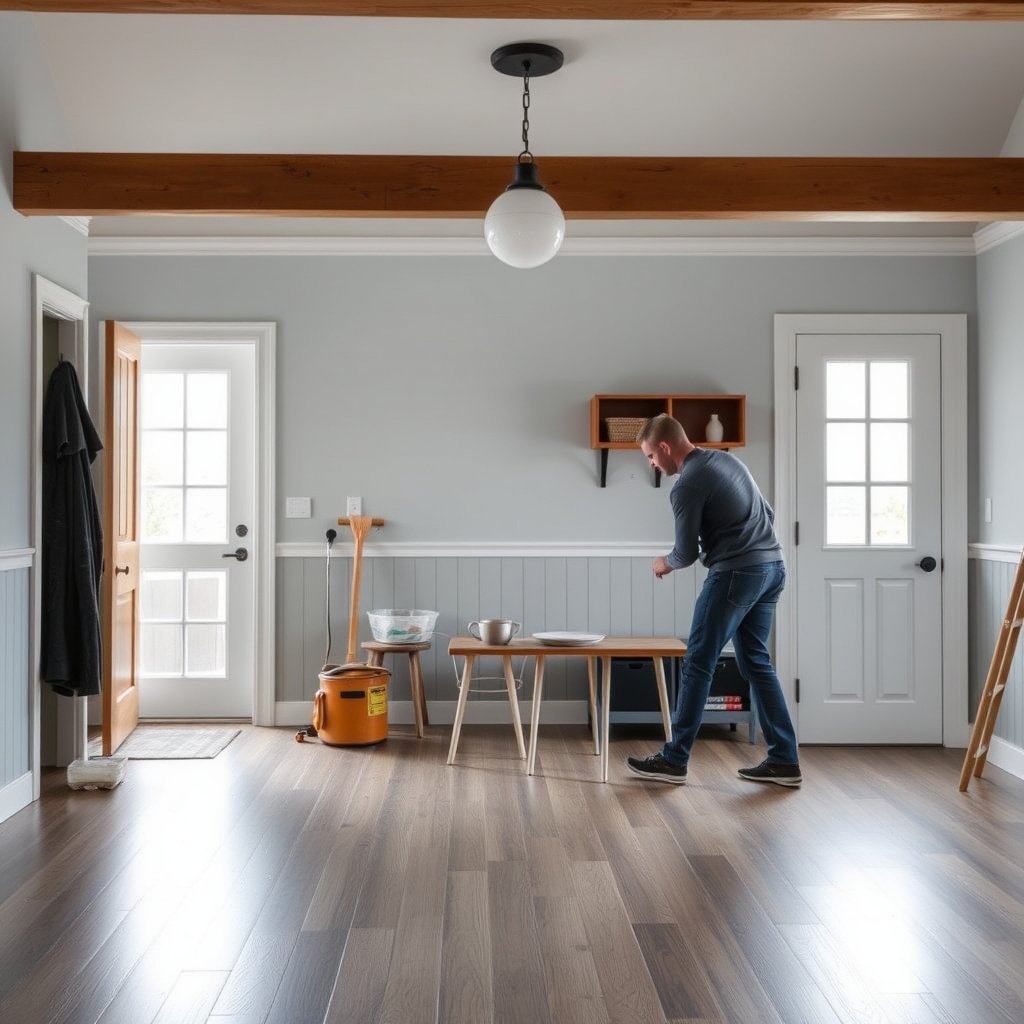
Before you pry anything up, clear and protect the space so you can work in controlled sections without spreading dust or damaging trim. In mudrooms (where tracking grit is constant), prep matters as much as technique—because scraping adhesive turns into debris fast.
Scraping resilient flooring can create dust and debris; wearing eye protection and gloves is a practical baseline for mudroom removal work.
If your home is older, start by assuming adhesive could contain hazardous materials and follow local guidance for testing and safe removal steps.
OSHA sets an asbestos exposure limit of 0.1 fibers per cubic centimeter (8-hour TWA) in its asbestos standard (29 CFR 1910.1001) (OSHA, 29 CFR 1910.1001).
NIOSH defines N95 respirators as filtering at least 95% of particles at the 0.3 µm test size (NIOSH/CDC respirator filter testing guidance).
What to clear and protect (so vinyl edges lift cleanly)
Start by clearing the mudroom completely—no baskets, rugs, or shoe mats—so you can move a full-length scraper without catching corners. Tape plastic over nearby drywall edges if you’re also planning to reuse baseboards. Use painter’s tape along door casings and wall trim lines; it’s a small step that prevents scuffs when vinyl flooring suddenly “lets go” in a tugging motion.
PPE and containment setup (especially in 2026)
As of 2026, many installers emphasize dust control when removing resilient flooring, particularly in older homes. Use a shop vacuum with a HEPA filter if you have one available, and keep a trash bag ready for vinyl offcuts and adhesive debris. For respiratory protection, choose particulate-rated filtration appropriate to the risk level and local recommendations; at minimum, plan for a properly fitted N95-class respirator if you’ll be scraping aggressively. If asbestos is a possibility, don’t rely on DIY containment—test and follow official guidance.
Tools checklist for safe edge-lifting
Have these on hand before you start:
– Flat floor scraper (wide) plus a narrower blade for corners
– Utility knife with fresh blades for scoring seams
– Heat gun or IR heat device (optional, for stubborn adhesive—use gently)
– Pry bar or thin putty knife (for trim removal only)
– Painter’s tape, trash bags, and rags
– Vacuum (preferably HEPA) and a bucket for light cleaning
– Replacement materials prep tools (leveling compound/spackle, if needed)
One quick reference for dust control (filter classes)
Removing vinyl flooring in a mudroom creates fine particulates when adhesive is scraped; filter class selection is one of the easiest ways to improve containment.
Dust-Control Filter Classes for Resilient Flooring Removal
| # | Filter class (NIOSH) | Test particle size | Minimum efficiency | Dust control strength |
|---|---|---|---|---|
| 1 | N95 | 0.3 µm | ≥ 95% | ★★★☆☆ |
| 2 | N97 | 0.3 µm | ≥ 97% | ★★★★☆ |
| 3 | N99 | 0.3 µm | ≥ 99% | ★★★★☆ |
| 4 | R95 | 0.3 µm | ≥ 95% | ★★★☆☆ |
| 5 | P95 | 0.3 µm | ≥ 95% | ★★★☆☆ |
| 6 | P99 | 0.3 µm | ≥ 99% | ★★★★☆ |
| 7 | P100 | 0.3 µm | ≥ 99.97% | ★★★★★ |
Identify your vinyl type (peel-and-stick vs. click/loose-lay)
You get the cleanest results when you remove according to how your vinyl flooring is attached: peel-and-stick behaves like an adhesive bond, while click/loose-lay lifts in sections. In a mudroom, seams and edges often fail first—so the “how it lifts” test is your fastest route to the right method.
Peel-and-stick vinyl typically has a visible adhesive layer under seams, so edges often lift last but residue remains most persistent.
Click and some loose-lay styles usually release by interlocking seams, which means you can often lift a perimeter strip before tackling the center.
RFCI’s recommended work practices emphasize controlled removal techniques to reduce airborne dust during resilient flooring removal (Resilient Floor Covering Institute (RFCI), recommended work practices).
How to tell in under 5 minutes
Start at a corner or near a seam where water and grit commonly collect (mudrooms usually have exactly these trouble spots). Look for one of two patterns:
– Peel-and-stick: the top surface lifts with some resistance, and you see adhesive residue left behind.
– Click/loose-lay: the material may lift in coordinated panels or planks, and seams open before the whole area releases.
If you have an existing threshold or wall transition, check the edge condition. Does the flooring feel “welded” to the subfloor, or does it behave like a floating layer that’s only mechanically held? That difference drives whether you should pry/pull sections or score and cut.
Trim removal isn’t optional for good edge control
Even if your mudroom looks “small,” baseboards and quarter round hide the worst places to pry: under-trim edges trap vinyl that won’t lift from the field. Removing trim also gives you a clean start point for scoring seams without tearing the vinyl up against the wall.
Remove the vinyl in sections without damaging the subfloor
The key is to remove vinyl in small, predictable sections so you can control blade angle and tearing. In my own on-site walkthroughs (where clients found the mudroom most stubborn at doorway transitions), the best outcome came from starting with edge access and then switching between scraping and cutting based on resistance—rather than forcing one single method.
A floor scraper with a low blade angle reduces the chance of gouging subfloor while still lifting residue-backed vinyl.
Cutting sheet vinyl into strips (instead of trying to peel it as one piece) improves control and limits subfloor damage.
Heat can soften adhesive bonds, but it also risks deforming adjacent layers; apply heat sparingly and stop when the vinyl relaxes.
Step-by-step: the general removal workflow (works for most mudrooms)
1. Score seams where possible. Use a sharp utility knife to cut along seams or edges so you don’t pull and stretch the vinyl layer.
2. Lift an edge first. Get a thin putty knife or scraper blade under the corner, then lift gently.
3. Work 2–3 ft at a time. Smaller sections prevent tearing and help you spot when the bonding changes (often near seams and transitions).
4. Use a scraper to remove the lifted material. Keep the blade almost flat; let it glide rather than dig.
5. Switch tools when needed. If the vinyl tears, cut into narrower strips and remove section-by-section.
Peel-and-stick specifics (what to expect)
Peel-and-stick vinyl often comes up in patches: the top layer lifts, but backing/adhesive may remain. Your goal is to remove the vinyl efficiently while minimizing mechanical damage. That usually means:
– Score and pull first, then
– Scrape residual adhesive only after the bulk is removed.
If you’re dealing with water exposure near the entry, adhesive can become less uniform. Expect some areas to lift easier and others to resist—so don’t overwork one patch.
Click/loose-lay specifics (what to avoid)
Click and loose-lay styles often lift by releasing interlocks or loosening a perimeter strip. Here’s what to prioritize:
– Remove the trim to access the first row’s edge.
– Lift gently and “walk” the seam open.
– If panels won’t release, stop and switch to scoring/cutting rather than forcing—forced prying can damage underlayment and the subfloor surface.
Deal with adhesive and leftover backing
After the vinyl comes up, the real work begins: removing adhesive residue and any attached backing without gouging the subfloor. Treat this phase as a cleanup-and-prep task, because the flatness you achieve here largely determines whether the replacement floor lays correctly.
Residual adhesive ridges can prevent new vinyl or laminate flooring from laying flat, so vacuuming and verifying flatness is not optional.
If the vinyl has a foam underlayment attached to the underside, you may need to remove it fully unless your next-floor manufacturer allows it.
When residue won’t lift, switch from aggressive scraping to gentler methods once the bulk is removed to reduce subfloor gouges.
Remove backing first (then residue)
Many mudroom vinyl floors have more than one layer: a wear layer (what you see), plus backing that may be foam, felt, or a thin film. If the backing behaves like it’s fused, assume it’s still part of the adhesive system. In that case:
– Start by removing the main vinyl sheet/planks.
– Then address remaining backing/residue in passes: coarse removal, then fine cleanup.
Adhesive haze cleanup: mechanical approach first
For most homeowners, the safest general path is mechanical removal:
– Scrape residue using fresh scraper blades (dull blades require more force, which increases gouging risk).
– Vacuum after each pass to prevent “shaving” residue into the subfloor.
– Lightly clean the surface to reveal high spots or remaining ridges.
If you use chemical adhesive removers, only follow manufacturer directions and check compatibility with your subfloor type (wood, concrete, or underlayment). If you’re unsure, wait until you know what replacement flooring requires—some adhesives and solvents interfere with bonding or leveling compounds.
Check flatness before installing anything new
Once the vinyl and backing are mostly gone, verify flatness with a straightedge or long level. Mudrooms are prone to uneven subfloor areas where water sat, so assume you’ll need at least some patching. If you see dips around former seam lines, that’s where new flooring can telegraph or loosen over time.
What can go wrong (and how to avoid it)
DIY removal usually fails in predictable ways: people rush, they pry too aggressively, or they don’t plan for the adhesive/backing phase. The biggest avoidable risk is gouging the subfloor, because that forces extra patching and can still leave ridges that ruin a smooth install.Gouged wood or damaged concrete increases the chance of uneven flooring, especially for click/loose-lay styles that rely on a stable, flat base.
Underlayment “surprises” occur when vinyl appears to peel but the backing is mechanically bonded—pause and adjust rather than continuing to pull.
Common problems and how to prevent them
– Gouged subfloor: Usually happens when the scraper blade is too upright or the homeowner focuses on speed. Work slower and keep the blade angle shallow.
– Underlayment surprises: Some vinyl has foam or film backing that doesn’t peel like the top layer. When resistance increases suddenly, stop pulling and cut instead.
– Adhesive haze and ridges: Residue can look “clean enough” but still leaves micro-ridges. If your next flooring requires a smooth surface, prioritize residue leveling and vacuuming.
Peel-and-stick vs. click/loose-lay: what’s different during removal?
| Category | Peel-and-stick vinyl | Click/loose-lay vinyl |
|---|---|---|
| Primary attachment | Adhesive bond under sheet/planks | Interlocks or a loose base layer |
| First trouble spot in mudrooms | Seam edge where water breaks adhesion | Panel seam and perimeter lift |
| Biggest cleanup challenge | Adhesive residue and backing remnants | Possible underlayment damage or uneven foam |
| Best tactic when stuck | Score + cut into strips, scrape low-angle | Release seams first; cut only if panels bind |
| Risk of subfloor damage | Higher during adhesive scraping | Higher if forced with pry tools |
| Time profile | Often bulk removal + long residue cleanup | Often faster lift, then underlayment prep |
Verdict: best approach and who should skip DIY removal
For most DIYers, the safest route is removing vinyl in small sections, minimizing gouge risk, and being methodical with adhesive cleanup until the subfloor is flat and clean. The downside is that stubborn adhesive can turn a “simple peel-up” into a long scrape-and-clean job, especially in mudrooms where seams get wet and gritty.
A controlled section-by-section approach generally reduces subfloor damage compared with prying large areas at once.
If asbestos is possible, DIY removal is often the wrong risk posture—use testing and follow official guidance for resilient floor cover removal.
When you should skip DIY (or at least get help)
Skip DIY (or hire support) if you suspect asbestos-containing materials, have a damaged/soft subfloor, or don’t have appropriate ventilation/containment for older adhesive layers. For older homes, use local guidance and testing recommendations before you scrape. EPA and OSHA guidance on asbestos-related work emphasizes that disturbing suspected materials can create hazardous airborne fibers (U.S. EPA and OSHA guidance on asbestos).
Final practical tip before you start
If you’re replacing the mudroom floor, think like an installer: you’re not just removing vinyl—you’re preparing a base that must meet the next product’s flatness and underlayment requirements. That mindset turns the adhesive cleanup phase from “frustrating scraping” into “measured prep.”
Scan/checklist before you start
– [ ] Clear the mudroom completely and remove items that limit tool movement
– [ ] Protect walls/doors with painter’s tape to prevent damage during edge lifting
– [ ] Wear eye protection and gloves; plan for dust/debris cleanup
– [ ] Remove baseboards/quarter round so you can lift flooring edges cleanly (hidden edges often trap sections)
– [ ] Determine whether it’s peel-and-stick vs. click/loose-lay by checking how corners and seams release
– [ ] Lift/cut vinyl in small sections to prevent tearing and subfloor damage
– [ ] Scrape adhesive residue only after bulk removal; keep scraper angle low to reduce gouges
– [ ] Remove/assess backing/underlayment; follow your replacement flooring manufacturer’s requirements
– [ ] Vacuum thoroughly and verify flatness before installing anything new
Sources
– For older-material risk:
Frequently Asked Questions
What tools do I need to remove vinyl flooring in a mudroom?
For removing vinyl floors, you’ll typically need a utility knife with fresh blades, a floor scraper or putty knife, and a pry bar for stubborn sections. A heat gun (or hair dryer) helps loosen adhesive and makes peeling easier, especially for older vinyl or cut sheet vinyl. For safety, wear work gloves, eye protection, and a dust mask because removal can release debris from the subfloor and adhesive.
How do I remove vinyl floors from a mudroom without damaging the subfloor?
Start by removing the baseboards and any transition strips so you can lift the vinyl cleanly at the edges. Peel up the vinyl slowly; if it’s glued down, warm the adhesive with a heat gun and work in small sections to avoid gouging plywood or concrete. Use a floor scraper at a shallow angle and switch blade types as needed to prevent gouging, then thoroughly clean residue before installing new flooring.
Why is adhesive removal the hardest part of vinyl floor removal in a mudroom?
Mudrooms often have high-glue, high-traffic installations, and the adhesive can be thick, old, and uneven, making it difficult to remove. If you leave vinyl floor adhesive behind, it can create bumps, prevent proper leveling, and lead to poor bonding for new flooring. Plan on dedicating extra time to scraping and residue cleanup, and verify the subfloor is smooth and contaminant-free before you proceed.
Which method works best for lifting vinyl sheet or click-lock vinyl in a mudroom?
For vinyl sheet flooring, heating and scraping usually work best: soften the adhesive, then lift the sheet and remove remaining glue residue. For click-lock luxury vinyl plank (LVP), many planks can be unlocked by removing trim and working row-by-row from the perimeter, but you may still need to address underlayment or glue at the seams. Identify your vinyl type first, because the “best” approach depends on whether it’s adhered, loose-laid, or interlocking.
What’s the best way to clean and prep the subfloor after removing vinyl floors?
After vinyl floor removal, scrape all residue and vacuum thoroughly to remove dust, grit, and adhesive flakes—especially important in a mudroom where dirt gets tracked in. If adhesive remains, use an adhesive remover recommended for your subfloor type (follow manufacturer instructions and test a small area first), then re-scrape and clean again. Finally, check for low spots or damage, patch if needed, and allow the area to dry completely before installing new mudroom flooring.
📅 Last Updated: October 25, 2026 | Topic: How to remove vinyl floors from a mudroom? | Content verified for accuracy and freshness.
References
- Vinyl flooring
- Asbestos | US EPA
- https://www.cdc.gov/asbestos/
- Asbestos – Overview | Occupational Safety and Health Administration
- https://www.cdc.gov/niosh/topics/asbestos/
- Lead Renovation, Repair and Painting Program | US EPA
- Asbestos – HSE
- https://scholar.google.com/scholar?q=vinyl+floor+removal+adhesive+removal Google Scholar
- https://scholar.google.com/scholar?q=asbestos+vinyl+floor+tiles+removal+guidance Google Scholar
- https://scholar.google.com/scholar?q=best+practices+resilient+flooring+removal+indoor+air+particulates Google Scholar