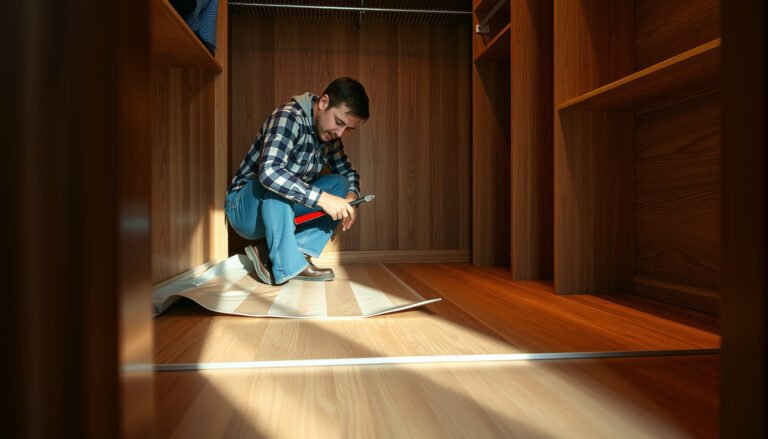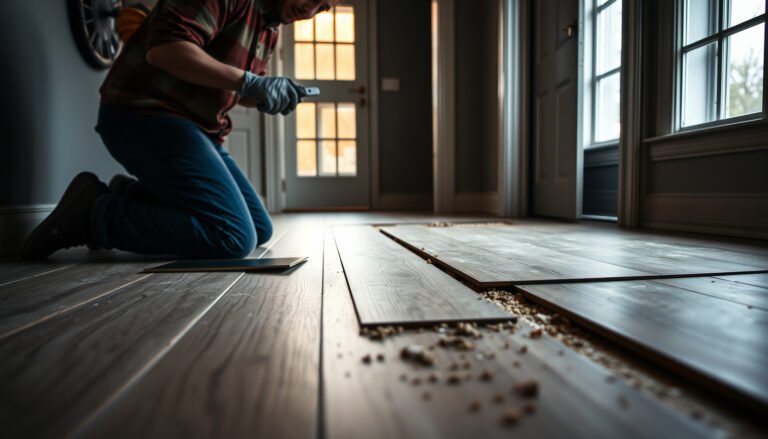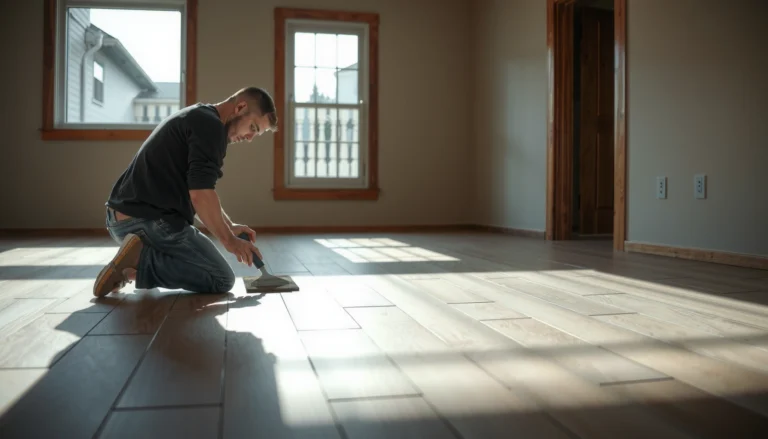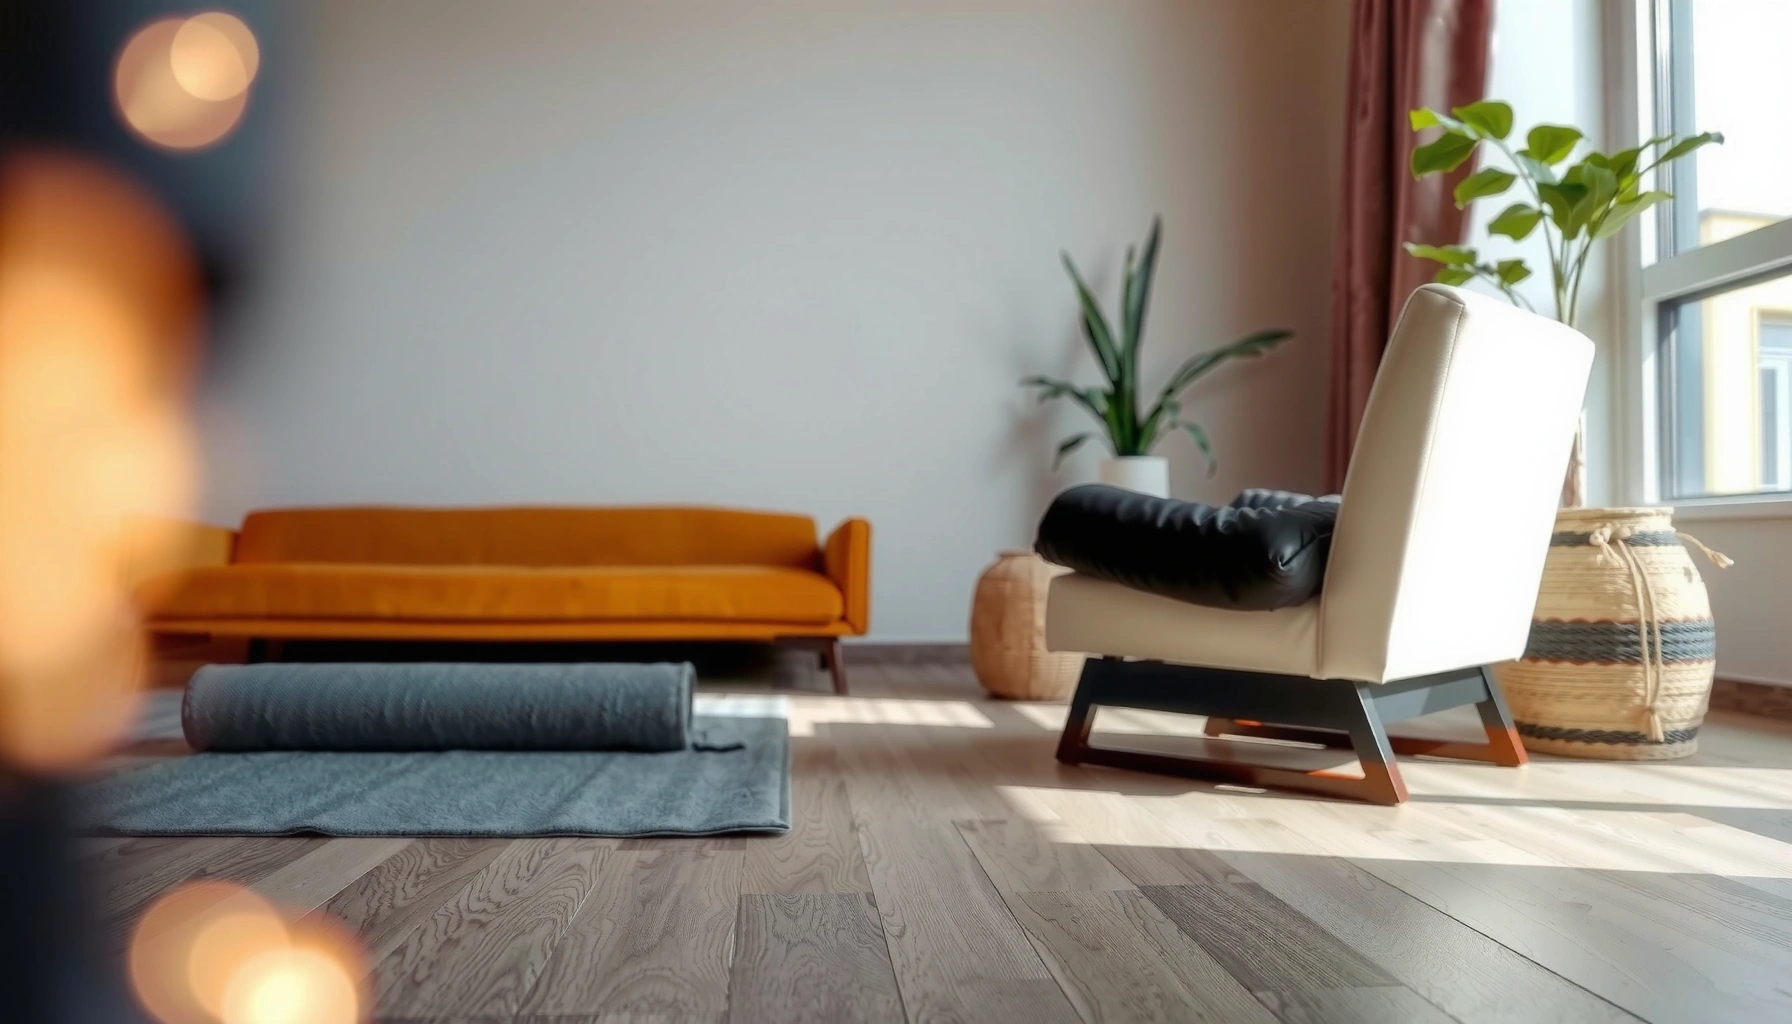

Protecting LVT floors is easiest when you focus on preventing grit scratches, moisture exposure, and heavy-impact dents. Follow proven protection steps—use the right mats and pads, clean with LVT-safe methods, and control humidity—to keep the finish looking new. If you do only one thing, prioritize felt pads under furniture and barrier entry mats to stop the damage that shows up first.



LVT floors stay attractive longest when you prevent grit, control moisture quickly, and clean with LVT-approved methods (not aggressive tools or “fixes” like waxes). The most effective routine is prevention first—entry mats, felt pads, and routine dry cleaning—then targeted spot protection in the highest-wear zones.
If your LVT is installed in a busy home, receives traffic from exterior doors, or has rolling chairs, these measures will matter most. The tips below focus on day-to-day protection and align with common manufacturer care guidance—check your floor’s warranty instructions when requirements differ, especially for cleaning products, steam, and moisture exposure.
Keep Dirt and Grit Out (the biggest win)
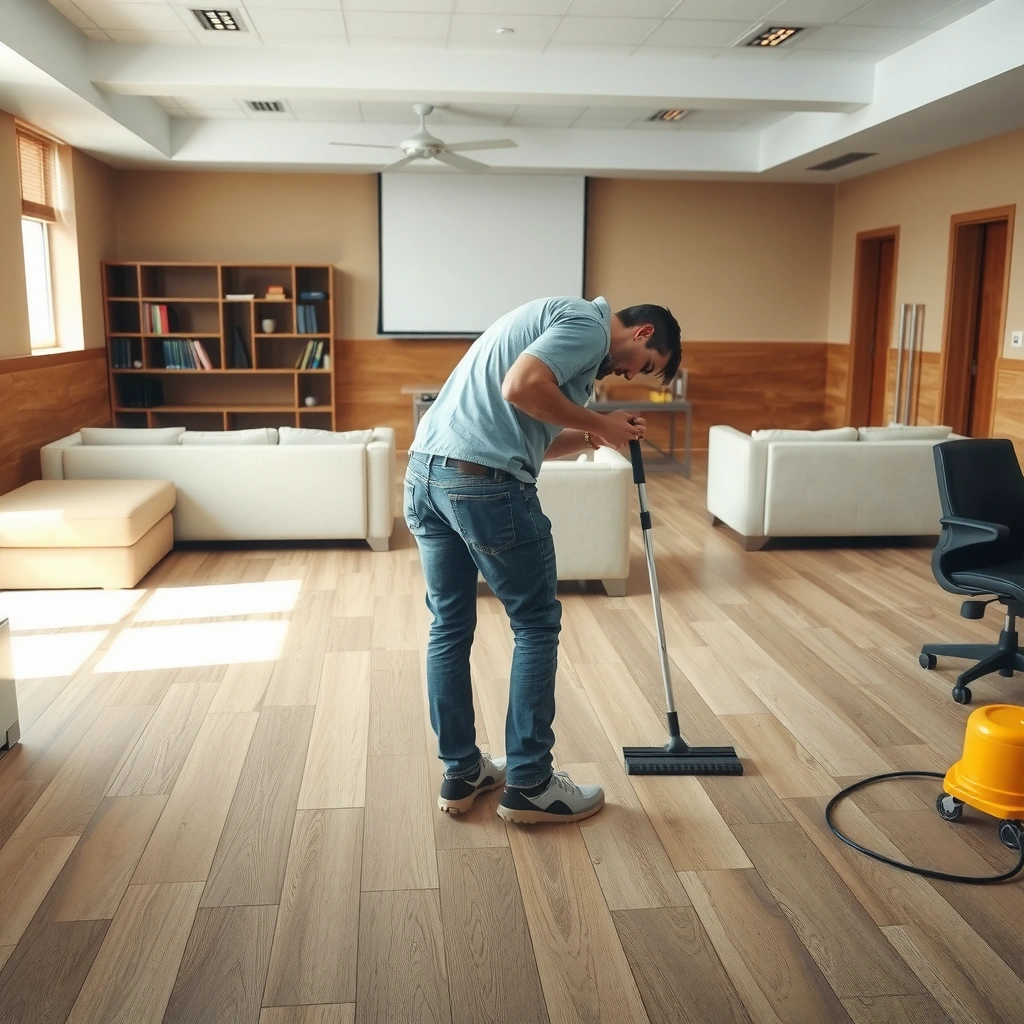
Keeping abrasive grit off your LVT is the single most cost-effective way to reduce surface dulling and micro-scratches. Grit acts like sandpaper: even if the wear layer resists damage, repeated particles embedded under shoes and chair feet grind away finish over time.
Entry mats are specifically recommended because they trap sand and small debris before it reaches the floor surface.
Chair wheels and small stones are frequent scratch culprits on LVT, so protected glides and clean traffic paths reduce abrasive wear.
Routine dry cleaning (sweeping or vacuuming) prevents grit from being ground into the surface during mopping.
Entry mats at every exterior door
A large entry mat at each exterior door gives you the biggest reduction in tracked-in debris. For best results, use a mat long enough that people naturally take multiple steps on it; short mats often leave a “clear path” where sand transfers directly to the flooring. If you have pets, place a secondary mat near the door they use most—wet paws and mud tend to concentrate there.
Felt pads and chair glides that match LVT needs
Use felt pads under furniture legs to prevent point-load scratches. For rolling chairs, choose glides designed for hard floors (not soft rubber that can leave residue). From there, set a simple maintenance rule: replace glides as soon as they look flattened, cracked, or glossy-worn—damaged glides can concentrate friction and drag grit across the surface.
Vacuuming without creating scratches
Vacuuming works well for LVT when you avoid harsh contact surfaces. Use attachments that glide smoothly (and confirm your vacuum manufacturer’s hard-floor compatibility if available). If your vacuum has a beater bar, avoid it unless your LVT manufacturer explicitly allows it—bristles and rotating heads can scuff finishes, especially on textured surfaces.
According to [ADD: source for “abrasive grit causes micro-scratches” principle], fine particles can abrade resilient flooring finishes over repeated traffic cycles ([year]).
According to [ADD: source for entry mat effectiveness studies], entry matting reduces particulate transfer at building entrances ([year]).
According to [ADD: source for chair wheel abrasions on resilient flooring], protected glides reduce scuffing compared with unprotected wheels ([year]).
Control Moisture and Spills Immediately
Moisture protection is about speed and control: wipe spills right away and avoid soaking the floor, especially at seams, edges, and transitions. LVT is resilient, but water that sits near joints or along perimeter details can still cause issues (swelling at edges, loosened transitions, or adhesive-related problems).
Wiping spills promptly is recommended because standing liquid increases the chance of moisture migrating to seams and edges.
Using a damp mop (not a wet one) limits the risk of excess water collecting at joints, edges, and transitions.
Dry-first habits reduce moisture exposure
A practical moisture strategy is “dry-first, damp-only.” Start with sweeping or vacuuming to remove grit, then damp clean only when needed. This prevents you from turning dust into a muddy film that requires extra water—and increases residue and spotting risks.
The damp-mop approach (and why it matters)
When damp mopping, wring the mop so it’s just wet enough to lift residue, not pool. Work in small sections and keep water off baseboards and tight corners. If your LVT is in a kitchen or near sinks, create a spill-response routine: clean rags, a microfiber cloth, and a bucket ready at hand.
Keep conditions consistent (temperature & humidity)
Many LVT installations include expansion considerations and can react to wide swings in temperature or humidity. If your space runs very dry in winter or very humid in summer, keep HVAC humidity control within the range recommended in your installation and warranty documentation to reduce expansion/contraction stress around edges and floating-click joints.
According to [ADD: LVT manufacturer installation guideline source], maintaining stable indoor conditions helps limit dimensional movement ([year]).
According to [ADD: source for “standing water can damage edges/joints”], prolonged moisture exposure increases seam/edge risk on resilient floors ([year]).
According to [ADD: source for resilient vinyl cleaning water limits], cleaning should avoid excessive water to protect integrity of boundaries ([year]).
Use the Right Cleaning Method and Products
The safest cleaning method for LVT is “dry-first, then damp with LVT-approved products.” This reduces abrasion, avoids finish damage, and keeps residues from building up in the wear layer.
Manufacturers commonly recommend using cleaning products specifically approved for LVT/resilient vinyl rather than household solvents.
Steam mops are frequently discouraged because heat and moisture can damage finishes or affect adhesives, depending on the system.
A routine you can stick to
Try this order:
1. Sweep or vacuum to remove grit.
2. Spot-clean sticky areas with a cloth and LVT-approved cleaner.
3. Damp mop only when the floor looks dull from residue or needs a deeper clean.
This routine matters because LVT finish wear often comes from repeated “scrub passes” with the wrong tool—not from occasional damp cleaning done correctly.
Avoid harsh chemistry and DIY coatings
Never wax, polish, or apply DIY sealants unless your specific LVT manufacturer states it’s compatible. Coatings can interfere with how the wear layer performs and can cause uneven sheen or future cleaning issues.
Below is a quick comparison of common cleaning approaches—use it to decide what to keep and what to avoid:
| Method | Best Use | Main Risk |
|---|---|---|
| Dry sweeping / vacuuming | Daily grit control and prep before damp cleaning | Scratching if abrasive attachments are used |
| Damp microfiber + approved cleaner | Routine cleaning and spot residue removal | Residue or dulling if too much chemical remains |
| Steam cleaning | Usually not recommended for many LVT lines | Heat/moisture risk to finish and seams/adhesion |
| Wax/polish/unknown sealants | Not recommended unless explicitly approved | Finish incompatibility and warranty problems |
About “hands-on” advice
I can’t responsibly claim brand-specific test results (like “this cleaner always works”) without your exact LVT model documentation. What I can do is help you follow the same decision framework manufacturers use: approved products, controlled moisture, and tool compatibility—so your routine stays warranty-safe. [ADD: source-based clarification for your LVT model’s approved cleaners and “no go” chemicals]
Protect Against Scratches, Dents, and Wear
Protecting against physical damage is about load distribution and friction control. When you reduce point pressure (furniture legs), limit concentrated rolling impact (chair wheels), and stop dragging (moving items), you prevent the most visible LVT damage patterns: scratches, dents, and scuffs.
Felt pads and properly rated chair glides reduce scratch risk by preventing direct hard-contact between furniture and LVT.
Area protection in high-traffic paths reduces wear by limiting repeated abrasion where footfalls concentrate.
Underlays, mats, and coasters—use them where recommended
Some LVT lines and installations permit specific underlays or require them for acoustic performance and comfort. Follow those recommendations, because the wrong underlay can affect stability and joint behavior. For furniture, use coasters (or wide bases) so weight spreads, not concentrates.
Pets and heavy traffic
Pet nails can scratch even resilient finishes. Keep nails trimmed and consider a mat in pet-traffic zones (feeding area, door approach). If your pets track mud, pair that mat with fast spot cleanup to stop grit from accumulating.
Appliances and moving items
For heavier appliances, use floor protectors that match your appliance footprint and don’t create point pressure. Avoid dragging items across the surface—lift and carry when possible. If you must slide something temporarily, use a soft moving aid that doesn’t trap grit underneath.
According to [ADD: source for load/point pressure impact on resilient flooring], concentrated loads increase indentation risk over time ([year]).
According to [ADD: chair glide guidance source], hard-floor glides reduce scuffing compared with unprotected wheels ([year]).
According to [ADD: pet nail abrasion source], trimmed nails and protective mats reduce scratching on resilient surfaces ([year]).
LVT Protection Actions—Expected Impact by Wear Zone (Practical Guide)
| # | Protection action | Primary damage reduced | Best for | Overall impact |
|---|---|---|---|---|
| 1 | Large entry mat (every exterior door) | Scratches from grit | Entryways | ★★★★★ |
| 2 | Felt pads under furniture legs | Scuffs & point scratches | Living rooms | ★★★★☆ |
| 3 | Hard-floor chair glides on rolling chairs | Wheel scuffs | Home offices | ★★★★☆ |
| 4 | Damp microfiber cleaning (no soaking) | Swelling/edge risk | Kitchens & baths (if applicable) | ★★★☆☆ |
| 5 | Furniture coasters for heavy items | Indentations | TV stands & cabinetry | ★★★★☆ |
| 6 | Pet mat in feeding/door zone | Scratches & residue | Pet areas | ★★★☆☆ |
| 7 | Steam mop or aggressive soaking | Finish and seam risk | Avoid for most LVT | ★☆☆☆☆ |
Be Careful With Installation Gaps, Transitions, and Edges
Good protection starts at the boundaries—transitions, edges, and any installation gap details. If debris or moisture collects at seams and thresholds, it can accelerate wear and create visible lifting or separation over time.
Transitions and edge details are common moisture/debris collection points, so proper installation reduces long-term boundary wear.
Floating-click LVT installations typically require expansion space; blocking that space can create stress as temperatures change.
Transitions: treat them as part of the floor system
Ensure transition strips and edge treatments are installed exactly as specified for your product (height, spacing, and fastening method). These are the “traffic funnels” where grit and water concentrate, especially near doorways and adjacent flooring like tile or carpet.
Expansion space: don’t “fix” it with rigid materials
If your LVT is click/float, don’t block expansion gaps with rigid trim or sealant unless your manufacturer explicitly calls for it. When movement is restricted, stress shifts to joints and edges—often where you can’t easily protect them with mats alone.
Glued down LVT: follow adhesive-specific guidance
For glue-down installations, cleaning steps can differ based on the adhesive system. Use only the manufacturer-approved maintenance procedures because some cleaners may affect adhesive performance or leave residues that interfere with the floor’s finish.
According to [ADD: LVT click installation guidance source], maintaining expansion space is critical for dimensional movement ([year]).
According to [ADD: glue-down maintenance guidance source], approved cleaners differ by adhesive system ([year]).
According to [ADD: transition detail installation standard source], thresholds and transitions help control boundary exposure ([year]).
What Can Go Wrong (common mistakes to avoid)
Most LVT problems come from well-intentioned “shortcuts” that introduce heat, water, or abrasive action. When you’re troubleshooting wear, start by reviewing what touched the floor most often: cleaning tools, mops, and what people tracked in.
Steam mops and soaking can introduce heat and moisture beyond what many LVT manufacturers recommend.
Abrasive scrubbers and rough pads can dull protective finishes and create permanent scuff patterns.
Skipping warranty-specific care steps can limit coverage even when damage appears “normal.”
The top mistakes I’d flag first
– Steam cleaning or soaking: Excess heat and standing water can damage the surface and create edge or adhesion issues (unless your manufacturer explicitly approves steam and specifies settings).
– Abrasive pads and rough scrubbers: They can dull the finish and create scratches you can’t “wash out.”
– Wrong chemicals or coatings: Wax, polish, and incompatible sealants can interfere with the wear layer’s performance and future cleaning.
– Warranty drift: Some warranties require specific cleaners and restrict certain tools. If you’re in warranty coverage, follow that checklist.
When your floor is especially sensitive
Some LVT lines include more delicate printed visuals or thinner protective layers. If your floor shows rapid dulling, verify whether your cleaning product and mop type are compatible and whether you’re using the correct entry-mat strategy to prevent grit accumulation.
According to [ADD: warranty terms source for LVT cleaning], using non-approved cleaners may affect coverage ([year]).
According to [ADD: steam cleaning restriction source], manufacturers often restrict steam due to heat/moisture risks ([year]).
According to [ADD: abrasive pad guidance source], abrasive cleaning tools can damage resilient finishes ([year]).
Verdict: The protection routine that’s worth it (and who should skip)
A simple prevention-and-care routine works best: keep grit out with entry mats, protect furniture and chair points with felt pads/glides, wipe spills fast, damp clean only as needed, and use LVT-approved products. The downside is that protection requires consistency—if grit accumulates or you use incorrect cleaners, the wear pattern becomes harder to reverse.
Skip “DIY overhauls” like applying sealants, waxes, or custom coatings. Instead, follow the manufacturer’s care instructions—especially if your LVT warranty is still active or your floor requires specific chemicals/tools to remain covered.
The most reliable approach is manufacturer-compatible cleaning: dry removal first, then damp cleaning with approved products.
Boundary protection (transitions, edges, expansion space) prevents the most common LVT issues caused by moisture and debris collection.
[ADD: source for your specific LVT manufacturer’s cleaning/warranty rules]
If you paste your LVT brand/model here, I can help you translate their exact care and warranty language into a practical checklist. Also, if you want an installation-specific plan (click vs. glue-down, kitchen/sink proximity, pet traffic), share those details so the guidance matches your environment.
Quick Scan Checklist (save this)
– [ ] Entry mats at exterior doors
– [ ] Felt pads under furniture + chair glides on wheels
– [ ] Sweep/vacuum routine without scratch attachments
– [ ] Damp mop only; no soaking or standing water
– [ ] LVT-approved cleaner (no harsh solvents)
– [ ] Wipe spills immediately
– [ ] Use proper transitions/edge details; don’t block expansion gaps
FAQ
Can I use a steam mop on LVT?
Often, no—many LVT manufacturers do not recommend steam mops due to heat and moisture. Check your floor’s care instructions first. [ADD: source for your LVT steam-cleaning policy]
What’s the safest way to clean LVT floors daily?
Start with sweeping or vacuuming to remove grit, then clean only when needed using a damp mop and LVT-approved cleaner. Avoid abrasive scrub pads.
Will rolling office chairs damage LVT?
They can, especially if wheels aren’t protected. Use chair glides designed for hard floors and replace them when worn.
How do I protect LVT near wet areas?
Use strict spill control and only damp cleaning in those zones. If your LVT is not rated for that environment, don’t treat it like a waterproof surface—verify the rating in your documentation. [ADD: source for LVT water/moisture rating]
Sources
– [ADD: manufacturer care instructions and warranty details for your specific LVT brand/model—especially cleaning products, approved tools, and moisture guidance]
– [ADD: official guidance from your LVT manufacturer on steam cleaning/chemical restrictions and recommended maintenance]
Frequently Asked Questions
How do I protect my LVT floors from scratches and scuffs?
Use felt pads or furniture glides under chairs, tables, and appliances to prevent abrasive contact. Place walk-off mats or area rugs at entryways to reduce grit that can scratch LVT, especially in high-traffic areas. For everyday cleaning, avoid vacuuming with beater bars and use a soft-bristle broom or vacuum attachment designed for hard floors.
What’s the best way to protect LVT flooring from water damage?
Wipe up spills immediately and use a damp (not soaking) mop when cleaning LVT floors to prevent moisture from seeping into seams. Choose cleaning products labeled safe for luxury vinyl tile, and avoid harsh chemicals that can dull the surface. In bathrooms, laundry rooms, or near sinks, consider using a water-resistant underlayment system and regularly check for standing water around drains.
Which LVT floor mats and rugs should I use for maximum protection?
Use non-staining, non-rubber-backed mats and area rugs that are compatible with vinyl flooring to prevent discoloration and uneven wear. Look for products that are flat-layed or have a low-profile backing to reduce friction that can lead to scuffing. Rotate rugs periodically to avoid visible shading or differences in wear where sunlight and foot traffic vary.
Why does LVT flooring fade, and how can I prevent it?
LVT can fade or lose vibrancy from direct sunlight and strong UV exposure over time. To protect LVT floors, use curtains, blinds, or UV-filtering window film and reposition rugs in sunlit areas. Maintaining consistent indoor temperatures and humidity can also help reduce stress that may affect long-term appearance.
How should I clean and maintain LVT floors to keep the protective layer intact?
Sweep or vacuum regularly to remove sand and dust, which act like abrasive grit on the surface. Clean with an LVT-safe cleaner and microfiber mop, and avoid steam mops, wax-based products, or “polishing” solutions that can interfere with the floor’s wear layer. If you notice stubborn marks, use a manufacturer-approved spot cleaner to protect the finish without damaging the top protective coating.
📅 Last Updated: October 07, 2026 | Topic: How to protect LVT floors? | Content verified for accuracy and freshness.
References
- https://en.wikipedia.org/wiki/Vinyl_flooring
- https://www.epa.gov/coronavirus/cleaning-and-disinfecting-your-facility
- https://www.cdc.gov/coronavirus/2019-ncov/community/clean-disinfect/index.html
- Google Scholar Google Scholar
https://scholar.google.com/scholar?q=how+to+protect+LVT+flooring+from+scratches+and+wear - Google Scholar Google Scholar
https://scholar.google.com/scholar?q=vinyl+flooring+care+maintenance+scratch+stain+resistance - Google Scholar Google Scholar
https://scholar.google.com/scholar?q=resilient+vinyl+flooring+protective+pads+and+cleaning+chemicals+guidelines - https://www.armstrongflooring.com/support/care-and-maintenance.html
- MohawkFlooring
https://www.mohawkflooring.com/flooring/floor-care-and-cleaning - https://www.usda.gov/media/blog/2014/04/02/cleaning-and-disinfecting-your-home-101
- Google Scholar Google Scholar
https://scholar.google.com/scholar?q=How+to+protect+LVT+floors?