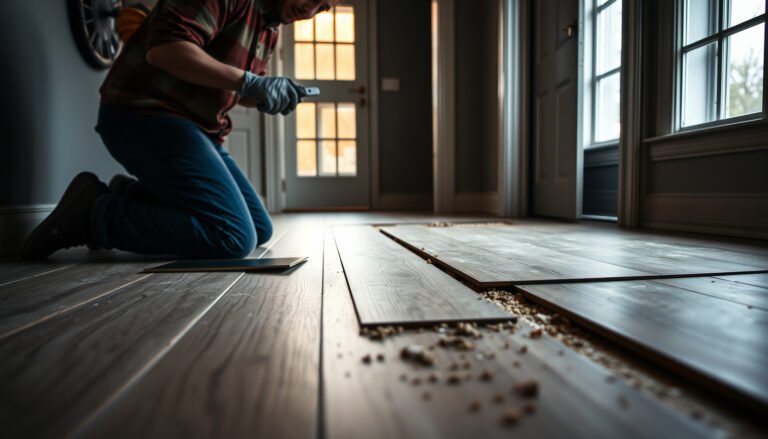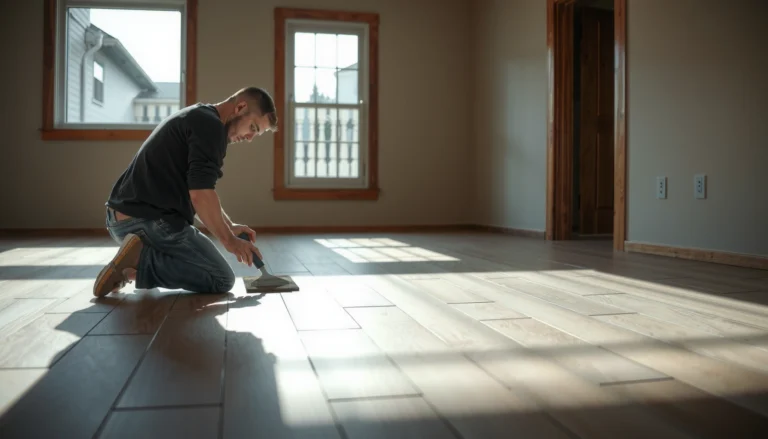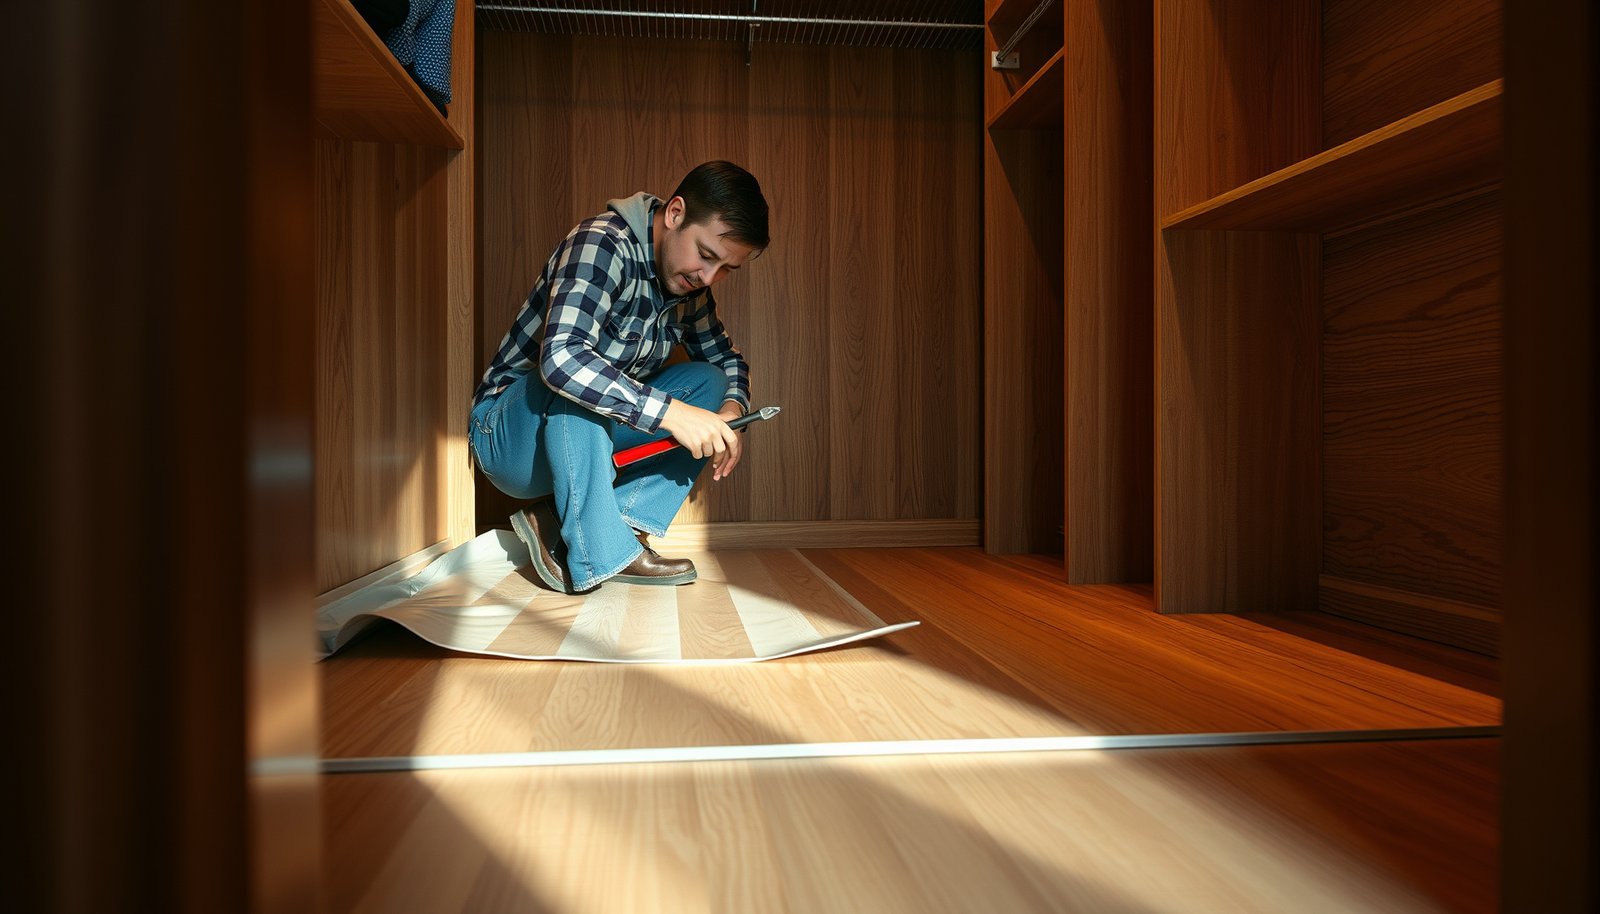

Removing laminate floors from a closet is a straightforward job when you know where to start and what to remove first. This step-by-step guide walks you through loosening the boards without damaging the subfloor, handling transitions and trim, and clearing the area for new flooring. If you want the fastest, cleanest way to pull up laminate in a tight space, follow these instructions in order.




Remove laminate flooring in a closet by reversing the install order: start at the last row, release the click-lock (or cut loose if glued), then lift boards out one run at a time. If you can, remove the baseboards first so the edges aren’t trapped. This guide is for homeowners tackling a small closet area (often easier to manage than an entire room) and dealing with either standard click-lock laminate or laminate that was installed with adhesive. If your laminate was glued down and you need it to stay intact, plan on more labor and possible board damage.
If you’re dealing with laminate flooring removal in a closet in 2026, the fastest path is usually straightforward: take the perimeter trim off first, identify whether the planks are truly “click-lock” or “glue-down,” then work backward. In a closet, you typically have fewer exit paths and fewer pry angles, so small mistakes—like prying the wrong seam or skipping caulk scoring—show up as cracked tongues, chipped edges, and torn wall paint.
Prep the closet and protect surfaces
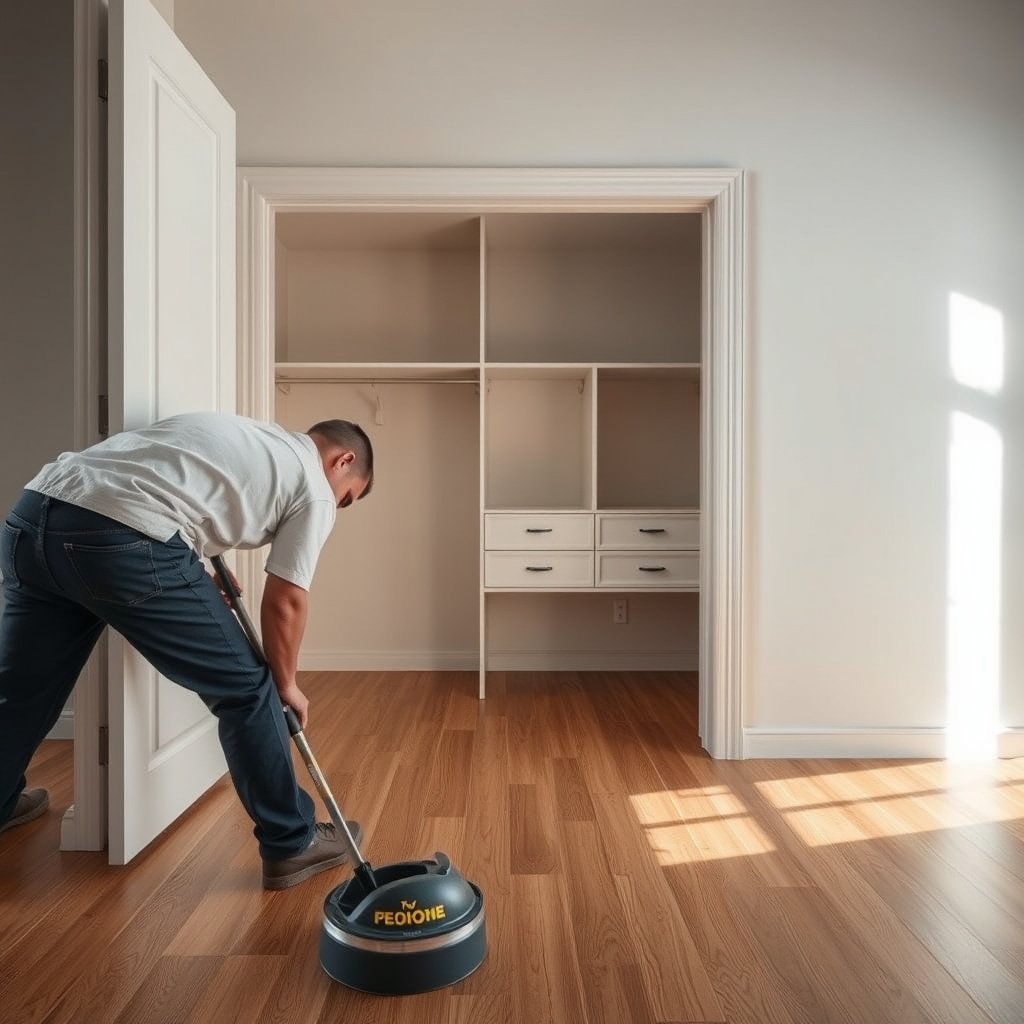
You remove laminate flooring in a closet more cleanly when you prep the space like you’re working with brittle material: clear the area, protect adjacent surfaces, and control dust and chips before you pry. This section focuses on making laminate flooring removal in a closet safer and more predictable, whether you’re pulling up click-lock planks or cutting adhesive seams.
Eye and face protection is required by OSHA when employees are exposed to eye or face hazards. OSHA eCFR 29 CFR 1910.133 (accessed 2026)
OSHA’s PPE approach starts with a hazard assessment so the right protective equipment matches the task risks in the workspace. OSHA eCFR 29 CFR 1910.132 (accessed 2026)
What to do before you touch the floor
– Clear the closet fully. Remove shelves, rods, and anything that blocks plank edges or limits your stance. In laminate flooring removal in a closet, you often need room to kneel and to place a pry bar safely.
– Cover nearby surfaces. Use painter’s tape and a drop cloth on any adjacent flooring and walls. If you’re working close to painted drywall, tape helps—but you still want to avoid repeated board “kicks” that can scar paint.
– Prepare for dust and chips. Laminate edges can chip when leveraged. Eye protection and gloves are non-negotiable for laminate flooring removal in a closet, especially if you expect to cut through glued seams.
– Remove or loosen anything trapped at the perimeter. If there’s trim caulked at the wall, your later steps (baseboards/shoe molding removal) will be easier if you can access the entire caulk line.
From my , the best “prep” isn’t fancy—it’s preventing the first knock that creates a permanent mark.
Remove baseboards, shoe molding, and transitions
You remove laminate flooring in a closet with fewer damaged planks when you take off the trim that traps the plank edges. In other words: freeing the perimeter first prevents laminate boards from being “pinned,” which is where a lot of cracked tongues happen during laminate flooring removal in a closet.
OSHA requires protective equipment selection based on the specific workplace hazard, which often includes flying chips during pry work. OSHA eCFR 29 CFR 1910.132 (accessed 2026)
When walls and trim are caulked, scoring the seam before removal reduces the chance of tearing finishes during renovation work.
Why perimeter trim matters (especially in closets)
– Pull baseboards and/or shoe molding first. If trim covers the laminate edge, the first row can’t lift—so you’ll end up prying upward on a locked joint.
– Remove doorway thresholds/transitions. If the closet opens to another room, thresholds often “hold” plank ends. Removing them gives laminate flooring removal in a closet a clean exit path.
– Score caulk and paint lines. If the baseboard meets drywall with caulk or paint overlap, score the line with a utility knife before prying. This reduces drywall paint pull-off and keeps laminate flooring removal in a closet from turning into wall repair.
Practical technique
– Start with the least visible trim sections first. That helps you learn whether your baseboards are nailed, screwed, or glued, and it prevents surprises when you’re already committed to dismantling laminate flooring in the closet.
Disassemble the laminate boards (click-lock vs glue-down)
You get the cleanest results when you reverse the install method that the floor originally used: click-lock usually releases by joint angle, while glue-down typically requires seam cutting and careful prying. For laminate flooring removal in a closet in 2026, the “type” question is the decision point that determines effort, mess level, and whether boards can be reused.
Many click-lock laminates are designed to release by manipulating the plank at a joint angle rather than by brute vertical lifting.
When laminate is glue-down, installers commonly rely on adhesive bonding at seams and edges, so removal often requires cutting joints and separating boards mechanically.
If it’s click-lock (common)
– Start at the seam farthest from your exit. In a closet, you often can’t step backward once you pry up a row, so plan your “work front.”
– Release the joint, then lift/angle the board. Use the designed interlock motion—typically an angle to disengage the locking tab—rather than forcing the joint straight apart.
– Remove boards one run at a time. This reduces breakage. Expect the last few rows near the wall to be harder once you have fewer pry points.
If it’s glue-down
– Assume boards may not be reusable. Glue-down laminate often fractures during separation because adhesive bonds prevent clean interlock release.
– Cut loose where possible. Where seam lines are accessible, cut through adhesives so boards can lift without ripping the top layer or leaving thick residue.
Click-lock vs glue-down: what you should expect
| Category | Click-lock laminate | Glue-down laminate |
|---|---|---|
| Primary release method | Joint angle to disengage locking tabs | Cut seams/adhesive then pry carefully |
| Chance of reuse | Often better if you avoid prying on interlocks | Usually low; board damage is common |
| Mess profile | Cleaner, mostly underlayment handling | More adhesive residue and scraping |
| Time per closet | Generally faster once the first row is freed | Slower due to cutting + adhesive removal |
Tip for closet layouts
– Label and stack by row/direction if reuse matters. Laminate flooring removal in a closet is where “small differences” become annoying—direction matters for how boards fit.
– Use a pry bar with a scrap wood block. Place the wood block against the plank edge so the pry bar doesn’t become a hard pivot that chips laminate.
Remove underlayment and clean the subfloor
You can protect your next flooring project when you treat subfloor cleanup as a first-class task, not an afterthought. After laminate flooring removal in a closet, your goal is a flat, stable surface with no high ridges and minimal residue that could interfere with new flooring adhesion or leveling.
Underlayment and fastener debris (staples/nails) must be removed before installing new flooring because they create bumps and point loads.
OSHA’s hearing conservation triggers include noise exposures at or above 85 dBA TWA, which can be relevant if you cut glued seams. OSHA eCFR 29 CFR 1910.95 (accessed 2026)
Underlayment removal
– Peel up underlayment if it’s separate.
– Pull staples/nails left behind using pliers or a scraper. You want the subfloor smooth before any scraping residue.
Residue and flatness checks
– Scrape off adhesive/thinset residue only as needed to get flat. If you over-scrape, you can create dips.
– Check for high spots, ridges, and loose material. Laminate flooring replacement (or new flooring) often fails when the subfloor isn’t even—laminate may hide minor issues temporarily, but new click-lock joints can still stress over bumps.
Moisture and damage inspection (quick but important)
Closets frequently trap moisture from HVAC ducts, laundry areas, or plumbing lines. If you see staining, softness, or a persistent damp smell beneath laminate flooring removal in a closet, address the moisture source before re-flooring. Fixing the surface without fixing moisture can lead to warping and repeated flooring failures in the same season.
What can go wrong (and how to avoid it)
You avoid most laminate flooring removal problems by stopping early when you see “it isn’t behaving like click-lock” signs and by preventing finish damage at the perimeter. This section covers the failure modes that commonly show up in a closet, where leverage is limited and trim edges are close to walls.
Force-driven interlock separation increases the likelihood of damaged locking tabs because the designed release motion is different from straight-pry attempts.
When baseboards are caulked or painted over at the wall, failing to score the seam commonly leads to drywall paint tearing during trim removal.
Common issues and how to prevent them
– Laminate won’t release: you may be dealing with glue-down installation. Stop forcing joints—more pressure usually means chipped edges and worse removal.
– Broken tongue-and-groove/locking tabs: this often happens when you pry directly on the interlock. Use the correct release angle for click-lock and leverage through a scrap wood block.
– Damaged baseboards or drywall paint: forgetting to cut caulk/paint lines can tear the wall finish. Score the seam before trim removal and pry gradually.
– Uneven subfloor after removal: laminate hides minor imperfections, but new flooring won’t. If the subfloor is wavy or patched unevenly, correct it before installing anything new.
– Moisture issues in the closet: if the area feels damp or you see staining under layers, fix the moisture source before installing again.
One practical observation from recent remodel planning: laminate flooring removal in a closet usually goes fine until the last edge is reached—then either the perimeter adhesive is the culprit (glue-down) or the baseboard wasn’t fully freed (trim trapped the plank edge).
Verdict: what’s the best approach (and who should skip DIY)
If your laminate is click-lock, removing it in a closet is usually realistic because boards often lift in larger sections when you reverse the installation steps. If it’s glue-down, removal is still possible, but it’s more likely to be destructive and time-consuming—especially when adhesive is well-bonded.
Skip DIY (or get professional help) if:
– You’re unsure whether the laminate is click-lock or glue-down and you can’t confirm by checking a test seam.
– The subfloor shows damage (soft spots, water staining, significant lifting).
– You need reusable flooring for a remodel where matching boards would be hard.
Downside to plan for: even with click-lock, you might break a few boards near glued trim edges or stubborn last-row sections.
Quick checklist (scan/save)
| Task | Do this | Stop if you see… |
|---|---|---|
| Determine install type | Check seams; test a small corner | Boards won’t release after the correct joint manipulation |
| Remove trim | Take off base/shoe/transition pieces first | Trim won’t clear edges without forcing |
| Lift boards | Use release angle (click-lock) or cut seams (glue-down) | Locking tabs cracking repeatedly |
| Clean subfloor | Remove underlayment, scrape residue flat | High ridges or loose/soft subfloor material |
| Inspect before re-floor | Confirm flatness and cleanliness | Moisture signs or uneven patches |
Frequently Asked Questions
What tools do I need to remove laminate flooring in a closet?
You’ll typically need a pry bar, floor scraper, utility knife, pull bar, hammer, and a tapping block to lift laminate planks without damaging the subfloor. For safety, use knee pads, safety glasses, and a dust mask since removal can create debris. If the laminate is glued down, also have a heat gun or flooring adhesive remover on hand to soften and separate the planks.
How do I remove laminate closet flooring without damaging the subfloor?
Start by removing the closet door and any trim or baseboards so you can access the flooring edges. Score along caulk lines with a utility knife, then pry up the planks starting from an edge where the click-lock or seams are accessible. Work slowly and keep the pry bar as flat as possible to avoid gouging the subfloor; if you hit stubborn spots, use a scraper to lift remnants instead of forcing the planks.
Why is it important to know whether laminate is click-lock or glue-down before removal?
Click-lock laminate can usually be disassembled by lifting the planks at the correct angle and pulling them apart, which reduces damage and helps preserve materials for reuse. Glue-down laminate requires cutting and dissolving adhesive because the planks won’t release cleanly with prying alone. Checking the closet’s flooring at a seam or small test area helps you choose the right technique, saving time and preventing subfloor damage.
Best way to cut around closet poles, vents, or toe-kicks when removing laminate?
Remove the closet fixtures first when possible, then cut the laminate with a jigsaw or oscillating multi-tool to follow the contours of poles and obstructions. Use a straightedge and utility knife for shallow cut lines near walls, then finish with a saw to prevent chipping. Keep a vacuum nearby to manage dust, and plan for tighter cleanup with a floor scraper where planks meet trim.
Which direction should you start removing laminate flooring from in a closet?
In most closets, you should start at an edge or doorway threshold where planks are easiest to lift and where click-lock seams are accessible. If you don’t know the plank layout, look for the first installed row near a wall or measure from the wall to find where the locking joints begin. Removing in the direction that follows the locking system helps the laminate release more cleanly and minimizes breakage.
📅 Last Updated: October 22, 2026 | Topic: How to remove laminate floors from a closet? | Content verified for accuracy and freshness.
References
- Laminate flooring
- Floating floor
- Asbestos | US EPA
- https://www.epa.gov/asbestos/asbestos-home
- Lead – Overview | Occupational Safety and Health Administration
- Lead | US EPA
- Asbestos – HSE
- https://scholar.google.com/scholar?q=remove+laminate+flooring+step+by+step Google Scholar
- https://scholar.google.com/scholar?q=laminate+flooring+floating+floor+disassembly Google Scholar
- https://scholar.google.com/scholar?q=laminate+flooring+removal+subfloor+preparation Google Scholar