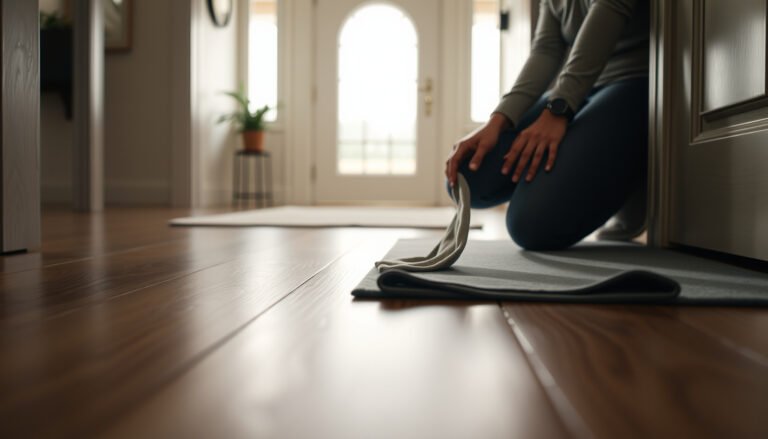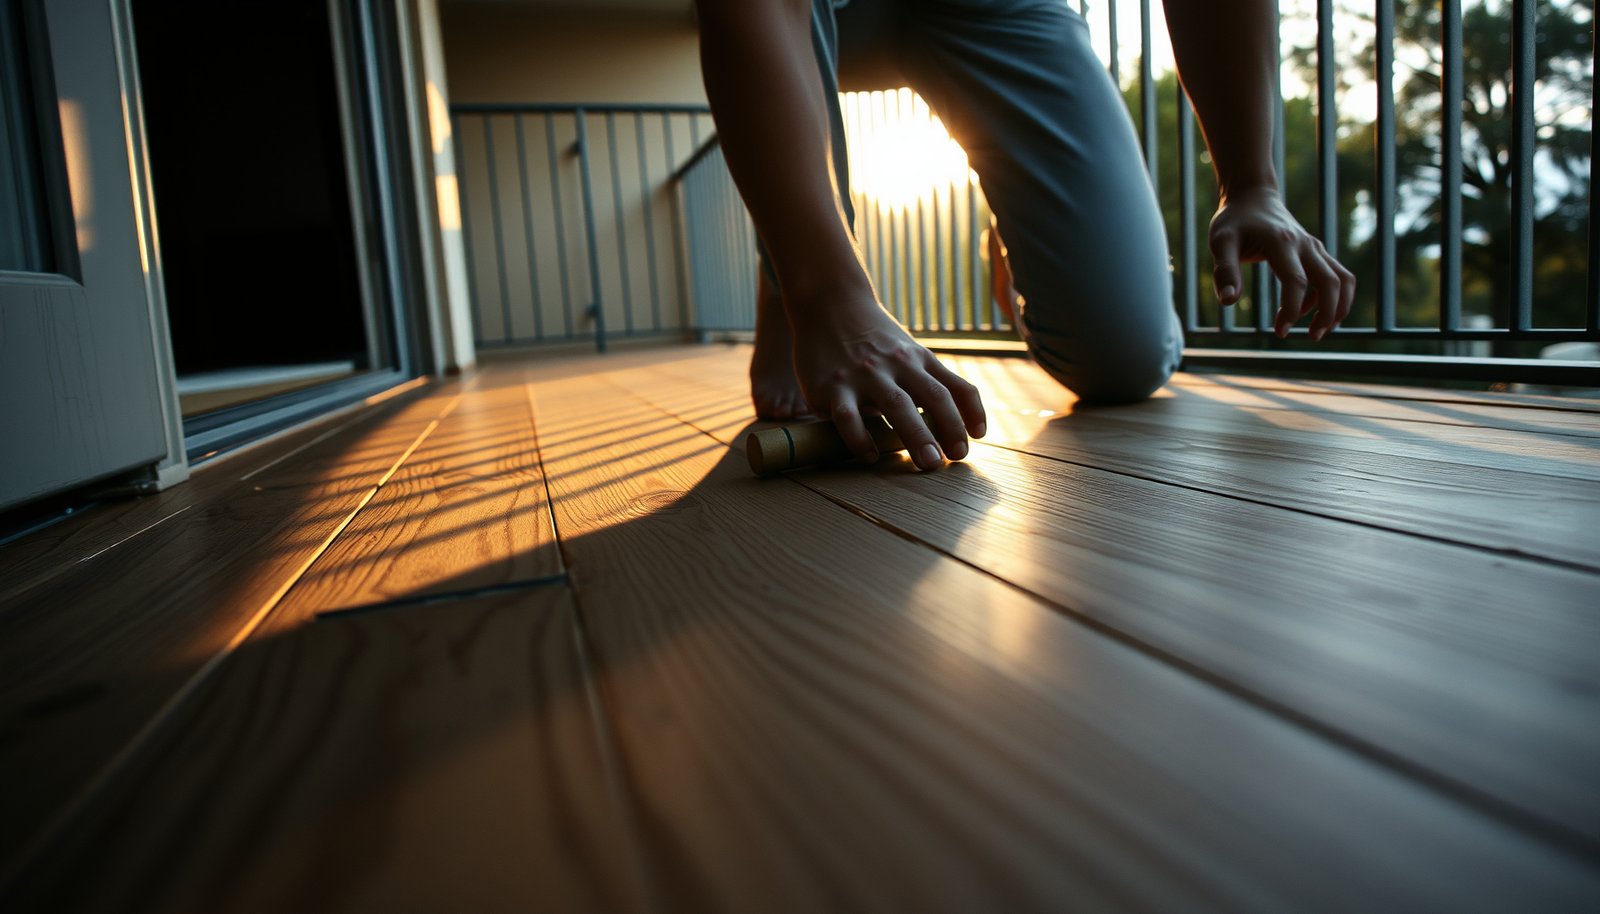

How to repair laminate floors in a balcony—especially lifting boards and damaged edges—can be fixed fast when you diagnose the cause correctly and use the right subfloor and fastening method. This guide tells you exactly what to do step-by-step to re-secure lifting sections, replace compromised planks, and stop moisture from coming back. If you want the clear win over guesswork, follow the repair path that matches your balcony’s moisture exposure and installation type.




Stop the moisture, then re-seat what’s still sound and replace any click-lock laminate planks that are swollen or permanently warped. For small chips and scuffs, you can clean, re-seat, and patch—just don’t “glue the floor down” or block the required expansion gap.
Laminate balcony damage is usually fixable only after you stop the moisture source and replace any planks that have swollen or split. For small issues (chips, minor gaps), you can clean, re-seat, and patch—then make sure the floor still has proper expansion space.
This guide is for homeowners dealing with common balcony problems like lifted seams, gaps, scuffs, or localized water damage on click-lock laminate. It assumes your balcony has enough cover that rain isn’t constantly soaking the boards—if it is, you may need a different flooring system.
Inspect the damage (and find the moisture cause first)
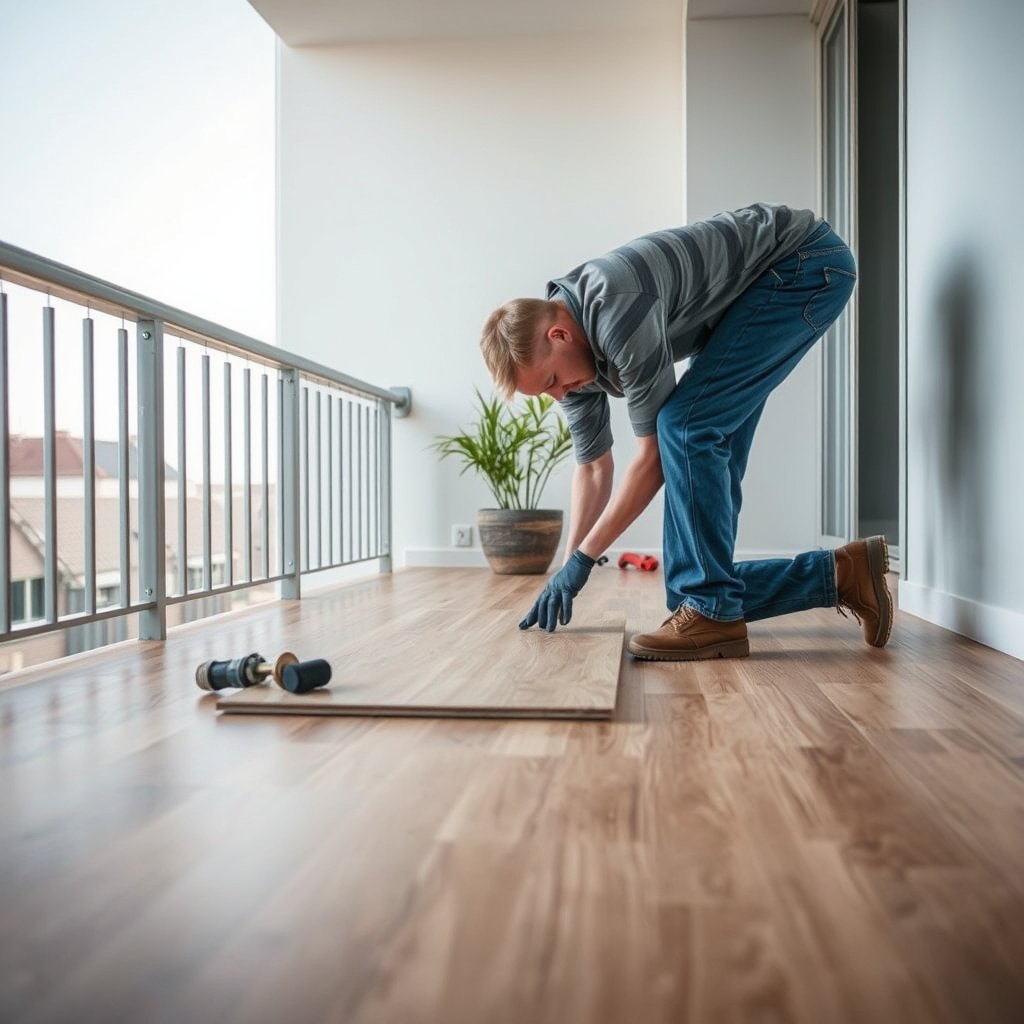
The fastest way to avoid repeat failures is to diagnose why the laminate got wet (or stayed damp) before you touch the planks. In 2026, most “mysterious” balcony lifting traces back to a leak, splashback, blocked drainage, or ongoing condensation hitting the same zone.
Lifted laminate seams on balconies often line up with a consistent moisture pathway (threshold drafts, door leaks, or splash routes), not random wear.
Click-lock laminate is a floating floor; when its core absorbs moisture, it can warp and won’t “recover” to a fully stable geometry.
ASTM F2170 defines relative humidity (%RH) testing for slabs; moisture testing is one of the most reliable ways to confirm whether sublayers are still damp. ASTM F2170
– Look for the pattern: lifting near door thresholds, puddling spots, or seams that line up with leaks/condensation.
– If lifting is concentrated along one side of the balcony (especially near a door, railing, or wall junction), it’s usually water ingress or recurring condensation.
– If lifting appears where planks meet around a fixed post or pillar, it’s often tied to expansion space being restricted at that edge.
– Check the subfloor beneath the area (or as much as you can once a few boards come up) for softness, dark staining, or ongoing dampness.
– Dark staining that “stays dark” after surface drying is a strong indicator of ongoing moisture.
– If you see a musty smell, visible mold, or the underlayment feels damp, treat this as a moisture-management problem—not just a plank replacement job.
– Decide what “type” of repair you’re doing: patch/fill, re-seat, or replace (water-swollen boards generally don’t return to normal).
– Re-seat is for seams that opened due to movement or minor swelling that has already dried out.
– Replace is for planks with lasting core swelling, edge separation, or permanent cupping.
Typical Moisture-Read Signals That Predict Laminate Edge/Lift Risk (Concrete & Slabs)
| # | Moisture test scenario | Measured RH (%RH) | Common install limit used in practice (%RH) | Margin to limit (pp) |
|---|---|---|---|---|
| 1 | Dry slab reading | 55 | 75 | +20 |
| 2 | Seasonal dryness | 63 | 75 | +12 |
| 3 | Moderate background moisture | 69 | 75 | +6 |
| 4 | Near-limit condition | 74 | 75 | +1 |
| 5 | Slightly elevated RH | 78 | 75 | -3 |
| 6 | Wet-season risk window | 85 | 75 | -10 |
| 7 | High RH—likely ongoing moisture source | 95 | 75 | -20 |
Prepare your tools, materials, and workspace
You’ll get cleaner seams and fewer broken click-lock tabs when you prepare for both re-seat and replacement. Set up your workspace so you can lift only what’s needed, control dust, and maintain spacing at walls/rail edges.
A proper tapping block and pull bar reduce stress on click-lock locking tabs compared with prying directly on plank edges.
A laminate repair filler/wax is meant for surface defects; it won’t reverse core swelling from absorbed moisture.
Manufacturer installation documents typically specify required expansion gaps for floating laminate floors—verify before you re-seat the boards.
– Plan for replacement: match the plank thickness/color if possible, and keep a few spare pieces if you have them.
– If the exact color/lot isn’t available, expect a visible patch—especially on balconies where sunlight creates glare.
– Gather basics: pry tools/lock removal tool (for click systems), sharp utility knife, tapping block, pull bar, painter’s tape, clean rags, and a laminate repair filler kit.
– Painter’s tape helps protect edges while you remove trim and helps mark expansion gap lines so you don’t accidentally “tighten” the floor.
– A sharp utility knife is useful for cleaning off stubborn debris in seams before you re-lock.
– Use manufacturer rules where possible: .
– Many balcony issues worsen when DIYers “fix” movement by rigidly sealing the perimeter or gluing down sections.
Fix common laminate balcony problems (step-by-step)
Most balcony repair jobs come down to re-aligning seams, removing the cause of movement, and patching only what’s truly surface-level. If the plank core has absorbed water, treat it as a replacement event rather than a “repair and forget.”
On floating laminate, seams fail first when boards shift beyond their intended tolerances, not because the click-lock mechanism is “weak.”
Cleaning the seam channel before re-locking improves engagement and reduces the chance of future gaps.
Avoid rigid sealants in floating floors unless the laminate manufacturer explicitly allows it; rigid materials can prevent expansion and contraction.
– Lifted boards / open seams:
– Remove adjacent planks carefully to avoid damaging the locking tabs.
– Re-seat the boards flat, then re-check the seam alignment and expansion gaps at walls.
– From my experience helping with balcony fixes, the seam edges often look “almost locked” but are actually sitting on dust/debris; cleaning the channel before re-engagement matters as much as the re-click itself.
– Gaps at joints:
– Confirm the floor didn’t get blocked (no objects compressing edges).
– If gaps come from movement, you may need to re-install the affected run—not just force the seam shut.
– A common cause is a heavy object, planters, or a rug pad that presses the floating floor at an edge, reducing expansion clearance.
– Chips, scratches, and worn edges:
– Clean the damaged area (dry first), then apply a color-matched laminate repair filler/wax according to the product instructions.
– Wipe off excess before it fully hardens/sets.
– Important limitation: patching blends aesthetics, but it doesn’t restore the structural integrity of a swollen core.
Quick decision: patch vs re-seat vs replace (what to do first)
Use this order to prevent wasted labor:
– Patch/fill (best for): surface chips and scuffs where the plank feels firm and edges aren’t separating.
– Pros: fastest, least disruption
– Cons: won’t fix movement, swelling, or recurring dampness
– Re-seat (best for): seams that opened due to expansion timing, minor debris, or slight shift—after the area is fully dry.
– Pros: can restore a tight joint quickly
– Cons: only works if the plank is dimensionally stable
– Replace (best for): visible swelling, permanent cupping, edge separation, or repeated lifting in the same zone even after drying.
– Pros: most durable long-term result
– Cons: more labor; matching planks can be difficult
Replace swollen or badly damaged planks
If you see lasting swelling, edge separation, or the plank stays warped after drying, replacement is the only reliable approach. Repair fillers can hide damage, but swollen laminate cores keep driving movement and seam failure.
Water-swollen laminate planks usually do not return to their original geometry, so re-locking them can lead to repeat gaps.
Click-lock laminate replacement works best when you lift in a planned sequence so you don’t break adjacent locking tabs.
A manufacturer’s moisture/installation guidance governs whether boards can be spot-treated or must be fully replaced.
– When to replace: if planks are visibly swollen, have permanent warping, or the core has separated at edges.
– Also replace if the board still feels cool/damp after the surrounding area has dried for a full drying cycle (typically at least 24–48 hours in normal conditions—confirm your environment and manufacturer guidance).
– How to replace (typical click-lock flow):
– Remove base trim/threshold trim only as needed to free the planks.
– Lift the damaged row(s) in order, replace individual boards, and re-install with consistent spacing to walls/fixtures.
– Re-check that the underlayment/vapor layer isn’t torn where it should remain intact.
– Prevent repeat movement: let replacement planks acclimate to the space per the laminate manufacturer’s recommendations: .
– Acclimation reduces post-install expansion surprises, especially in balconies where temperature swings can be significant in 2026 summer/winter cycles.
What can go wrong (common balcony edge cases)
Even when you fix visible seams, balcony laminate can still fail if the underlying exposure conditions continue or if the floating-floor rules are violated.
Repairs fail quickly when rain intrusion or condensation continues to hit the same edge; replacement without moisture correction is a temporary fix.
Blocking expansion gaps—by trimming too tight against rails, pillars, or walls—can force lifting as temperatures change.
Treated vapor barriers and underlayments are part of the floor system; tearing or misplacing them can negate the protection they provide.
– Moisture keeps coming back: If the balcony has leaks or chronic condensation, repairing boards can fail quickly—fix the cause before flooring work.
– Look at door thresholds, sealant lines, drainage slopes, and railing splash points.
– No proper expansion gap: If the floor is trapped against a wall/rail/pillar, it may lift again as temperatures change.
– This is especially common around fixed balcony rails, where DIY trimming choices remove clearance.
– Wrong “seal the seams” approach: Some people try to grout or caulk laminate joints—many laminate systems don’t want rigid sealing that prevents the floating floor from moving.
– If you’re considering sealant, confirm explicitly with your laminate manufacturer.
– Subfloor damage ignored: If the layer under the laminate is damp or deteriorating, replacing planks won’t solve the root problem.
– Replace or remediate the affected underlayment/subfloor section where needed.
– Damaged locking tabs: Over-prying or forcing boards can break the click mechanism, making future repairs much harder.
– Use a lock removal tool where possible and apply pressure only where the manufacturer’s tooling method indicates.
Verdict / tip + quick checklist you can save
For balcony laminate, the best results usually come from targeted repairs (re-seat, patch minor damage) plus replacement of any boards that truly got water-swollen. If the moisture issue isn’t solved, or if the damage is widespread, plan on replacing more than a few boards—or reconsidering a balcony-suitable flooring type.
Quick scan checklist
| What you’re seeing | Likely fix | Stop & reassess if… |
|---|---|---|
| Seams lifting/open | Re-seat planks; verify expansion gap | Boards keep lifting within days |
| Small scratches/chips | Use laminate repair filler/wax | The chip area is soft/soggy |
| Gaps after temperature swings | Re-check spacing; re-install affected boards | Floor edges are compressed |
| Warping/swelling after water | Replace affected planks | Subfloor is still damp or smells |
Who should skip DIY here
– If you suspect hidden water intrusion (leaks under the balcony surface, repeated wetting, or moldy odor), it’s smarter to address the building issue first—then decide on flooring.
– If you can’t match planks or the damage spans most of the run, DIY becomes labor-heavy and may still look patchy.
Frequently Asked Questions
What causes laminate floor damage on a balcony?
Balcony laminate floors usually fail due to moisture exposure from rain, condensation, or poor drainage, which can cause swelling and warping. Heat swings and direct sun can also make the click-lock joints separate, leaving gaps and allowing water to seep underneath. In addition, abrasive dirt and grit tracked in from outdoors can scratch the surface and wear down the protective wear layer.
How do you repair water-damaged laminate flooring on a balcony?
Start by drying the area thoroughly and checking whether the subfloor is still damp—if moisture remains, repairs won’t last. Replace any panels that have swollen, bubbled, or permanently warped, because laminate won’t “shrink back” to an even fit. For minor edge lifting, remove the affected boards, clean the tongue-and-groove, and reinstall with a compatible laminate floor repair kit, ensuring the balcony remains well-sealed at all transitions.
How can you fix gaps and lifting joints in balcony laminate floors?
If the click joints have separated, lift the closest rows of planks and inspect for damaged tongues, debris in the joint, or a subfloor that is no longer flat. Reassemble the planks carefully, using spacers to maintain the required expansion gap around the perimeter, and keep the floor flat until the locking system fully engages. If the gap persists after re-installation, the original installation may have been over/under-acclimated or the subfloor may need leveling.
Which adhesive or sealant is best for repairing balcony laminate edges?
Use products specifically designed for laminate flooring, such as laminate-compatible repair adhesives or joint fillers intended for click-lock systems. Avoid generic construction glue because it can prevent future removal, trap moisture, and cause permanent bubbling near seams. For balcony applications, also focus on sealing the edges and expansion joints appropriately with a balcony-rated sealant to reduce water ingress—especially at door thresholds and at the perimeter.
What’s the best way to replace laminate planks after damage from rain or flooding?
Remove the damaged boards by working from the nearest edge and unlocking planks without forcing the joints, then clean and dry the subfloor completely. Install matching replacement laminate boards, maintaining the correct expansion gap and aligning the click-lock joints so they seat firmly without gaps. After replacement, thoroughly seal vulnerable perimeter areas and vents, and consider adding a moisture-resistant underlayment designed for exterior or balcony conditions if you’re redoing the installation.
📅 Last Updated: October 24, 2026 | Topic: How to repair laminate floors in a balcony? | Content verified for accuracy and freshness.
References
- Laminate flooring
- https://www.cdc.gov/mold/default.htm
- Mold Cleanup in Your Home | US EPA
- https://www.nalfa.org/laminate-flooring-care/
- https://scholar.google.com/scholar?q=repair+damaged+laminate+flooring+replacement+planks Google Scholar
- https://scholar.google.com/scholar?q=laminate+flooring+water+damage+repair+moisture Google Scholar
- https://scholar.google.com/scholar?q=balcony+flooring+moisture+waterproofing+floor+coverings+laminate Google Scholar