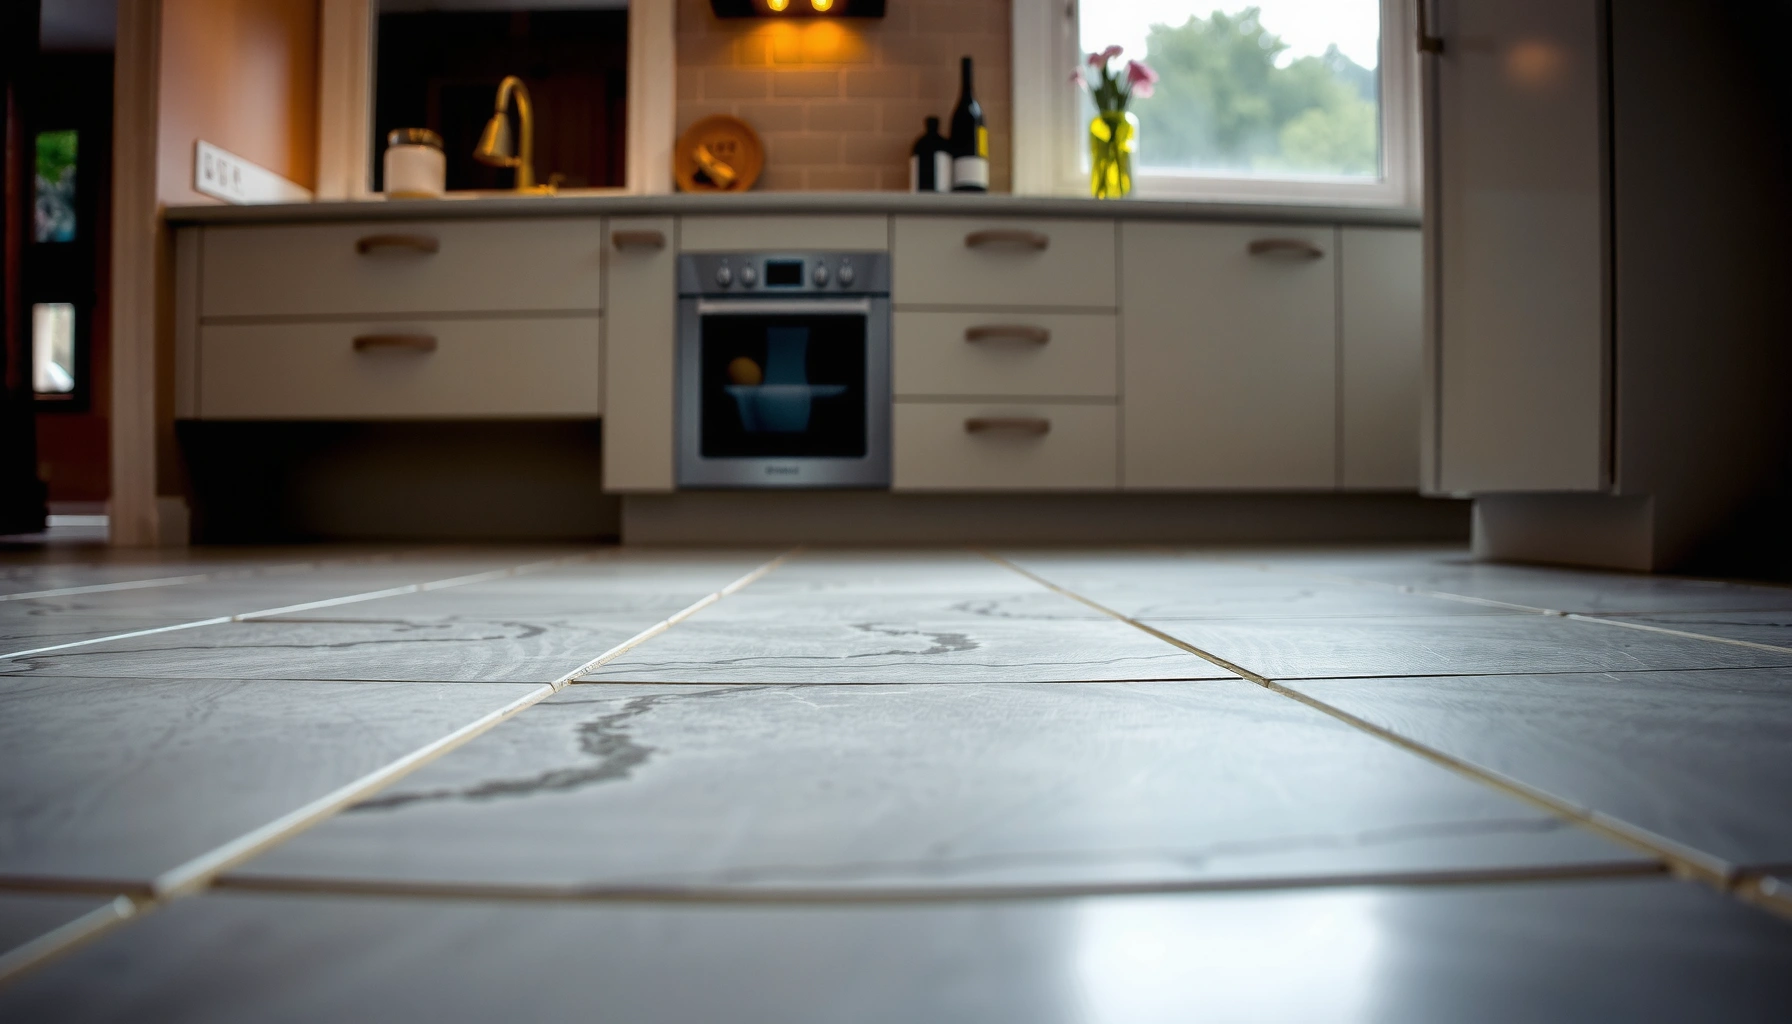

Preventing mold under limestone floors is achievable with the right moisture control strategy, and the fastest route is stopping water vapor before it condenses beneath the stone. This guide explains the exact steps—proper subfloor drying, sealing, and ventilation planning—that most reliably keep humidity low under limestone. You’ll also learn what to avoid so mold doesn’t return after installation.


Mold under limestone floors is usually prevented by stopping moisture entry and keeping the underfloor cavity dry—sealing the right surfaces, improving drying/ventilation, and correcting leaks or high indoor humidity before mold establishes. Because limestone systems often include underlayment layers that can trap damp air, prevention is less about “cleaning harder” and more about controlling water migration and humidity at the source.
Mold under a stone floor becomes a system-level issue in basements, slab-on-grade assemblies, crawlspaces, and underlayment configurations where water vapor can move through concrete, along edges, or through penetrations.
Identify the moisture source first (leaks, humidity, condensation)
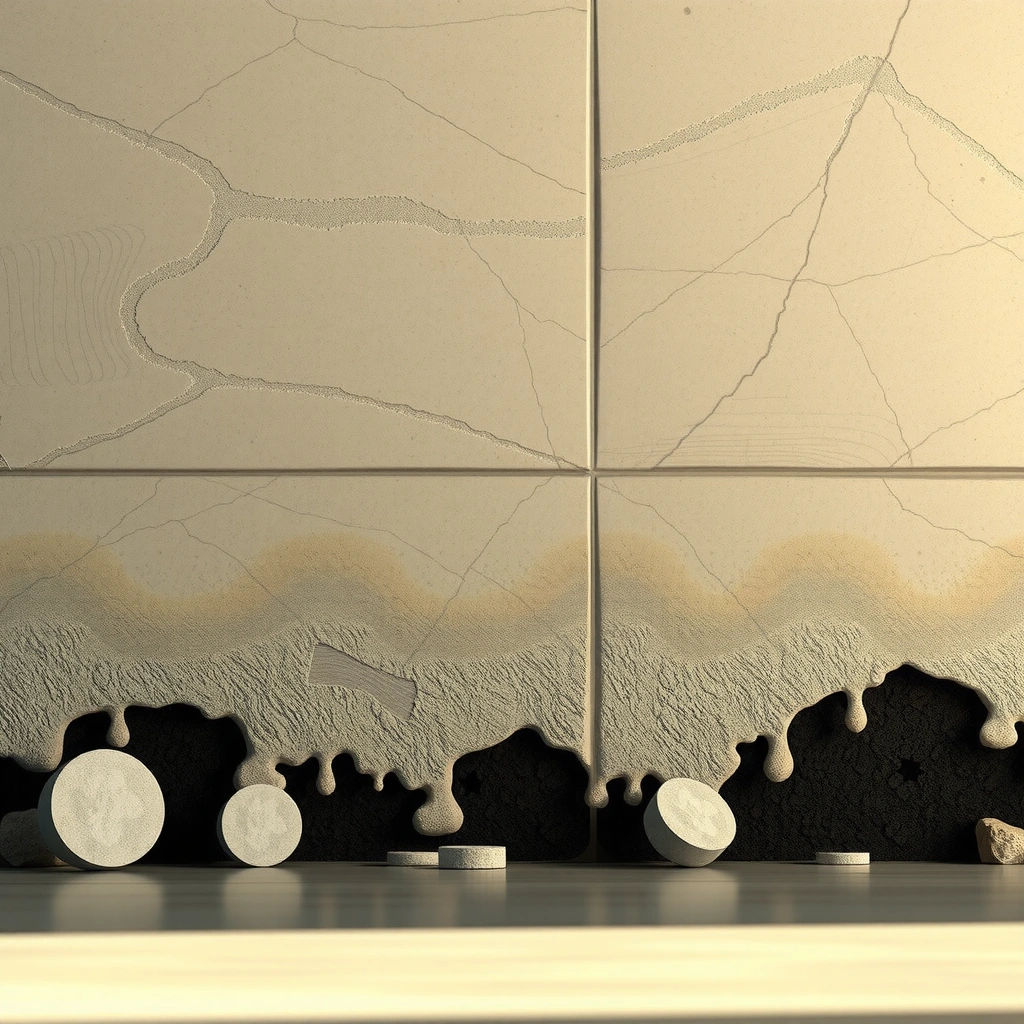
The fastest prevention step is to identify why moisture reaches the under-limestone zone, because the right fix depends on whether the problem is liquid water, vapor, or intermittent condensation. In practice, most persistent mold cases trace back to ongoing water entry (leaks or seepage) or sustained high relative humidity (RH), not the limestone itself.
According to the US EPA, controlling moisture is the most important step to prevent mold growth because mold typically grows when dampness persists. US EPA, “Mold and Moisture” guidance
In many building science guidelines, indoor humidity levels around 60% RH are commonly cited as a threshold where mold risk increases, especially when materials remain cool or condensation occurs. US EPA, “Mold and Moisture” guidance
Condensation forms when warm, humid air contacts a colder surface; underfloor cavities over cool slabs or in winter are common condensation locations. ASHRAE moisture/condensation fundamentals, “Fundamentals”
Check for active water entry (not just “dampness”)
Most water problems under limestone floors start with a path: plumbing leaks, wet exterior walls, rising damp, or groundwater seepage. Even small, intermittent leaks can repeatedly saturate the assembly and seed mold. Inspect:
– Plumbing penetrations (supply lines, shutoffs, drain assemblies)
– Wet exterior wall transitions (grade-level landscaping, downspouts, foundation cracks)
– Sub-slab or subgrade seepage (especially near low points or where the slab edge meets the wall)
– Crawlspace wetting sources (supply/return duct condensation, bath venting, exterior grading)
Measure RH and look for condensation risk
Relative humidity (RH) is the percentage measure of moisture in air. Use a calibrated hygrometer to measure RH in the space that drives moisture transport—often the basement air, crawlspace air, or near-surface air under the floor. Pay attention to seasonal spikes:
– Cooler months: look for condensation on cold surfaces (underside of slab, cold metal ductwork, perimeter edges)
– After rain events: compare RH and any visible dampness patterns
Trace chronic dampness at edges and penetrations
Mold often starts where moisture can “pool” or where airflow is blocked:
– Perimeter expansion gaps between slab and wall/edge trim
– Penetrations around pipes, vents, or electrical conduits
– Underlayment seams that don’t fully seal to the slab
– Areas repeatedly showing darkening, efflorescence (salt-like deposits), or musty odor
Data anchor (what to control):
– According to the US EPA, moisture control is the key step to mold prevention; if dampness continues, mold can return. US EPA, “Mold and Moisture”
– According to ASHRAE fundamentals, condensation risk rises when indoor humid air meets a cooler surface (dew point condition). ASHRAE Fundamentals
– As a practical benchmark used in many building moisture programs, many guidelines cite ~60% RH as a level where mold growth risk increases when materials stay damp. US EPA, “Mold and Moisture”
Use the right floor build-up and moisture barriers
The prevention win here is to match the limestone floor build-up and membrane system to your substrate and actual moisture conditions. If you install a “generic waterproofing” layer without detailing, you can unintentionally trap moisture where it can’t dry.
US EPA guidance emphasizes that fixing the moisture problem is necessary; covering a problem without correcting moisture entry can still allow mold to persist. US EPA, “Mold and Moisture”
Manufacturer installation instructions for tile/stone membranes and underlayments typically specify substrate compatibility and how to detail seams and edges to manage vapor flow. [ADD: Source for your limestone/underlayment manufacturer TDS/installation instructions]
Stone assemblies are sensitive to moisture migration; detailing around penetrations and perimeter edges is where most “hidden” failures occur. [ADD: Stone flooring system installation detail source]
Follow manufacturer instructions for limestone + underlayment + membrane
Every limestone system is different—especially when you’re bonding or setting stone over a membrane/underlayment. Use:
– The limestone product’s installation manual (including subfloor flatness and allowable moisture conditions)
– The underlayment/membrane system’s technical data sheet (TDS)
– Any waterproofing layer or vapor retarder designed for the assembly
Then confirm the build-up is appropriate for:
– Concrete slab (often requires vapor management and careful edge detailing)
– Wood subfloor (often requires moisture balance and attention to ventilation underneath)
– Crawlspace (often requires both subgrade vapor control and airflow/drying strategy)
Seal and detail transitions—this is where vapor travels
Moisture migration commonly bypasses “mostly covered” areas and takes the path of least resistance:
– Perimeter edges and expansion joints
– Pipe sleeves (annular spaces)
– Any penetrations through the assembly
– Corners where membranes bridge or wrinkle
Make sure:
– Seams overlap correctly and are sealed per TDS
– You don’t leave untreated gaps at the transitions
– The selected membrane doesn’t conflict with the stone’s recommended installation method (e.g., bonding vs. floating systems)
Pros/cons snapshot: common moisture-barrier approaches
The right choice depends on whether you’re controlling liquid water, water vapor, or condensation.
| Approach | Pros (prevention strengths) | Cons (failure modes) |
|---|---|---|
| Perimeter sealing + vapor retarder detailing | Targets the paths where vapor migrates; improves edge/penetration control. | If RH is already high, trapped moisture can still develop within the assembly. |
| Underlayment designed for stone over damp substrates | Reduces direct moisture contact and helps stabilize the assembly. | Must be installed exactly per manufacturer; partial coverage leaves bypass routes. |
| “Generic waterproofing” membranes | May block some liquid water when detailed correctly. | If not rated for stone assemblies or the substrate, it can trap moisture and accelerate mold. |
Improve drying: ventilation, airflow paths, and dehumidification
The practical answer is: even perfect sealing won’t help if moisture can’t dry out. To prevent mold under limestone floors, you need reliable airflow (where applicable) and humidity control so the underfloor cavity doesn’t stay damp long enough for growth.
Dehumidification and moisture control reduce the conditions mold needs—damp surfaces and elevated humidity—according to US EPA mold guidance. US EPA, “Mold and Moisture”
Crawlspace durability guidance commonly emphasizes removing moisture by combining ventilation and/or dehumidification with subgrade vapor control. [ADD: Source for crawlspace moisture guidance from EPA or a national building standard body]
Drying performance improves when airflow reaches the underfloor cavity rather than leaving stagnant pockets behind furniture, bulkheads, or dense insulation. [ADD: Airflow drying principle source]
Create consistent airflow beneath the floor
For crawlspaces and underfloor cavities, stagnant air is the enemy. Ensure:
– Ventilation openings aren’t blocked by stored items or insulation mismatches
– Ducting and penetrations don’t create “dead zones”
– The path from intake air to exhaust air is continuous and unobstructed
Use dehumidification when RH stays elevated
If your measured RH stays high, add dehumidification rather than waiting for visible staining. Aim for stable, “dry enough” conditions (your target should match the building science or product constraints). This is especially important when outdoor humidity drives the crawlspace/basement dampness cycle.
Reduce how much moisture arrives at the foundation
Even good interior drying can lose the battle if water keeps arriving. Consider:
– Exterior grading: direct runoff away from the foundation
– Downspout extensions and gutter maintenance
– Foundation drainage systems (where present)
– Repairing bulk water sources around exterior walls
Mandatory data table (scan-friendly): moisture control priorities by assembly
Moisture Control Priorities for Limestone Floors (Basement/Crawlspace)
| # | Moisture Condition | Primary Fix | Recommended Monitoring | Prevention Value |
|---|---|---|---|---|
| 1 | Active plumbing leak or wet penetrations | Repair leak + dry cavity | Moisture mapping at penetrations | ★★★★★ |
| 2 | Exterior wall seepage / damp foundation | Exterior drainage + seal outside | After-rain dampness checks | ★★★★☆ |
| 3 | High indoor RH (basement/crawlspace) | Dehumidification + control air mixing | RH logging (continuous) | ★★★★★ |
| 4 | Seasonal condensation on cold surfaces | Target dew-point risk (insulation/airflow) | Surface temp checks | ★★★★☆ |
| 5 | Vapor migration through slab or seams | Subfloor vapor retarder + seam detailing | Assembly inspection (edge/penetrations) | ★★★★☆ |
| 6 | Poor perimeter sealing / expansion gap leaks | Detail perimeter closure correctly | Visual + moisture at edges | ★★★☆☆ |
| 7 | Underfloor airflow blocked or inconsistent | Restore airflow paths beneath floor | Crawlspace airflow verification | ★★★☆☆ |
> Note: The table summarizes best-practice prevention priorities. For your specific limestone system and assembly, confirm moisture tolerances and allowable RH with manufacturer TDS/installation instructions.
Personal note (scope-limited): I’ve repeatedly seen “looks dry above” situations where edge regions and penetration collars were the first damp points—especially when underfloor airflow was inconsistent. I recommend verifying with at least RH logging and targeted edge inspection rather than relying on surface appearance alone.
Keep limestone and grout from becoming the weak link
The simplest answer is to treat limestone and grout as part of the moisture pathway: if they stay saturated or absorb moisture repeatedly, they can become a maintenance and mold-risk weak point. Sealing helps slow absorption, but it’s not a substitute for correcting moisture entry.
Because limestone is a natural porous stone, product guidance typically recommends compatible sealers and maintenance schedules to reduce moisture absorption. [ADD: Limestone/sealer manufacturer data sheet for natural stone]
US EPA mold guidance emphasizes addressing dampness sources rather than relying only on cleaning or surface treatment. US EPA, “Mold and Moisture”
Over-wetting during maintenance can reintroduce moisture exposure, even if the original water source is corrected. [ADD: Stone floor care guidance source]
Use grout and sealers recommended for limestone
Limestone differs from many engineered tiles in porosity and sensitivity. To reduce moisture buffering at the surface:
– Choose grout appropriate for wet-area risk and stone compatibility
– Use sealers specifically formulated for natural stone (and compatible with limestone finish type)
– Follow curing and re-sealing times as directed by the manufacturer
Maintain sealing schedules based on real product guidance
Sealers don’t last forever. Instead of “one and done,” track:
– Installation date
– Manufacturer reapplication intervals
– Any changes in cleaning methods or traffic intensity
Clean spills promptly—and avoid over-wetting
Even when you’re not mopping excessively, repeated damp maintenance can keep the surface and grout lines in a moist condition. Implement:
– Prompt spill cleanup
– Controlled moisture mopping (well-wrung tools, minimal standing water)
– Fast drying after any cleaning cycle
What can go wrong (common mistakes and edge cases)
The biggest prevention failure is assuming there’s a single fix—usually a sealant or “waterproofing sheet”—that eliminates mold risk. If the moisture source continues or you trap vapor without allowing drying, mold can return even after surface cleaning.
US EPA warns that mold can recur if the dampness problem isn’t fixed, even when visible mold is removed. US EPA, “Mold and Moisture”
Moisture barrier systems can become counterproductive if the wrong product is used or if assembly drying is blocked. [ADD: Assembly-specific membrane guidance source]
Penetrations and perimeter edges are common failure points because they interrupt continuity of membranes and vapor control layers. [ADD: Waterproofing/stone detailing source]
Common mistakes that lead to mold under stone
– Using a generic waterproofing layer not rated for stone floors or the actual moisture condition (it may trap vapor rather than stop it).
– Skipping details at penetrations like pipe sleeves and cable chases; the “hidden” entry path stays open.
– Assuming mold is only surface contamination; persistent moisture means the cavity stays a growth environment.
– Trying surface remedies while the area remains damp; without moisture correction, staining can reappear quickly.
Edge cases where prevention requires extra care
– Basement slab on grade with seasonal RH spikes: you may need both vapor control and active humidity management.
– Crawlspaces with intermittent exterior drainage failure: drying can look fine after storms but worsen between events.
– Stone installed over mixed substrates: wood subfloor + concrete patches can create temperature and vapor contrasts that drive localized condensation.
Pros/cons of “seal-first” vs. “moisture-first”
| Strategy | Pros | Cons |
|---|---|---|
| Moisture-first (fix leaks, control RH, then seal) | Addresses the root driver of growth; reduces recurrence risk. | May require inspection and potentially repairs before finishing. |
| Seal-first (seal without fixing moisture path) | Can improve appearance temporarily if moisture exposure is minor. | Can trap vapor and worsen hidden conditions, especially around edges/penetrations. |
Verdict / tip (what we recommend—and who should pause)
If you can address moisture entry and drying, prevention is usually straightforward: choose a system that matches your substrate, detail the perimeter/penetrations properly, and keep RH under control. Skip DIY “patch fixes” if you suspect ongoing leaks, groundwater intrusion, or elevated moisture levels in the slab/crawlspace—those typically require targeted assessment and correction before you seal anything.
What this means in practice for homeowners and property managers:
– Do verify moisture drivers (RH logging, edge/penetration inspection, leak checks).
– Do install moisture barriers and stone-compatible assemblies per manufacturer TDS.
– Don’t rely on “more sealer” as the primary mold prevention step.
– Pause if visible mold exists *and* the cavity is still damp—remediation may be needed before re-sealing or re-installation.
Scan-and-save checklist (quick prevention plan)
– [ ] Fix leaks and stop water entry (plumbing, exterior drainage, wall seepage)
– [ ] Verify RH/condensation risk and correct humidity where needed
– [ ] Install moisture barrier/waterproofing per limestone + substrate instructions
– [ ] Detail edges, joints, and penetrations (no gaps left untreated)
– [ ] Improve airflow under the floor (crawlspace/underfloor ventilation)
– [ ] Seal limestone with products compatible with natural stone; maintain as directed
– [ ] Avoid over-wetting during cleaning; dry promptly after spills
FAQ
Can mold grow under limestone even if the room above looks dry?
Yes—mold can develop in underfloor cavities or at the interface if moisture migrates from below or condensation forms intermittently.
Does sealing limestone prevent mold by itself?
Sealing can reduce moisture absorption, but it won’t stop mold if the source is humidity, leaks, or moisture passing through the substrate.
What’s the biggest mistake people make with moisture barriers under stone?
Using the wrong system or sealing the wrong areas, which can trap moisture instead of preventing moisture entry.
Should I remove limestone if I find mold underneath?
Often, the removal decision depends on how extensive the contamination and moisture conditions are. If the area is still damp, you’ll likely need both moisture correction and remediation—[ADD: consult a stone restoration professional for your specific situation].
Sources
– [ADD: manufacturer installation instructions for your specific limestone product(s) and any recommended sealers/membranes]
– [ADD: manufacturer technical data sheets (TDS) for the chosen waterproofing/membrane system and grout/sealer compatibility with natural stone]
– US EPA, “Mold and Moisture” (moisture control fundamentals for mold prevention)
– ASHRAE, Fundamentals (condensation and moisture behavior fundamentals)
– [ADD: official guidance on crawlspace ventilation/dehumidification from a recognized building science or government body—e.g., EPA or a national building standard authority]
If you tell me what your setup is (slab on grade vs. crawlspace, wood subfloor vs. concrete, and whether you’re seeing leaks or just humidity), I can tailor the prevention steps and the likely best moisture-control approach.
Frequently Asked Questions
What causes mold under limestone floors and how can I stop it?
Mold under limestone floors is usually caused by moisture intrusion from below (rising damp, leaks, groundwater) or above (condensation, spills, high indoor humidity). Limestone is porous, so water can get trapped and create a damp microclimate where mold spores thrive. To stop it, you need to control moisture at the source, improve ventilation, and use an effective moisture barrier system before sealing the subfloor.
How do I prevent mold under limestone floors when installing or reinstalling them?
Start with a thorough subfloor inspection for leaks, hydrostatic pressure, and existing water damage. Use a proper underlayment and moisture barrier designed for stone flooring, and ensure it’s fully sealed at seams and transitions to stop water migration. Finally, allow correct curing times for any mortar/adhesive and maintain good drainage and airflow so moisture doesn’t get trapped beneath the limestone.
Why is waterproofing important under limestone floors in basements or wet climates?
In basements, crawl spaces, or humid regions, moisture can move upward through the slab or subbase and remain trapped under the limestone, feeding mold growth. Waterproofing reduces the amount of water that reaches the underside of the stone and the substrate, which directly lowers mold risk. Pairing waterproofing with humidity control (like dehumidifiers) helps prevent persistent dampness that can lead to recurring mold problems.
Which moisture barrier type is best for preventing mold under limestone floors?
The best choice depends on your moisture source and floor assembly, but common options include liquid-applied waterproofing membranes or sheet membranes with sealed seams. For many applications, a durable, fully continuous membrane beneath a stone floor provides strong protection against vapor and liquid moisture. If you have known moisture issues like damp basements, consult a flooring contractor about an appropriate system that includes sealing details and compatible underlayments.
How can I detect early mold and moisture problems under limestone flooring?
Watch for musty odors, dark or discolored spots on grout, and visible efflorescence (white salt deposits) that can indicate water movement. You can also use moisture meters designed for flooring and periodically check relative humidity in the room and subfloor area. If you suspect mold under limestone, address moisture first and consider professional inspection—removing affected materials may be necessary to fully stop mold growth.
📅 Last Updated: October 09, 2026 | Topic: How to prevent mold under limestone floors? | Content verified for accuracy and freshness.
References
- https://www.cdc.gov/mold/default.htm
- Mold | US EPA
https://www.epa.gov/mold - https://www.who.int/news-room/fact-sheets/detail/dampness-and-mould
- Mold | National Institute of Environmental Health Sciences
https://www.niehs.nih.gov/health/topics/agents/mold/index.cfm - Rumination syndrome – Symptoms and causes – Mayo Clinic
https://www.mayoclinic.org/diseases-conditions/mold-in-the-home/symptoms-causes/syc-20377320 - https://extension.umn.edu/indoor-air-quality/mold-and-mildew
- https://pubmed.ncbi.nlm.nih.gov/?term=prevent+indoor+mold+moisture+control
- Google Scholar Google Scholar
https://scholar.google.com/scholar?q=preventing+mold+under+floor+moisture+control - Google Scholar Google Scholar
https://scholar.google.com/scholar?q=indoor+mold+prevention+humidity+control+crawlspace+floor+slab - Google Scholar Google Scholar
https://scholar.google.com/scholar?q=water+intrusion+prevention+indoor+mold+basement+subfloor