
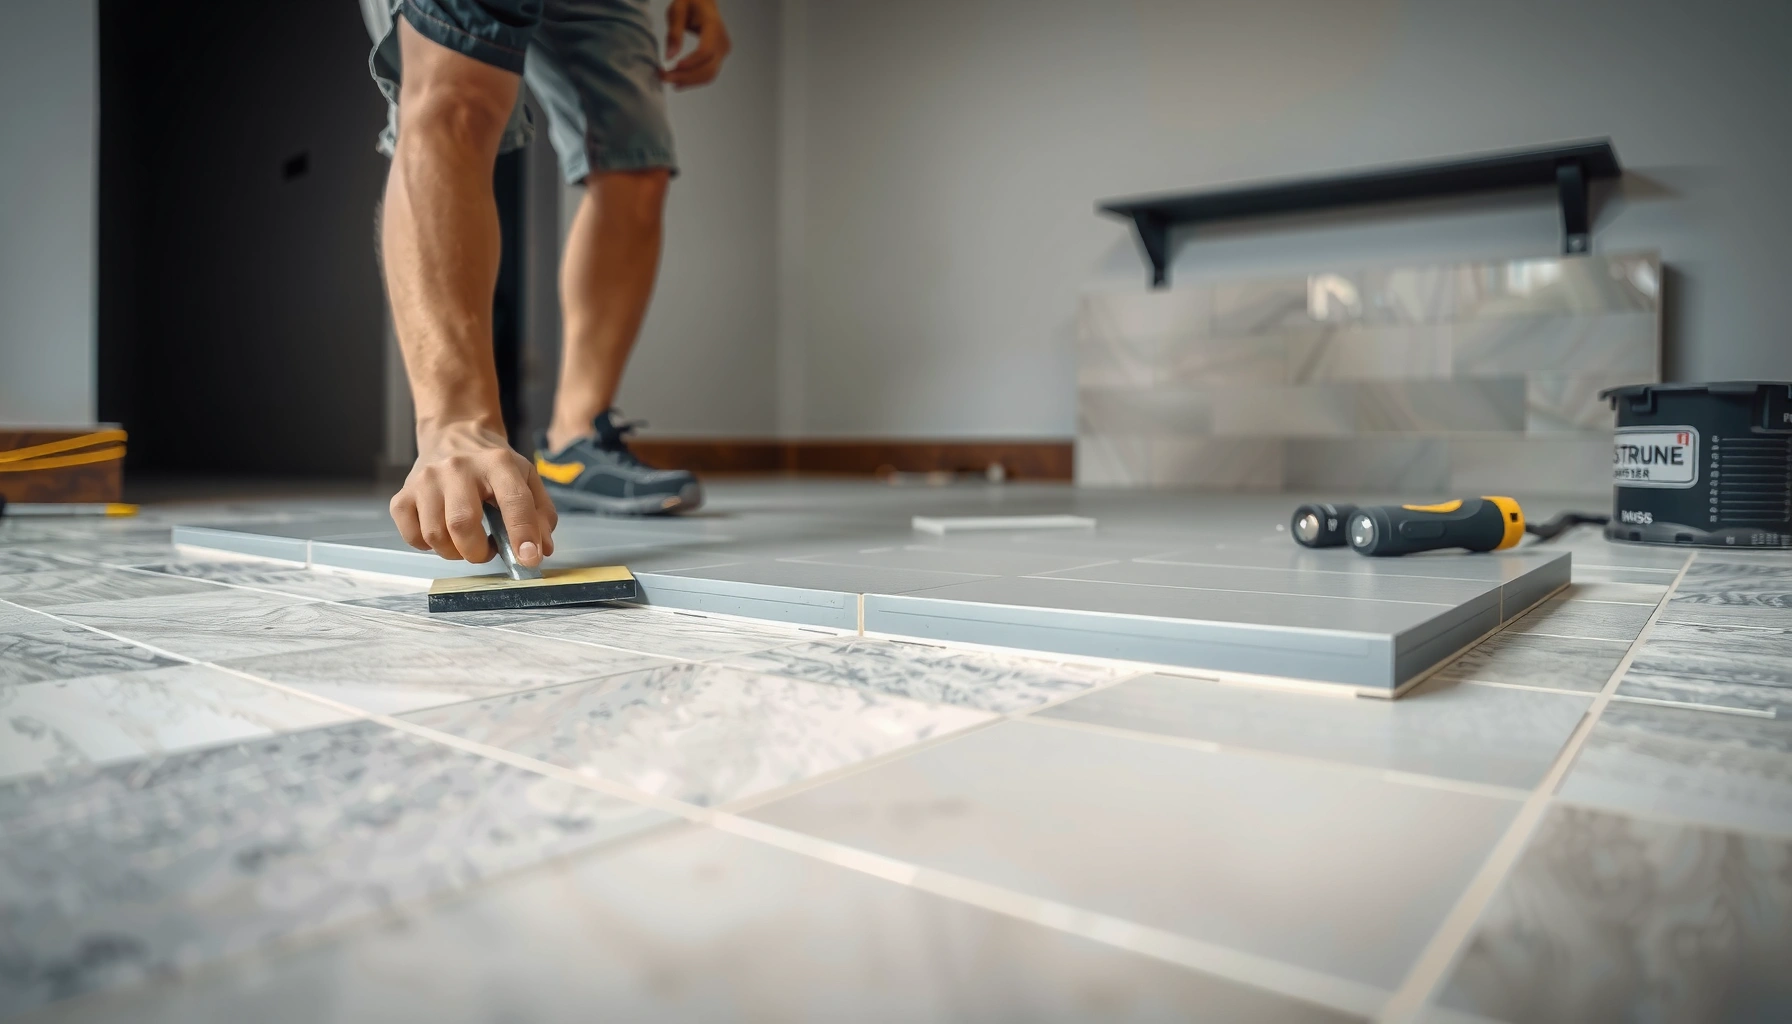

Installing porcelain tile floors over concrete is the fastest path to a long-lasting finish—if you prep the slab correctly and choose the right thinset and grout for your conditions. This guide answers how to install porcelain tile over concrete step by step, from checking flatness and moisture to setting tiles, grouting, and protecting the edges. Follow it closely and you’ll avoid the most common failures: loose tiles, cracked grout, and lippage.




If you want to install porcelain tile over concrete, the key is making sure the concrete is clean, solid, and properly leveled—then using the right thinset and (when warranted) an isolation/membrane approach for your conditions. Plan to prep the surface first (cleaning, flattening, and checking moisture/adhesion), because tile failure usually comes from bad prep, not the tile itself.
If you’re tiling a basement slab, garage floor, or any interior/exterior concrete surface with porcelain, this is for you—especially if you need guidance on thickness transitions, leveling, and matching the mortar to your tile. It also helps if you’re unsure whether you need an underlayment layer or just a direct-bond method.
Verify the concrete is ready (clean, sound, level)
To install porcelain successfully, you must start by confirming the concrete is structurally sound, contamination-free, and flat enough for your tile format. In practice, most “mystery” debonding and lippage issues trace back to poor slab prep—dust, paint overspray, curing compounds, weak patches, or uncorrected high/low spots.
“Porcelain tile bonding depends on the thinset contacting clean, mechanically receptive concrete—not residue, paint, or laitance.”
“Flatness problems show up as lippage and thin edge joints, even when the mortar is technically ‘the right product’.”
Start with a visual and physical audit:
– Cracks: Determine whether they’re static (no movement) or active (moving). Hairline cracks can still be bridged depending on the system, but active movement often requires an isolation approach.
– Surface condition: Look for spalling, pop-outs, flaking, and surface soft spots. If you can scrape it and material comes off easily, the tile system can’t reliably bond.
– Contaminants: Remove paint, adhesives, sealers, drywall mud, overspray, and any membrane residue. Even “old but sticky” residues can prevent thinset from wetting out correctly.
– Hollow sounds: Walk the slab and listen—hollow-sounding areas can indicate delamination or weak concrete that should be repaired first.
Leveling: flatten now, not later
Thinset is not a substitute for flattening. Use a straightedge and mark:
– High spots (grind them down)
– Low spots (plan to fill/level with an approved floor patch or underlayment system rated for tile)
If your slab is significantly out of plane, the safest path is typically grinding + patching (or a leveling underlayment where allowed by the thinset/membrane manufacturer).
Moisture: don’t guess—verify
For basements and garages, moisture can quietly undermine the bond and the grout performance. Use an appropriate test method for your region and your flooring system.
– ASTM F2170 (in-situ RH) and ASTM F1869 (calcium chloride) are commonly used for flooring moisture evaluation.
– Your thinset/grout/membrane manufacturer may specify what moisture limits they require for their products and installations.
“Moisture testing should be part of slab readiness, because porcelain mortar and grout systems can be sensitive to vapor drive.”
Data point: According to ANSI/TCNA-style installation requirements commonly referenced in industry standards, mortar coverage targets are often specified as 80% for interior dry areas and 95% for exterior/wet-area conditions (verify exact requirement for your method in the applicable standard and product documentation). [ADD: ANSI A108.5 / method reference used for mortar coverage requirement—source needed]
Choose the right bonding method and materials
To get a durable installation, select the bonding method based on slab condition and exposure—not just convenience. For many solid interior slabs, direct-bond thinset over prepared concrete works; for cracked slabs or challenging moisture/movement conditions, a membrane/uncoupling or crack-isolation system can be the difference between a long-lasting floor and repeating repairs.
“Direct-bond installs work best when the slab is clean, sound, and stable; isolation systems are for when movement, cracking risk, or moisture/vapor conditions need management.”
“Match the thinset type to porcelain requirements and the environment—interior dry vs. exterior or wet exposure.”
Thinset selection: porcelain-specific performance
Porcelain tile generally requires a thinset that supports:
– Proper bonding strength
– Good wetting and coverage
– Compatibility with the tile body and concrete substrate
Because “thinset” isn’t one thing, treat this step like a system choice:
– Dry-set vs. polymer-modified vs. rapid-setting (based on temperature, schedule, and manufacturer specs)
– Cement vs. epoxy (rare for most floor DIY scenarios unless a specific system calls for it)
Direct-bond vs. membrane/uncoupling: decide early
Direct bonding can be excellent when:
– The slab is flat and stable
– Cracks are non-moving
– Moisture is within the limits for the thinset/grout system
A membrane/uncoupling/crack isolation system can be appropriate when:
– You have hairline cracking or historic movement pathways
– You need a crack isolation strategy
– The manufacturer requires it for your specific tile format and conditions
Plan your layout now (it affects transitions and joints)
A well-planned layout reduces:
– Trimming and waste
– Unbalanced tile at doorways
– Joints that intersect movement points
Consider:
– Tile orientation (do you “follow” the room’s longest axis?)
– Transition points to adjacent flooring (height build-up)
– Spacer/joint width (affects cut planning and look)
If you’re working with large-format porcelain, design around lippage control early—because larger tiles magnify flatness defects.
Prep and prime (when needed) before setting tile
To maximize bond strength, mechanically prep the concrete so the thinset can fully contact the slab surface. If a primer/bonding additive is part of the approved system, apply it exactly per instructions—otherwise, skip it and focus on mechanical cleaning.
“Grinding or shot-blasting concrete removes curing compounds and surface laitance that block thinset adhesion.”
“Dust control matters: thinset can’t perform when it’s laid over powdery residue.”
Mechanical cleaning is the baseline
The usual best practice:
– Scrape and remove paint/adhesive remnants
– Grind high spots
– Vacuum thoroughly (not just sweeping)
– Follow with a clean surface ready for mortar—no oily sheen, no loose particles
Prime only when the system specifies it
Some mortar or leveling systems require a primer to improve adhesion or manage absorbency. Don’t “pre-prime by habit.”
– If the thinset/membrane/primer system calls for priming, use the specified primer.
– If not, primer can be unnecessary or even counterproductive.
“Primer usage should follow manufacturer system requirements; applying the wrong primer can interfere with mortar bonding.”
Fix before you tile
Address:
– Bowl-shaped areas with patch/leveling compounds approved for tile
– Spalled areas with proper concrete repair materials
– Cracks where treatment is required (repair, routing, or isolation per the method you select)
Set tile: thinset, trowel size, and alignment
To keep porcelain firmly bonded and visually flat, spread the right thinset with the correct trowel notch size for your tile format, then achieve full mortar coverage. Alignment and coverage are the two “make-or-break” levers—spacing tricks don’t solve poor trowel technique.
“Correct trowel notch size is essential because it controls both mortar thickness and coverage for porcelain.”
“Thinset should be mixed and used to manufacturer consistency; adding extra water usually reduces strength.”
Mix thinset accurately (and remix)
Follow manufacturer mixing guidance. In general:
– Add water to powder to the specified amount
– Mix to a uniform consistency
– Let it slake (if specified), then remix
– Don’t “water down” for easier spreading—this often reduces bond strength and coverage
Use the right trowel notch size for coverage
Porcelain tiles often require a specific notch size based on:– Tile size/format
– Substrate flatness tolerance
– Mortar coverage requirements
Data point: Industry coverage expectations commonly reference 80% mortar coverage in interior dry areas and 95% in wet/exterior conditions (confirm the exact coverage requirements in the applicable ANSI/TCNA method for your scenario). [ADD: ANSI/TCNA coverage requirement reference used on this site]
Achieve full contact (not just “stuck at the center”)
Technique matters:
– Spread mortar using consistent trowel angle
– Comb in one direction, then set tile
– For larger tiles, consider back-buttering if your mortar and tile guidance recommends it
– Press and slide slightly to collapse ridges and ensure full contact
Alignment: check frequently
As you work:
– Confirm tile edges against your layout lines
– Re-check level/plane with a straightedge every few rows
– Use leveling systems/wedges if your tile format is unforgiving (especially large-format porcelain)
Grout and finish edges (include movement joints)
To finish a porcelain floor correctly, grout only after the mortar has cured and use joint handling that respects movement. Grout belongs in tile joints; movement joints (including slab expansion joints) belong to a sealant/joint system designed to flex, not grout.
“Grout is not a substitute for movement joints; cracks and expansion paths need sealant systems that can handle movement.”
“Mortar cure time matters—grouting too early can weaken the bond and disrupt the tile/mortar microstructure.”
Cure before grouting
Let the mortar cure according to the product’s instructions and site conditions (temperature/humidity). Don’t rely on “it looks set” as a readiness indicator.
Choose grout for your exposure
– Interior dry areas may use standard grout systems compatible with your tile and thinset.
– Basements, wet rooms, and exterior patios often require grout choices that better resist moisture exposure and staining—verify manufacturer compatibility.
Movement joints: treat them as part of the structural system
Movement joints must be honored through the entire assembly:
– Do not grout joints intended to move
– Use the correct joint sealant system per your membrane/mortar and tile standards
– Match sealant type to the joint width and environment
Data point: TCNA-style guidance for tiling over concrete often emphasizes that movement accommodation requires sealants in movement joints rather than rigid grout (confirm the exact TCNA EJ reference for your method). [ADD: TCNA EJ movement-joint reference]
What can go wrong (and how to avoid it)
Porcelain installation failures over concrete usually stem from prep shortcuts, incorrect mortar/trowel choices, or ignoring moisture and movement. If you prevent those three categories, your odds improve dramatically—even when conditions aren’t perfect.
“Skipping concrete cleaning or installing over contaminants is a leading cause of tile debonding.”
“Trying to ‘flatten’ a slab with thinset alone is a fast path to lippage and uneven tile edges.”
Here’s a practical comparison of common mistakes and what they cause:
| Issue | What it looks like | Likely root cause | Best prevention |
|---|---|---|---|
| Weak bonding | Tiles sound hollow; tiles pop | Dust/paint/sealer; poor surface prep | Mechanically clean + vacuum; confirm compatibility of thinset to concrete |
| Lippage | Uneven tile edges; hard-to-finish look | Slab not flattened; wrong trowel | Grind high spots, patch lows; use correct notch and coverage |
| Cracking at joints | Cracks near grout lines | Movement not isolated | Use correct movement joints/sealant; use isolation system when needed |
| Grout issues | Pinholes, cracking, or staining | Wrong grout, early grouting, moisture | Cure mortar fully; select grout rated for exposure |
| Poor coverage | Weak bond even if tiles look set | Wrong trowel size; thinset not combed/set properly | Match trowel notch; check coverage with back-butter/coverage tests |
Key failure modes, explained
– Weak bonding: If the slab has curing compounds, dust, paint overspray, or weak concrete, thinset can’t bond reliably.
– Lippage and uneven floors: Floors that aren’t flattened force tiles to “ride” high spots; the result is a visible edge mismatch.
– Moisture surprises: If moisture vapor moves through the slab, it can stress mortar and grout—especially in basements.
– Wrong mortar/trowel combo: Porcelain is demanding; using a thinset that isn’t rated for porcelain and your environment, or using the wrong notch size, undermines coverage.
Verdict / tip
Installing porcelain over concrete is very doable when you treat prep and material selection as the “real work.” The downside is that small prep shortcuts (dust, unflattened spots, incorrect mortar) can show up later as lippage, cracking, or debonding—so if your slab is badly uneven or you’re uncertain about moisture, consider pausing and getting product/system guidance from the thinset/membrane manufacturers or a qualified installer. This approach is best for solid, properly prepared concrete slabs; if you have significant structural issues, extensive spalling, or unresolved moisture/vapor problems, you should address those first rather than tile over them.
Common Trowel Notch Starting Points for Porcelain Over Concrete Floors
| # | Porcelain tile format (approx.) | Starting notch size | Typical intent | Fit rating |
|---|---|---|---|---|
| 1 | 2"×2" to 4"×4" | 1/4" square notch | Higher control for smaller tiles | ★★★★☆ |
| 2 | 6"×6" to 8"×8" | 3/8" square notch | Better coverage for moderate format | ★★★☆☆ |
| 3 | 10"×10" to 12"×12" | 1/4"×1/4" or 1/4"×3/8" V-notch | Common starting point for standard floors | ★★★★☆ |
| 4 | 12"×24" standard lippage-control | 1/4"×1/2" (square notch) | Supports improved coverage | ★★★☆☆ |
| 5 | 18"×18" to 20"×20" | 1/2"×1/2" square notch (common) | Improves coverage for larger formats | ★★★☆☆ |
| 6 | 24"×24" and similar large-format | 1/2"×1/2" or 1/4"×3/4" (system-driven) | Often requires back-buttering | ★★☆☆☆ |
| 7 | Rectified small/medium mosaics | 3/16"×3/16" square notch (check system) | Controls mortar thickness for mosaics | ★★★☆☆ |
*Note: This table is meant as a practical starting point. Always follow your mortar manufacturer’s and tile manufacturer’s documented trowel/notch and coverage requirements for porcelain over concrete.*
Quick checklist (scan/save)
– [ ] Concrete is clean, sound, and mechanically prepped (no paint/adhesives/flaking)
– [ ] Floor is flattened enough for your tile layout (reduce lippage risk)
– [ ] Moisture/vapor conditions are understood (test if needed)
– [ ] Thinset/mortar is rated for porcelain + your installation conditions
– [ ] Correct trowel notch size for full coverage (per mortar/tile guidance)
– [ ] Movement joints handled with the right joint system (not grout)
– [ ] Proper cure time before grouting
FAQ
Can I install porcelain tile directly over concrete?
Often yes, if the concrete is clean, sound, and level enough, and you use a thinset mortar rated for porcelain installation over concrete. If the slab has moisture or you need uncoupling/isolation, a membrane/crack isolation system may be required.
Do I need an underlayment when tiling over concrete?
Not always. Underlayment can be unnecessary for stable, flat slabs with appropriate direct-bond thinset, but it may be appropriate when you need crack isolation, uncoupling, or a specific moisture/vapor strategy—based on the approved system you choose.
What thinset should I use for porcelain tile on concrete?
Use a thinset mortar specified for porcelain tile installation over concrete and compatible with your environment (interior dry vs. moisture exposure). Verify whether your system calls for primer, additive, or membrane integration.
How do I prevent lippage on a concrete slab?
Flatten the slab first, use the correct trowel notch to achieve full coverage, and check alignment/plane frequently. For large-format porcelain, consider leveling/setting aids recommended by the tile/mortar system guidance.
What should I do with expansion gaps and cracks?
Movement joints should be honored with the correct joint sealant system per your tile/membrane/mortar requirements. Cracks and movement paths may require treatment before tiling—don’t assume they can be ignored or “grouted over.”
Sources
– [ADD: manufacturer instructions for your specific porcelain tile (recommended setting method, trowel size, and whether back-buttering is required)]
– [ADD: manufacturer instructions/spec sheets for the thinset mortar you plan to use (porcelain rating, coverage guidance, mixing/cure times)]
– [ADD: TCNA/ANSI installation method references that match your floor type and whether you’ll use a membrane/uncoupling layer]
– [ADD: manufacturer instructions for any primer, membrane, or joint sealant system you plan to use]
Bottom line: porcelain over concrete succeeds when concrete preparation and system compatibility come first. If you control surface condition, flatness, moisture risk, and mortar coverage, your finished floor is far more likely to stay flat, tight, and durable for years.
Frequently Asked Questions
What’s the best way to prepare an existing concrete subfloor before installing porcelain tile?
Start by checking the concrete porcelain tile floor substrate for flatness, cleaning off paint, sealers, dust, and adhesive residue. Repair cracks and voids with a cementitious patch and sand high spots so the surface is smooth and level. If the concrete is very porous or dusty, use a suitable concrete primer to improve mortar bond. Proper preparation is critical because porcelain tile installation relies on strong thinset coverage and consistent adhesion.
How do I install porcelain tile directly over concrete that already has a tile floor?
You should evaluate the condition of the existing concrete porcelain tile floor—tile that is loose, cracked, or uneven typically must be removed. If the existing tiles are firmly bonded and the surface is sound, you can tile over them by thoroughly cleaning and deglossing (grinding) to create better thinset adhesion. Then install a thinset-bonding mortar suitable for porcelain over tile and apply it with the correct notched trowel to achieve full coverage. Always plan for height transitions at doors and edges since tiling over existing surfaces increases thickness.
How do I handle leveling and flatness when installing porcelain tile over concrete?
Porcelain tile needs a consistent substrate; even small high/low spots can cause lippage or cracked grout. Use a straightedge and level to identify out-of-flat areas, then correct them with self-leveling underlayment or a cement-based patch system designed for tile. For best results, aim for minimal variation across the installation area and follow the underlayment manufacturer’s curing and thickness guidelines. This step often determines whether your final porcelain tile floor will look professional and stay stable.
Which thinset mortar should I use for porcelain tile over concrete?
In most cases, use a high-quality thinset mortar rated for porcelain tile installation on concrete, typically a polymer-modified thinset. If you’re installing porcelain tile over an existing glazed surface, choose a product specifically formulated for tile-over-tile or non-porous substrates. Mixing accuracy matters—use the correct water ratio and mix thoroughly for consistent bonding. Using the right mortar helps prevent hollow spots, debonding, and future cracked grout lines.
Why do grout lines crack when installing porcelain tile over concrete, and how can I prevent it?
Cracked grout often results from poor substrate flatness, inadequate mortar coverage, improper mixing, or movement at edges and joints. Ensure proper thinset coverage (often full-bedding) and follow porcelain tile installation best practices, including staggering joints and using the correct grout type for the setting conditions. Incorporate movement joints where required—especially at changes in plane, perimeter areas, and large-format floor layouts—and avoid overfilling or smearing grout inconsistently. Correct curing and sealing (when recommended for your grout type) also helps the grout maintain durability in a concrete porcelain tile floor.
📅 Last Updated: October 08, 2026 | Topic: How to install over concrete porcelain tile floors? | Content verified for accuracy and freshness.
References
- Google Scholar Google Scholar
https://scholar.google.com/scholar?q=install+porcelain+tile+over+concrete+slab+thinset+mortar - Google Scholar Google Scholar
https://scholar.google.com/scholar?q=porcelain+tile+floor+installation+concrete+substrate+preparation+moisture - Google Scholar Google Scholar
https://scholar.google.com/scholar?q=tile+installation+over+concrete+slab+grout+and+movement+joints - Porcelain tile
https://en.wikipedia.org/wiki/Porcelain_tile - https://en.wikipedia.org/wiki/Thin-set_mortar
- https://en.wikipedia.org/wiki/Grout
- American Cement Association
https://www.cement.org/ - https://www.tile-assn.com/
- American Society of Civil Engineers (ASCE) | Infrastructure leaders building communities | ASCE
https://www.asce.org/ - Welcome! | IRC
https://www.ircweb.org/


