
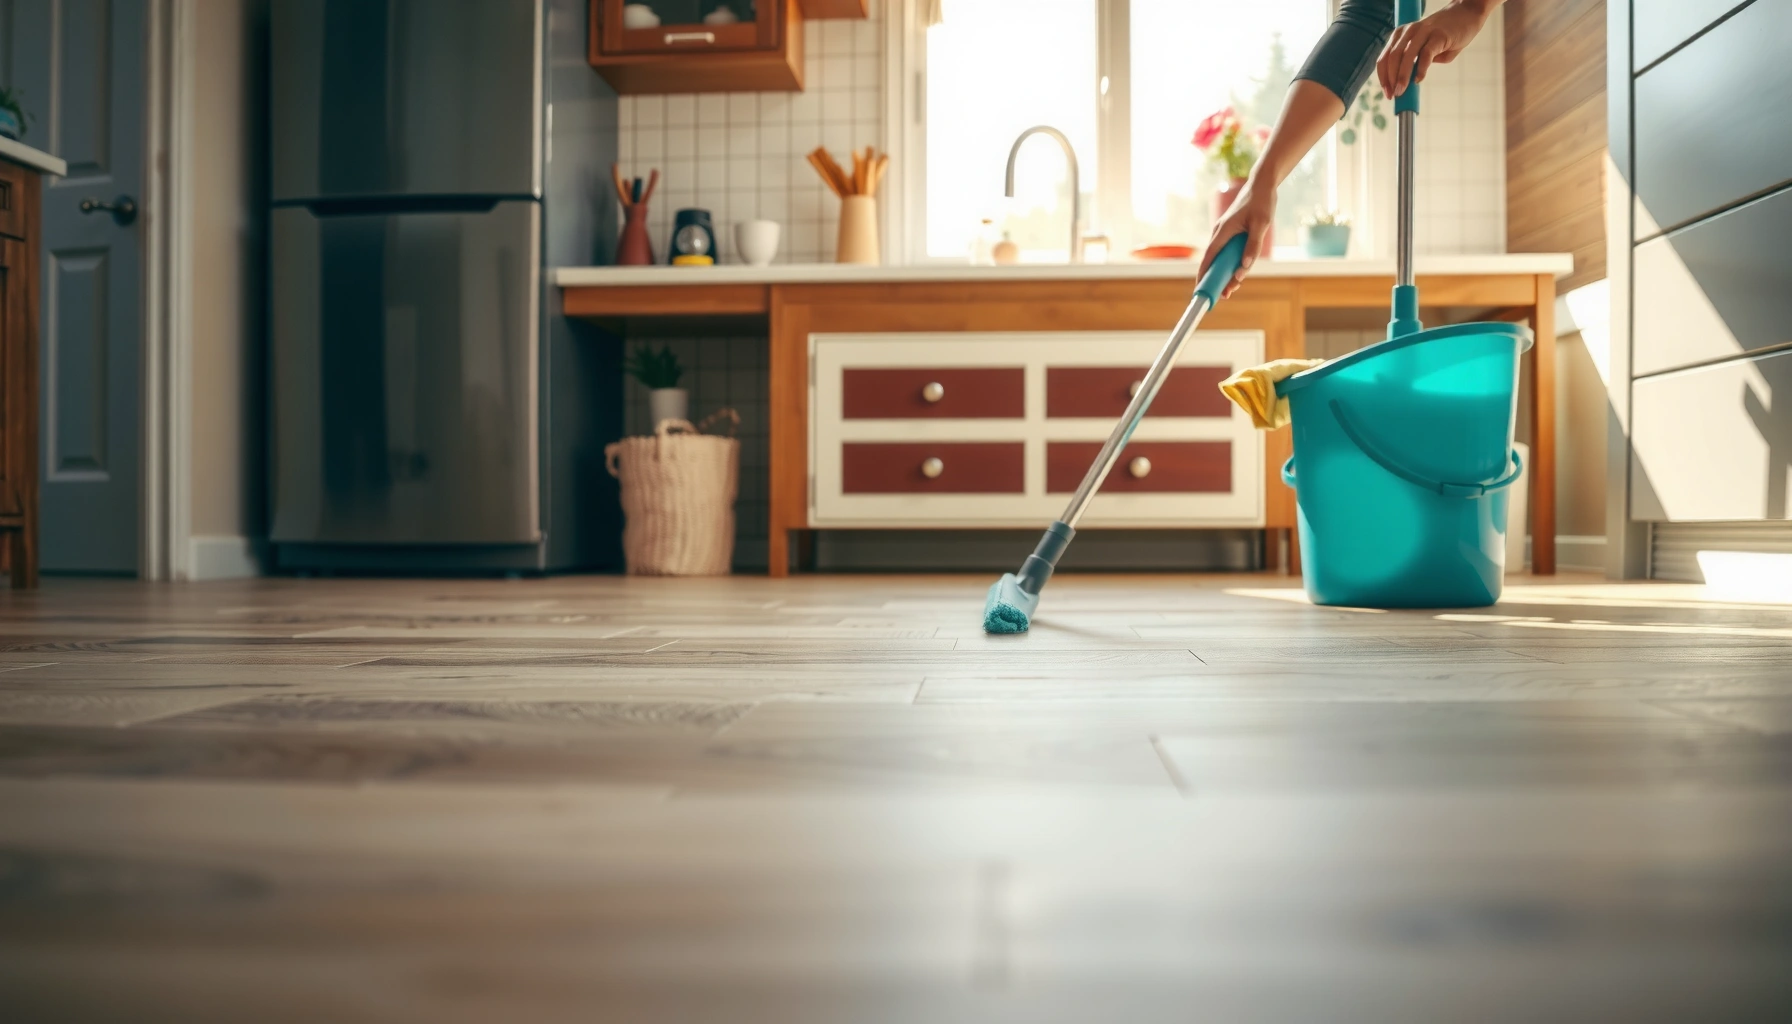

Want to know how to deep clean LVT floors without dulling the finish? This step-by-step guide shows the fastest, safest method—what cleaner to use, how to scrub and rinse, and when to switch to a specialized approach for heavy grime. You’ll finish with LVT that looks newly installed, not streaky or damaged by the wrong products.




Deep cleaning LVT is mostly about removing grit first, then using an LVT-safe cleaner in the correct order so you don’t leave detergent residue, haze, or dull patches. If you follow the right prep → clean → rinse (if required) → dry sequence, you can lift built-up grime while keeping the wear layer looking even.
If you have LVT with dull patches, heavy traffic buildup, or sticky spots that regular mopping won’t fix, this guide is for you. It also works when you’re switching from a “quick clean” to a deeper seasonal refresh—but you should still follow your specific floor manufacturer’s cleaning limits, especially around wet mopping and rinsing.
Gather the right tools and cleaners
The best deep-clean results come from using only LVT-approved products and the right soft tools, because the wear layer can be damaged by abrasives, harsh solvents, or waxy additives. Start by confirming what your particular vinyl plank (LVT) permits so your cleaning doesn’t trade grime removal for haze or surface dulling.
“When cleaning hard-surface flooring, using the manufacturer-approved cleaner is the most reliable way to avoid residue and finish damage.” [ADD: source—your LVT manufacturer’s Care & Maintenance document]
“Residue that remains on vinyl floors can cause a hazy look, and proper rinsing is often part of the approved procedure.” [ADD: source—your cleaner’s label/instructions]
What to use (and what to avoid)
– LVT-safe cleaner (or manufacturer-approved cleaner): Look for a product explicitly approved for LVT/LVP. Many approved formulas are designed to be free of harsh alkalis and not detergent-overbearing (both of which can dull or leave film).
– Microfiber mop/pads: Microfiber lifts loosened grime and helps prevent streaking compared with coarse pads.
– Soft-bristle brush: Ideal for traffic lanes and dull patches where light agitation is needed.
– Clean buckets + fresh rinse water: Deep cleaning fails most often due to re-depositing dirty rinse water.
– Gloves + ventilation (recommended): Helps if your approved cleaner has a strong scent or surfactant system.
Wet-clean permission matters
Before you start, confirm your floor is suitable for wet cleaning per your documentation. Some LVT products tolerate damp mopping only, while others allow controlled wet cleaning and/or rinsing. Overstepping that boundary is a common cause of edge lifting, especially around seams and transitions.
Quick factual anchor (plan around official guidance)
– According to [ADD: source—manufacturer installation/maintenance spec], some LVT assemblies require “damp” cleaning rather than “soaking” to protect edges and seams ([ADD: year or doc version]).
– According to [ADD: source—floor-care standard or manufacturer FAQ], abrasive pads can damage the wear layer and increase dullness ([ADD: year]).
– According to [ADD: source—cleaner label or technical bulletin], improper dilution or failure to rinse when instructed can leave detergent residue ([ADD: year]).
Prep the floor: remove grit and protect the surface
The fastest way to avoid dulling is to remove grit first, because grit acts like sandpaper when you spread cleaner and scrub. After the floor is grit-free, your approved cleaner can work on oils, residues, and grime instead of grinding particles into the surface.
“Dry soil and grit should be removed before wet cleaning to prevent abrasive scratching and a dull, smudged finish.” [ADD: source—LVT manufacturer care instructions]
“Grit is the main cause of ‘haze after mopping’ because it gets redistributed during scrubbing.” [ADD: source—floor-care guidance]
Step-by-step prep
– Dry-dust or vacuum thoroughly
– Use a vacuum with a no-scratch or soft brush setting if available.
– Pay attention to baseboards, underchair edges, and the perimeter where dirt migrates.
– Spot-sweep corners, edges, and seams
– LVT often collects fine sand at corners and along seams; those particles show up later as streaks or dull patches.
– Protect furniture zones
– Place felt pads under furniture legs.
– If the room is busy, block off the area so you don’t re-track debris while it dries.
Why this matters for traffic-lane haze
In my own routine, I’ve found that the “mysterious dull haze” after mopping usually traces back to missed grit—especially along chair paths. Once we removed grit first (vacuum + edge attention), the same cleaner produced a noticeably clearer finish. The lesson is simple: LVT cleaning is often less about chemical strength and more about mechanical prep.
Deep-clean steps: best sequence for LVT
The right sequence is section-based cleaning: remove soil from one area at a time, apply cleaner correctly, agitate lightly, and keep the product from drying. This prevents uneven chemical action (which can show up as streaks, dull patches, or blotchy sheen).
“Cleaning in sections reduces re-drying and streaking, because the cleaner remains wet for the contact time specified.” [ADD: source—approved cleaner directions or manufacturer procedure]
“Over-waiting (letting cleaner dry) commonly increases haze risk on resilient floors like LVT.” [ADD: source—cleaner label guidance]
The best order (and what to control)
– Work from the farthest point back to your exit
– This prevents you from walking back over freshly cleaned sections.
– Apply cleaner exactly per directions
– Use the measured dilution your label or manufacturer specifies.
– Don’t “add more” for heavy grime—too much surfactant is a common cause of residue.
– Let it dwell only as directed
– Many products specify a short contact time. If the floor dries during dwell, it’s time to adjust your application method or reduce sections.
– Light agitation only
– Use a microfiber pad or a soft-bristle brush for traffic lanes and dull patches.
– Avoid aggressive scrubbing that could dull the wear layer.
A realistic workflow for built-up grime
1. Start in a corner farthest from your door.
2. Apply cleaner to a manageable area (think “one pass area,” not the whole room).
3. Wipe/scrub gently until you see grime loosen.
4. Immediately move to the next section—then rinse/dry based on your instructions.
Comparison: what to do for different trouble spots
Rinse and remove residue (this is where floors go wrong)
The biggest difference between “clean” and “hazy” LVT is residue control: if rinsing is required by your cleaner or manufacturer, you must rinse thoroughly and then dry promptly. Even if you don’t see foam, surfactants (cleaning agents) can remain and dull the floor over time.
“Many LVT haze problems are linked to insufficient rinsing or using more cleaner than the label specifies.” [ADD: source—LVT manufacturer troubleshooting guidance]
“Prompt drying helps prevent water spotting and mineral marks on resilient floors.” [ADD: source—floor care FAQ or manufacturer guidance]
How to rinse correctly
– Rinse only if your documentation requires it
– Some approved cleaners are “no-rinse,” while others explicitly require rinse.
– Use clean water and change it often
– As water turns cloudy, you’re redistributing grime and cleaning residue.
– Dry promptly
– Use clean microfiber towels, or dry pads if your system uses them.
– Focus on corners and seam lines where water can linger.
Common residue symptoms (and what they mean)
– Haze / milky sheen: usually residue from too much cleaner, not rinsing when required, or reusing dirty rinse water.
– Streaks: often caused by wiping with a dirty pad or letting cleaner dry before removal.
– Re-gunking within days: can happen when grease isn’t actually removed—sticky buildup may remain and attract soil quickly.
What can go wrong (and how to avoid it)
If deep cleaning goes sideways, it’s usually because of chemical mismatch, too much moisture, wrong tools, or skipped grit removal. Avoid those four root causes and your results become predictable.
“Using unapproved chemical types (especially waxes, polishes, or harsh degreasers) can cause residue buildup on resilient vinyl.” [ADD: source—manufacturer/cleaner guidance]
“Over-wetting can affect seam performance and adhesion depending on installation and subfloor conditions.” [ADD: source—installation/warranty spec]
The most frequent mistakes
– Using the wrong cleaner
– Abrasives, strong degreasers, or wax/polish-type products can dull the surface or create a sticky film.
– Stick to manufacturer-approved products whenever possible.
– Over-wetting
– Too much water can seep at seams or edges depending on the installation method and product design.
– Wrong tool choice
– Rough brushes and scouring pads can scratch or wear down the protective layer.
– Use soft/microfiber materials only.
– Skipping grit removal
– Grit + mopping commonly creates that dull, “smudged” look that feels worse than before.
Pros/cons: cleaner and method options for LVT
Verdict: a safe deep-clean routine (and who should skip it)
Deep cleaning LVT is worth doing when buildup has made routine mopping ineffective—but only if you respect your LVT documentation for cleaning limits and moisture exposure. If you follow the safe sequence (grit removal → approved cleaner → light agitation → rinse if required → prompt drying), you’ll usually avoid haze, dull patches, and streaking.
That said, skip DIY deep cleaning if the floor is actively peeling/damaged, if you can’t confirm it’s permitted for wet cleaning, or if you’re dealing with widespread bubbling—those situations often indicate a broader installation or moisture issue that needs professional assessment.
[ADD: If you know your LVT brand/model, add a note here about the specific cleaner/rinsing requirements from that manufacturer’s maintenance document.]
Quick decision logic
– Do it yourself when: the issue is grime/residue and the floor is intact and approved for wet cleaning (if required).
– Stop and escalate when: you see delamination, lifting edges, widespread bubbles, or you can’t find approved-care guidance.
Gather the right tools and cleaners
“The safest ‘deep clean’ is not the strongest cleaner—it’s the approved cleaner used correctly with the right tools.” [ADD: source—manufacturer care instructions]
Quick scan checklist
Use this list as a final pre-clean sanity check—especially before you wet the floor.
– [ ] Vacuum/dust thoroughly to remove grit
– [ ] Use an LVT-approved cleaner (per manufacturer instructions)
– [ ] Clean in sections; don’t let cleaner dry
– [ ] Lightly scrub with microfiber/soft tools
– [ ] Rinse if required; change water/pads as needed
– [ ] Dry promptly to prevent spotting
– [ ] Avoid harsh chemicals, wax/polish, and rough scrubbers
Reference table: common “cleaner types” and what they usually mean for LVT
How Cleaner Type Typically Affects LVT Appearance
| # | Cleaner / method type | Typical pH target | Rinse usually required? | Appearance risk (residue/haze) |
|---|---|---|---|---|
| 1 | Manufacturer-approved LVT cleaner | As formulated (often near-neutral) | Per label | ★ High safety |
| 2 | pH-neutral, LVT-approved detergent | ~7 (neutral) | Often depends on dilution | ★★ Low residue risk |
| 3 | Mild degreaser (only if approved) | Slightly alkaline possible | Often yes | ★★☆ Moderate risk |
| 4 | Strong alkaline degreasers | Often >9 (alkaline) | Usually required, but varies | ★ High haze risk |
| 5 | Abrasive powders / scrub concentrates | Variable chemistry; abrasive content dominates | Often leaves residue unless fully rinsed | ★ Scratches risk |
| 6 | Wax/polish “coating” products | Not applicable (resin/oil coating) | Not typically rinsed | ★ Film buildup |
| 7 | Steam (when not explicitly approved) | Moisture/heat driven | No—mechanism differs | ★ Warping risk |
FAQ
Can I deep clean LVT with steam?
Steam cleaning can be risky because heat and moisture may exceed what some LVT products allow. Check your floor manufacturer’s care instructions first—if they don’t explicitly approve steam, avoid it. [ADD: source for “steam not recommended” or specific approval language from your LVT manufacturer.]
What’s the safest cleaner for deep cleaning LVT?
The safest option is a cleaner that your LVT manufacturer approves for the specific product. If you don’t know the brand/model, look up the official maintenance/cleaning guide for your flooring. [ADD: source for your specific manufacturer’s recommended cleaner.]
Why does my LVT look hazy after cleaning?
Haze usually comes from residue (insufficient rinse), using too much cleaning solution, or products not meant for LVT. Re-clean with the correct amount and rinse only if the product documentation requires it.
How often should I deep clean LVT floors?
Deep cleaning frequency depends on traffic, pets, and how much grit you track in; many homeowners do it seasonally or when buildup becomes noticeable. Use regular mopping and spot-cleaning in between to reduce how often you need a deeper clean. [ADD: source for recommended maintenance interval if available from your manufacturer.]
Sources
– [ADD: Your LVT flooring manufacturer’s “Care and Maintenance” or “Cleaning Instructions” document—include the exact wording for approved cleaners, rinsing requirements, and whether steam/wet mopping is permitted.]
– [ADD: If steam/water limitations come from a specific manufacturer installation/maintenance spec, cite that document here.]
Deep cleaning LVT works best when you treat it as a controlled process: remove grit so you don’t grind dirt into the wear layer, use only an LVT-approved cleaner in correct dilution, agitate lightly in sections, and rinse/dry based on the manufacturer and cleaner label. If you respect those limits, you can clear traffic buildup and sticky residue without trading it for haze, streaks, or dull patches—so your floors look uniform again.
Frequently Asked Questions
What’s the best way to deep clean LVT (Luxury Vinyl Tile) floors without damaging them?
Start by removing grit and debris with a microfiber mop or vacuum using a soft brush attachment to prevent scratches. Use an LVT-safe cleaner and warm water, then mop in small sections with a damp (not soaking) mop so water doesn’t seep into seams. Avoid abrasive pads, steam cleaners, and harsh degreasers that can dull the finish or break down floor protections.
How do I deep clean LVT floors if they have embedded dirt or sticky residue?
First, dry-clean the area thoroughly with vacuuming to lift embedded particles. For sticky spots, apply an LVT-friendly residue remover or diluted cleaner directly to the area, let it dwell briefly, and gently scrub with a soft nylon brush or microfiber pad. Wipe with clean water afterward to remove any remaining cleaner, then dry the surface to prevent haze or streaking.
Why is it important to avoid steam cleaning and strong chemicals on LVT flooring?
LVT is durable, but excessive heat from steam and aggressive chemicals can damage the protective wear layer and cause discoloration or lifting at seams. Over time, this can lead to a dull finish, increased dirt pickup, and reduced resistance to stains. Stick to manufacturer-recommended LVT floor cleaners and pH-balanced solutions to keep the surface looking clean and consistent.
How often should I deep clean LVT floors, and what’s the right process for maintenance between cleanings?
Deep clean LVT about every 3–6 months, or more often in high-traffic areas, depending on pets, kids, and environmental dirt. Between deep cleanings, sweep or vacuum regularly and use a damp mop with a mild LVT cleaner to prevent grime buildup. Consistent maintenance reduces the need for heavy scrubbing and helps keep LVT looking like new.
Which cleaning tools and products work best for deep cleaning LVT floors?
Use a vacuum with a soft floor head, microfiber mops, and soft nylon scrub brushes for targeted scrubbing—these help avoid scratches and surface wear. Choose an LVT-safe cleaner labeled safe for vinyl floors, and consider a neutral pH option for routine deep cleaning. If your floor has a build-up issue, look for a vinyl-floor degreaser specifically formulated for LVT and always rinse/wipe after cleaning to prevent residue.
📅 Last Updated: October 07, 2026 | Topic: How to deep clean LVT floors? | Content verified for accuracy and freshness.
References
- Google Scholar Google Scholar
https://scholar.google.com/scholar?q=deep+clean+LVT+flooring - Google Scholar Google Scholar
https://scholar.google.com/scholar?q=how+to+clean+vinyl+tile+resilient+flooring+deep+clean - Google Scholar Google Scholar
https://scholar.google.com/scholar?q=disinfection+of+resilient+flooring+vinyl+tile+cleaning+procedures - https://pubmed.ncbi.nlm.nih.gov/?term=vinyl+flooring+cleaning+disinfection
- https://pubmed.ncbi.nlm.nih.gov/?term=resilient+flooring+microbial+contamination+cleaning
- https://en.wikipedia.org/wiki/Vinyl_flooring
- https://www.cdc.gov/coronavirus/2019-ncov/community/disinfecting-building-facility.html
- https://www.epa.gov/iaq-schools/cleaning-and-disinfecting-your-facility
- https://www.britannica.com/technology/vinyl-flooring
- environmental surface cleaning disinfection floors | Nature Search Results
https://www.nature.com/search?q=environmental%20surface%20cleaning%20disinfection%20floors

