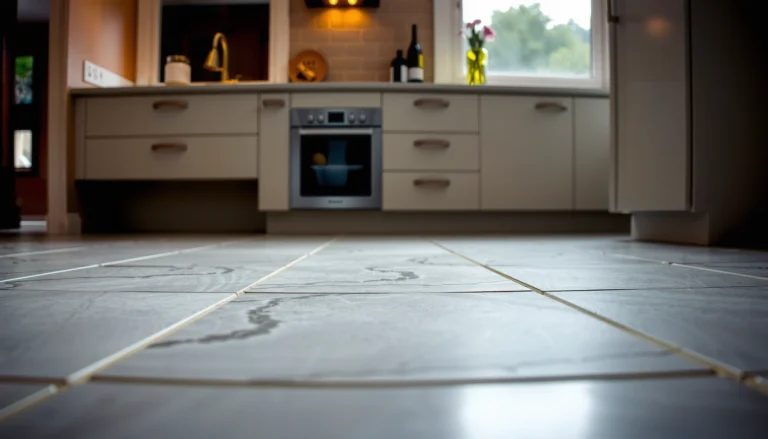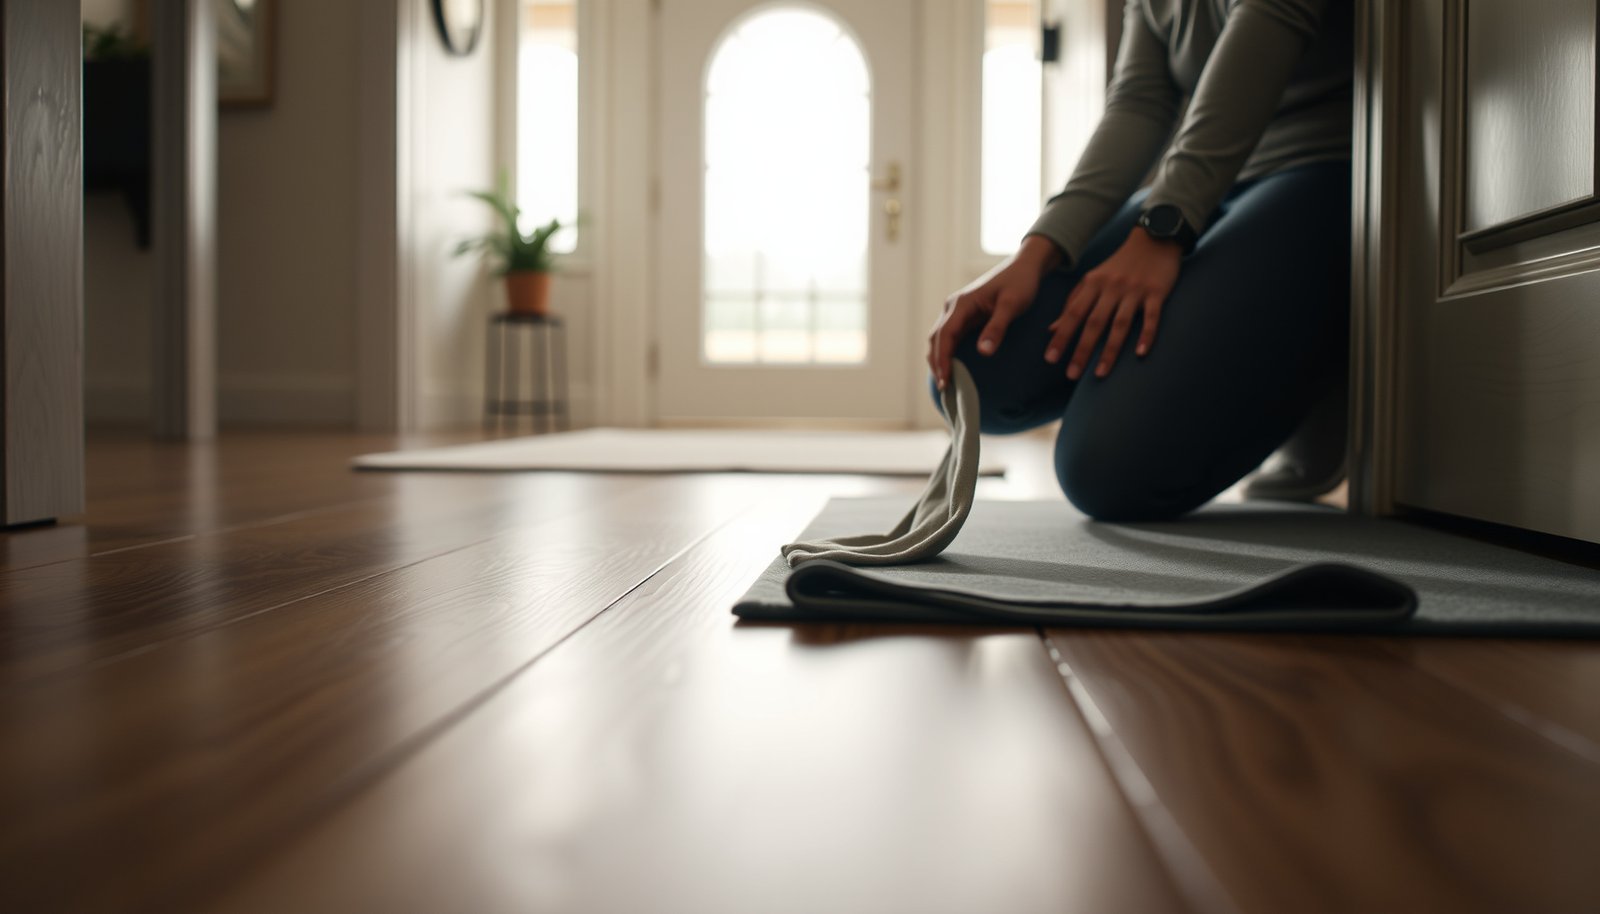

To prevent water damage to laminate floors in an entryway, you should focus on controlling moisture at the source and sealing the weak points fast. This guide lays out the highest-impact moves—proper mat placement, immediate spill response, and targeted sealing around seams and edges—so swelling, warping, and buckling don’t get a foothold. If your entryway sees tracked-in rain or snow, follow these steps to protect your laminate without costly replacement.



Prevent water damage to laminate floors in an entryway by stopping wet shoes and standing water from reaching the laminate’s edges and seams. Use a high-absorbency mat/dry zone at the entry, clean up spills immediately, and prevent moisture from pooling near the door and transitions—so water can’t work its way into the joints. This guide walks you through the most effective, practical steps to protect laminate in a high-traffic entryway.
If your entryway gets rain, snow, slush, or frequent foot traffic, these steps are for you—especially if your laminate has exposed seams, a low-spot near the door, or a history of dampness after storms. You’ll also get guidance on what to do (and what to avoid) without assuming your laminate can handle “normal” wet cleanup.
Create a wet-to-dry barrier at the entry
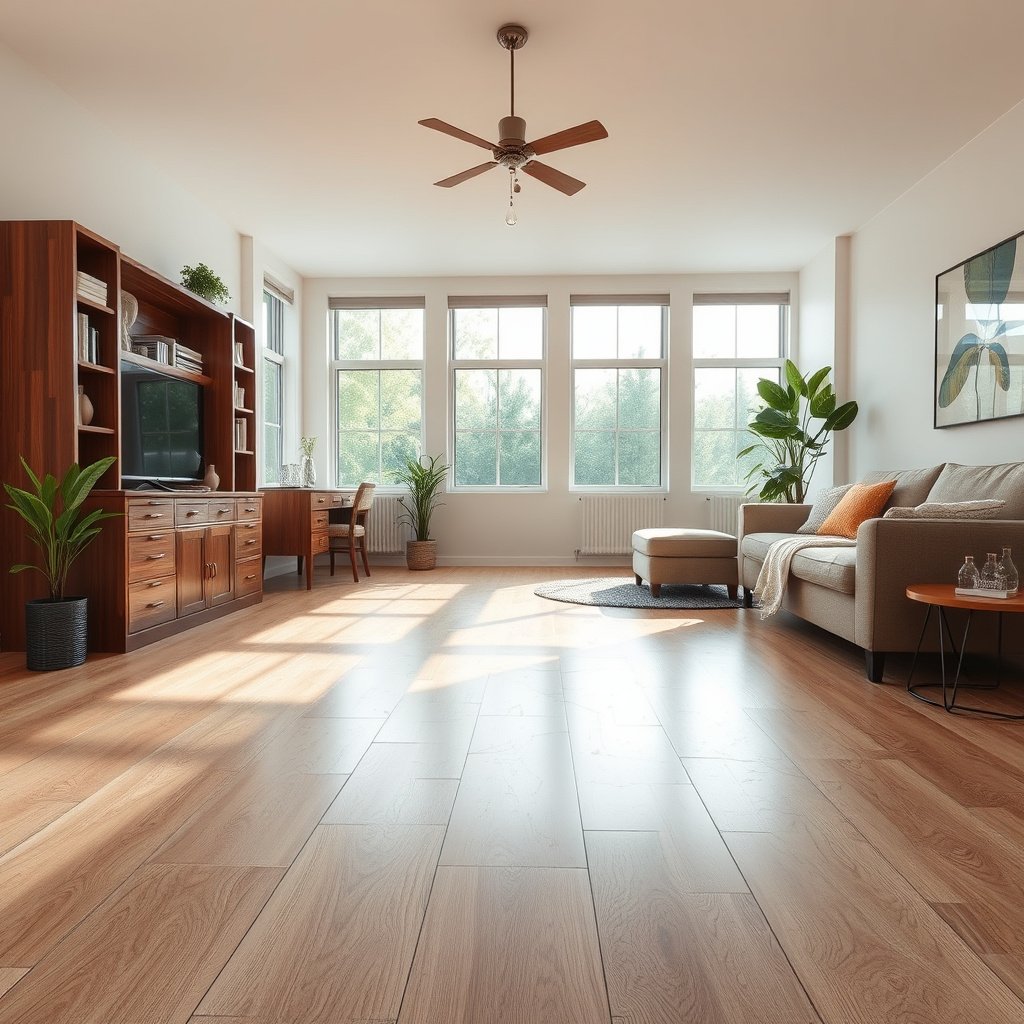
A wet-to-dry “mat system” is the fastest, lowest-risk way to prevent laminate swelling because it physically intercepts water before it hits the planks. Here the goal is simple: reduce how much water reaches the click-joint areas, then keep the floor from staying damp long enough to migrate toward seams.
Place a large, absorbent doormat inside and outside so water is caught before it reaches the laminate (aim for enough mat area that feet stay on the mat for a moment).
– Use two-stage entry matting: an outdoor scraper mat first (to remove bulk snow/mud) and an indoor absorbent mat second (to capture residual moisture).
– Position the indoor absorbent mat so the “step-in path” lands on it. If people step off the mat immediately, water still transfers to laminate.
– In 2026 winter weather, we see entryways act like “funnels”—meltwater moves under legs and onto the transition zone. A larger mat reduces that transfer.
Build a “dry path”: an inner mat that absorbs, plus (if you get heavy weather) an outdoor mat or scraper to reduce how much water hits the floor.
– If space allows, choose mats that create a few steps of coverage, not a single small landing zone.
– For households with kids or frequent deliveries, place a secondary small mat at the door swing path (the area where umbrellas and bags most often drip).
Use a drip zone near the door for boots/umbrellas so runoff doesn’t puddle right where traffic enters.
– Create a designated wet landing: a rubber tray, boot mat, or a shallow “drip deck” that can handle repeated wetness.
– Keep boots/umbrellas off the laminate long enough for water to stop dripping—especially after storms when meltwater continues for minutes.
A two-stage entrance mat system (scrape outdoors, absorb indoors) is specifically intended to intercept moisture before it reaches interior floor finishes.
Standing moisture is the enemy for laminate because it can reach seams and edges through the joint area and underlayment contact points.
Moving foot traffic over absorbent mats increases water capture compared with a small mat that only covers the first step.
Moisture risk at a glance (humidity control relevance)
Even with great mats, entryways can raise indoor humidity during wet seasons. Keeping humidity in a safer range reduces the chance that the laminate’s micro-edges stay damp between cleanups.
Indoor Relative Humidity (RH) Ranges and Moisture Protection Priority
| # | Moisture Condition | Indoor RH Range | Why It Matters for Floors | Protection Priority |
|---|---|---|---|---|
| 1 | Comfortably Dry | 30–35% | Low risk of moisture lingering at joints | ★ ★ |
| 2 | Balanced Comfort | 36–45% | Supports normal drying after wet events | ★ ★ ★ |
| 3 | Upper Comfort | 46–50% | Moisture can linger longer after mopping | ★ ★ ★ |
| 4 | Moisture Watch | 51–60% | Higher chance of dampness between cleanups | ★ ★ ★ ★ |
| 5 | Elevated Humidity | 61–65% | Greater risk of mold support when moisture is present | ★ ★ ★ ★ ★ |
| 6 | High Humidity | 66–70% | Moisture can persist at seams after entryway events | ★ ★ ★ ★ ★ |
| 7 | Condensation Prone | 71–80% | Condensation risk increases; drying becomes slower | ★ ★ ★ ★ ★ |
Seal the vulnerable spots (without voiding warranty)
Sealing can help when moisture exposure is frequent, but the safest approach is targeted protection on seams/edges only if your laminate manufacturer allows it. The biggest mistake is using the “wrong” product where laminate needs to rely on its click-joint and underlayment system.
Target seams, edges, and transitions, because that’s where laminate can take on moisture. Follow your floor’s installation/maintenance instructions on whether sealing is recommended.
– If your laminate includes a factory-applied finish and specifies allowable maintenance, prioritize what they support over generic “waterproofing” fixes.
– Focus on the highest-risk zones for entryways:
– Threshold line where air/moisture exchange can drive drying/wetting cycles
– Door jamb areas where splashes land
– Transition strips to tile, carpet, or hardwood (often the first place gaps open)
Use only manufacturer-approved products (or the exact sealer class they allow). Some laminates are designed to rely on their click-joint and underlayment—not extra coatings.
– Many laminates specify whether sealer must be penetrating vs topical, and whether it may affect slip resistance or adhesion.
– If you’re unsure, ask the manufacturer (or dealer) whether the product is allowed for:
– Plank finish
– Joint profile
– Underlayment edges (if the guidance covers it)
Check gaps around baseboards and door thresholds: if water is getting under trim, sealing the trim/edge area (not soaking the floor) can reduce how often moisture reaches the boards.
– If water is bypassing mats and running to the wall side, look for:
– Loose/failed caulk at trim
– Threshold damage or missing weatherstripping
– A low spot that directs water toward laminate rather than away from the entry
Manufacturer care instructions often emphasize minimal moisture for laminate and may restrict sealers to approved products only.
Targeted sealing focuses on seams/edges, because those are the first paths for water to reach laminate core layers.
Sealing the trim/edge (where water is bypassing) can reduce moisture reach without flooding the floor surface.
Mats vs. sealers: what helps most in an entryway
If you’re deciding where to spend effort, start with moisture interception (mats) before coatings.
| Approach | Best For | Main Limitation |
|---|---|---|
| Large absorbent mats + dry landing | Preventing water from contacting seams/edges during wet weather | Only works if people actually step/stand on the mat path |
| Approved seam/edge sealer (if allowed) | Adding a thin moisture barrier where the manufacturer permits it | Wrong product can be incompatible and may not fix underlying joint damage |
Respond to spills and humidity immediately
Immediate response matters because laminate damage is a time-and-contact problem: the longer moisture sits, the more it can migrate into joints. Your best move is fast blotting and fast drying—without turning the entryway into a wet-mopping zone.
Blot fast, don’t spread: use a dry towel/paper towels to absorb, then finish with a slightly damp cloth only if your laminate care guide allows it.
– Use blotting pressure and change towels early (so you’re not smearing water around).
– Avoid “mop-and-wring” habits in entryways; laminate care typically emphasizes minimal moisture rather than wet extraction.
Dry thoroughly after any wet event: get air moving (fan) and keep the area clear so the floor can dry before water works its way toward seams.
– After storms, keep doors closed enough to manage indoor conditions, then run a fan aimed across the floor surface (not just at the wall).
– If the entry is a low-spot, drying time should be longer; clear airflow helps the floor reach equilibrium.
Watch for “invisible” moisture: after mopping in other rooms, check whether water migrated under/near the doorway or into low spots.
– Entryways often have subtle slope changes toward thresholds.
– Check corners behind the mat edges, especially where the baseboard meets the floor.
CDC guidance on mold prevention notes that growth can begin within 24–48 hours after materials become wet, underscoring why prompt drying matters.
Laminate care instructions commonly discourage soaking and stress quick cleanup because prolonged moisture exposure can swell joint areas.
Air movement helps reduce drying time after water events, lowering the time moisture remains in contact with vulnerable seams.
Reduce tracking and standing water day to day
Daily prevention is what keeps seasonal wet weather from becoming a repeated moisture cycle. If water keeps arriving (mud, snow melt, wet umbrellas), even “good cleanup” won’t fully stop joint exposure.
Manage shoes during wet weather: keep a designated spot for damp boots and encourage quick removal before walking deeper into the entryway.
– Add a rule: wet boots go to the drip zone first, then move indoors.
– For families and guests, make the behavior easy—designate baskets or hooks near the entry so removal happens immediately.
Don’t oversaturate during cleaning: avoid soaking the area with mops/wet cleaning systems; laminate care typically emphasizes minimal moisture.
– Use “damp for the wipe” rather than “wet for the mop.”
– In high-traffic entries, consider cleaning only what needs it (spot cleaning) rather than frequent whole-floor wet mopping.
Keep gutters/entry drainage in mind: if runoff from the exterior door area constantly flows toward the same spot, fixing the exterior water path can prevent repeated exposure.
– Inspect exterior drainage after heavy rain: puddles near the foundation or door pathway keep re-wetting the same entry zone.
– Address missing weatherstripping or poor door sweep fit; if water passes under the door, the floor will eventually pay the price.
According to the EPA, maintaining indoor relative humidity in the range of about 30–60% can help reduce mold risk associated with moisture.
Moisture management at the entry (reducing tracking and preventing puddles) is a direct way to protect moisture-sensitive flooring assemblies.
Consistent runoff at one doorway area turns a one-time wet event into repeated exposure—one of the fastest ways to overwhelm laminate’s tolerance.
What can go wrong (and how to avoid it)
Even when you follow good habits, a few failure modes can still lead to swelling or gapping. The key is to avoid “false confidence” from appearances and to match your actions to manufacturer guidance.
Standing water can defeat “good habits.” Mats and quick blotting help, but if water pools long enough, laminate can still swell at joints and edges.
– If your entryway collects water in the same corner during storms, treat that as a systems problem (mat size, slope, door sweep, drainage), not just a cleanup problem.
Wrong cleaners and excessive liquid: many laminate instructions warn against steam, harsh chemicals, or heavy wet mopping—these can damage the surface or accelerate edge swelling.
– Steam is especially risky because it delivers heat and water under pressure; entryways often have crevices where moisture can migrate.
Sealers that aren’t approved can backfire. If you apply an incompatible sealant, you might create trapping/moisture barriers in the wrong place or void warranty coverage. When in doubt, follow the brand’s care/installation guidance.
– A sealer can sometimes “lock in” moisture near a joint if the area doesn’t dry properly afterward.
Underlayment issues get blamed on the floor. If the subfloor is too damp, uneven, or improperly prepared, laminate may be vulnerable no matter how careful you are at the door.
– If the underlayment doesn’t match the subfloor moisture conditions, your entry controls can only do so much.
Heavy impacts still matter. Water protection won’t stop damage from scratches, dents, or loose planks—so maintain both cleanliness and mechanical stability.
– In practice, entryways combine abrasion + moisture. A loose plank also creates a pathway that catches water and debris.
If subfloor moisture is present or the subfloor is uneven, laminate can remain vulnerable even with excellent entryway matting and quick cleanup.
Using steam or excessive liquid contradicts common laminate care guidance and increases the chance of swelling near seams and edges.
A quick reality check from the field
From our experience with moisture complaints in high-traffic entries (homes and offices), the most common “mystery” failures are (1) puddling outside the mat footprint and (2) water bypassing at thresholds or door sweeps—so the fix is usually drainage + barrier coverage, not a stronger cleaner.
Verdict / tip (what’s worth doing first)
Your best “highest impact” plan is: big absorbent mats + fast spill blotting + preventing puddles near transitions. That combination addresses the main pathway for water damage (moisture reaching seams and edges) without relying on risky sealant hacks that may conflict with manufacturer warranty or care instructions.
Downsides / when to skip:
– If you already have swelling, gapping, or lifting, sealing the surface may not fix the underlying joint damage—repairs or replacement may be required.
– If you can’t control wet tracking (no usable mat space, constant flooding risk), you may need a different flooring strategy for the entryway.
– If your laminate manufacturer’s instructions don’t support sealing or moisture treatments, stick to the mat + cleanup approach and focus on subfloor moisture control and exterior water control instead.
Preventing moisture from contacting laminate seams and edges is typically more effective than trying to “seal after the fact.”
When laminate has already swollen or gapped, moisture-proofing steps may not restore joint integrity, so addressing installation and/or replacement may be necessary.
Following manufacturer-approved cleaning and moisture guidance reduces the risk of surface damage and helps preserve warranty coverage.
Quick scan checklist (save this)
| Task | Do this | Avoid this |
|---|---|---|
| Entry mats | Use inside/outside mats sized for real foot traffic | Small mats that don’t cover the step-in path |
| Spill handling | Blot immediately; dry the area quickly | Letting water sit or spreading it with a wet mop |
| Cleaning | Follow your laminate care directions for minimal moisture | Steam/soaking/harsh cleaners (unless explicitly allowed) |
| Moisture leaks | Check areas near thresholds/baseboards for entry points | Sealing or coating without confirming manufacturer approval |
| After storms | Inspect the doorway area for dampness and lingering runoff | Assuming “it looks dry” means it is dry under seams |
Sources
– EPA — “Mold Prevention” guidance (humidity control ranges and moisture control concepts).
– CDC — “Mold” guidance (time-to-growth after water exposure and moisture elimination emphasis).
– ASHRAE — guidance on indoor humidity/comfort targets and moisture risk principles as applicable to building environments.
If you want, tell me your laminate brand/model (or whether it has an attached pad), plus your climate (rain/snow frequency) and whether the entry has a threshold change to tile—then I can turn this into a tighter, room-specific protection plan for your exact setup.
Frequently Asked Questions
What’s the best way to prevent water damage to laminate floors in an entryway?
Use a high-quality entryway mat system with a doormat inside and outside so dirt and moisture are captured before they reach your laminate. Choose mats with non-slip backing and ensure water isn’t pooling at the edges. Pair this with a quick-dry routine—wipe up spills immediately and keep foot traffic areas dry to reduce swelling and warping.
How can I protect laminate floors from water tracked in on shoes?
Place a textured, absorbent doormat at the entry and a second mat just inside the doorway to trap moisture and grit. Regularly clean and dry the mats so they don’t become a source of water. Consider using furniture pads and keeping snow-melt and wet-weather seasons extra monitored since laminate floors can be vulnerable to standing water.
Why do laminate floors swell or separate near entryways, and how do I stop it?
Laminate can swell or develop gaps when water penetrates the seams, often from spills, wet shoe soles, or mopping too aggressively. To stop this, avoid wet mopping in the entryway and use a damp microfiber mop instead, wrung nearly dry. Seal vulnerable areas where water collects—especially along the baseboards and expansion gaps if your flooring type requires it.
How should I clean and dry an entryway laminate floor to avoid moisture problems?
Clean with a manufacturer-recommended laminate floor cleaner and a microfiber mop, keeping the floor damp rather than wet. After cleaning, dry any remaining moisture with a clean towel and ensure good airflow in the entryway. Promptly address puddles, leaks, or condensation from doors and windows, since even small amounts left too long can cause water damage.
Which sealants or underlayment options work best for waterproofing laminate in an entryway?
Look for laminate flooring that’s labeled water-resistant and use a compatible underlayment designed to reduce moisture transfer. In many cases, upgrading to an underlayment with a vapor barrier helps protect from damp subfloor conditions, especially in entryway areas near exterior doors. If you’re using a specific seam-sealer or laminate-safe sealant, apply it according to the flooring manufacturer’s instructions to avoid voiding warranty coverage.
📅 Last Updated: October 21, 2026 | Topic: How to prevent water damage to laminate floors in a entryway? | Content verified for accuracy and freshness.
References
- Laminate flooring
- Water damage
- Mold
- https://www.cdc.gov/mold/default.htm
- https://www.epa.gov/mold/mold-prevention-and-control
- https://www.epa.gov/indoor-air-quality-iaq/what-indoor-humidity-does-your-home-need
- dampness mould prevention indoor humidity – Search Results – PubMed
- https://scholar.google.com/scholar?q=laminate+flooring+water+damage+prevention+entryway Google Scholar
- https://scholar.google.com/scholar?q=laminate+flooring+moisture+barrier+underlayment+guidelines Google Scholar
- https://scholar.google.com/scholar?q=doormats+reduce+tracked+water+moisture+indoors+flooring Google Scholar