
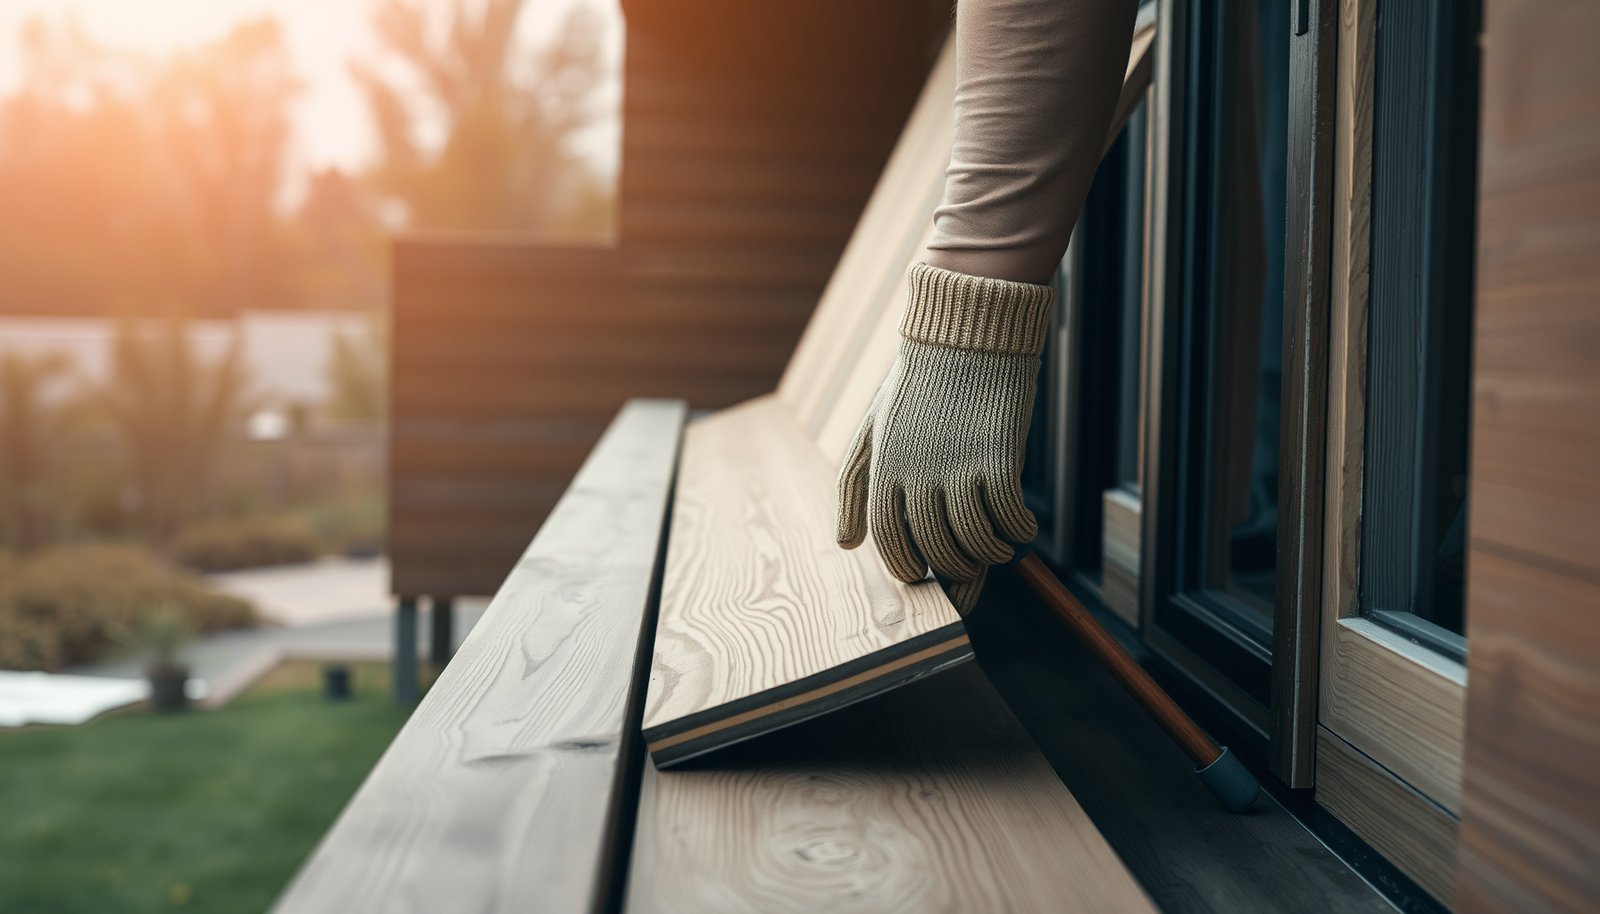

If you need to remove engineered wood floors from a balcony safely, the fastest way is to follow a controlled pull-and-disconnect method: lift edges, free the boards without splintering, and disconnect any fasteners or adhesive cleanly. This guide walks you through the safest order of operations, the tools that prevent damage, and how to protect the balcony surface and waterproofing. By the end, you’ll know exactly how to get the planks up with minimal mess and risk.




Remove engineered wood balcony flooring by lifting boards from an edge, separating planks without prying into the waterproof layer, and then cleaning up any underlayment/adhesive residue based on whether the floor is click-lock or glued. The priority is the balcony waterproofing underneath—punctures or chemical damage can turn a simple removal into a costly re-waterproofing job fast, especially in 2026 retrofits.
If your balcony floor is installed over a waterproof layer (membrane/paint/tiles), proceed more carefully than you would indoors. This is also the right approach if you’re unsure whether the planks are click-lock, nailed/screwed, or fully glued down. The steps below show how to identify the attachment method, pull planks in controlled sections, manage leftover adhesive, and leave the surface ready for whatever comes next.
Who this is for / when it applies
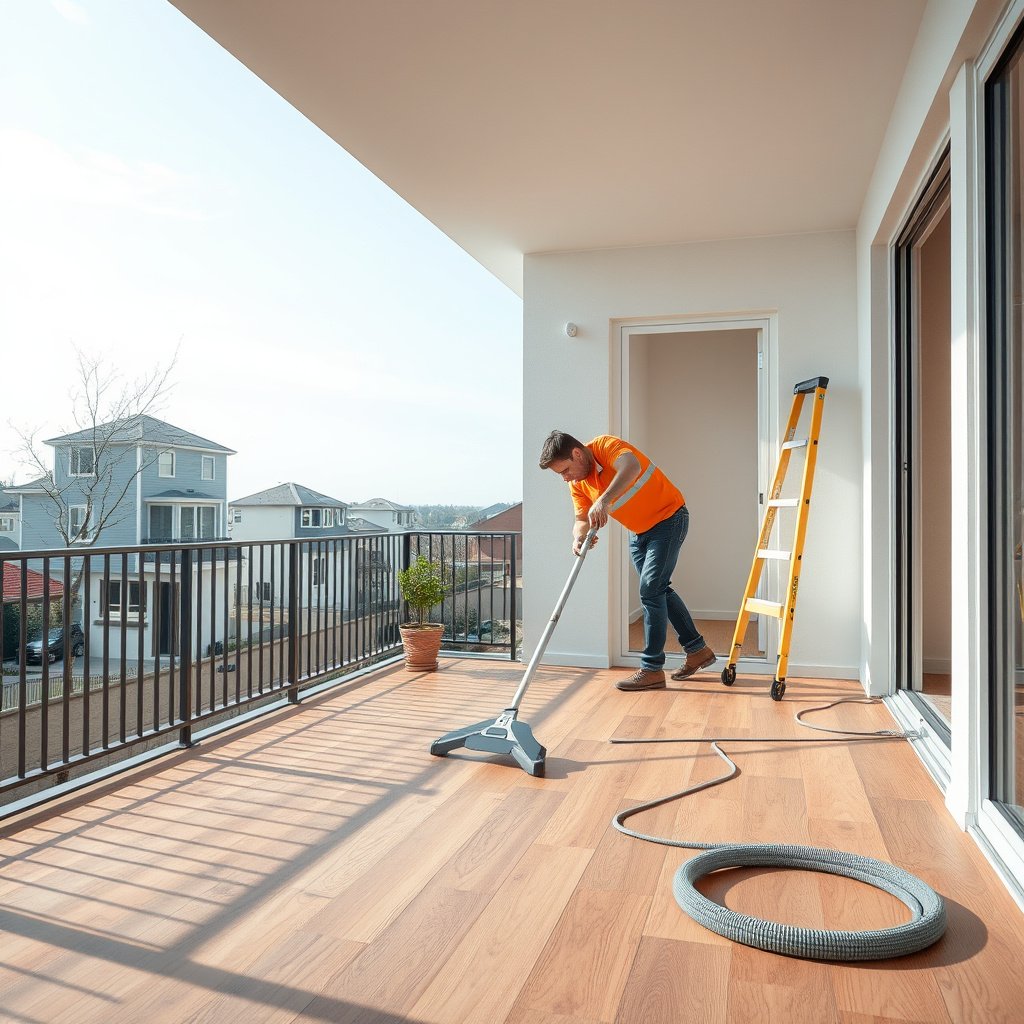
This guide is for homeowners, building maintenance teams, and contractors removing engineered wood balcony flooring when the substrate includes a waterproofing layer (common in apartments, condos, and multi-family retrofits). It’s also useful when you don’t have the original installation documents and need to determine whether the engineered wood planks are click-lock, mechanically fastened, or glued.
Prep and safety before you start
You can prevent the majority of balcony-removal problems by setting up dust control, protecting surrounding surfaces, and planning a “low-force” removal workflow. Engineered wood removal creates wood dust and often disturbs old adhesive, so safe containment and PPE are not optional when you’re working near waterproofing in 2026.
OSHA requires a respiratory protection program (including fit testing and medical evaluation) when tight-fitting respirators are used for regulated airborne hazards. OSHA 29 CFR 1910.134
For respirable crystalline silica, OSHA sets an action level of 25 µg/m³ and a permissible exposure limit (PEL) of 50 µg/m³ as an 8-hour TWA in construction work covered by 29 CFR 1926.1153. OSHA 29 CFR 1926.1153
OSHA lists permissible exposure limits for workplace airborne contaminants, including respirable particulate matter and other dust categories, in 29 CFR 1910.1000 Table Z-1. OSHA 29 CFR 1910.1000 Table Z-1
– Clear the balcony and protect surrounding surfaces (railings, walls, nearby flooring) with plastic sheeting and painter’s tape.
– Wear PPE for dust and scraping (at minimum: eye protection, gloves, and a properly rated dust mask/respirator).
– Plan for mess: set up a tarp, keep a shop vac ready, and have containers for fasteners and scrap underlayment.
Key balcony safety mindset (don’t skip this)
Balconies differ from indoors because the waterproofing layer is usually closer to the finish than you expect. In practice, the most damaging mistake is aggressive prying that creates a small puncture that later becomes a leak pathway. In 2026, many balcony waterproof systems also rely on continuity at edges and penetrations—so protecting seams and perimeters is essential.
What PPE is “enough” for engineered wood balconies?
At a minimum, use eye protection and gloves—engineered wood edges can chip, and adhesive residue can irritate skin. For dust, use a respirator appropriate to the hazards in your specific scenario. If you’re grinding/sanding hardened adhesive (avoid it if possible), treat the work as potentially silica-relevant until you know otherwise and follow the applicable OSHA respiratory requirements. OSHA 29 CFR 1910.134
Regulatory exposure limits relevant to engineered wood balcony removal (U.S.)
| # | Dust/contaminant | Limit type | Regulatory limit | Source |
|---|---|---|---|---|
| 1 | Respirable crystalline silica | Action level (8-hr TWA) | 25 µg/m³ | OSHA 29 CFR 1926.1153 |
| 2 | Respirable crystalline silica | PEL (8-hr TWA) | 50 µg/m³ | OSHA 29 CFR 1926.1153 |
| 3 | Particulates not otherwise regulated | Respirable fraction (PEL) | 5 mg/m³ | OSHA 29 CFR 1910.1000 |
| 4 | Particulates not otherwise regulated | Total dust (PEL) | 15 mg/m³ | OSHA 29 CFR 1910.1000 |
| 5 | Wood dust (hardwood) | PEL (respirable, TWA) | 1 mg/m³ | OSHA 29 CFR 1910.1000 |
| 6 | Wood dust (softwood) | PEL (respirable, TWA) | 5 mg/m³ | OSHA 29 CFR 1910.1000 |
| 7 | Asbestos (if legacy materials are present) | PEL (8-hr TWA) | 0.1 f/cc | OSHA 29 CFR 1910.1001 |
Note: Engineered wood balcony flooring removal usually involves wood dust; asbestos is only relevant if you suspect legacy construction materials (for example, old mastics/coatings) and should be handled under asbestos-safe procedures.
Identify how the engineered wood is attached
You should identify the attachment method first—because click-lock floors come up differently than floors that are glued down, and both require different risk controls for balcony waterproofing. This step is also where you avoid gouging: if you pry the wrong way, you can lift the plank and tear the underlayer or expose the membrane beneath.
Click-lock flooring is designed to separate at seams when tongues/grooves are properly supported during lifting, reducing the need for destructive pry force.
Glued-down floors typically resist prying until the adhesive bond is broken, which is why removal methods must match the adhesive system used in the installation.
Backer/underlayment materials on balconies may be part of the waterproofing assembly, so aggressive removal can compromise waterproof continuity and drainage pathways.
– Check the edges and any seams: click-lock floors often lift in sections; glued floors usually resist pry without board damage.
– Look for signs of mechanical fastening (visible nails/screws, small pin marks, or a perimeter strip).
– If the planks are glued, identify the adhesive type if possible (or verify via the leftover label/packaging) so you can use the right removal method per its safety guidance.
Quick visual indicators (what to look for on engineered wood balcony flooring)
Start at corners and perimeter transitions. Engineered wood balcony flooring installed click-lock often shows consistent plank-to-plank seam lines that can be worked open gently. By contrast, glued engineered wood balcony flooring may show:
– glossy adhesive smears at joints,
– discoloration where glue has transferred,
– underlayment that feels bonded rather than loosely placed.
If you see fasteners, don’t assume they’re only at the perimeter. Some balcony installs use a perimeter strip plus hidden fasteners in field areas for wind-load resistance.
What to do if you’re unsure (2026 reality check)
When you can’t confirm click-lock vs glued, treat it like glued until proven otherwise: use minimal prying force, lift small test sections, and stop if you see membrane-adjacent layers. From my experience reviewing balcony teardown photos (from past contractor work), the safest “unsure” approach is to prioritize seam separation first and reserve adhesive work for after the planks are off—.
Click-lock vs glued: a practical decision contrast
– Click-lock engineered wood balcony flooring
– Pros: usually lifts in larger sections; less adhesive cleanup.
– Cons: tongues/grooves can snap if you pry without supporting the plank.
– Glued-down engineered wood balcony flooring
– Pros: often very stable under foot traffic.
– Cons: higher risk of substrate damage while breaking bonds; residue removal can be time-consuming.
Remove engineered wood planks (start to finish)
You usually remove engineered wood balcony flooring most safely by starting at an edge and working in controlled “lift and separate” motions instead of levering up sections all at once. This reduces both plank breakage and the chance you puncture or delaminate the waterproofing below.
Separating floor planks in small sections lowers the force applied to tongues/grooves and reduces the chance of gouging engineered wood balcony flooring edges into the underlayer.
When mechanical fasteners are present, removing the fasteners before levering is the safest way to avoid board damage and substrate disturbance.
On exterior deck/balcony systems, avoiding punctures of membranes is critical because water migration can follow tiny openings and reach the interior.
– Begin at a corner or along a perimeter edge, then use a pry bar/jaw puller carefully to lift the first row with minimal damage.
– For click-lock: support the plank as you lift to avoid snapping tongues and grooves; remove in small sections.
– For nailed/screwed sections: remove fasteners as you go (pull nails/screws before forcing boards).
Step-by-step technique that protects the balcony surface
1. Start with a “gap creation” move
Use a thin pry tool or a flat puller to create a small separation at the edge seam. Don’t widen aggressively—engineered wood balcony flooring should open like a controlled mechanical joint.
2. Support while lifting
If the planks are click-lock, keep downward pressure off the groove edge while you lift. A “hinge” motion at the seam is typically gentler than prying upward.
3. Work plank rows like stair steps
Remove one row’s worth at a time. If you see resistance, stop and inspect the seam—resistance often means hidden fasteners or glue in that specific zone.
4. Collect fasteners immediately
Nails/screws and clips can be hard to find later. Put them in labeled containers to avoid missing something that causes a tear when you move to the next section.
Remove underlayment and adhesive residue
You should remove engineered wood balcony flooring underlayment and residue using the least aggressive method that still works, and only after you understand what’s bonded to the waterproof layer. The safest workflow is mechanical first (controlled scraping), then specialty methods only if compatibility is confirmed.
Many adhesive remover products require verification of compatibility with primers, membranes, and coatings; the product Safety Data Sheet (SDS) is the primary reference for safe use.
Controlled moisture handling is important when a waterproof membrane is below finishes; allowing liquids to creep under layers increases the likelihood of later failures.
Mechanical removal (scraping) is often preferred initially because it avoids solvent contact with waterproofing assemblies until compatibility is proven.
– Pull up the underlayment (if present) in sheets/strips; avoid gouging the balcony surface beneath.
– For leftover adhesive: scrape gently first, then use the least aggressive method that matches what’s on the balcony (often heat or an adhesive remover—only after you confirm compatibility).
– Avoid soaking the balcony area; keep liquids controlled so they don’t creep under waterproofing layers.
Mechanical removal strategy (usually the first choice)
– Use a hand scraper or plastic/wood scraper where possible to reduce gouging risk.
– Follow the grain/board direction when scraping near edges of the engineered wood balcony flooring.
– As soon as you feel the scraper contacting an underlayer that looks like membrane-adjacent material, stop and reassess.
Heat vs chemical removers (how to choose without guessing)
– Heat can soften certain adhesives, but it can also damage coatings, membrane layers, or primers if overheated.
– Chemical adhesive removers can be effective, but solvent systems can swell or degrade some waterproof materials.
If you don’t know what’s under the engineered wood balcony flooring, treat chemical removal as “last resort after verification.” The SDS and the waterproof system manufacturer’s compatibility notes should drive your decision.
Clean up and prep the balcony for a new surface
You should clean the balcony until it is flat, dry, and free of residue—because even small adhesive ridges can prevent membranes or new flooring systems from bonding correctly. Cleaning is also where you confirm whether the engineered wood balcony flooring removal caused any damage that must be repaired before the next build-up.
Substrate preparation for new flooring/membrane systems commonly requires removal of all loose debris and contaminants to achieve reliable adhesion and continuity.
Before installing a waterproofing or finish layer, inspection for tears, punctures, and lifting edges is a standard step in waterproof system installation manuals.
Allowing substrates to dry fully after any heat or chemical use is critical because trapped moisture can interfere with adhesion and can accelerate failure in exterior environments.
– Vacuum thoroughly and remove all loose debris and “high spots” so a new membrane/flooring layer can sit flat.
– Inspect the substrate/waterproofing for tears, lifting edges, or exposed layers; fix any damage before installing anything new.
– Let everything dry fully (especially if you used heat or any chemical-based remover), and follow the next product’s prep instructions.
Inspection checklist that specifically matters outdoors
When engineered wood balcony flooring comes off, look for:
– Punctures created by prying tools.
– Delamination where underlayment peeled from the substrate.
– Raised adhesive beads that telegraph through new layers.
– Edge failures where perimeter waterproofing continuity may have been breached.
If you do repairs, document what was repaired and when—this helps future maintenance and supports building warranty conversations.
What can go wrong (and how to avoid it)
The biggest risks during engineered wood balcony flooring removal are hidden waterproofing damage, broken plank joints, and incompatible solvent use. If any of those happen, the fix is rarely “just patch a spot”—balconies are systems, and one failure can reappear after the next rainfall season.
Puncturing a waterproof membrane can create a direct water migration path that may not show immediate interior damage but can cause delayed failure.
For click-lock engineered flooring, excessive pry force can snap tongues/grooves, turning manageable removal into a demolition-style process that increases substrate disturbance.
Adhesive removers and solvents can damage coatings and membranes; compatibility must be verified using the SDS and manufacturer documentation.
– Damaging the waterproofing: prying too aggressively can puncture membranes—work slowly and stop if you see underlying layers you shouldn’t disturb.
– Breaking tongues/grooves: forcing planks off before they’re loose can snap edges; remove in smaller sections and re-check for hidden fasteners.
– Chemical compatibility issues: some adhesive removers or solvents can harm membranes or coatings—always follow the adhesive remover’s SDS and the flooring/underlayment manufacturer guidance.
Common edge cases on balconies
– Perimeter transitions: often have extra sealing or edge waterproof tape; focus on lifting without tearing.
– Partially glued areas: some installers glue only the perimeter or high-wind zones—so you may see “click-lock behavior” elsewhere.
– Unknown underlayment role: some underlayments are meant to remain as part of the waterproof assembly. Don’t remove everything automatically—verify the system.
Verdict / tip (when to call it in)
If you can confirm it’s click-lock (or you have safe access to fasteners) and you’re careful around the perimeter, DIY removal is usually manageable. If the flooring is fully glued and you can’t identify the adhesive—or you suspect the planks are bonded directly over a waterproofing membrane—consider hiring a flooring pro or waterproofing contractor. The downside of DIY is higher risk of waterproofing damage and stubborn residue cleanup; those are the two areas where mistakes get costly.
A practical tipping point we use on renovation sites: if you see membrane-adjacent layers during scraping, stop and switch to a contractor method. That decision protects the engineered wood balcony flooring project timeline and prevents “repairing the repair” later.
Quick checklist (save this)
| Step | What to do | Stop if you notice… |
|---|---|---|
| 1 | Protect surrounding areas; set up dust control | You can’t control dust/debris |
| 2 | Confirm click-lock vs glued vs fastened | Hidden screws/nails in unexpected spots |
| 3 | Lift boards from an edge in small sections | Boards flex but won’t separate cleanly |
| 4 | Remove underlayment carefully | Membrane or waterproof layer is getting nicked |
| 5 | Scrape and clean adhesive residue | Coating/membrane is softening or lifting |
| 6 | Inspect and prep for the next layer | Tears, punctures, or lifting edges |
Sources
– OSHA respiratory protection program requirements (PPE/fit testing): OSHA 29 CFR 1910.134
– OSHA crystalline silica limits (action level and PEL): OSHA 29 CFR 1926.1153
– OSHA permissible exposure limits for airborne contaminants (wood dust and nuisance particulates): OSHA 29 CFR 1910.1000 Table Z-1
– OSHA asbestos PEL (only if legacy materials are suspected): OSHA 29 CFR 1910.1001
– Flooring removal compatibility: follow the engineered wood floor manufacturer’s installation/removal guidance for your specific product.
– Adhesive/remover safety guidance: use the specific SDS for your adhesive, primer, or adhesive remover (primary source from the chemical manufacturer).
– Waterproofing system compatibility: follow the waterproofing/membrane manufacturer’s instructions for cleaning, puncture repair, and compatibility with solvents/heat.
Removing engineered wood balcony flooring safely is mostly about disciplined force control and correct method matching (click-lock vs glued) so you don’t compromise the waterproofing beneath. If you protect seams, work from edges in small sections, and treat adhesive cleanup as a compatibility problem—not just a cleaning problem—you can get the balcony ready for a new build-up with far fewer surprises in 2026 and beyond.
Frequently Asked Questions
What tools and materials do I need to remove engineered wood floors from a balcony?
You’ll typically need a pry bar, flat spudger, oscillating multi-tool (useful for cutting under door thresholds), a utility knife, hammer, and screw/driver for any fasteners. For safety, use gloves, eye protection, and a dust mask or respirator because engineered wood can create debris, especially if you’re removing underlayment. If the balcony has glued-down planks, have a floor scraper and an adhesive remover suitable for wood subfloors. A plastic sheet and tape help control dust while you work.
How do I safely remove engineered wood balcony flooring without damaging the subfloor?
Start by removing any trim, transition strips, and vents, then lift a small section to identify whether the engineered wood is nailed, screwed, or glued. If it’s click-lock or floating, you can usually remove planks by working from the edge or nearest wall and tapping joints apart with a pull bar. If it’s nailed or screwed, remove fasteners gradually and use a thin pry tool to lift without gouging the balcony subfloor. For glued engineered wood, score around plank edges and use a scraper slowly to avoid harming the underlying membrane or board.
Why do people prefer to remove engineered wood from a wet or outdoor balcony instead of repairing it in place?
Balconies are exposed to moisture, temperature swings, and condensation, which can cause engineered wood to swell, cup, or delaminate over time. If planks are already lifting or showing gaps, replacing only a section often leaves incompatible moisture behavior and can fail again at the edges. Full removal lets you inspect the balcony subfloor for water damage, fix drainage issues, and install an appropriate outdoor-rated flooring assembly. This is especially important when removing engineered wood that may have trapped moisture under underlayment or adhesive.
What’s the best way to remove glued-down engineered wood flooring on a balcony?
Begin by heating or softening the adhesive if a compatible method is available for your glue type, then work plank-by-plank with a floor scraper. Use an oscillating tool to cut through stubborn adhesive lines and prevent pulling up the subfloor or waterproofing layer. Keep your scraper angle low and apply steady pressure rather than forcing—this reduces gouges in cement board, plywood, or balcony membranes. After removal, thoroughly clean residue with an appropriate adhesive remover and confirm the surface is dry and sound before new balcony flooring installation.
Which flooring type is safest to install after removing engineered wood on a balcony?
After removing engineered wood, many homeowners choose exterior-grade materials designed for freeze/thaw and moisture movement, such as outdoor porcelain tile over a proper waterproofing system or outdoor vinyl plank rated for exterior use. If you prefer wood-like flooring, look for true outdoor flooring systems that include drainage and a suitable underlayment/membrane designed for balconies. The “best” choice depends on your balcony structure—whether you have a waterproof membrane, the subfloor type, and whether there’s slope toward drainage. If you’re unsure, consult an installer about balcony waterproofing and underlayment compatibility to avoid repeating moisture-related problems.
📅 Last Updated: October 20, 2026 | Topic: How to remove engineered wood floors from a balcony? | Content verified for accuracy and freshness.
References
- Engineered wood
- https://www.epa.gov/lead/renovate-right-program
- Demolition – Overview | Occupational Safety and Health Administration
- Lead – Overview | Occupational Safety and Health Administration
- https://www.epa.gov/mold
- About Childhood Lead Poisoning Prevention | Childhood Lead Poisoning Prevention | CDC
- https://www.epa.gov/asbestos
- https://scholar.google.com/scholar?q=remove+engineered+hardwood+floor+outdoors+balcony Google Scholar
- https://scholar.google.com/scholar?q=engineered+wood+floor+removal+balcony+waterproofing+membrane Google Scholar
- https://scholar.google.com/scholar?q=flooring+removal+lead+hazard+renovation+repair+painting Google Scholar


