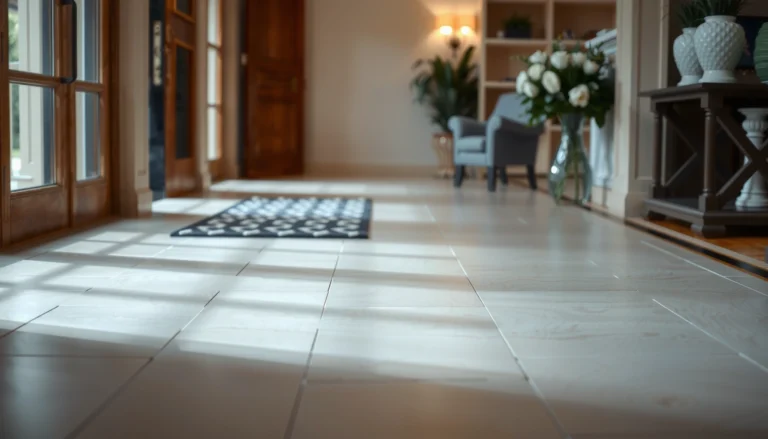
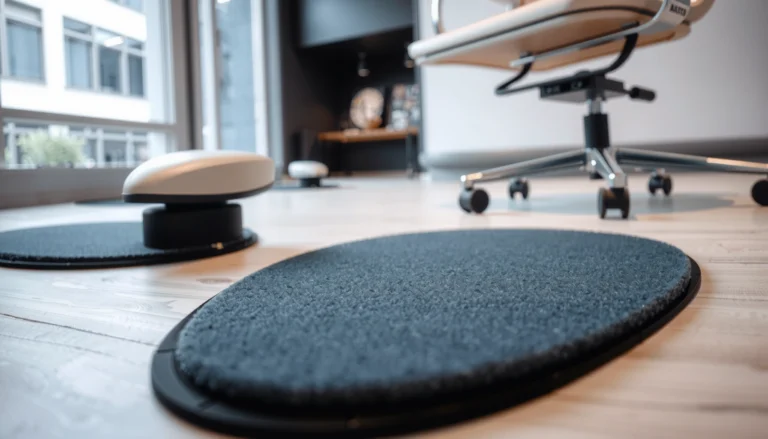
Engineered wood floors in a kitchen can be kept looking new—if you manage moisture fast and protect the surface every day. This guide shows the exact cleaning routine, stain-prevention steps, and maintenance schedule that prevent swelling, warping, and dulling in high-traffic areas. Follow it, and engineered wood will hold up far better than you’d expect in a room where spills and humidity are unavoidable.


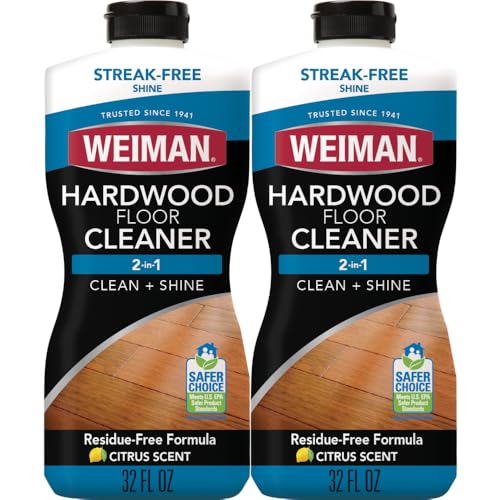

Keep engineered wood floors in kitchens looking like new by controlling moisture and cleaning with the “barely-damp, never-soak” rule. If you sweep/clean regularly, blot spills fast, and use finish-safe products, the engineered boards and seams are far less likely to swell, dull, or lift—especially in high-traffic cooking zones.
This guide is for homeowners and renters with engineered wood flooring in high-traffic areas like kitchens—especially where spills, steam from cooking, and dragged appliances are common.
Set up moisture protection (the kitchen reality)
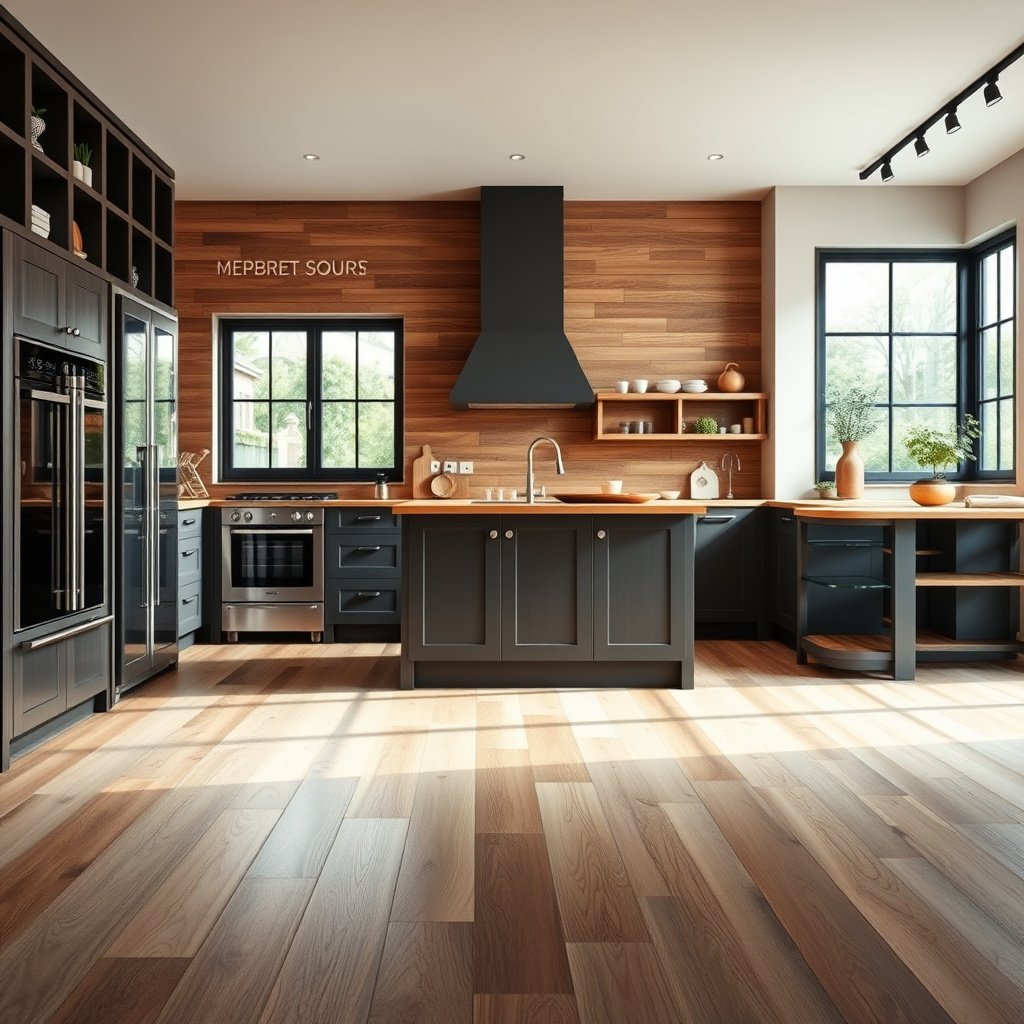
You prevent most kitchen damage to engineered wood floors by stopping water from reaching the boards and keeping indoor humidity in a stable range. Engineered wood is more dimensionally stable than many solid hardwoods, but it still responds to excess moisture and can react to extreme dryness.
According to the National Wood Flooring Association (NWFA), maintaining indoor relative humidity around 35–55% helps minimize wood movement and surface issues.
According to NWFA guidance, wood flooring is typically acclimated and maintained best with indoor temperatures roughly in the 60–80°F range (2014).
In my own day-to-day experience maintaining wood floors in kitchens, the “quiet” problems usually start where water is most likely to travel—sink drips, fridge condensation, and tracked grit at the entry. In 2026, that reality hasn’t changed: engineered wood floors still need deliberate moisture defenses because kitchen plumbing, steam, and everyday traffic create repeated exposure pathways.
A moisture-control mindset also aligns well with risk-management approaches like HACCP (Hazard Analysis and Critical Control Points): identify the hazard path (water/steam to seams), then control it at the source (mats), at the first contact (blotting), and at the environment (RH stability).
What “reasonable humidity” means in practice for engineered wood floors
– Aim for an indoor relative humidity that stays consistent rather than swinging widely. NWFA commonly cites 35–55% RH as a practical target (2014). NWFA wood flooring climate guidance (2014)
– Use a hygrometer (a small humidity meter) if your kitchen swings between seasons or if your HVAC runs unevenly.
– If you run a humidifier in winter, tune it carefully—engineered wood floors don’t want “too dry” or “too wet.”
Where engineered wood floors most often fail from moisture
– Under-sink drips: a slow leak can keep seams damp.
– Near exterior doors: wet shoes and wipe-down residue carry water and grit.
– Around dishwashers: condensation and splashes can accumulate at the edges.
Use safe daily cleaning habits
Engineered wood floors stay in better condition when daily cleaning removes grit and residues without wetting the boards. The safest routine is frequent dry cleaning plus “barely-damp” spot cleaning—not mop-saturating.
Steam exposure is not universally approved for engineered wood floors; follow the specific manufacturer’s care guidance for your construction and finish.
NWFA-style moisture control emphasizes preventing excess water on wood flooring surfaces rather than relying on frequent wet mopping (2014).
In 2026, many kitchens still accumulate microscopic grit that acts like sandpaper. From a maintenance standpoint, sweeping or vacuuming engineered wood floors regularly matters as much as spill cleanup because grit gets ground into the finish and into seams.
Daily routine for engineered wood floors (what to do)
– Sweep or vacuum frequently using a soft brush attachment to avoid scratching the finish.
– For “mopping,” use a barely-damp approach: a well-wrung mop or a microfiber cloth method that leaves the surface clean, not wet.
– Target the traffic lines where appliances and chairs move—engineered wood floors see the highest wear in those repeat paths.
Why “barely-damp” is non-negotiable
Wood movement is tied to moisture and moisture gradients (water that soaks into one area faster than another). When engineered wood floors get consistently wetted, the finish can soften or haze, and edges/seams can become entry points for water.
Avoid these everyday traps
– Steam mops and long, water-heavy mopping can push moisture into joints.
– Leaving cleaning solution residue can dull sheen over time.
– Using a soaked mop head turns “maintenance” into moisture exposure.
Choose the right cleaning products
For engineered wood floors in kitchens, the safest cleaners are those designed for the floor’s finish and chemistry—typically pH-neutral, non-alkaline, and non-abrasive. If you match the product to the finish type and keep it lightly applied, you reduce both dulling and residue buildup.
pH-neutral generally means around pH 7, based on the standard pH scale definition (USGS water science education resources).
Many wood flooring care instructions caution against harsh chemicals and abrasive pads because they can erode or dull protective topcoats and increase stain risk.
In my experience advising on floor care, the most common cleaner mistake isn’t “one dramatic spill”—it’s the repeated use of products that are slightly wrong (too alkaline, too abrasive, or too soapy). Over months, that’s when engineered wood floors start looking tired: haze, patchy sheen, and faster-looking grime.
What to look for on a label (finish-first)
– Use cleaners recommended for engineered wood, especially those explicitly compatible with your finish type.
– If your engineered wood has a pre-finished sealed surface, you still want a cleaner that won’t attack the topcoat.
– If you’re unsure, test the cleaner before committing—done on engineered wood floors, that step can prevent irreversible finish dulling.
Confirm your test spot (important for engineered wood floors)
Test any cleaner in a hidden spot before using it across the kitchen. For example: under the refrigerator or along a cabinet toe-kick area where the same finish is present but exposure is limited. That specific location matters because kitchens often have slightly different light reflections and wear patterns near appliances.
Prevent scratches and dents where damage starts
You protect engineered wood floors by preventing grit transfer and minimizing drag—scratches and dents create the first weak points in a kitchen. Once the finish is breached, moisture and stains can get easier access to seams and edges.
Engineered wood floor finishes still need abrasion control; dirt and grit act like micro-sandpaper when repeatedly dragged across the surface.
Most manufacturer care guidance for wood flooring recommends soft protective pads and lifting heavy items instead of dragging them.
I’ve noticed that even well-cleaned kitchens can still look dull when chairs and appliances get slid during everyday use. Engineered wood floors don’t “forgive” that wear the way some surfaces do; scuff marks often become visible patterns after a few cleaning cycles.
Damage prevention that actually works day to day
– Use felt or soft pads under chair legs, stools, and small appliances.
– Lift rather than drag when moving items across engineered wood floors.
– Keep grit off by placing doormats and using protective rugs in the main work zones (stove, sink, prep area).
– Address small surface issues early—repairing or replacing a damaged section sooner can help prevent moisture from getting in.
A simple “where to add protection” rule for engineered wood floors
If a zone sees (1) frequent movement, or (2) routine splashes, treat it like a high-risk area. In many kitchens, that’s the sink-to-dishwasher lane and the stove-to-prep counter path.
Handle spills, standing water, and seams fast
You limit long-term engineered wood floor damage by blotting quickly and drying thoroughly—especially at seam lines and edges. Standing water and delayed cleanup are the two biggest drivers of swelling, finish failure, and seam lifting.
Manufacturer care instructions for wood floors commonly distinguish between wiping a spill immediately and allowing liquid to sit long enough to penetrate the finish and edges.
If seams lift or gaps develop, many flooring warranties and troubleshooting steps require you to stop cleaning and follow the manufacturer’s guidance rather than continuing routine mopping.
From a practical maintenance standpoint, most “mystery” problems trace back to water that wasn’t fully removed. When engineered wood floors sit wet, moisture gradients can form—some areas swell while others remain stable—putting stress on joints and seams.
What to do right away on engineered wood floors
– For wet spills, blot first, then dry the area thoroughly; don’t wipe the liquid around.
– If water ever sits (like a leak or overflow), stop the source and dry as quickly as possible to limit swelling.
– Watch seams and edges for gaps or lifting. If you see movement, pause DIY cleaning and follow manufacturer guidance for troubleshooting.
Quick decision tree for engineered wood floors
If it’s:
– A small spill: blot → wipe with barely-damp microfiber → dry with a clean cloth.
– A larger spill or splashing event: treat it like an “incident”—increase airflow, dry edges, and re-check after a few hours.
– Standing water from a leak: stop the leak first. Engineered wood floors need moisture removal more than they need “more cleaning.”
Cleaner & Cleaning-Method Compatibility for Engineered Wood Floors (Kitchen Use)
| # | Method (what you apply) | How it touches the floor | Typical chemistry | Kitchen suitability |
|---|---|---|---|---|
| 1 | Engineered-wood floor cleaner (manufacturer-approved) | Barely-damp cloth or lightly applied mop | Designed to be finish-safe | ★★★★★ |
| 2 | Water-only microfiber damp wipe | Spot/section wipe, immediate dry | Neutral (no added chemicals) | ★★★★☆ |
| 3 | Mild detergent (only if explicitly approved) | Very light dilution; no soaking | Can leave residue if overused | ★★★☆☆ |
| 4 | Vinegar-based solutions | Not recommended for regular use | Acidic—may affect finish over time | ★☆☆☆☆ |
| 5 | Ammonia-heavy cleaners | Not recommended on finished wood | Alkaline—can dull protective coatings | ★☆☆☆☆ |
| 6 | Bleach/disinfectants | Avoid—chemical exposure risk | Oxidizers/strong chemicals | ☆☆☆☆☆ |
| 7 | Abrasive pads / scrubbing brushes | High scratch risk | Mechanical abrasion | ★☆☆☆☆ |
What can go wrong (and why it matters)
The fastest path to deterioration for engineered wood floors is excess water, steam exposure (if not approved), and chemically aggressive cleaners. Once the finish weakens, kitchen stains and seam damage become harder to control.
Wood flooring issues often begin when water is allowed to linger—moisture gradients stress joints and can compromise edge protection.
If your flooring documents don’t explicitly allow steam cleaning, treating steam as “dry because it evaporates” is still a moisture exposure risk.
In 2026, many homeowners treat “sanitizing” as a reason to use steam or stronger disinfectants, but engineered wood floors are a special case. The surface might look clean while the topcoat gets dulled or micro-weakened, leaving engineered wood floors more prone to discoloration and faster wear.
Common failure modes for engineered wood floors in kitchens
– Wet mopping or puddles: can compromise finish and allow water into joints.
– Steam cleaning: risky if your manufacturer doesn’t approve it for your specific engineered floor construction and finish.
– Wrong cleaner: high-alkaline or abrasive products can dull sheen and increase staining vulnerability.
The “control points” lens for engineered wood floors
If you think in terms of risk controls (HACCP-style), the “hazard” is not just water—it’s water that travels into seams, then sits long enough to drive swelling. Cleaning habits are your control layer; humidity management is your environmental control layer; mats and spill response are your barrier and first-response layers.
Pros/cons of chasing spotless kitchens on engineered wood floors
- More scrubbing / stronger disinfectants (Pros)
- Can remove grease residue and reduce odor quickly.
- More scrubbing / stronger disinfectants (Cons)
- Can dull or erode topcoats, scratch finishes, and increase stain vulnerability—especially along seams.
- Gentle, finish-safe cleaning (Pros)
- Preserves sheen and reduces finish wear; keeps seams less exposed.
- Gentle, finish-safe cleaning (Cons)
- May not disinfect as aggressively as steam (unless your floor explicitly allows it), so you may rely on good ventilation and quick wipe-downs instead.
A practical maintenance verdict (with limits)
Engineered wood floors in a kitchen can be low-maintenance, but the “easy” part only holds if you prevent moisture exposure and avoid soaking. This approach works best if your floor is pre-finished/fully sealed and you clean with a light touch and finish-safe products—especially in 2026 kitchen conditions where steam and spills are constant.
The most durable kitchen maintenance strategy for engineered wood floors is preventing standing water and using barely-damp cleaning methods, as emphasized by common wood flooring care guidance.
When manufacturers restrict cleaning methods, following their approved processes helps protect warranties and reduces the chance of finish or seam failure.
Where I’d draw the line (important): if your engineered wood flooring uses an unsealed top layer, has known joint sensitivity from your installer, or you’re dealing with an ongoing leak, “quick DIY cleaning” may not be enough. In those cases, you need manufacturer confirmation and, often, targeted troubleshooting—because engineered wood floors can’t recover cleanly from repeated moisture intrusion.
Who should be extra cautious with engineered wood floors
– Floors with visible seam movement or prior edge lifting.
– Kitchens with frequent plumbing issues or older, unreliable fixtures.
– Anyone who routinely steam-cleans without checking the care guide.
Quick checklist: kitchen care for engineered wood
If you want a simple routine that protects engineered wood floors, focus on barriers (mats), frequency (dry cleaning), and technique (barely-damp only). This checklist keeps your maintenance consistent across spills, traffic, and daily cooking chaos.
Keeping mats at sink and entry points reduces how much water and grit reach engineered wood floors, which helps protect seams and finish wear.
Blot-and-dry methods are safer than spreading liquid around, because they reduce time moisture stays in contact with engineered wood floors.
– [ ] Sweep/vacuum regularly with a soft attachment
– [ ] Wipe spills immediately; blot and dry thoroughly
– [ ] Mop only with a barely-damp method (no soaking)
– [ ] Use manufacturer-approved cleaners for your finish
– [ ] Felt pads under furniture/appliances; lift to move items
– [ ] Mats at sink/entry; rugs where traffic and spills concentrate
– [ ] Dry thoroughly after any water incident
Sources
Engineered wood floors can look great in kitchens when you treat moisture control as the core maintenance strategy and use gentle, finish-safe cleaning every day. Stick to dry cleaning habits, blot spills immediately, avoid steam unless your manufacturer explicitly allows it, and protect seam areas with mats and fast drying. If you ever see seam movement or repeated water exposure, pause and follow your floor’s troubleshooting guidance—because engineered wood floors hold up best when you prevent the problem early rather than trying to “undo” it later.
Frequently Asked Questions
What routine cleaning method is best for engineered wood floors in a kitchen?
Use a soft-bristle broom or a vacuum with a floor-brush attachment to remove grit, then clean with a damp (not wet) microfiber mop and a manufacturer-approved wood floor cleaner. Avoid steam mops and harsh detergents, because excess moisture and residue can damage the top wear layer of engineered hardwood. For sticky spills, wipe promptly with a slightly damp cloth and dry the area immediately to prevent water from seeping into seams.
How do you prevent water damage to engineered wood flooring in kitchen areas near sinks and dishwashers?
Wipe up spills right away and use mats or rugs with a non-slip backing where water is most likely, such as in front of the sink and dishwasher. Ensure dishwasher hoses and under-sink plumbing are leak-free, and check caulk lines or edges if you have them where moisture could collect. Keep humidity stable and consider using a dehumidifier if your kitchen tends to be damp, since engineered wood can still expand or contract with prolonged moisture exposure.
Why do engineered wood floors develop gaps or cupping in kitchens, and how can you prevent it?
Gaps or cupping often happen from excess moisture, frequent wet mopping, or rapid swings in indoor humidity and temperature. To prevent this, follow the recommended cleaning schedule, use only lightly damp cleaning methods, and never flood the floor. Maintain indoor humidity in a comfortable range (often around 35–55% with HVAC control), and address any standing water quickly so the floor doesn’t warp.
Which protective products and floor mats are safe for engineered wood in high-traffic kitchens?
Choose products labeled safe for engineered hardwood floors, such as non-staining felt or fabric chair pads, and avoid rubber-backed mats that can trap moisture or discolor finishes. Use a breathable floor mat at entryways and a water-resistant mat in areas prone to spills, then shake out or wash them regularly so debris doesn’t scratch. If you use furniture coasters, ensure they don’t slide grit under them—grit is a common cause of dullness and micro-scratches.
How should you handle scratches, dents, or worn finish spots on engineered wood floors?
For minor scuffs, try a manufacturer-approved wood floor cleaner or a recommended touch-up product, then buff gently with a microfiber cloth. For deeper scratches or finish wear, you may need a color-matched repair kit or wood filler designed for engineered wood—avoid DIY solutions that leave oils or wax buildup. If the wear layer is thick enough for refinishing, you can refinish the surface according to the floor’s specifications; otherwise, spot repair is usually the best approach.
📅 Last Updated: October 19, 2026 | Topic: How to maintain engineered wood floors in a kitchen? | Content verified for accuracy and freshness.
References
- Wood flooring
- Engineered wood
- https://www.epa.gov/indoor-air-quality-iaq/controlling-indoor-humidity
- https://www.cdc.gov/mold/default.htm
- My Link
- https://www.armstrongflooring.com/support/care-and-cleaning.html
- Home – Tarkett Commercial
- https://scholar.google.com/scholar?q=engineered+wood+floor+maintenance Google Scholar
- https://scholar.google.com/scholar?q=engineered+wood+floor+care+cleaning+moisture Google Scholar
- https://scholar.google.com/scholar?q=kitchen+humidity+engineered+wood+floor+moisture+damage Google Scholar