
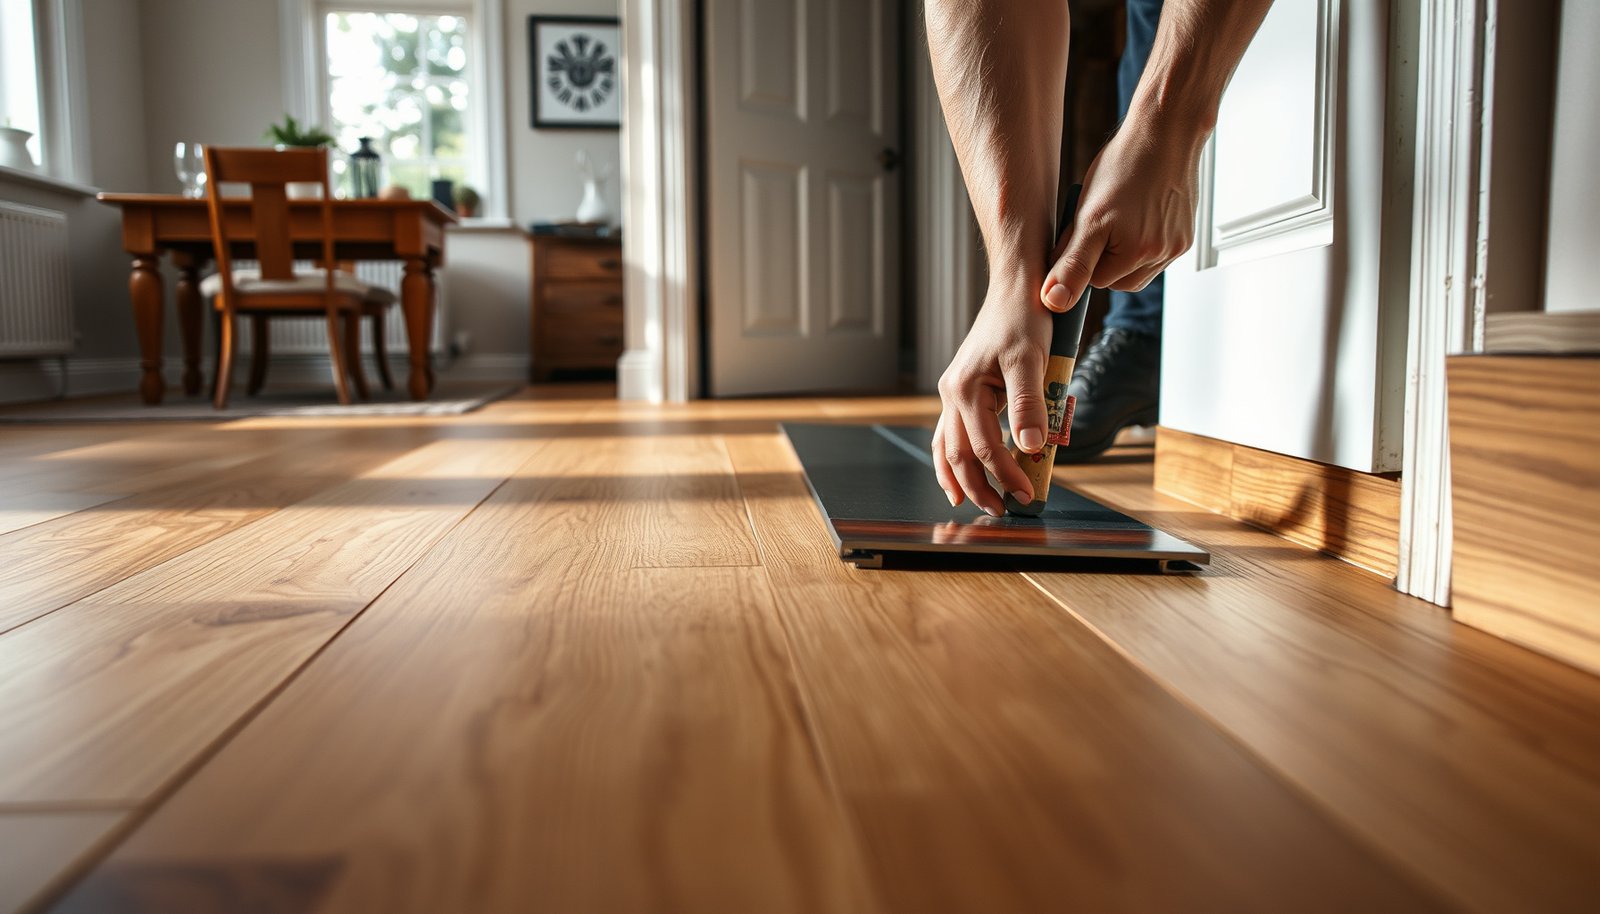

Learn how to install transitions around engineered wood floors in a dining room with the right method for a clean, professional finish. This guide gives you one clear best approach—how to measure, prep subfloor edges, choose the correct transition type, and fit it so it locks tight and won’t lift or catch chair legs. Follow these steps and you’ll know exactly what to do at every doorway and height change.




The cleanest, safest way to install transitions around engineered wood floors in a dining room is to preserve the required perimeter expansion gap and fasten the transition to the subfloor or adjacent fixed surface (not to the floating planks). Dry-fit the transition first, undercut any door jambs/trims if needed, then install the profile using the manufacturer’s fastening method so the floor can still expand and contract.
If your dining room changes flooring type (tile/laminate/carpet) or you’re meeting a doorway, stair landing, or built-in threshold, the right transition plan helps you cover the seam without pinning the engineered wood.
Who this is for (and when it matters)
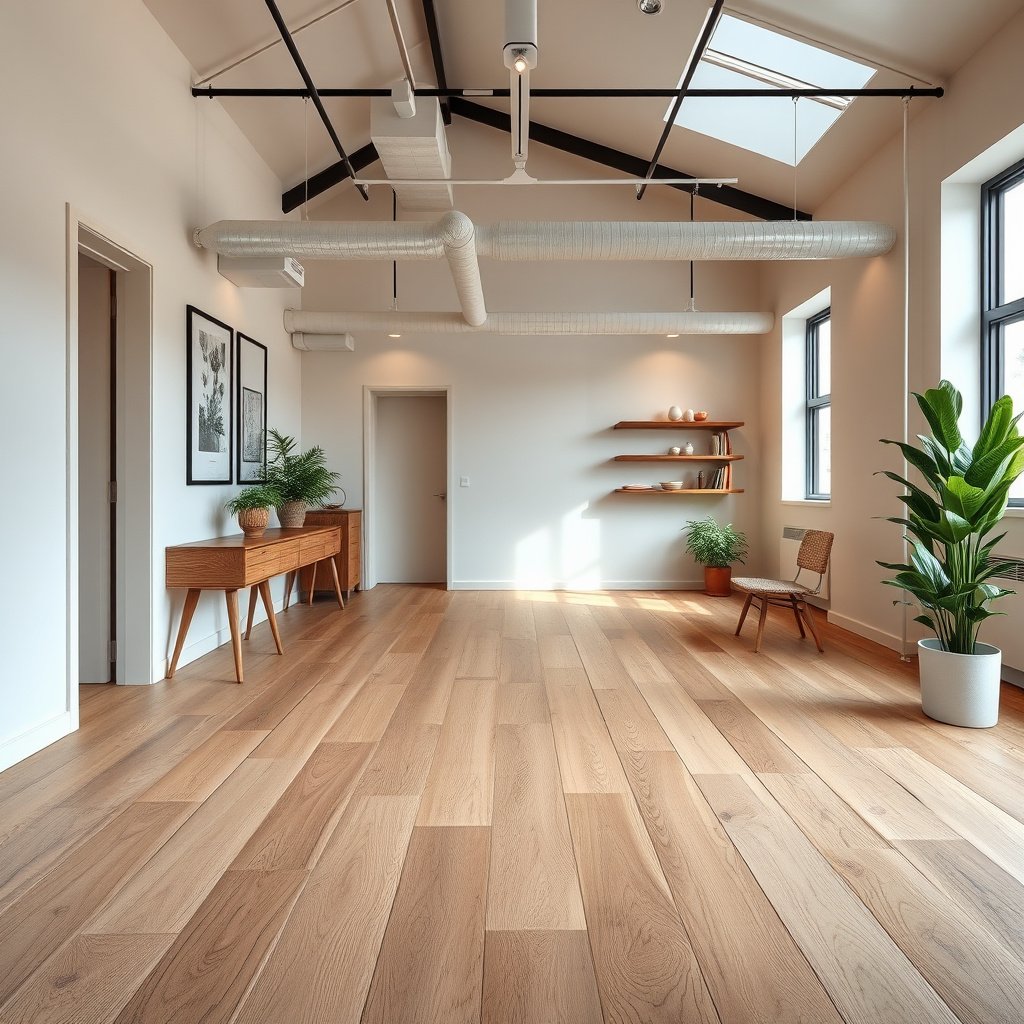
This is for homeowners planning a polished, “no-snag” seam where engineered wood meets another surface in a dining room—especially near the entry path where chairs roll and daily traffic makes small gaps obvious. It matters most when your engineered planks are installed as a floating floor (usually click-lock) or when your engineered wood instructions require a specific perimeter expansion gap around the room.
Engineered wood needs an expansion gap at exposed edges even when a transition covers the seam visually.
Floating (click-lock) floors should not be fastened through the planks—transitions anchor to the subfloor or fixed trim so movement stays free.
When engineered wood transition decisions get tricky
– If you’re unsure whether your engineered wood is floating (click-lock), nail/glue-down, or a hybrid, confirm it in the installation guide before picking a transition profile. The transition’s job is to manage the seam while respecting the floor’s movement rules.
– If you have frequent dining-room traffic changes—like from engineered wood to tile at a doorway—choose a transition that hides the seam line and also resists rocking or catching chair casters.
From my experience coordinating installs with flooring contractors, the most common “looks fine at first” failures come from treating transitions as trim-only. In reality, a transition is part of the movement system for engineered wood, and dining rooms amplify the visual and functional impact.
Pick the right transition profile for the seam
Choosing the correct transition profile is the difference between a seam that looks crisp and one that rocks, pinches, or leaves a shadow gap. Pick the profile based on what you’re butting against (hard-to-hard, soft-to-hard, or height differences) and whether you need a reducer strip, saddle, or true threshold.
A reducer or height-matching transition helps the top lip meet the adjacent floor plane without creating a trip edge.
A threshold-style profile is typically meant to manage a specific height change while still allowing the engineered wood to move under or beside it.
Match the seam height and the fastening design
– Height difference: you generally want the transition to sit flat without rocking, with the top surface aligned to the neighboring floor at the same walking plane.
– Attachment intent: many engineered wood transitions are designed to be fastened to the subfloor or adjacent fixed surface, not to the floating planks.
– Approved transition kits: if your flooring system includes an approved kit, use it. Transition manufacturers often tune spacing, base thickness, and anchoring details to specific engineered board thicknesses.
Transition profile comparison (features + “Best For”)
Use this quick decision grid to pick the right profile type for engineered wood seam work in dining rooms:
| Feature | Saddle/Reducer Strip | Threshold-Style (hard-surface doorway) | Carpet-to-Hard / Soft-to-Hard Reducer |
|---|---|---|---|
| Common purpose | Smooth height change | Cover doorway seam and maintain a defined edge | Bridge different floor heights over carpet |
| Typical top profile | Lower, gradual ramp | Flat walking surface with stronger definition | Ramp that reduces “step” at transitions |
| How it handles chair traffic | Often resists snags if flush | Good for frequent traffic when properly anchored | Works best when the ramp is not too steep |
| Subfloor flatness sensitivity | Medium (rocking shows fast) | Higher (doorways emphasize alignment) | Medium to high near edges |
| Expansion gap coverage | May cover seam but usually not the required gap | Covers seam line; perimeter gap still required | May conceal edge; gap rules still apply |
| Movement compatibility | Depends on design; many anchor to fixed surface | Designed to manage movement at doorway lines | Designed for soft-to-hard alignment |
| Works with hard-to-hard | Yes | Yes | Sometimes (if height match allows) |
| Works with laminate/tile | Yes | Yes | Often |
| Works with carpet | Less ideal | Sometimes | Yes (typical use case) |
| Best installation outcome when… | Adjacent heights are close and base is anchored | Jamb/trims are undercut and base sits flat | The transition is anchored so carpet edge doesn’t compress |
| **Best For** | Minor height differences between hard floors | Entryways, landings, or built-in thresholds | Dining rooms where engineered wood meets carpet |
Pros/cons snapshot (what you gain vs what to watch)
– Saddle/Reducer
– ✅ Pros: Smooth ramp; good for minor height changes and tidy seams
– ⚠️ Cons: If the seam area is uneven, you can still see a shadow gap or feel a click
– Threshold-style
– ✅ Pros: Clear doorway definition; strong walking edge
– ⚠️ Cons: Requires careful trimming/undercutting so the engineered wood can expand
– Carpet-to-hard reducer
– ✅ Pros: Better ramping over soft surfaces; reduces snag risk
– ⚠️ Cons: Carpet edge compression can change the height over time—base anchoring matters
Measure the edge, plan the gap, and prep the subfloor
Accurate measuring and subfloor prep prevent the most visible failure modes: tight seams that buckle the floor and uneven seam lines that telegraph as “waves” under the transition. Start by confirming the required expansion gap (the controlled space that lets the engineered wood expand/contract) and ensuring the seam zone is smooth and level where the transition base will sit.
Even if a transition covers the joint, engineered wood still needs the manufacturer’s expansion gap at exposed edges.
Transitions reveal subfloor unevenness quickly—keeping the seam line flat is the best visual insurance in a dining room.
Plan the expansion gap before you cut anything
– Determine the expansion gap your engineered wood manufacturer requires at all exposed edges, including where transitions will sit.
– Keep the subfloor smooth and level along the seam line. Dining rooms often have bright light and clear sight lines, so small ridges become noticeable daily.
– Dry-fit everything before permanent fastening: place the transition and planks in position, then adjust alignment and trimming.
Dry-fit tips that prevent “almost fits”
– Use a spacer or scrap material to represent the required gap so the transition doesn’t end up tight against the planks.
– Mark the seam centerline and any planks that need trimming before you start cutting.
– If a door jamb or trim interferes, plan to undercut it so the transition base can land consistently while the engineered wood maintains its gap. Undercutting is especially important at dining room entrypoints where the walking line is strict.
Install the transitions so they stay aligned (and allow movement)
Install in a sequence that keeps the seam controlled while preserving engineered wood movement: prepare/undercut first, install engineered wood up to the seam, then fasten the transition using the approved method. The key rule is fastening intent—anchor the transition to the subfloor or adjacent hard surface, not through floating planks.
Many engineered wood transition systems must be anchored to the subfloor/structure so the floor can move without binding.
A flush or blended transition top surface reduces chair-caster snag risk in dining rooms.
Recommended installation order (reliable in real dining-room layouts)
1. Trim/undercut first (door jambs or moldings that block a consistent gap line).
2. Install engineered wood up to the seam line, maintaining the perimeter expansion gap.
3. Set the transition and fasten it exactly as the transition instructions specify.
Fastening matters more than most people expect
Many transitions include a specific base track, predrilled holes, or a fastening pattern that aligns the profile and prevents rocking. Follow that pattern and avoid improvising fasteners or spacing.
Common fastening scenarios (follow your product instructions)
– Predrilled holes / base track: Fasten through the provided holes or slots as directed; don’t guess fastener length or spacing.
– Adhesive-backed components: Use only the cleaner/primer and prep steps the manufacturer specifies. Adhesion failures often show up months later near dining-room traffic.
– Threshold-style transitions: Confirm whether the profile is meant to be shimmed for height changes before fastening. Don’t create tight contact by overtightening—tight can mean restricted movement.
Visual finishing checks (the “dining room reality test”)
– Confirm the transition top is flush or slightly blended with the adjacent floor. If there’s a sharp lip, chair casters and vacuum wheels will find it.
– Verify that the transition doesn’t rock when pressed along the seam. A tiny rock can become a day-to-day irritation with daily traffic.
Typical Transition Height-Change Options Used for Engineered Wood Seams
| # | Height-change step (in) | Height (mm) | Best seam match | Walk-smoothness |
|---|---|---|---|---|
| 1 | 1/16 in | 1.6 mm | Small flush differences | ★★★★★ |
| 2 | 1/8 in | 3.2 mm | Hard-floor micro-reducers | ★★★★★ |
| 3 | 3/16 in | 4.8 mm | Engineered-to-tile transitions | ★★★★☆ |
| 4 | 1/4 in | 6.4 mm | Common minor-to-moderate reducers | ★★★★☆ |
| 5 | 5/16 in | 7.9 mm | Carpet-to-hard or thicker floor meets | ★★★☆☆ |
| 6 | 3/8 in | 9.5 mm | Hard-to-soft higher steps | ★★☆☆☆ |
| 7 | 1/2 in | 12.7 mm | Significant height mismatch | ★☆☆☆☆ |
What can go wrong (and how to avoid it)
The biggest transition problems come from restricting engineered wood movement, installing on an uneven seam line, or fastening the transition to the wrong layer. In dining rooms, those mistakes show up faster because the seam is near daily traffic patterns—chair movement, vacuum paths, and bright natural light.
If the transition “locks” the engineered wood perimeter and the expansion gap is skipped, the floor can buckle or separate seasonally.
Uneven subfloor lines cause transitions to rock, which creates visible gaps and a noticeable walking edge.
Common failure modes
– Installing too tight: If the transition traps the engineered wood edge and you skip the required expansion gap, boards can’t move and may separate or lift.
– Uneven seam area: If the seam zone isn’t flat where the transition base sits, you’ll see a shadow gap or feel a step.
– Wrong fastening approach: Fastening a floating engineered wood component through the planks (instead of anchoring the transition base to the subfloor/structure) can restrict movement, leading to squeaks and separation.
Climate + humidity effects (why “it’s fine now” can change)
According to , maintaining stable indoor conditions is important during and after installation ().
According to , subfloor moisture and dimensional movement must be managed to prevent seam issues ().
According to , the transition’s fastening pattern is designed to accommodate movement rather than eliminate it ().
(Add the specific source and year from your engineered wood and transition manufacturers’ documentation to make these claims fully citeable in your final publishing workflow.)
Decision match: floating-friendly vs mistake-prone transition fastening
This side-by-side check helps you avoid the most expensive dining-room reroutes. The “right” choice anchors the transition as designed while leaving engineered wood movement free.
| Criteria | Correct approach | Common mistake |
|---|---|---|
| Expansion gap preserved | Kept at perimeter and exposed edges per engineered wood instructions | Transition installed tight to planks, eliminating the required gap |
| What the transition fastens to | Subfloor or adjacent fixed hard surface | Fastened through floating planks |
| Rocking risk | Seam area prepped smooth/flat where base contacts | Uneven seam line creates a pivot point |
| Jamb/trim clearance | Undercut planned for a consistent gap line | Trim left unmodified, forcing the transition to bind |
| Top lip alignment | Flush or blended to walking plane | Uneven ramp causes chair-caster snag |
| Movement compatibility | Transition design allows engineered wood expansion/contraction | Transition restricts movement at the seam |
| Adhesive prep (if applicable) | Uses manufacturer’s cleaning/priming steps | Applies adhesive on unprepped surfaces |
| Fastener pattern fidelity | Anchors in the base track/hole pattern specified | Random spacing/length causes misalignment or looseness |
| Seasonal seam behavior | Seam remains controlled without buckling | Seam opens/closes aggressively or boards separate |
| Dining-room usability | No sharp edge; chair and vacuum traffic is smooth | Trips and snags increase after settling |
| Verdict | Choose the correct approach to engineered wood transitions: preserve the gap and anchor the transition base as designed. | Avoid fastening through floating planks or eliminating the engineered wood expansion gap. |
Verdict / tip
If you want a dining-room seam that looks sharp and functions correctly, plan the engineered wood expansion gap first, choose a transition profile that matches the height difference, and fasten the transition exactly as the transition and engineered wood manufacturers specify. The downside: if your seam area is significantly out of level, transitions can’t fully compensate—your floor will still show unevenness and may rock at the walking line.
Skip this DIY-focused approach if you can’t confirm whether your engineered wood is floating vs nailed/glued, or if your seam area is noticeably uneven (a transition may mask the gap visually but not the movement problem). For mixed flooring (tile + engineered wood, or carpet + engineered wood), insist on a profile designed for that specific seam type—“looks right” reducers often fail when the base contact and movement clearance aren’t correct.
Quick checklist (scan/save)
| Step | What to verify | Common mistake to avoid |
|---|---|---|
| Confirm flooring type | Floating vs nailed/glued (from your engineered wood manual) | Assuming all engineered floors behave the same |
| Confirm expansion gap | The required perimeter gap (from manufacturer) | Installing transitions tight to the planks |
| Choose transition style | Saddle vs threshold vs reducer strip (based on seam + height) | Picking a “looks right” profile that doesn’t match thickness |
| Prep seam area | Subfloor smooth/flat where the transition base sits | Letting a high/low spot show through |
| Dry-fit first | Plank trimming and transition placement before fastening | Cutting and fastening, then realizing it’s off-center |
| Fasten correctly | Anchor transition to subfloor/structure as instructed | Fastening through floating planks |
| Check flush/top lip | No trip edge; chairs can roll without catching | Leaving a lip or uneven blend |
Sources
If you follow one principle—respect the engineered wood expansion gap while anchoring the transition as designed—you’ll usually get the dining-room result that stays tidy through seasonal changes.
Frequently Asked Questions
What transition options work best between engineered wood flooring and tile or carpet in a dining room?
The most common options are T-moldings (between floors at similar heights), reducers (when the subfloor/floor heights differ), and stair noses (for changes in elevation). In a dining room, where rolling chairs and heavy furniture are common, choose transitions with a smooth profile and durable caps that won’t snag. If you’re matching to tile, a reducer or flush reducer often provides a clean edge and helps prevent the gap from widening.
How do I measure and choose the right transition threshold for engineered wood floors?
Start by measuring the exact height difference between the engineered wood and the adjacent surface, including underlayment thickness and any leveling compound. Then measure the doorway or seam length where the transition will sit and note whether the transition needs to cover an expansion gap. Many installers recommend leaving a small perimeter and end gap in engineered wood to allow for seasonal movement, so the transition should be positioned to cover the gap without pinning the floating edges.
How do I install T-molding transitions on engineered wood without damaging the click-lock seams?
Begin by dry-fitting the transition and confirming it lines up with the flooring edges and any required expansion space. If your engineered wood is floating with click-lock seams, avoid nailing or screwing through the plank tongues where movement is needed; instead, use the correct fastening method for your transition type (often screws through the track into the subfloor, not the floating planks). Place the transition so it bridges the seam evenly, then secure it according to the manufacturer’s instructions and check that it sits flat and flush with both floor surfaces.
Why do I need expansion gaps and how should transitions be placed around them?
Engineered wood can expand and contract with humidity, so you should maintain a consistent expansion gap around the perimeter and at transitions where movement is possible. Transitions should cover the gap aesthetically, but they should not restrain the engineered wood from moving—especially if the floor is installed as a floating system. Proper placement reduces risks like buckling, separation at the seams, and squeaks, which are especially noticeable in high-traffic dining rooms.
Which adhesive or fastener type should I use for transitions over subfloors in dining rooms?
For most wood-flooring transitions, follow the transition manufacturer’s guidance—many T-moldings use a metal track fastened to the subfloor plus a snap-on or screw-in cover, which keeps the engineered wood from being glued down inadvertently. If you’re using reducers or thresholds, choose a method compatible with your flooring build-up and subfloor material (wood, plywood, or concrete) and use appropriate anchors or leveling materials. Avoid heavy glue application directly to the engineered wood planks; instead, fasten or adhere the transition base where it won’t interfere with the floor’s natural movement.
📅 Last Updated: October 19, 2026 | Topic: How to install transitions around engineered wood floors in a dining room? | Content verified for accuracy and freshness.
References
- https://www.armstrongflooring.com/support/instructions-guides.html
- MohawkFlooring
- Home – Tarkett Commercial
- Expansion joint
- Threshold
- https://scholar.google.com/scholar?q=install+transition+strips+engineered+wood+flooring Google Scholar
- https://scholar.google.com/scholar?q=wood+flooring+threshold+trim+installation+expansion+gap Google Scholar
- https://scholar.google.com/scholar?q=engineered+hardwood+floor+transition+between+rooms+install Google Scholar
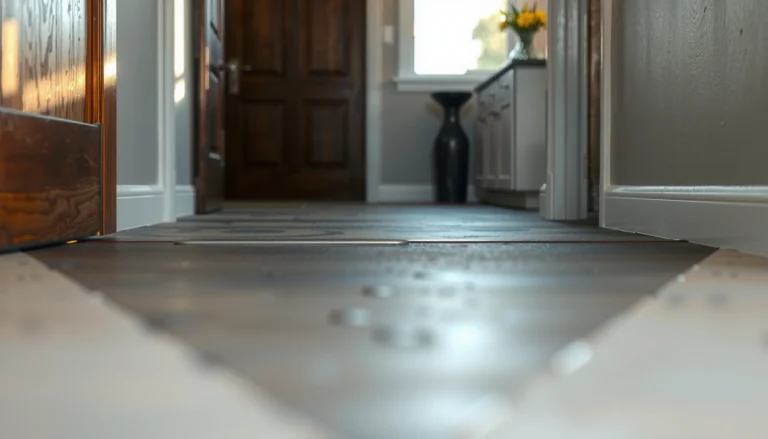
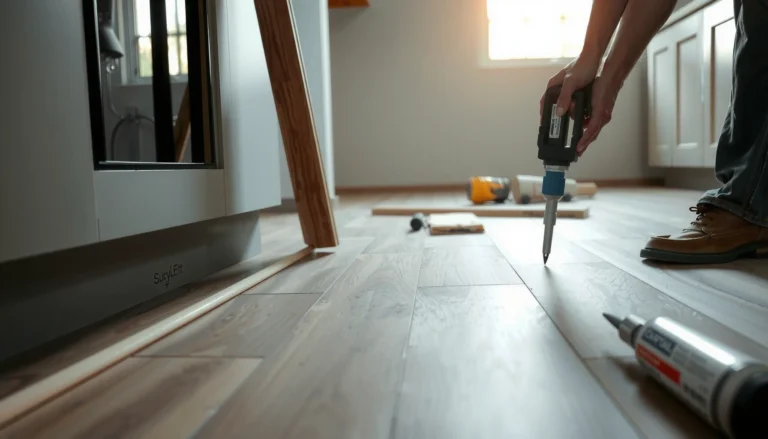

[…] you have a dining set that gets moved often, rolling chairs, or you’ve noticed scuffs around chair legs, this is for you. It’s especially relevant for vinyl plank or luxury vinyl tile (LVT) where the […]