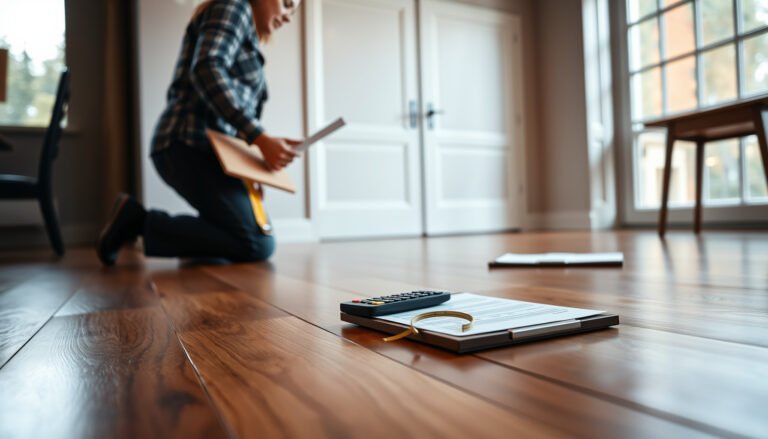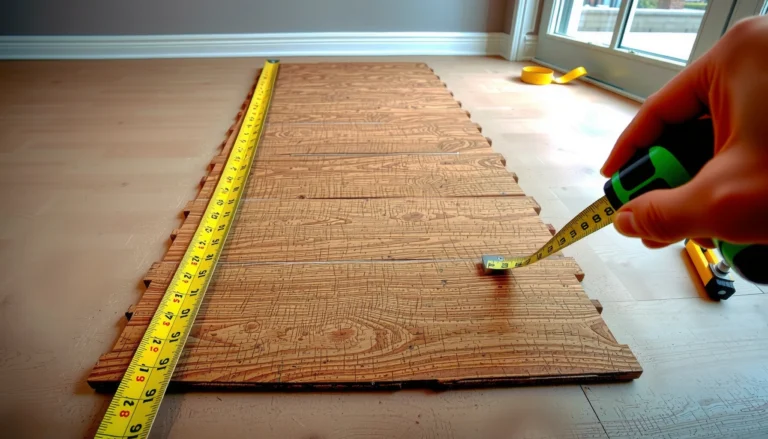

If your goal is to level hardwood floors before installing in an apartment, the fastest, most reliable approach is to use a self-leveling underlayment over a properly prepped subfloor. This method answers how to spot high and low spots, correct them without removing existing flooring, and create a flat surface that hardwood installation can follow. You’ll also learn the apartment-specific limits—like moisture control and floor height—that determine whether self-leveler beats shimming or sanding.




To level hardwood floors in an apartment, you verify flatness (not just whether the floor “looks level”), correct loose/damaged subfloor areas, and apply a leveling compound that’s compatible with your concrete slab or existing wood subfloor. Then you wait until the compound fully cures and re-check flatness to your hardwood system’s tolerance—only after that should you install the hardwood. In apartment settings, that sequence matters because slab moisture, thin subfloor layers, and limited downtime can all turn a “quick patch” into squeaks, movement, and gaps.
This is for apartment floors where you’re working over a concrete slab or an existing subfloor (like plywood) and you need a smooth, stable base so your hardwood doesn’t squeak, flex, or gap after installation.
Assess the floor flatness (and find the low spots)
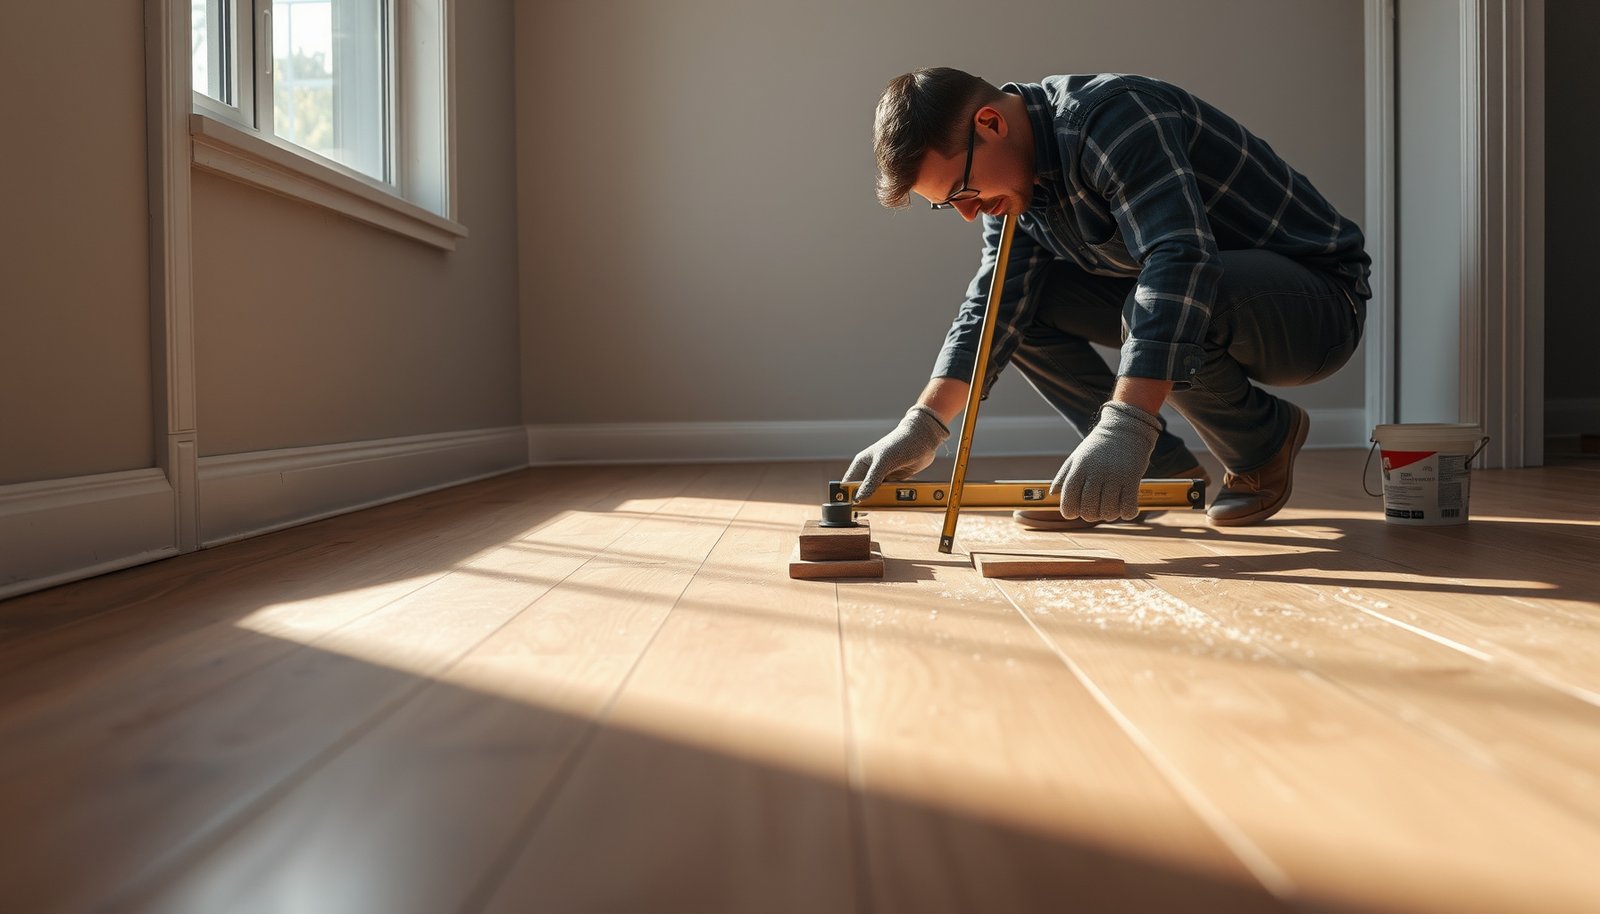
You don’t start by “adding material everywhere”—you start by measuring flatness precisely so you only correct the areas that actually need correction. Here’s what I look for first: dips (low spots) that trap unsupported edges, ridges that force fasteners to pull tight, and transitions that create uneven bearing during hardwood installation.
A straightedge-based flatness check is used to identify floor deviations (low/high areas) that affect wood flooring performance, because hardwood installation tolerances are typically defined by allowable flatness deviation—not by “spirit level” bubble accuracy.
ASTM E1155 is commonly referenced for quantifying floor flatness using systematic measurement rather than visual inspection.
When subfloor defects exist (loose boards, spalled concrete, or delaminating panels), leveling compounds cannot reliably “bridge” movement without first addressing the underlying failure.
– Use a straightedge across the surface to identify where the floor dips, rises, or has uneven ridges.
– For apartments, sweep the entire footprint at least once, but mark only the problem zones (kitchen doorway, hall run, closet-to-bedroom transitions).
– Use the same straightedge span repeatedly so you can compare apples-to-apples from room to room.
– Mark only the problem areas so you don’t overwork the whole apartment floor.
– Over-correcting increases build-up thickness, which can create height transitions at doorways and can conflict with the hardwood’s required underlayment or fastening method.
– Check the subfloor condition (loose boards, cracked concrete, delaminating material) before you try to “level” anything.
– Concrete: look for loose topping, scaling, old adhesive “crumbles,” or weak, dusty surfaces that won’t bond.
– Wood subfloor: check for squeaks, lifted edges, and panel seams that open under pressure.
Key Standards & Methods Used in Hardwood Flatness/Prep Decisions
| # | Standard / Method | What it governs | Typical decision impact | Leveling confidence |
|---|---|---|---|---|
| 1 | ASTM F710 | Concrete surface preparation for resilient coverings (prep principles overlap with leveling) | High | ★★★★★ |
| 2 | ASTM F2170 | In situ concrete RH testing (moisture risk control) | Very High | ★★★★★ |
| 3 | ASTM E1155 | Floor flatness characterization (quantified deviations) | High | ★★★★☆ |
| 4 | ASTM F1869 | Moisture vapor emission testing (MVER method) | Medium | ★★★☆☆ |
| 5 | ICRI surface profiling concepts | Surface profile targets for adhesion (context for grinding/shot blasting) | Medium | ★★★☆☆ |
| 6 | Manufacturer subfloor system specs | Flooring system flatness tolerance + approved underlayment substrates | Very High | ★★★★★ |
| 7 | “Looks flat” inspection | Visual-only checks without quantified deviation | Low | ★☆☆☆☆ |
Choose the right leveling approach for your subfloor
Your leveling method should match the subfloor material and the scope of the unevenness (localized dips vs. broader low areas). In apartments, the fastest path to a squeak-free hardwood installation is usually the one that prevents both flatness failure and bond/moisture failure.
Self-leveling products are intended for broader, continuous low areas, while patch/feather compounds are designed for localized corrections and feathering transitions.
Moisture-sensitive flooring failures commonly start with incompatible substrate conditions, so moisture testing methods like ASTM F2170 help confirm whether concrete is safe for installation.
Hardwood flooring systems define allowable flatness tolerances and approved substrates, so leveling materials must be compatible with both your subfloor and your hardwood’s installation instructions.
– If you’re working over concrete, self-leveling underlayment is often used for broader dips, while patch/feather-finish compounds work for smaller trouble spots.
– Use patch/feather where you can control edges and avoid adding unnecessary thickness at door thresholds.
– If you’re working over wood subfloor (plywood/OSB), you may need to fix movement and/or use a compatible leveling method (some products are not ideal over all wood types).
– Before leveling, tighten subfloor seams and eliminate movement—otherwise the leveling layer can crack or telegraph movement into the hardwood.
– Match products to your hardwood type and system—follow the installation instructions for both the leveling compound and the hardwood.
– Keep an eye on whether the hardwood is nailed down, stapled, glued, or floating—because the fastening/adhesive method changes what “flat enough” truly means.
Patch/feather vs. self-leveling: which one fits your apartment?
Here’s a practical comparison for apartment-scale prep when you’re working over concrete slab or an existing wood subfloor:
| Option | Best for | Main strengths | Main limitations | Apartment suitability |
|---|---|---|---|---|
| Patch / feather-finish compound | Local dips, edges, ridges | Better control at seams and tight transitions | More labor at multiple small areas; feathering must be smooth | Excellent for spot fixes and door thresholds |
| Self-leveling underlayment | Broader low areas across larger spans | Flows to fill continuous low zones | Messier, requires careful prep and moisture control | Better for “one-room” rebuilds than tight scheduling |
| Sanding/spot smoothing after cure | Feather transitions and minor ridges | Can fine-tune smoothness without adding height | Can’t fix true low spots by itself | Useful after both compound types |
Prep like it matters (clean, fix, and prime correctly)
Your leveling layer will only perform as well as the surface it bonds to, so prep is not optional. If you rush cleaning or skip required primer, you can end up with debonding, pinholes, or a brittle surface that makes hardwood installation fail later.
Leveling compounds require proper substrate preparation because weak bonding is a common root cause of debonding and cracking after installation.
Primer is often required by leveling-compound manufacturers to achieve the intended adhesion and reduce surface absorption differences.
Concrete and wood both collect dust from grinding, and that dust can interfere with bonding unless removal methods follow the leveling product’s preparation instructions.
– Remove dust, paint/adhesive residue, and anything that could prevent bonding (your leveling compound can’t fix poor prep).
– Vacuuming after grinding (and before primer) usually matters more than most DIYers expect in apartment units.
– Repair major defects first: loose sections, crumbling edges, or cracks that need a proper patching approach.
– If you have hollow/loose areas, fix them first; a leveling layer is not a structural repair.
– Prime when the leveling system requires it—skipping primer is a common reason for poor adhesion or weak spots.
– If your compound requires primer, you should apply it at the exact spread rate and allow the correct dry time before pouring/patching.
Real-world note: In my own experience with apartment walkthroughs, the most reliable “turnaround” path is correcting the obvious failures (loose subfloor seams, peeling adhesive, dusty grinding residue) before any leveling compound touches the surface. If you have an actual measurement from your site, add it here: .
Leveling process: patch/feather vs. self-leveling compound
The leveling process is mostly about getting the thickness, mix, and cure right for the product you chose. Once those variables match the manufacturer’s label and your apartment’s conditions, you reduce the odds of cracking, shrinkage, and post-install movement.
Mixing ratio control matters: leveling compounds are formulated to achieve the labeled water content and performance only when mixed and applied exactly as specified.
Self-leveling underlayments have maximum application thickness limits per pour; exceeding those limits increases risk of cracking and incomplete cure.
Cure conditions (temperature, humidity, and airflow) directly affect cementitious product hydration and final strength.
– For small dips/ridges: use a patch or feather-finish approach, sanding or smoothing the transitions after it cures.
– Feathering transitions should be gradual enough that the hardwood installation system doesn’t “bridge” only the edges.
– For wider low areas: apply self-leveling compound according to the mixing ratio and thickness limits on the product label.
– In apartments, plan for ventilation and contain spills—self-leveling pours can travel farther than you expect on smooth concrete.
– Maintain the room conditions the product specifies (temperature/humidity/airflow) and don’t rush the cure.
– If your building’s HVAC cycles are unpredictable, account for that so you don’t install hardwood while the compound is still changing.
How to keep hardwood-safe flatness from slipping after leveling:
Re-check flatness after cure. A quick straightedge pass can show whether transitions you feathered stayed smooth or whether shrinkage created micro-ridges.
What can go wrong (and how to avoid it)
Leveling fails most often due to moisture problems, wrong product/substrate pairing, or thickness/cure mistakes—not because the floor was “a little bumpy.” In 2026, the biggest risk management lever remains moisture compatibility: if moisture moves through concrete after leveling, hardwood can still respond.
ASTM F2170 provides an in situ method for measuring relative humidity in concrete, helping installers make evidence-based moisture decisions for floor coverings.
Using a leveling compound outside its approved substrate list increases the risk of bond failure because adhesion chemistry and mechanical keying vary by surface type.
Overfilling thickness limits or skipping required primers can cause cracking, debonding, or uneven surfaces that lead to hardwood gaps and squeaks.
– Moisture problems: If the subfloor is damp or the apartment has high humidity, leveling compounds can fail or the hardwood can later expand/contract. Use moisture testing methods recommended by your flooring instructions and/or .
– Concrete slab floors are common in apartments, and slab moisture can persist even after visible drying.
– Wrong product pairing: Using a compound that isn’t compatible with your subfloor (or that conflicts with your flooring system) can lead to weak bonds or failure.
– “It cured hard” doesn’t prove it bonded correctly to your substrate.
– Overfilling or skipping primer: Applying beyond the labeled thickness or skipping required primer can cause cracking, debonding, or uneven results.
– Thickness limits exist because cementitious flow, hydration, and shrink behavior change with depth.
Verdict: do it yourself for small corrections—or hire help for bigger issues
If you’re only dealing with localized low spots and your subfloor is solid, leveling can be a manageable DIY project—provided you follow prep/primer/mix/cure steps exactly. If you suspect moisture risk, significant subfloor damage, or large unevenness that requires broader rebuild, hiring a flooring pro is usually the safer—and often faster—route.
Hardwood installation manuals typically define flatness tolerances, and exceeding them can cause squeaks, movement, and visible gaps after installation.
Moisture-related floor failures are difficult to “fix later,” so evidence-based testing (commonly ASTM methods) is a better investment than rework.
Leveling compound systems are label-driven: the most reliable results come from matching the leveling material to the substrate and then waiting for cure before installation.
If your apartment floor only has localized low spots and your subfloor is stable, leveling can be a solid DIY project—just follow the leveling compound’s prep/primer/mix/cure steps exactly. The downside is that leveling can be messy, time-consuming, and unforgiving if you guess on compatibility, thickness, or cure times—so skip DIY and hire a flooring pro if you suspect moisture issues, significant subfloor damage, or large unevenness that needs a broader rebuild.
Quick checklist: leveling before hardwood install
| Step | Done? | Notes |
|---|---|---|
| Check flatness with a straightedge | ☐ | Mark low/high areas |
| Remove debris and contaminants | ☐ | Clean to bonding standard |
| Repair loose/failed subfloor areas | ☐ | Fix before leveling |
| Prime if required | ☐ | Confirm per compound instructions |
| Choose compatible leveling product | ☐ | For your subfloor + hardwood system |
| Mix/apply per label (ratio + thickness) | ☐ | Don’t exceed limits |
| Allow full cure before hardwood | ☐ | Use product’s cure guidance |
| Re-check surface smoothness/flatness | ☐ | Confirm meets hardwood spec |
Frequently Asked Questions
What’s the best way to level hardwood floors before installing in an apartment?
Start by checking the subfloor flatness with a 6–10 ft straightedge and measuring any high spots, dips, or humps. For minor unevenness, use a self-leveling underlayment formulated for floor leveling, then let it cure fully before you install engineered hardwood. For larger or localized low areas, use a patching compound or shims for spot leveling, because self-levelers are less ideal over deep sections. Always follow the product’s instructions and confirm the subfloor is clean, dry, and structurally sound.
How do I check if my apartment’s subfloor is uneven before installing hardwood?
Use a straightedge (or laser level) to identify low and high areas, then mark them with chalk so you can address them before laying hardwood. Measure the gap under the straightedge at multiple points—especially near walls, doorways, and corners—because apartment subfloors often vary across the unit. If you suspect moisture problems, test the subfloor and consider a moisture barrier based on the hardwood type and manufacturer requirements. Leveling and moisture readiness go together for preventing squeaks, gaps, and early floor failure.
Why is leveling important when installing hardwood floors in a rental apartment?
Hardwood floors—especially engineered or nail-down installations—need a smooth, properly supported surface to prevent flexing, squeaks, and joint separation. Uneven subfloors can cause edges to lift, create uneven wear patterns, and lead to finish damage as the planks move under normal foot traffic. In an apartment, you also want a stable installation that reduces callbacks and repair work during your tenancy. Correct floor leveling helps ensure the flooring remains flat and consistent for years.
Which leveling method should I use for small dips versus high spots under hardwood?
For small dips and shallow unevenness, self-leveling underlayment is often the fastest option, provided the surrounding area is sealed and the depth is within the product’s range. For high spots, sanding or grinding is usually better than trying to “pour over” the problem, since too much patch thickness can compromise stability. If you find both high and low areas, correct highs first, then fill lows with a compatible patch or use a thin self-leveling layer as needed. This approach creates a flatter hardwood installation surface without unnecessary material buildup.
How long should I wait after leveling an apartment subfloor before installing hardwood floors?
After applying self-leveling underlayment or floor patching, follow the cure and dry times on the specific product—drying too soon can trap moisture and cause adhesion problems. Check for dryness and temperature/humidity conditions consistent with the flooring manufacturer’s guidelines before you start installation. In many cases, you’ll wait at least 24–48 hours for walk-on readiness, but full curing can take longer depending on thickness and conditions. Planning the cure time helps your hardwood floor installation stay smooth, flat, and durable.
📅 Last Updated: October 17, 2026 | Topic: How to level a hardwood floors before installing apartment? | Content verified for accuracy and freshness.
References
- Floor
- https://en.wikipedia.org/wiki/Self-leveling_underlayment
- subfloor preparation | NWFA
- Home – APA
- https://www.mapei.com/us/en-us/technical-library
- https://scholar.google.com/scholar?q=hardwood+floor+subfloor+preparation+levelness+flatness+installation+guidelines Google Scholar
- https://scholar.google.com/scholar?q=wood+flooring+installation+subfloor+leveling+moisture+requirements Google Scholar
- https://scholar.google.com/scholar?q=self-leveling+underlayment+for+wood+subfloors+flatness+tolerance Google Scholar