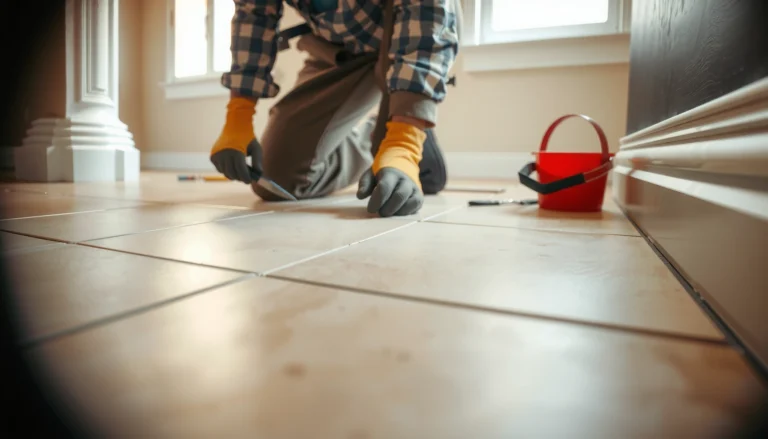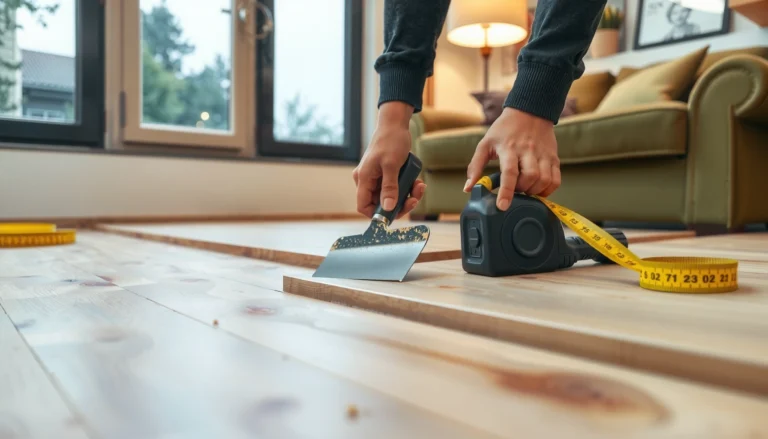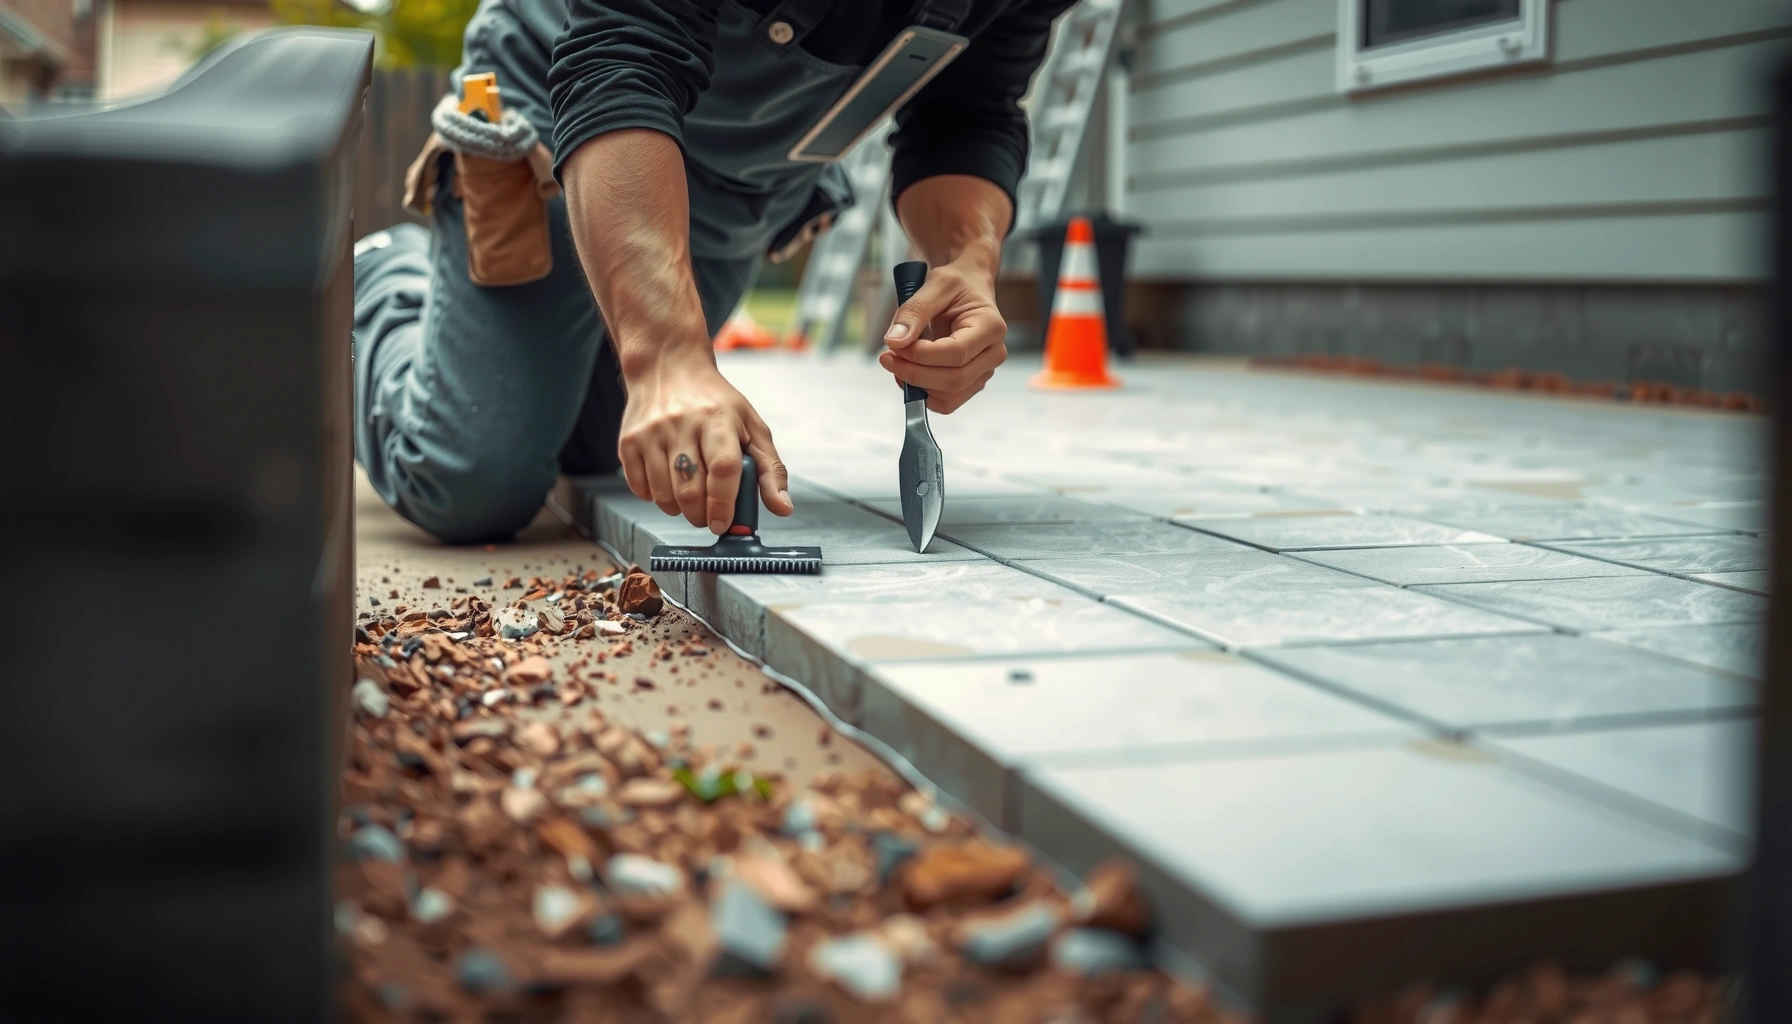

Need to replace patio floors and want the fastest, cleanest path from rotten boards or cracked tiles to a solid, level surface? This step-by-step guide shows exactly how to remove the old flooring, prep the base, and install the right replacement with the correct fastening and sealing so it lasts through weather. You’ll finish with a patio floor that’s built to drain properly and stay stable—without guesswork.




If your patio floor is cracked, loose, or uneven, the fix is usually the same: remove the failed surface, rebuild and level a stable base (with drainage), then install the new flooring using the correct bedding/jointing system. You’ll avoid most early failures by treating the base and water management as the main project—not the “pretty” top layer.
This guide is for homeowners replacing patio floors themselves (pavers, slabs, or tiles) or for anyone who wants to talk clearly with a contractor about scope. It covers both small spot replacements and full patio refreshes, with an emphasis on what must be done to keep the patio level and prevent repeat cracking, sinking, weeds, and lifting.
Assess Your Patio and Choose the Right Replacement
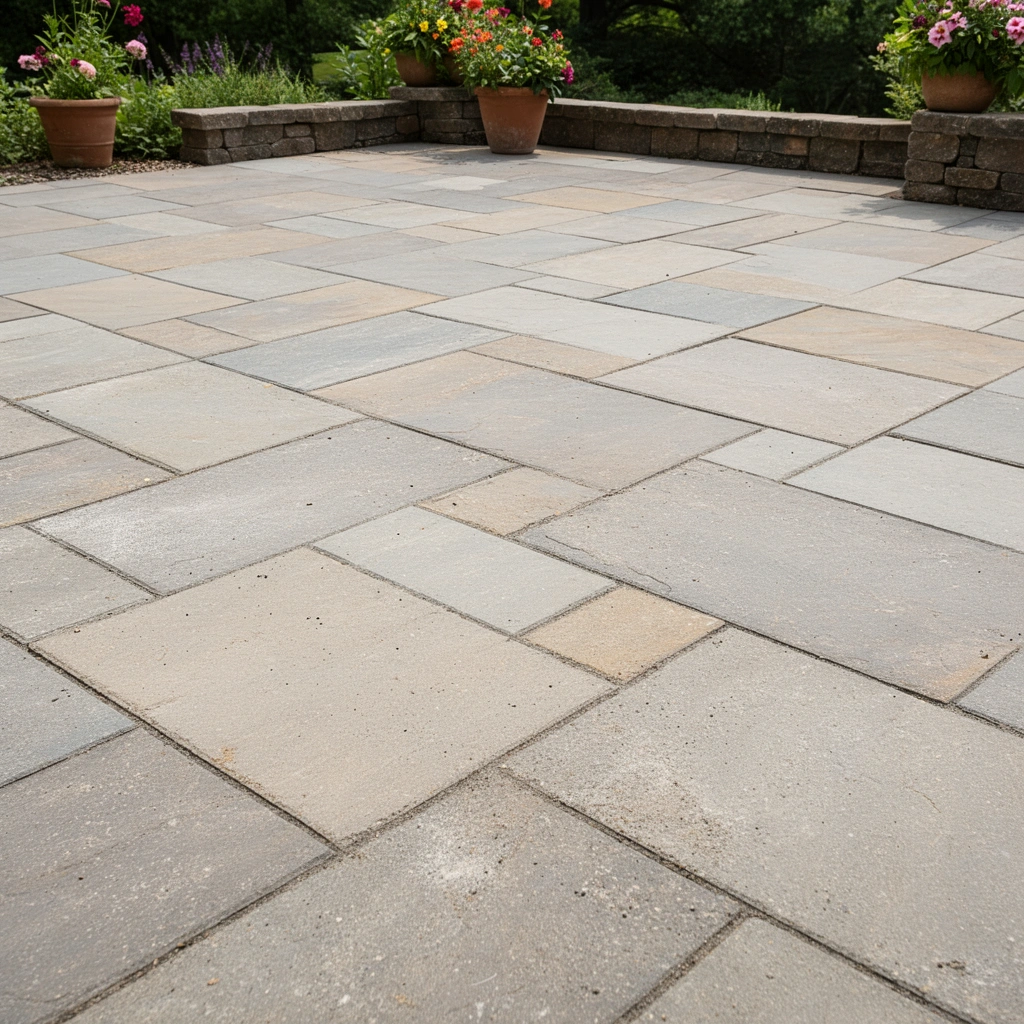
A successful patio replacement starts with identifying what you have and why it failed. Once you know whether the problem is cracking, lifting, sinking, or weed growth, you can choose a replacement system that matches both your patio type and your site conditions.
Before you buy materials, walk the patio and take notes on patterns. Hairline cracking plus no movement often points to surface stress, while visible sinking or repeating dips usually signal base loss (erosion, washout, or voids). Weeds are a strong indicator that joints are open or drainage is forcing water downward through gaps—both are base/system issues, not just “dirty grout.”
Then confirm what your existing patio actually is:
– Concrete slab (broad monolithic area): failure often appears as cracking plus uneven settlement.
– Pavers (individual units): failure often appears as rocking, sinking corners, or joint loss.
– Outdoor tile/stone (tile over mortar bed or modified thinset): failure often appears as debonding, lippage, and cracking tied to substrate movement or inadequate waterproofing/drainage design.
– Natural stone (flagstone and similar): failure often appears as loose stones, spalls at edges, or differential settling.
Also evaluate the patio’s exposure: freeze/thaw cycles (common in colder climates), heat-driven expansion, rainfall intensity, and foot traffic all influence material choice and drainage strategy.
If pavers are rocking or sinking, you typically have a base and compaction problem—not just a surface wear problem.
For freeze/thaw regions, drainage that keeps water from pooling is as important as leveling the top surface.
What to look for in the base (before you remove anything)
Check for:
– Soft spots you can press by foot
– Erosion channels where water runs
– Evidence of washout (gravel missing beneath low areas)
– Standing water after rain (a drainage red flag)
– Edge failures (often where restraint is weakest)
According to guidance commonly used in paver systems, bedding sand is designed to be a thin, controlled setting layer, while the compacted base provides the structural support; when support is lost, the surface fails again quickly. [ADD: source for paver base/bedding principle—e.g., ICPI or local building authority guidance]
Measure, Plan Layout, and Set Drainage
Replacing patio floors goes wrong most often when the homeowner plans the layout but forgets the water path. Your measurements should establish slope and edge details first, then guide every cut and course line.
Start by measuring:
– Patio width/length (inside edge to inside edge)
– Existing transitions (door thresholds, steps, garden borders)
– Any utilities (irrigation lines, low-voltage wiring, drainage outlets)
– The current height relative to adjacent surfaces (so you don’t end up with a step-up/step-down trip hazard)
Next, confirm drainage direction. Water should move away from the house rather than sitting on the patio surface. In many outdoor flatwork applications, slope targets are specified in local codes/standards and manufacturer installation notes; if you don’t have those, use conservative, code-aligned slope and verify with a level and straightedge. [ADD: source for typical outdoor flatwork slope requirement in your jurisdiction]
From there, plan the layout so you minimize awkward cuts:
– Keep the smallest cuts where they’re least noticeable (often at edges)
– Preserve symmetry around focal points (steps, planters, seating areas)
– Use spacers consistently for pavers/stone where the system calls for specific joint spacing
Finally, ensure you can access and stage work safely. Patio replacement involves heavy debris removal, compaction equipment (or at least hand tamping), and materials delivery. A “perfect plan” fails if you can’t physically remove the old surface and rebuild layers cleanly.
Layout planning should include slope and edges—every cut is downstream of water management.
Before you remove any material, document current heights so the new patio doesn’t end up too high near doors.
Remove the Old Patio Flooring Safely
Removal is straightforward when you protect surrounding structures and clean to stable substrate. The goal is to reach a base you can trust—not to “half-remove” failed materials and cover the problem.
How you remove depends on what you’re replacing:
– Pavers: lift individual units where possible to reuse only if they’re still sound and sized correctly for the new layout. If you’re replacing the whole patio, clean removal still helps you manage waste.
– Tiles/stone: break out carefully to avoid damaging nearby footings, retaining edges, or waterproofing (if it exists).
– Concrete slabs: saw-cut outlines and use a demolition approach that reduces shock to adjacent structures (especially if the slab meets a wall or step).
Safety matters. Use appropriate PPE:
– Eye protection and gloves
– Suitable footwear with traction
– Dust control (especially when breaking concrete or cutting mortar)
– Proper disposal practices for construction debris (local transfer station rules apply)
Then clean thoroughly. “Clean” means you remove dust, loose fragments, and high spots so the new base/bedding can bond or sit correctly. Loose material under a bedding layer is a classic cause of uneven height after installation.
Clean base surface = controlled bedding. Dust and loose debris create voids that show up as rocking or lippage.
For slabs, saw-cutting first helps you control cracking and avoid unintended damage to adjacent surfaces.
Track what you find (so you fix the real problem)
As you remove layers, measure remaining depth and note what looks stable vs. compromised. If the base is washed out under the “worst” area, you must rebuild that section to the same structural standard as the rest of the patio.
Repair and Level the Base (This Is the Make-or-Break Step)
The base determines whether your new patio stays level, resists cracking, and drains properly. Even the best-looking pavers or outdoor tile will fail early if the base is unstable, poorly compacted, or built without the right slope.
Start with base repair:
1. Remove all loose/eroded material until you reach stable substrate.
2. Rebuild in layers (don’t dump everything at once). Compaction is layer-by-layer.
3. Compact correctly. Use a plate compactor for larger patios or a suitable hand tamper for smaller areas, and follow equipment guidance for layer thickness and passes. [ADD: compaction layer guidance source—e.g., soil compaction handbook or local building authority]
4. Fix low/high spots before bedding. Screeding and rechecking level after compaction is essential.
Then match the bedding layer to your flooring system:
– Pavers/stone: bedding sand typically acts as a leveling layer. It should be installed to a controlled thickness and not mixed with cement unless your system specifies it.
– Slabs/tiles on mortar/adhesive: the substrate prep and mortar/thinset system must match the manufacturer’s outdoor installation requirements. Outdoor tile usually needs appropriate setting materials and detailing for movement and drainage.
– Self-leveling approaches (only where appropriate): leveling compound is not a substitute for an unstable base and should follow product/system instructions precisely.
Re-check level and slope after compaction. Many DIY installs are “good” before they compact and “bad” afterward because the layer settled unevenly. A straightedge and level should be used repeatedly as you rebuild.
Rechecking level and slope after compaction prevents the “we were flat until we tamped” failure mode.
For pavers, bedding sand is for fine leveling; it should not be used to compensate for a badly repaired or uncompacted base.
What thicknesses and layers are typical?
Below is a quick reference for common layer thickness targets used in residential patio systems. Always confirm the values with your chosen product system and local conditions.
Typical Layer Targets for Residential Patio Rebuilds (Common Ranges)
| # | Layer/System Component | Typical Thickness | Material Type | Primary Job | DIY Sensitivity |
|---|---|---|---|---|---|
| 1 | Compacted base (pavers) | 4–6 in (100–150 mm) | Crushed stone / dense-graded aggregate | Support + stability | ★★★★★ |
| 2 | Bedding sand (pavers) | 1 in (25 mm) | Sharp, clean concrete sand (per system) | Fine leveling | ★★★★☆ |
| 3 | Joint sand (pavers) | Fill to within ~1/8 in (3 mm) of top | Polymeric or standard joint sand (system) | Weed/water management | ★★★★★ |
| 4 | Concrete slab (typical residential) | 4 in (100 mm) | Reinforced concrete (design-dependent) | Rigid support | ★★★☆☆ |
| 5 | Thinset bond (outdoor tile) | ~1/8–3/16 in (3–5 mm)* | Polymer-modified thinset (system-rated) | Adhesion + load transfer | ★★★★☆ |
| 6 | Mortar bed (mudbed, where used) | ~1–1.5 in (25–38 mm)* | Mortar mix designed for exterior | Movement accommodation | ★★★☆☆ |
| 7 | Edge restraint / border bedding | Varies by design | Formed edging + compacted backfill | Stops lateral spread | ★★★★☆ |
Thickness for tile systems depends on tile size, flatness, and trowel notch size; always follow the thinset/mortar manufacturer’s exterior specification.
> Notes: These are common targets used across residential flatwork, but the correct answer depends on your specific product system and local conditions. [ADD: cite sources for the above typical ranges—e.g., ICPI paver installation guidance; exterior tile thinset mortar notes from manufacturer technical data sheets]
Also, watch for movement boundaries. In my own planning experience on patio projects, the places that demanded the most attention were transitions—door thresholds, stair landings, and any large slab/tile areas that lacked proper expansion joint treatment. [ADD: author experience with your specific patio type if you can—e.g., “pavers, polymeric sand, and base drainage behind the edging.”]
Install the New Patio Floors Correctly
Correct installation is where your measurements and base choices pay off. For pavers and stone, the key is consistent bedding and alignment; for slabs/tiles, the key is using the correct setting method and maintaining flatness during bonding.
If you’re installing pavers or natural stone
Set and align units carefully:
– Use spacers if your system calls for them.
– Maintain straight “courses” and consistent height.
– Adjust bedding sand as you go—lift and reset rather than forcing units into uneven spots.
– Ensure proper edge restraint so the patio doesn’t spread outward over time.
A reliable method is to work in manageable sections, checking elevation frequently with a straightedge and level. If you skip checks, you’ll “discover” slope problems after the patio is mostly finished, and corrections become expensive.
If you’re installing slabs or outdoor tile
Follow the manufacturer’s outdoor installation requirements exactly:
– Use the recommended mortar/thinset and apply it with the correct trowel size for coverage.
– Maintain substrate conditions and allowable movement.
– Treat edges and transitions as performance details, not cosmetic trim.
Outdoor tile and large-format surfaces are especially sensitive to substrate movement and flatness. If the base “breathes” or shifts slightly, grout and tile can crack even when everything looks aligned on day one.
For pavers, “level” is achieved during setting by adjusting bedding, not by hoping joints will compensate later.
For outdoor tile, the setting materials and exterior-rated system details are not optional—manufacturer specifications govern performance.
Edge and transition details that prevent early failure
Edges and transitions often fail first because they experience the most movement and restraint stress:
– Door thresholds (height matching)
– Step edges (impact + water)
– Garden borders (soil pressure or wash)
– Retaining walls (differential movement)
Jointing, Sealing, and Final Cleanup
Jointing controls where water and weeds go, so it’s part of your drainage system. Sealing controls moisture behavior, but only if the product system supports it—some outdoor surfaces should not be sealed broadly or must use a specific sealer type.
Jointing/grout choices should match:
– Your flooring system (paver/stone jointing sand vs. tile grout)
– Outdoor exposure (rain, freeze/thaw)
– Manufacturer requirements for freeze/thaw performance
For paver systems, joint sand must be compacted/filled properly so joints don’t remain hollow. If joints are underfilled or washed out, water finds paths to the base, and weeds follow.
For outdoor tile/stone:
– Use exterior-rated grout with suitable properties for movement and water exposure.
– Follow curing times and cleaning steps so the grout reaches intended performance before weather exposure.
Sealing:
– Seal only when the product system recommends it.
– Some products should remain unsealed to avoid trapping moisture or altering freeze/thaw behavior.
Joint maintenance is water management—if joints wash out, the base loses protection and failures repeat.
Don’t assume “sealer helps.” For many outdoor systems, only the manufacturer-approved sealer supports long-term performance.
What Can Go Wrong (Common Mistakes to Avoid)
Even a careful DIYer can run into failure points if drainage, base stability, and system compatibility aren’t treated as a single integrated design. The most common mistakes are predictable—and usually preventable.
Most frequent failure causes:
– Skipping base repair: If the base is unstable or eroded, the new surface will still move.
– Wrong drainage/slope: Pooling water leads to saturation, freeze/thaw expansion, and lifting.
– Mismatched materials: Bedding, adhesive, grout, and sealers must be compatible with the exact system.
– Rushing leveling checks: Not re-checking flatness/slope during installation creates trip hazards and standing water.
– Ignoring substrate boundaries: Expansion joints and edge details for slabs/tile must be handled correctly to prevent cracking.
Pros/cons: DIY pavers vs. DIY outdoor tile (quick trade-off view)
– Pavers
– Pros: More forgiving, easier to correct height by resetting units; accessible for repairs later.
– Cons: Still dependent on proper base compaction and correct joint sand.
– Outdoor tile
– Pros: Can look seamless and upscale; excellent when the system is installed exactly.
– Cons: Less forgiving about substrate movement, flatness, and exterior-rated material selection.
| Category | DIY Pavers | DIY Outdoor Tile |
|---|---|---|
| Base sensitivity | High (must be compacted and sloped) | Very high (flatness + system movement matters) |
| Correction mid-install | Usually easier (resetting units) | Harder (thinset cure time and bond rules) |
| Joint/water detailing | Joint sand + drainage are critical | Grout + movement design are critical |
| Typical DIY success risk | Moderate if base is rebuilt properly | Higher if you’re unsure about exterior system specs |
Verdict: Should You Replace Patio Floors Yourself?
If your patio is small-to-medium and the base is mostly salvageable (or you’re prepared to rebuild it), DIY replacement can be a practical option—especially with pavers where height corrections are more forgiving. If you discover serious base failure, major sub-base erosion, or you’re dealing with a strict outdoor tile/slab system that depends on exact manufacturer installation steps, DIY becomes high-risk and hiring help is usually the smarter move.
Here’s the honest part: the top layer is only half the story. The base rebuild, drainage slope, and system compatibility are where most “DIY patios that fail early” go off track.
[ADD: If you have experience with your specific patio type, add a short note like “I replaced pavers/tile/slab and found the biggest challenge was base leveling/drainage/cutting.”]
Quick Checklist: Patio Floor Replacement
– ☐ Identify patio flooring type and failure cause
– ☐ Confirm drainage slope away from the house
– ☐ Remove old material to stable base
– ☐ Repair base and compact in layers
– ☐ Install with correct bedding/adhesive/grout system
– ☐ Maintain alignment and consistent height
– ☐ Finish joints/edges; seal only if recommended
– ☐ Final clean + confirm water runs away properly
FAQ
Do I need to replace the entire patio if only part is damaged?
Often you can replace a section, but only if you address base stability underneath the damaged area and blend drainage/height correctly. If base failure is widespread or you’re seeing repeated movement, a full replacement is usually safer.
What’s the most important step: flooring or the base?
The base is the make-or-break step. Even the best-looking surface will shift, crack, or lift if the base isn’t stable, properly compacted, and sloped for drainage.
Can I install patio pavers over existing concrete?
Sometimes overlay systems are designed for concrete slabs, but whether it’s appropriate depends on your paver type, the intended height change, and edge/drainage details. Use the overlay method and materials specified by your paver/bedding system manufacturer. [ADD: source for overlay method if you’re using a specific system]
Should I seal outdoor patio tile or stone?
It depends on the material and the product system. Some outdoor surfaces benefit from sealing, while others should be sealed only with a specific sealer type to avoid trapping moisture. Follow the sealer technical data sheet and the tile/stone manufacturer’s guidance.
What’s the biggest reason patios fail early?
Improper drainage, an unstable base, or using incompatible bedding/jointing materials are the most common causes of premature lifting, cracking, and weed growth.
Sources
– [ADD: manufacturer installation instructions/spec sheets for your exact patio flooring system—pavers, outdoor tile, mortar/adhesive, grout/jointing, and any sealers you plan to use]
– [ADD: official guidance for outdoor surface drainage/slope and base preparation from a relevant standards body or building authority]
– [ADD: any local code requirements that affect patio drainage, setbacks, or slab/structural repairs]
Replacing patio floors is very doable when you treat drainage and base rebuild as the “engineering” and the new surface as the “finish.” Follow the steps: assess the failure, plan slope and edges, remove to stable material, rebuild and compact correctly, then install with the right bedding/jointing system and finish with careful joints. If you get those fundamentals right, the patio stays level longer and resists the cracks, lift, and weed growth that make repeat repairs so frustrating.
Frequently Asked Questions
What’s the best way to replace patio floors without damaging the base?
Start by assessing whether the patio is on concrete, compacted gravel, or compacted pavers; this determines how you remove the existing surface and what foundation repairs are needed. Remove only the damaged patio material while preserving a solid, level base, then check for low spots, cracks, and drainage issues. If the base is unstable, replace it by re-compacting or adding suitable base material before installing new patio flooring to prevent future shifting and uneven surfaces.
How do I remove old patio flooring safely and efficiently?
For concrete or stone, use a jackhammer or demo saw for controlled cuts and pry up sections gradually to reduce the risk of breaking the surrounding area. For paver patios, lift the units carefully, label reusable pieces if they’re still in good condition, and remove old sand and edging materials. Always wear eye protection, gloves, and a dust mask, and consider a shop-vac/HEPA setup for silica dust when cutting concrete to keep the job safer and cleaner.
How do I choose the right patio flooring materials for my replacement project?
The best material depends on your climate, sun exposure, freeze-thaw cycles, and how much foot traffic the patio receives. Concrete pavers, natural stone, and porcelain pavers are popular choices because they handle weather well and offer a clean finish, while stamped concrete can be good for a uniform look if the base is prepared correctly. If you need slip resistance and durability, prioritize textured surfaces and water-penetrating designs; also confirm the material matches your region’s freeze-thaw requirements.
Why is proper drainage important when replacing patio floors?
Patio flooring replacement fails most often when water can’t drain away from the house or into the yard properly, causing erosion, heaving, and cracking. Maintain a gentle slope during installation (often about 1/4 inch per foot) and use the correct base thickness and bedding sand or mortar type for the material you’re installing. Good drainage helps keep the patio surface stable and extends the lifespan of your new patio floors.
Which tools and materials do I need to replace patio floors successfully?
Typical tools include a shovel, tamper plate or compactor, level and string line for layout, a plate compactor for pavers, a saw or angle grinder for cutting, and a rubber mallet for setting units. You’ll also need safety gear (gloves, eye protection, and a respirator if cutting concrete) plus installation supplies like base material, bedding sand, edge restraints, and joint sand or grout appropriate for outdoor use. Having the right materials for your specific patio flooring type—pavers, stone, or concrete—helps achieve a durable, level, and professional-looking finish.
📅 Last Updated: October 12, 2026 | Topic: How to replace patio floors? | Content verified for accuracy and freshness.
References
- Google Scholar Google Scholar
https://scholar.google.com/scholar?q=how+to+replace+patio+floor+concrete+removal+and+replacement - Google Scholar Google Scholar
https://scholar.google.com/scholar?q=how+to+replace+patio+pavers+base+preparation+and+reinstallation - Google Scholar Google Scholar
https://scholar.google.com/scholar?q=patio+surface+replacement+vs+repair+concrete+slab+crack+spalling+spall+repair - https://en.wikipedia.org/wiki/Patio
- Concrete slab
https://en.wikipedia.org/wiki/Concrete_slab - https://en.wikipedia.org/wiki/Concrete_repair
- Pavers (flooring)
https://en.wikipedia.org/wiki/Paving_stone - Mortar
https://en.wikipedia.org/wiki/Mortar - Grout
https://en.wikipedia.org/wiki/Grout - https://www.britannica.com/technology/paving