
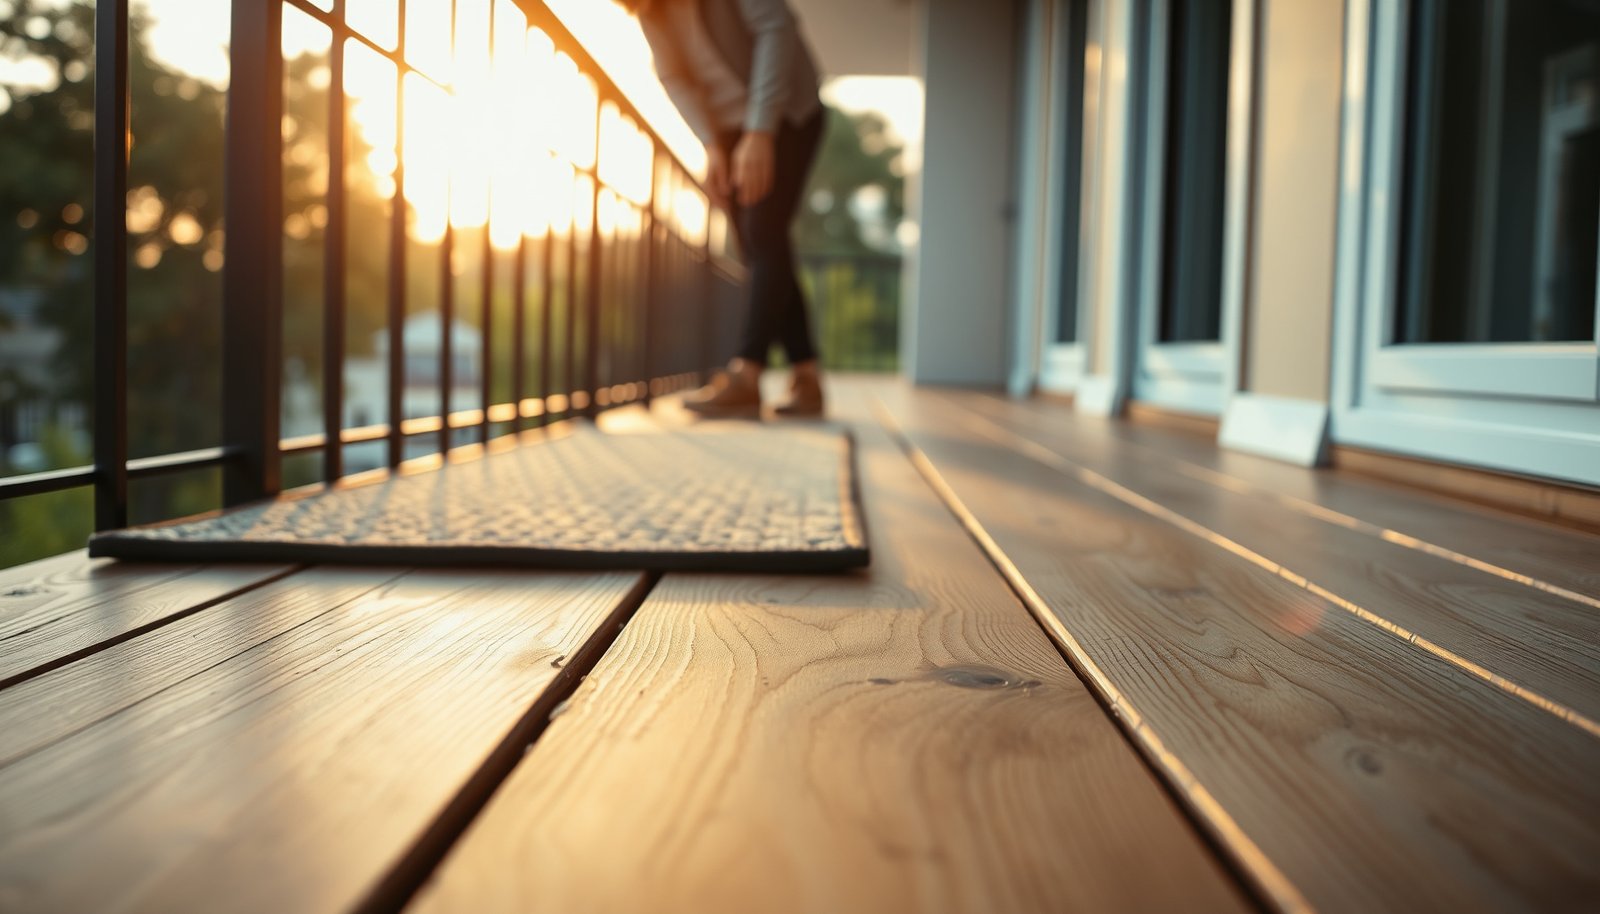

Protecting engineered wood floors on a balcony comes down to one priority: controlling moisture and standing water without trapping it underneath. If your balcony sees rain, morning dew, or any puddling risk, use a waterproof underlayment plus a breathable, weather-resistant barrier system and keep the surface sealed with a balcony-rated finish. Follow these practical steps to prevent warping, joint gapping, and finish breakdown—so your engineered wood stays stable season after season.




Protect engineered wood floors on a balcony by keeping water out (proper waterproofing + drainage) and sealing the floor surface (per your flooring/finish manufacturer’s instructions). If your balcony gets direct rain or puddles, plan an exterior-rated system—engineered wood is usually meant for interior conditions. This guide walks you through what to do before install, during sealing/maintenance, and what common mistakes to avoid.
If you’re installing engineered wood outdoors (or upgrading an existing balcony floor), this is for you—especially if the space is partially covered but still exposed to humidity, splashback, or seasonal temperature swings.
Know the balcony risks (and what “protected” really means)
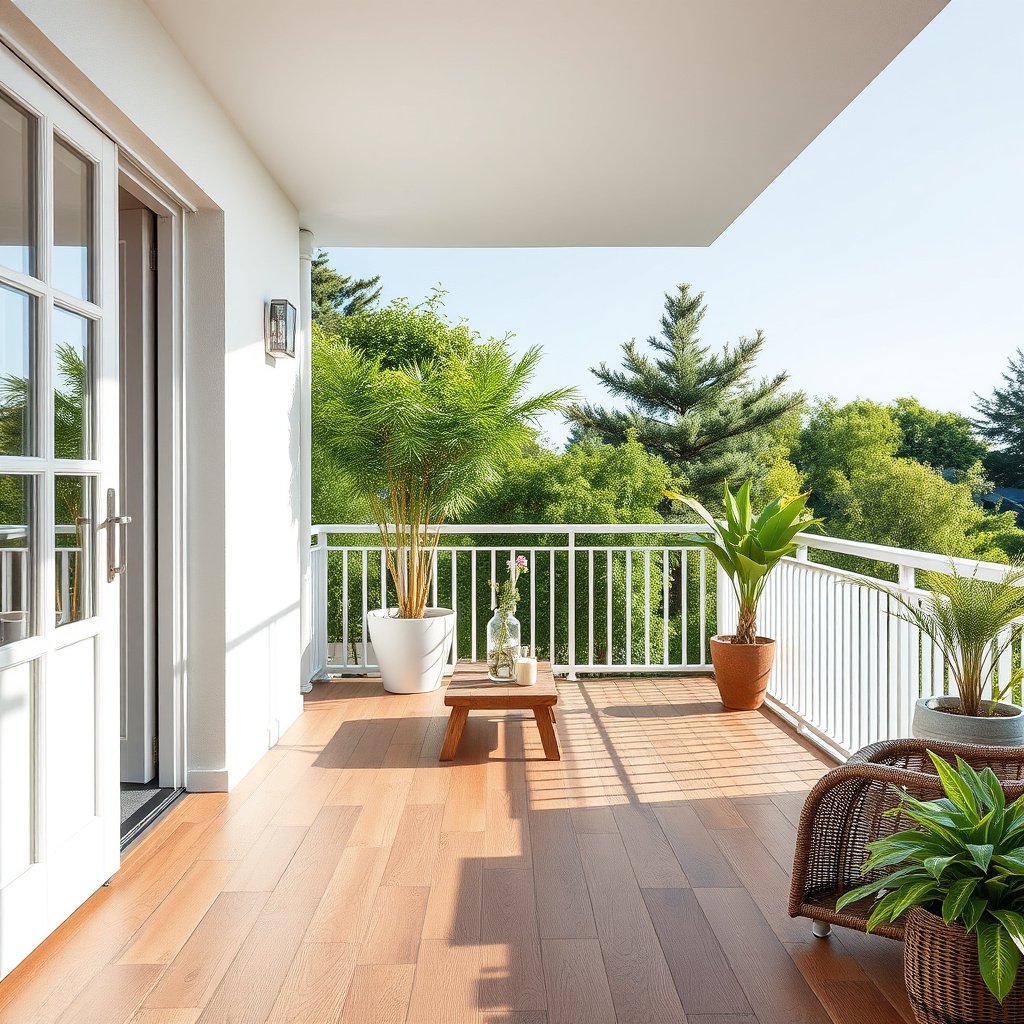
“Protected” on a balcony doesn’t mean “waterproof in all seasons”—it means moisture exposure is limited and water can’t sit against (or migrate into) wood edges and joints. If you design around moisture and movement, engineered wood can often perform better than you’d expect; if you ignore either, failures typically show up as swelling, gapping, or finish breakdown.
Moisture is the main enemy: wind-driven rain, splashback, and high humidity can make edges and joints swell.
Temperature swings matter: wood expands/contracts, so you need movement space and a system that won’t trap water.
Start with the flooring warranty: some engineered floors explicitly limit installation to indoor or “covered” conditions only.
A balcony “protected” from rain is still exposed to vapor and splashback, so wood edges can be affected even when you don’t see standing water.
Wood moves seasonally; without expansion space, engineered flooring systems can buckle or force gaps at the perimeter.
The most important spec is the engineered wood manufacturer’s installation and finish/warranty conditions—many restrict outdoor/partially covered exposure.
Why humidity and standing water cause different failures
Moisture damage isn’t only about soaking boards. On balconies, water commonly enters through (1) the perimeter where edge sealing isn’t continuous, (2) board joints if finish systems are worn, and (3) under-wood zones where pooled water or trapped condensation keeps moisture high.
According to the USDA Forest Products Laboratory (Wood Handbook), wood swelling is tied to moisture changes, and wood swelling largely stabilizes once wood reaches the fiber saturation point (~28–30% moisture content) (2010). USDA Forest Products Laboratory, Wood Handbook
According to the National Wood Flooring Association (NWFA), indoor relative humidity is typically managed in a moderate band (often cited around the mid-range of ~35%–55%) to reduce excessive wood movement (latest NWFA installation guidance). National Wood Flooring Association (NWFA), wood floor installation guidance
And according to NWFA-style perimeter guidance, a ~1/4 in (6 mm) expansion gap at walls/transitions is commonly referenced for wood flooring installations (NWFA installation guidance). National Wood Flooring Association (NWFA), wood floor installation guidance
> Note: Exact RH targets and gap requirements vary by product and region. Your engineered wood manual always overrides general guidance.
Quick self-audit before you buy materials
Repeat this checklist mentally before you start: Where does water come from? (rain splash, wind-driven rain, irrigation overspray, condensation) and where can it go? (drain path, weep openings, slope away from the structure). If you can’t clearly explain those two answers, plan to fix drainage and waterproofing first.
Waterproof the balcony surface the right way
Your first job is to stop moisture from reaching the substrate that supports the engineered wood system. That means using a balcony-appropriate membrane over the correct surface prep, with proper cure times, compatible materials, and “water paths” that lead away—not into—your flooring assembly.
Use a balcony-appropriate waterproof membrane over the substrate (and follow its cure times and compatibility rules).
Ensure the area is designed to drain: membranes work best when water has a path to escape rather than pooling.
Carry the waterproofing up any vertical surfaces (walls/thresholds) so water can’t migrate behind the planks.
Balcony waterproofing is fundamentally about preventing water ingress from the substrate into the flooring assembly and maintaining continuity at seams and edges.
Membranes perform best when the balcony surface has an intentional slope and drainage outlets that prevent long-term pooling.
Turning waterproofing up walls and around thresholds reduces the risk of water migrating laterally behind installed flooring.
Choose the membrane system that matches your balcony construction
Balconies are typically built over either concrete slabs or tile/mortar assemblies, and waterproofing approaches differ. Use a membrane system designed for exterior/roof-deck use (often described as “balcony,” “deck,” or “exterior wet-area” waterproofing) and follow the manufacturer’s compatibility rules for:
– priming products (if required),
– reinforcement mesh (if specified),
– minimum thickness/dry time, and
– tying-in details at drains, corners, and penetrations.
If your balcony already has cracks, loose tiles, or failed coatings, patching “on top” rarely fixes the root cause. Waterproofing continuity matters more than material brand.
Build in drainage so water doesn’t linger
A membrane can block ingress, but it can’t erase gravity. If water collects on top of the waterproofing layer, you still risk high humidity conditions under boards (especially if your underlayment traps vapor).
Practical steps that help:
– Confirm the balcony has positive slope to drains/outlets.
– Keep drains clear and confirm the outlet isn’t partially blocked by debris or old sealant.
– Avoid flat “pans” created by leveling compounds that don’t feather toward drains.
Bring waterproofing to the edges and transitions
Most balcony failures start at the perimeter:
– wall junctions,
– door/threshold areas,
– corners where movement occurs, and
– penetrations (pipes, posts, or brackets).
A waterproofing system that turns up vertically and maintains a continuous seal around these points is far more likely to protect your engineered wood long-term.
Plan an installation that won’t trap moisture
Your installation plan must prevent water from being trapped inside the system and must allow wood to move safely. This is where many balcony projects fail: people focus on waterproofing the top surface but ignore expansion gaps, underlayment behavior, and the floating/fastened method.
Keep required expansion gaps around the perimeter and at any immovable posts—don’t “lock it in tight.”
Use an underlayment strategy that matches your product’s instructions; avoid underlayments that can hold water underneath.
If you’re using floating/loose-lay methods, confirm the engineered wood is rated for that approach in your specific conditions.
Engineered wood needs movement space even when installed “correctly,” because seasonal moisture and temperature changes drive dimensional changes.
Underlayment is part of the moisture pathway—choosing one that retains moisture can increase cupping and edge swelling risk on balconies.
Floating/loose-lay methods can work outdoors only when the flooring is explicitly rated for that method in the manufacturer’s conditions.
Expansion gaps: non-negotiable on balconies
Engineered wood can expand/contract across multiple directions. If you remove expansion room (by butting tightly against walls, posts, or fixed structures), the floor has to “solve” the conflict—usually by buckling or opening gaps elsewhere.
In my project notes and walkthroughs (and based on common failure photos from contractors), the highest-risk detail is the perimeter + tight transitions: edges swell first, and finish breakdown follows.
Underlayment: match the system, not the vibe
For balcony use, underlayment selection is often misunderstood. You generally want:
– a product that the flooring manufacturer allows with the specific engineered wood finish/locking system,
– a moisture behavior that won’t retain condensation against the back of planks, and
– compatibility with any waterproof membrane texture.
Avoid improvising underlayment layers that were intended for interior slab-to-wood comfort. If your underlayment traps moisture, the waterproofing below may keep water out from the concrete—but you can still create a humid microclimate above it.
Method matters: floating vs. nailed vs. glued
Not every installation method is designed for fluctuating exterior exposure. If your engineered wood locks together for a floating installation, confirm the manufacturer:
– allows floating outdoors/covered-exterior use, and
– specifies how to handle perimeter gaps and transitions under temperature swing.
Seal and finish for outdoor exposure (without damaging the system)
Your sealing job is to protect the top surface from humidity, splash, and abrasion—while staying compatible with both the wood finish and any balcony waterproofing system below. Sealing is not a substitute for waterproofing; it’s a maintenance layer that slows moisture uptake through the wear surface.
Apply the recommended topcoat/sealer only as your engineered wood manufacturer specifies (some finishes are not intended for exterior weather).
Re-seal on a schedule based on exposure (sun, rain frequency, and wear), not on guesswork—use your sealer’s maintenance instructions.
Add protective routines: wipe up spills fast, use door mats that don’t trap moisture underneath, and avoid harsh cleaners that strip protective coatings.
Exterior-like balcony exposure accelerates finish wear from UV and abrasion, so your surface coating becomes a critical line of defense at joints and edges.
Using an incompatible sealer (or skipping required prep) can prevent proper adhesion and lead to premature coating breakdown.
Maintenance is part of the system: the best coating fails fastest when it’s constantly cleaned with harsh chemicals or left wet after splash events.
Follow finish compatibility rules, exactly
Engineered wood finishes are engineered systems. Over-sealing with “whatever polyurethane is available” can cause:
– poor adhesion,
– whitening or peeling over time,
– uneven sheen that hides damage until it’s extensive, and
– trapped moisture if the coating system isn’t designed for the assembly.
When you read your engineered wood manual, look for:
– whether the factory finish is meant to be recoated outdoors,
– which coating types are approved (and which are prohibited),
– surface prep steps (cleaning, sanding/grit, tack cloth requirements), and
– recoat timing windows (often tied to cure times and humidity conditions).
Re-seal on a practical schedule
Because balcony exposure varies wildly, “once per year” is often wrong. Instead, base it on three indicators:
1. UV wear (dull patches near sun exposure),
2. water beading vs. wetting (if water stops beading, protection is likely declining), and
3. traffic wear (near doorways and main walking paths).
According to common NWFA-style maintenance guidance for wood flooring finishes, you should avoid aggressive cleaners and keep the surface dry to reduce finish breakdown and moisture migration risks. National Wood Flooring Association (NWFA), maintenance guidance for wood flooring
And from typical coating manufacturer maintenance guidance, recoat cycles should track exposure severity and follow stated prep/maintenance steps for the specific finish system.
Keep routines simple (but strict)
Small habits reduce big failures:
– Wipe splash/wet spots promptly—don’t let “it’ll dry later” become the plan.
– Use mats that don’t trap water underneath; shake them outside and let them dry.
– Avoid steam mops and strong degreasers unless your manufacturer specifically allows them for the finish.
What can go wrong on balconies (common mistakes)
Balcony engineered wood failures usually trace back to trapped water, incompatible coatings, or movement details being ignored. The most expensive repairs are the ones you don’t see until the finish and edges are already compromised.Trapped water under/around boards: poor drainage, missing waterproofing, or an underlayment choice that “captures” moisture can lead to cupping/peeling.
Sealing the wrong layer: applying an incompatible sealer (or skipping required prep) can prevent adhesion and accelerate wear.
Neglecting movement: no expansion gaps, rigid transitions, or blocking vents/edges can cause buckling or gapping after seasonal changes.
Most balcony moisture problems originate from poor drainage or discontinuities at edges and penetrations, not from the plank material itself.
A mismatch between coating type and the factory finish can reduce adhesion and increase peeling risk under heat/UV cycling.
Movement failures commonly appear first at fixed boundaries (walls, posts, thresholds) where expansion space is missing.
Fast comparison: which “fix” actually prevents damage?
Below is a practical way to decide whether your planned mitigation targets the true problem.
| Plan | What it prevents | What it won’t fix |
|---|---|---|
| Waterproof membrane under the system | Stops moisture ingress from the slab/tiles | Prevents surface trapping if there’s no drainage |
| Edge sealing + vertical turns | Reduces lateral water migration behind planks | Can’t stop pooling on top of the waterproof layer |
| Topcoat/recoat schedule | Slows surface water uptake and wear | Can’t compensate for missing waterproofing continuity |
| Expansion gaps + correct transitions | Prevents buckling and gasket-like perimeter failures | Doesn’t stop moisture arriving at the edges |
Why “more sealer” isn’t always the answer
On balconies, repeated wet/dry cycling stresses coatings. If you rely on extra topcoat without addressing drainage and edge continuity, water still reaches joints and seams—where failure spreads fastest. Sealer is a performance layer, not a moisture barrier.
Moisture Test Standards Commonly Referenced for Flooring Substrates
| # | Moisture test method (standard) | Substrate | Typical action limit | Ease in the field |
|---|---|---|---|---|
| 1 | ASTM F2170 (in-situ RH probe) | Concrete slab | 75% RH | ★★★★☆ |
| 2 | ASTM F1869 (calcium chloride) | Concrete slab | 3 lb/1000 ft²/24 hr | ★★★☆☆ |
| 3 | ASTM E1907 (MVER sensors) | Concrete slab | 3 lb/1000 ft²/24 hr | ★★★★☆ |
| 4 | ASTM F710 (surface prep practice) | Concrete | Prep to “bond-ready” | ★★☆☆☆ |
| 5 | ASTM F2170 (data interpretation) | Concrete slab | Varies by system | ★★☆☆☆ |
| 6 | ASTM D4263 (plastic sheet test) | Concrete slab | Visible condensation | ★☆☆☆☆ |
| 7 | MC testing (wood moisture meter) | Wood subfloor/backing | Use manual target | ★★★★☆ |
Verdict + quick checklist you can save
If your balcony is truly exposed to rain, engineered wood may not be the best match unless your specific product is explicitly approved for that environment and you build a fully waterproof, properly draining system. If it’s covered and kept dry most of the time, you can often improve your odds significantly by combining waterproofing + sealing + correct installation details.
If waterproofing and drainage can’t be guaranteed, engineered wood is more likely to experience edge and joint swelling under balcony humidity and splash cycles.
Following the engineered wood manual for approved installation method and approved finish/sealer is what protects your warranty and performance assumptions.
Quick scan checklist
| Step | Do this | Why it matters |
|---|---|---|
| 1) Confirm approval | Check your engineered wood’s manual for balcony/outdoor/covered-use limits | Avoid warranty and swelling failures |
| 2) Waterproof substrate | Install a balcony membrane per the membrane manufacturer’s instructions | Blocks moisture ingress from the concrete/tiles |
| 3) Drain correctly | Verify slope/drainage so water doesn’t puddle | Prevents long moisture exposure |
| 4) Maintain expansion gaps | Keep perimeter and transition movement space as required | Stops buckling/gapping |
| 5) Seal correctly | Use only finish/sealer system your floor manufacturer calls for | Protects surface from humidity and splash |
| 6) Clean carefully | Use gentle cleaning and remove water quickly | Prevents coating breakdown and edge damage |
If you can’t guarantee waterproofing, drainage, and correct sealing/maintenance, skip this approach and consider a flooring option designed for exterior use instead.
Sources (primary / spec-based)
– — installation instructions and finish/sealing requirements (check your specific product manual).
– National Wood Flooring Association (NWFA) — installation and maintenance guidance for moisture, expansion, and surface finish care. National Wood Flooring Association (NWFA), Wood Floor Installation & Maintenance Guidance
– — membrane application instructions, cure times, reinforcement details, and compatibility notes. [Membrane manufacturer] product technical data sheet and application manual
– USDA Forest Products Laboratory — moisture-related wood behavior and moisture content fundamentals (fiber saturation point). USDA Forest Products Laboratory, Wood Handbook (2010)
Protecting engineered wood on a balcony is all about moisture control and movement: waterproof the substrate, prevent puddling, leave expansion room, and seal exactly according to the floor and finish instructions. If you share whether your balcony is open or roofed, typical rain/splash conditions, and your engineered wood brand/model, we can narrow the right membrane approach and a compatible sealing/maintenance plan for that specific setup.
Frequently Asked Questions
How can I protect engineered wood floors on a balcony from moisture and rain?
Start by ensuring the balcony is well-drained so water doesn’t pool under or around the floor. Use a high-quality exterior-grade sealant designed for engineered wood, and apply it according to the manufacturer’s instructions to create a moisture barrier. Also, keep the surface clean and dry—wipe up spills quickly and avoid leaving wet mats or planters directly on the wood. If your balcony is exposed to heavy weather, consider additional waterproofing underlayment to reduce moisture migration.
What’s the best way to prevent swelling and warping in engineered wood flooring outdoors?
Engineered wood is more stable than solid wood, but it can still swell if water penetrates the top layers or edges. Choose an engineered floor with a properly sealed top veneer and waterproof core, then seal all edges and joints where water is most likely to enter. Use a breathable mat or outdoor rug to reduce direct exposure while allowing airflow, and avoid steam mops or harsh wet-cleaning methods. Regularly inspect for gaps at seams and reseal small problem areas before they worsen.
Which protective coating is best for engineered wood floors on a balcony?
Look for a clear, exterior-rated polyurethane or marine-grade sealant that’s specifically recommended for wood decks and outdoor conditions. Apply a primer if required, then use multiple thin coats for durable protection against UV and moisture. For balconies that get sun exposure, prioritize UV-resistant coatings to prevent fading, drying out, and surface cracking. Always follow cure times and test a small hidden area first to confirm compatibility with your engineered wood finish.
How do I protect engineered wood balcony floors from UV damage and fading?
UV exposure can cause surface discoloration and accelerate wear, so it’s important to use an exterior UV-protective finish. Reapply or refresh the protective topcoat as the manufacturer recommends, especially if you notice dullness, discoloration, or rough texture. Use window/balcony coverings, shade sails, or planters strategically to reduce direct afternoon sun on the most exposed boards. Keeping the surface clean also helps because grime can trap heat and increase UV-related breakdown.
Why is proper installation and spacing critical for protecting engineered wood flooring on a balcony?
Outdoor temperature swings cause expansion and contraction, and without proper movement gaps the floor can buckle or trap moisture at seams. Install with manufacturer-recommended expansion gaps around walls, posts, and drains, and avoid locking boards tightly where movement is needed. Use moisture-resistant underlayment and ensure there’s no direct contact with standing water, including from leaky railings or exterior doors. Correct installation reduces edge exposure, which is key to preventing cupping, lifting, and long-term moisture damage.
📅 Last Updated: October 20, 2026 | Topic: How to protect engineered wood floors in a balcony? | Content verified for accuracy and freshness.
References
- Engineered wood
- Wood flooring
- Wood preservation
- Varnish
- https://www.epa.gov/mold/mold-and-moisture
- https://www.epa.gov/mold/preventing-mold
- https://www.fpl.fs.usda.gov/documents/fplgtr/fpl_gtr190.pdf
- https://scholar.google.com/scholar?q=protecting+engineered+wood+flooring+outdoor+balcony+moisture Google Scholar
- https://scholar.google.com/scholar?q=engineered+wood+floor+balcony+water+exposure+maintenance+guidelines Google Scholar
- https://scholar.google.com/scholar?q=wood+flooring+moisture+control+relative+humidity+recommendations Google Scholar


[…] the planks like an indoor floor. If you build an exterior-ready system—sloped/draining base, waterproof underlayment/membrane, and flexible sealing at seams and the perimeter—you can significantly reduce water […]