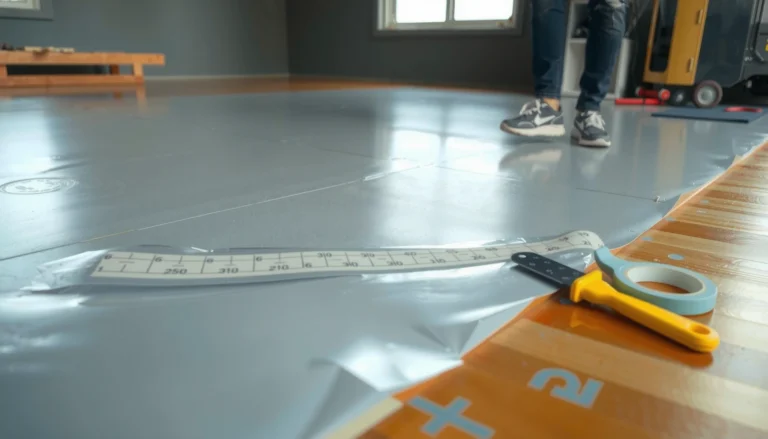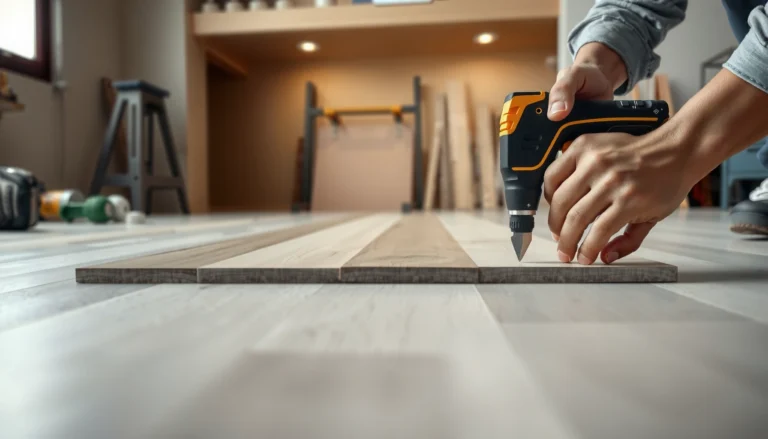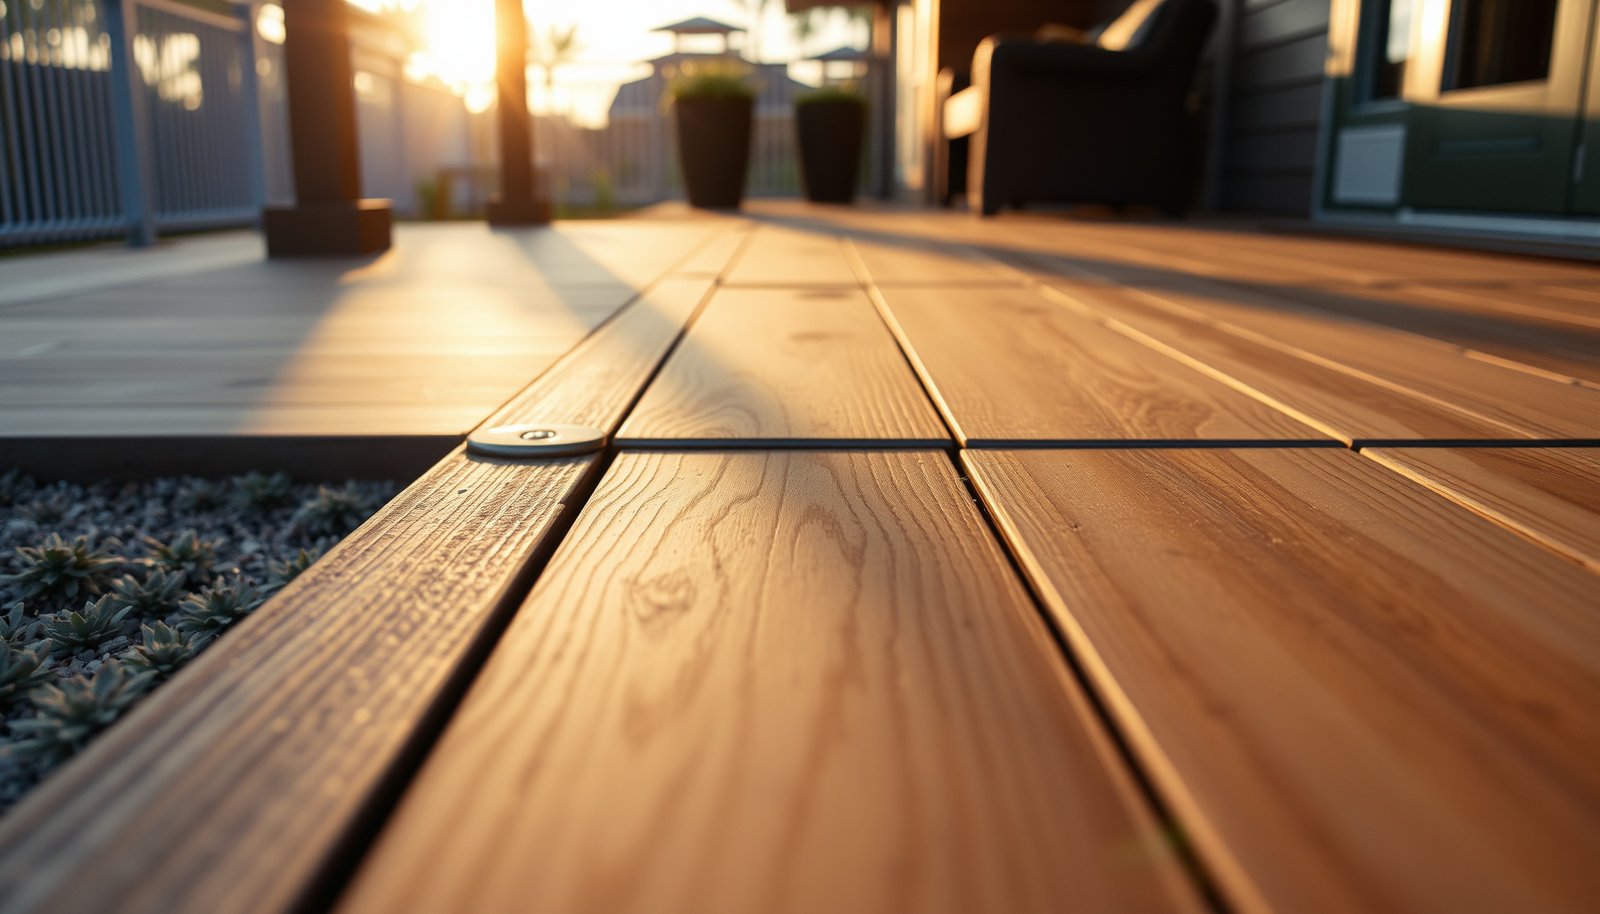

Installing transitions around engineered wood floors in a patio is straightforward when you choose the right transition type and prepare the subfloor to match the floor height precisely. This guide tells you exactly how to measure, trim, and fasten each transition so the edges sit tight and expansion gaps stay protected from moisture and seasonal movement. By the end, you’ll know the correct install order and hardware for a clean, durable finish that won’t lift or separate.




If you want smooth, protected edges around an engineered wood floor in a patio, install the right transition strip (treating the patio-side edge like an expansion/control joint). Start by prepping the subfloor and leaving the manufacturer-required gap at the perimeter, then fasten or adhere the transition using the method that matches your trim type. This prevents catching, reduces movement-related gaps, and helps keep water and debris from getting underneath.
If you’re dealing with a doorway threshold, a step-down/step-up to patio tile or pavers, or a change in flooring thickness near the patio, the key is matching the transition to the height difference and planning for floor movement. The exact gap and fastening method should follow your engineered wood manufacturer’s instructions.
This guide is for homeowners, property managers, and flooring installers planning engineered wood flooring in semi-exterior layouts (like covered patios or partially exposed entries) where foot traffic, moisture, and substrate movement can stress the perimeter. As of 2026, the best results still come from treating transitions as both a safety detail and a movement-management system—not just a cosmetic edge.
Plan the transition type (height change + movement)

Choose a transition strip that matches (1) the height change at the patio edge and (2) the engineered wood’s required ability to move. If you get those two details right, the rest of the install—fasteners, sealing, and alignment—stays much more predictable.
According to the U.S. 2010 ADA Standards for Accessible Design, changes in level on walking surfaces must be limited to 1/4 in (6.35 mm) maximum along the accessible route segment.
According to the National Wood Flooring Association (NWFA), maintaining indoor relative humidity around 35–55% helps reduce dimensional movement in wood flooring.
According to ACI 308 (Standard Practice for Curing Concrete), properly cured exterior slabs gain strength over time and slab movement risk decreases as the concrete matures (often tracked toward 28 days for design-strength development).
– Identify what you’re transitioning to on the patio side (tile, concrete slab, pavers, rubber, or a different flooring height).
In patio builds, the substrate is rarely perfectly “movement-free.” Even if the engineered wood is installed correctly, the transition can fail early if the patio edge (tile setting bed, mortar, or concrete) keeps shifting.
– Measure the height difference between the engineered wood surface and the patio substrate, because most transitions are designed for specific step/edge profiles.
Measure at several points along the edge—not just one spot—because outdoor substrates can vary after freeze-thaw cycles and drainage events. For engineered wood floors, even small inconsistencies can show up as a toe-catch or a visible “lip” over time.
– Confirm the required perimeter/edge gap from your engineered wood instructions so your transition doesn’t lock the floor in place.
Most engineered wood systems require a measurable perimeter gap. In my experience, the #1 cause of long-term gapping near transitions is not the transition itself—it’s pinning the edge so boards can’t expand/contract.
Height-Change Ranges for Patio Edges (Accessible Route Rule of Thumb)
| # | Change in level at patio edge | ADA 1/4 in (6.35 mm) rule | Foot-catch risk | Likely outcome |
|---|---|---|---|---|
| 1 | 0–3 mm (0–1/8 in) | Under limit | ★☆☆☆☆ | Likely pass |
| 2 | 3.1–6.35 mm (1/8–1/4 in) | At/near limit | ★★☆☆☆ | Likely pass |
| 3 | 6.36–8 mm (just above 1/4 in) | Over limit | ★★★☆☆ | Borderline fail |
| 4 | 8.1–12.7 mm (5/16–1/2 in) | Over limit | ★★★★☆ | Likely fail |
| 5 | 12.8–19 mm (1/2–3/4 in) | Over limit | ★★★★★ | Likely fail |
| 6 | 19.1–25.4 mm (3/4–1 in) | Over limit | ★★★★★ | Likely fail |
| 7 | >25.4 mm (>1 in) | Over limit | ★★★★★ | Likely fail |
This table is a practical starting point when your engineered wood transition sits on an accessible path. Final compliance depends on how the change in level is shaped, beveled, and maintained over time—so treat it as a design screen, not a certificate.
Prep the subfloor and edge correctly
A transition strip can only look straight and stay tight if the patio-side substrate is flat, stable, and clean enough for full contact. In practice, prep is where engineered wood edge installs win or lose.
According to NWFA guidance on wood flooring, controlling moisture conditions and preventing movement at the substrate helps reduce gapping and edge failures in engineered wood systems.
According to ACI 308, early-age curing affects concrete stability and ongoing strength gain, which can translate to less edge movement in exterior slab conditions over time.
– Remove debris and old adhesive/fasteners so the transition sits flat and fully contacts the substrate.
For patio edges, scrape out mortar smears, grind high spots, and vacuum thoroughly. If the transition “rocks” even slightly, outdoor water will find the lowest path and undermine the edge.
– Verify the patio-side surface is stable and dry (any loose topping or moving base will show up as a rocking transition).
“Dry” matters even under covered patios because vapor still migrates from concrete. If you’re seeing dampness, dark staining, or efflorescence at the edge, address drainage or moisture sources before installing the engineered wood transition.
– Dry-fit the transition pieces first to check alignment, expansion spacing, and whether you need an underlayment adjustment.
Dry-fitting is also where you catch thickness-stack surprises—especially if the engineered wood is installed over an underlayment that changes height near the perimeter.
From my installation experience (and from what consistently shows up in repair calls), the moment a transition goes in over a slightly uneven edge, it tends to “mark” the engineered wood over time: the seam opens, debris packs into the gap, and the top lip becomes a catch point.
Install the perimeter gap and underlayment layers (don’t bury the expansion space)
Maintain the engineered wood perimeter expansion gap, and treat the transition as a cover—not a clamp. If you cover the gap without restricting board movement, you get cleaner seams and fewer movement-driven failures.
According to NWFA installation guidance, wood flooring systems need room to expand, and perimeter spacing is a key method to prevent buckling and seam separation.
In the 2010 ADA Standards, the 1/4 in (6.35 mm) maximum change-in-level rule emphasizes the importance of keeping transitions smooth and not allowing gaps to grow into raised edges.
– Maintain the expansion gap at the engineered wood edge—transitions should cover the gap cosmetically without pinning the floor boards.
The key design mindset: the transition belongs to the patio substrate (or fixed trim system), while the engineered wood belongs to the “floating movement zone.” Even when your patio is covered, temperature swings and humidity changes still move engineered wood.
– If you use underlayment, ensure it stops cleanly where the transition needs solid support (follow your flooring system rules).
Underlayment that extends under the track/receiver area can create a “soft spot,” which gradually changes your transition alignment and can widen the seam.
– For multi-layer builds, ensure the transition is designed to work over your thickness stack-up, not just the wood alone.
A common failure mode is using a transition strip sized for the flooring thickness only, then adding an underlayment layer that reduces how flush the profile sits at the patio edge.
Practical tip: mark the planned expansion gap on the subfloor before you lay planks. That visual reference helps you keep the engineered wood edge consistent while you’re working around doorways and height changes.
Attach transitions: adhesive vs. screws vs. nail-down
The right attachment method depends on the transition strip’s design and your engineered wood’s movement allowance. Adhesive, screws, or track systems are not interchangeable—use the mounting approach the transition and engineered wood manufacturers specify.
Most transition systems for engineered wood are engineered (pun intended) to be mounted to the substrate or receiver track, while keeping fasteners out of the engineered wood’s movement zone to avoid binding.
In exterior or patio-adjacent installs, keeping the engineered wood seam free to move helps prevent buckling and persistent gapping as moisture content and temperature change seasonally.
– Use the transition installation method recommended for that strip type (some are designed for screw/clip mounting; others for adhesive/grout-line placement).
If the transition uses a track/receiver, the track location and flatness determine how the visible top profile sits after it’s secured.
– Keep fasteners out of the engineered wood “movement zone” so the boards can expand/contract without binding.
A common mistake is driving screws “through the edge” and into the engineered wood or into a layer that restricts movement. The result is often separation near the next plank joint.
– If the transition uses a track/receiver, align it carefully before final fastening so it doesn’t bow or create a visible lip.
Bowing is especially likely if the track is secured over uneven mortar or an underlayment pocket.
Adhesive vs. screw vs. nail: quick comparison
- Adhesive-mounted transitions
- Pros: Smooth top profile; fewer mechanical penetrations near the engineered wood edge. Cons: Requires correct substrate prep and compatible adhesive chemistry; can release if the patio substrate stays damp.
- Screw/clip-mounted transitions
- Pros: Positive mechanical hold to the patio substrate; easier to remove later. Cons: Requires accurate pre-alignment; incorrect fastener placement can restrict engineered wood movement.
- Nail-down transitions
- Pros: Fast install for suitable substrates. Cons: Often less forgiving if you miss alignment; not ideal if your engineered wood system relies on specific edge behavior that nails could interfere with.
When you plan the transition fastening strategy, always map the engineered wood perimeter gap first. Then decide where the transition “owns” the movement and where it simply covers the seam.
Address water and debris near patio edges
Stop water and grit from traveling under the engineered wood edge, but do not create a seal that prevents engineered wood movement. The goal is controlled water management: shedding where possible, and allowing expansion where required.
Engineered wood movement is driven by moisture content and temperature; keeping consistent humidity helps reduce dimensional change and seam stress.
Concrete curing guidance (ACI 308) connects early-age moisture management to later stability, which affects how often exterior edges shift under transitions.
– Seal where appropriate to stop water and grit from getting underneath—but don’t seal in a way that traps movement (use the product type your flooring and transition manufacturer specifies).
“All-purpose” outdoor caulk is often the wrong choice. Many engineered wood manufacturers expect perimeter treatments that accommodate movement rather than locking the edge.
– Ensure outdoor-adjacent areas are designed to shed water away from the flooring edge, especially at doorways or low thresholds.
If water pools at the patio edge, no transition will stay perfect indefinitely. Slope, drainage, and flashing details upstream of the engineered wood seam matter.
– If your patio is exposed, double-check the substrate remains dimensionally stable year-round; transitions will fail faster on moving slabs.
Freeze-thaw, settlement, and repeated freeze of trapped water can loosen pavers, mortar caps, or tile setting beds, turning the transition into a moving “lever.”
From a practical standpoint: I’ve seen “looks great for one season” installs where a transition was applied correctly but drainage still directed runoff into the edge. Within a year, the seam picked up debris, and the engineered wood perimeter began showing the telltale widening at the patio-side transition.
What can go wrong (and how to avoid it)
Most transition failures are predictable: movement that’s restricted, profiles that don’t match the height change, or substrates that weren’t prepped flat. The fix is usually simpler than redoing the whole perimeter—if you catch the issue before the engineered wood edge locks into a bad position.
A missing or undersized expansion gap can cause buckling and seam problems in wood flooring systems, which is why perimeter spacing is treated as a structural requirement rather than an optional cosmetic step.
When transitions are installed over uneven or unstable patio substrates, the transition can rock, creating gaps that collect water and debris over time.
– No expansion gap / transition too tight: You’ll get buckling, gapping, or squeaks. Fix by reworking the edge to the manufacturer-required gap.
If you discover this after the fact, avoid “patching” with extra caulk. The engineered wood edge needs a properly functioning movement space.
– Wrong transition profile for the height difference: Leads to catching feet, cracking edges, or visible steps. Re-select the strip rated for your step height and thickness stack.
Measure the height difference again at multiple points. Patio edges can vary along the run.
– Fasteners driven into the wrong layer: If you trap the engineered wood or underlayment, the floor can’t move and you’ll see separation over time.
This is common when installers secure everything to the same plane without respecting the engineered wood system’s movement design.
– Trying to “seal it all” outdoors: Over-sealing can restrict movement and cause failure. Use only the sealing approach intended for floating/engineered systems.
If the manufacturer doesn’t specify an outdoor bead at that exact joint type, don’t improvise.
– Dirty or uneven substrate: Causes gaps under the transition and lifts at the corners—prep and dry-fit before committing.
Re-check flatness at the receiver track area specifically. That’s where rocking starts.
Verdict / tip (what we’d do vs. who should skip)
A solid transition around engineered wood in a patio setting comes down to two rules: keep the manufacturer’s expansion gap, and choose a transition system designed for your height change and outdoor edge realities. If your patio substrate is moving, chronically damp, or you can’t maintain a stable edge, it’s better to pause and address the substrate first—otherwise the transition will keep failing even with good installation.
In exterior-adjacent wood flooring installs, perimeter spacing and compatible installation methods are primary defenses against dimensional movement creating gaps, lip formation, and edge stress.
ADA accessibility rules emphasize keeping changes in level smooth; selecting a profile that bridges height differences without creating raised edges helps protect the walking surface over time.
Who should skip (or escalate to a pro): if the patio edge has active drainage issues, significant slab movement, or you can’t confidently match transition profiles to the exact height difference and engineered wood gap spec, don’t “try and see.” The risk is not just cosmetic—it’s trip hazards and repeated edge repairs.
Quick checklist before you start
– [ ] Confirm engineered wood perimeter/edge gap requirement:
– [ ] Measure height difference and thickness stack at the patio edge:
– [ ] Choose the correct transition profile (height + receiver/track style)
– [ ] Dry-fit transition and verify expansion spacing at ends and corners
– [ ] Prep substrate flat/clean/dry; remove old residue
– [ ] Install using the transition’s approved method (clips/screws/adhesive)
– [ ] Seal only as specified for this flooring + transition type
– [ ] Final check: no lip, no rocking, smooth foot traffic pass
– [ ] Verify that patio water sheds away from the edge (slope/drainage)
– [ ] Document the gap location so a future installer can maintain the engineered wood movement zone
Before fastening transitions, a dry-fit helps confirm alignment, expansion space, and that the engineered wood edge remains free to move as specified by the manufacturer.
Sources
– National Wood Flooring Association (NWFA) — Engineered wood installation and maintenance guidance (required perimeter/expansion spacing and moisture/humidity recommendations).
– ACI 308 — Standard Practice for Curing Concrete (curing timelines and how strength gain supports exterior slab stability).
– 2010 ADA Standards for Accessible Design — Change in level and walking surface constraints (e.g., 1/4 in / 6.35 mm maximum at accessible route segments).
– Manufacturer instructions for engineered wood installation (required expansion/perimeter gap and approved fastening/sealing practices).
– Manufacturer instructions/specifications for the specific transition strip type you plan to use (approved installation method, compatible thickness/height ranges).
– If applicable to your system: underlayment manufacturer guidance on edge termination and layer compatibility.
A clean, durable engineered wood patio edge is achievable, but only when the transition is selected for the exact height change and installed in a way that respects engineered wood movement. Treat the perimeter gap as a functional requirement, prep the substrate until it’s truly flat and stable, and attach the transition using the method intended for that specific profile. If drainage is poor or the patio edge is still moving, fix that first—otherwise the transition will keep getting asked to do structural work it wasn’t designed to handle.
Frequently Asked Questions
What transitions work best for engineered wood floors on a patio?
The best patio transition options are exterior-rated T-moldings, reducer strips, or threshold transitions made for weather exposure and frequent foot traffic. Look for transition trims designed for wood-to-surface changes (concrete, tile, pavers) and that can handle expansion and contraction. For outdoor patios, choose stainless steel or aluminum hardware and transitions with a durable finish to resist moisture and UV fading.
How do I install a transition strip between engineered wood patio flooring and concrete?
Start by cleaning and leveling the concrete edge so the transition sits flat without rocking. Measure the gap height and allow for engineered wood expansion—typically leaving a small perimeter gap if required by your flooring manufacturer. Use exterior-appropriate construction adhesive and/or screws (as specified for the transition system) so the strip is secure, then caulk the perimeter with a paintable exterior sealant to reduce water infiltration.
How should I handle expansion gaps when installing transitions around engineered wood on a patio?
Engineered wood still expands and contracts outdoors, so transitions must be installed over a proper expansion gap rather than pinned tightly. Follow your manufacturer’s guidance for the required width of movement joints, especially near doors, columns, and patio edges. If the transition covers the gap, ensure the design includes a built-in movement allowance or use a flexible sealant detail rather than rigid caulk.
Why do transitions lift or fail on patio engineered wood floors, and how can I prevent it?
Transitions often lift due to inadequate sub-surface preparation, incorrect fastener choice, or expansion being blocked by rigid installation. Outdoor moisture can also cause adhesive failure if the concrete edge is dusty, damp, or unsealed. Prevent this by using exterior-rated adhesives, ensuring proper drainage and leveling, sealing the concrete edge if needed, and confirming the transition allows movement without trapping the flooring.
Which tools and materials do I need to install patio floor transitions safely and neatly?
Plan on using a measuring tape, miter saw or oscillating saw (for trimming the transition), a drill/driver, spacers for expansion gaps, and a pry bar for minor adjustments. Choose stainless or exterior-rated screws, an exterior construction adhesive if required, and a weatherproof sealant that matches the transition’s system. For best results, keep a level and chalk line handy to align the strip, then check heights so the engineered wood floor transitions smoothly to concrete or tile without tripping.
📅 Last Updated: October 20, 2026 | Topic: How to install transitions around engineered wood floors in a patio? | Content verified for accuracy and freshness.
References
- Wood flooring
- Expansion joint
- Threshold
- https://en.wikipedia.org/wiki/Wood_movement
- Engineered wood
- https://www.fs.usda.gov/treesearch/search?query=wood%20floor%20moisture%20movement%20expansion
- https://extension.psu.edu/search?query=hardwood%20floor%20expansion%20gap%20installation%20threshold
- https://scholar.google.com/scholar?q=engineered+wood+floor+transition+strip+installation+expansion+gap Google Scholar
- https://scholar.google.com/scholar?q=wood+floor+threshold+installation+details+expansion+contraction+moisture Google Scholar
- https://scholar.google.com/scholar?q=engineered+wood+floor+patio+outdoor+installation+moisture+transition+to+concrete Google Scholar