
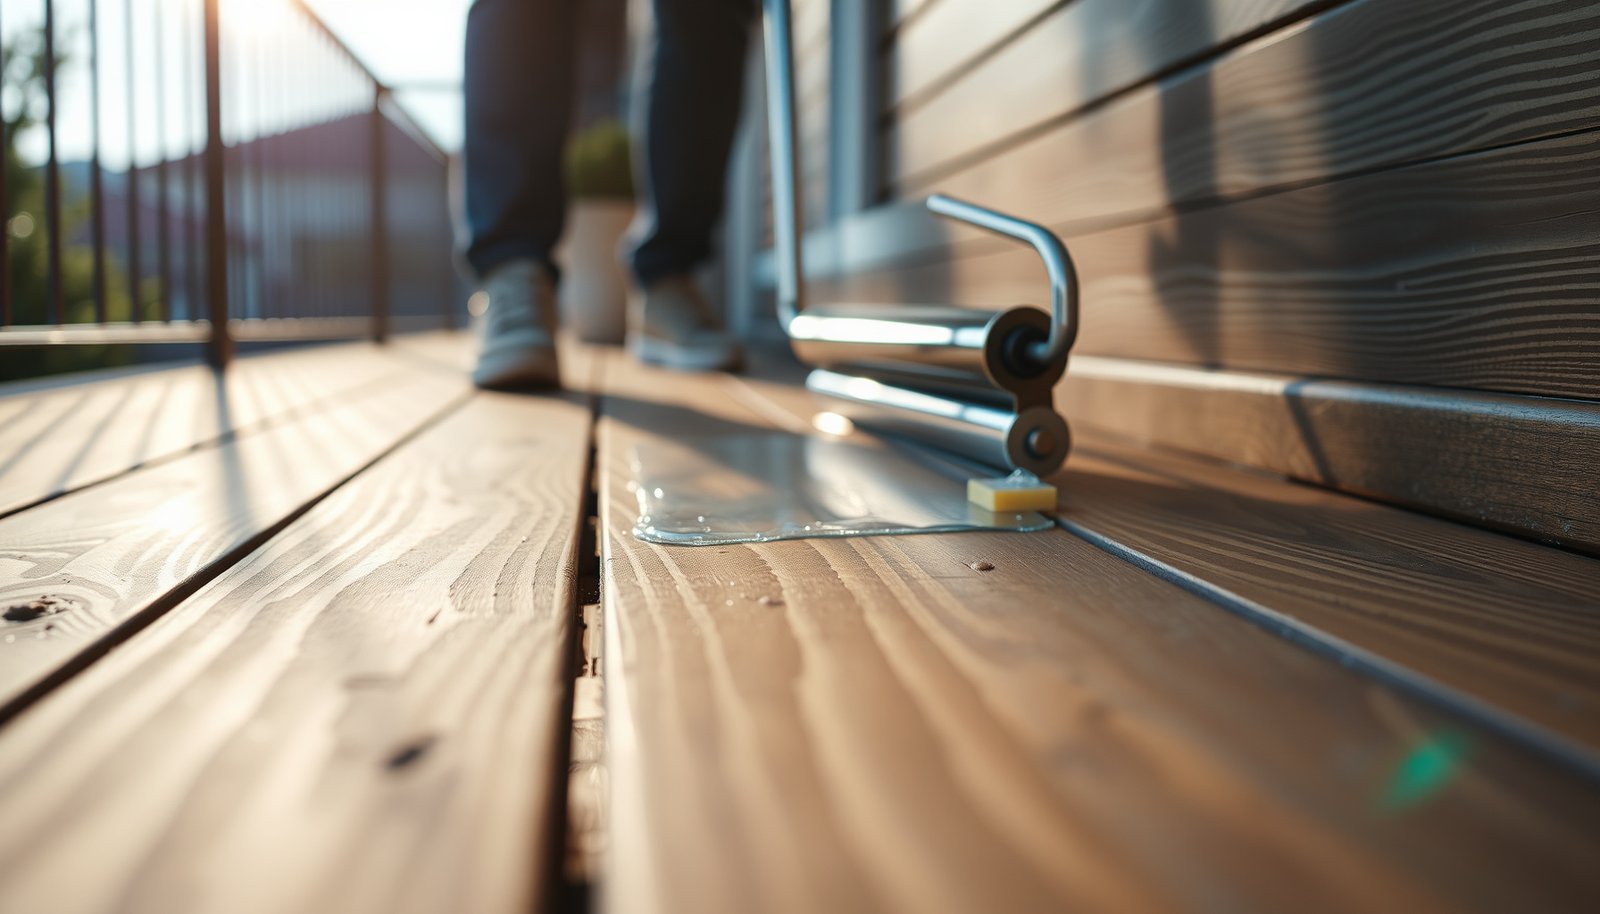

If you’re trying to waterproof engineered wood floors on a balcony, the winning approach is installing a proper surface-sealed system: a compatible exterior-rated waterproof membrane with carefully sealed seams and edges. Done correctly, this prevents moisture and standing water from swelling, cupping, or delaminating the planks—even in freeze-thaw and heavy rain. Follow the right layering and detailing for your balcony setup, and you’ll get real, long-term water protection instead of short-lived coating failures.




Waterproofing engineered wood on a balcony is mostly about keeping bulk water out and sealing the weak points (joints and edges), not about coating the planks like an indoor floor. If you build an exterior-ready system—sloped/draining base, waterproof underlayment/membrane, and flexible sealing at seams and the perimeter—you can significantly reduce water damage. This guide walks you through the approach and the common failure points.
If your balcony gets frequent rain, melting snow, or standing water, you need to treat the whole assembly as an exterior waterproof layer. That applies to many “engineered wood” floors originally designed for indoor use, so you’ll want to follow the manufacturer’s outdoor/balcony limits before committing.
This is for homeowners, property managers, and installers upgrading decks or balconies who want an engineered wood look without turning the substructure into a sponge. Because engineered wood is usually tolerant of daily humidity swings but not persistent water intrusion, the right waterproofing strategy depends on how your balcony drains and what your specific floor and membrane are rated to handle—especially as of 2026.
Check your balcony setup and engineered wood limits first

Engineered wood floors can survive balcony moisture only when the balcony itself drains and the floor is explicitly permitted for that exposure. Waterproofing helps, but it can’t compensate for a flat surface that holds water or for a wood product rated “indoor only.”
If water routinely pools after rain, the problem isn’t solved by sealing boards—it becomes a subfloor and seam-saturation issue.
Many engineered wood warranties assume “interior climate” unless the manufacturer states balcony/outdoor exposure limits in writing.
Before choosing a membrane, identify your build-up (joists vs. slab, existing underlayment, and any drainage layer) because details differ.
– Make sure the balcony has proper drainage and isn’t allowing standing water; waterproofing won’t fix a fundamentally flat or clogged surface.
– Verify the engineered wood manufacturer allows installation outdoors or “exposure to moisture” for your specific product (often there are strict limits).
– Identify your floor build-up (joists vs. slab, existing underlayment, and whether there’s an existing membrane) before choosing a waterproofing method.
Why this step matters (engineered wood on balconies): Engineered wood still uses wood veneers and a core that respond to moisture. Wood cell walls can take on moisture until they reach the fiber saturation point, after which free water behaves differently than vapor (and water that reaches edges/joints is the real risk). According to the USDA Forest Products Laboratory, the fiber saturation point is roughly 28–30% moisture content for wood fiber saturation, not “fully flooded,” which helps explain why slow leaks and repeated wetting are dangerous over time (USDA Forest Products Laboratory, Wood Handbook; wood as an engineering material, ongoing revisions).
Also, exterior systems rely on slope. According to common exterior deck waterproofing guidance used in tile and wet-area assemblies, a minimum slope of about 1/4 in per ft (≈6 mm per m) is often required to encourage runoff rather than pooling (Tile Council of North America—TCNA guidance used across exterior/wet deck details).
Choose a waterproofing system compatible with engineered wood
The best choice is an exterior-rated waterproof membrane/underlayment designed for wet areas, paired with flexible detailing where movement occurs. Engineered wood shouldn’t be treated like an indoor floor where coatings handle vapor—balcony waterproofing is a layered assembly that must tolerate temperature cycling and occasional water intrusion.
Exterior deck waterproofing is about controlling water below the flooring plane—not waterproofing the top face alone.
Flexible membranes and compatible sealants are critical because balcony floors expand and contract with temperature and humidity.
A waterproof layer that can’t be repaired or taped at seams is a common pathway to slow leaks.
– Use an underlayment/membrane system intended for exterior wet areas (not a basic indoor vapor barrier), and confirm it’s compatible with your installation type.
– Prefer waterproofing that covers the entire floor plane under the boards, plus a separate approach for sealing joints and edges.
– Keep it flexible where movement happens (balconies expand/contract with temperature and humidity), since rigid coatings often crack.
Quick comparison: membrane types under engineered wood (what tends to work)
Below is a practical comparison of system approaches that installers often choose for engineered wood on balconies. The “best for” column reflects typical compatibility—not a guarantee for every product combination in every climate.
| System approach | Strengths | Watch-outs for engineered wood | Best for |
|---|---|---|---|
| Sheet waterproofing + taped seams | Continuous barrier under the whole plane | Requires meticulous overlap and repair of punctures | Joist or slab decks needing predictable detailing |
| Liquid-applied membrane (elastomeric) | Good at bridging small irregularities | Thickness, cure time, and edge detailing make-or-break results | Complex perimeters and penetrations |
| Cementitious waterproofing coating (flexible) | Common on wet areas with strong substrate contact | Rigid behavior can be a problem if your substrate/edges move | Stable substrates with correct movement-joint planning |
| Drainage mat + waterproofing/underlayment layer | Supports drying and manages water pathways | Needs correct airflow and water-routing; detail around edges still matters | Balconies where drying time matters as much as waterproofing |
Mandatory visual: data table to help you shortlist systems (2026)
Balcony waterproofing choices under engineered wood (system suitability)
| # | System option | Waterproof layer type | Typical seam/overlap spec | Movement tolerance focus | Practical suitability |
|---|---|---|---|---|---|
| 1 | Sheet membrane + taped seams | Elastomeric/thermoplastic sheets | ≥ 50 mm (2 in) | High at edges | ★★★★★ |
| 2 | Liquid-applied elastomer membrane | Two-/multi-coat waterproof liquid | Seam by reinforcing strip system | High with flexible sealants | ★★★★☆ |
| 3 | Drainage mat system (with membrane) | Water routing + barrier layer | Mat joints sealed per system | Built for drying | ★★★★☆ |
| 4 | Flexible cementitious coating (reinforced) | Polymer-modified cement coating | Reinforce transitions (per spec) | Moderate to high | ★★★☆☆ |
| 5 | Rigid coating only (not exterior flex-rated) | Rigid/semi-rigid film | Cracks at edges possible | Low | ★★☆☆☆ |
| 6 | Indoor vapor barrier (repurposed) | Sheet vapor retarder | Not designed for water heads | Low | ★☆☆☆☆ |
| 7 | Topical sealer only on boards | Coating on exposed wood | Does not stop under-board water | Low at joints | ★☆☆☆☆ |
Prep the substrate and install the waterproof layer correctly
If you want engineered wood to last on a balcony, your waterproof layer is only as good as the substrate prep and installation discipline. The goal is to eliminate pooling and prevent the waterproof membrane from being punctured, improperly overlapped, or left unprotected during fastening.
Waterproofing fails most often at penetrations and membrane damage—fixes only work when repaired immediately, not later.
A clean, smooth, properly leveled substrate prevents “micro-dams” that push water into joints beneath engineered wood.
Follow membrane overlap, seam-taping, and upstand details exactly; balconies are harsher than interiors.
– Start with a clean, smooth, dry substrate; fix dips/voids so water doesn’t pool at seams or edges.
– Install the waterproof underlayment/membrane according to the manufacturer’s instructions (overlap method, taped seams, upstands to the perimeter where required).
– Protect the system during installation so you don’t puncture it while fastening or cutting around drains/edges; repair any damage immediately.
Substrate prep is the foundation of engineered wood balcony waterproofing. Even a small low spot can become a repeated wetting zone. Under the engineered wood floor plane, that wetting can feed capillary action at seam lines and at the perimeter where airflow may be limited.
Also watch moisture classification. According to ASTM E96/E96M vapor transmission testing, “Class I” vapor retarders are defined as having a permeance of ≤ 0.1 perm (which is a useful benchmark conceptually, even though a vapor retarder is not the same thing as a waterproofing membrane) (ASTM E96/E96M, standard definition of vapor retarder classes). On balconies, you’re managing liquid water and runoff, not just vapor.
Finally, protect the membrane during board installation. Many systems require specific fastener locations or fastening methods that avoid direct punctures through the wrong layer. If you’re uncertain, use the membrane manufacturer’s fastening detail drawings—this is where DIY attempts most often diverge from spec.
Seal joints, edges, and the balcony perimeter properly
To keep engineered wood safe, you must seal the “routes” water takes into the assembly: joints, perimeter transitions, and penetrations. The right approach is typically flexible—compatible sealants at edges and careful movement-gap planning—rather than rigidly locking every joint.
Perimeter transitions (edges, corners, door thresholds) are where bulk water is most likely to enter underneath engineered wood.
Expansion gaps exist so the floor can move; sealing those gaps incorrectly can create stress cracks that become water pathways.
Pipe sleeves, posts, and drains need intentional detailing—don’t rely on “gap-filling caulk” alone.
– Seal the board-to-board joints only if your engineered wood system calls for it (some floating installs rely on gaps and don’t want sealant everywhere).
– Use a compatible exterior sealant for perimeter transitions and penetrations (door thresholds, posts, pipe sleeves), focusing on where water can enter.
– Maintain required expansion gaps—don’t fully “lock” the floor to walls; water can’t be allowed to run under it, but the floor still must move.
Engineered wood-specific detailing nuance: Many engineered floors that look like planks are installed as floating or click-lock systems with designed movement. If you indiscriminately apply sealant everywhere, you can restrict movement and accelerate cracking at the sub-assembly level. That’s why manufacturers often specify either:
– “seal only the tongue-and-groove joints” (if the system is designed for it), or
– “do not seal joints” (if movement is needed and water control comes from the waterproof layer below).
For the perimeter, think in terms of a barrier that keeps liquid water from migrating under the floor—typically with upstands/edge flashing and an exterior-rated sealant system at the transitions.
What can go wrong (and edge cases)
Even a correctly built waterproof system can underperform if water pools, if the wrong product type is used, or if movement details are ignored. On balconies in particular, the most common failures are slow seepage and edge/penetration breakdown rather than catastrophic “instant leak” events.
Standing water is the fastest path to failure because it overwhelms seams and keeps edges saturated.
Over-sealing movement gaps can turn normal expansion into cracking, and cracked coatings become leak channels.
A punctured membrane left unrepaired often leads to dampness long after the initial installation is forgotten.
– Standing water: Even good waterproofing can fail if water pools long enough to overwhelm seams or saturate edges.
– Wrong product type: Indoor floor sealers/varnishes are not the same as waterproofing membranes; they may peel or crack under outdoor cycles.
– Ignoring movement: If you over-seal rigidly at places that need to expand, you can create cracks that become water pathways.
– Fastener/membrane damage: Drilling or stapling through a membrane without a planned detail (flashing/treatment) can turn small holes into leaks.
Edge cases to consider (engineered wood floors on balconies):
– If your balcony has a “covered” roof but still sees humid air and wind-driven rain, you may still need an exterior-rated waterproof strategy.
– If your balcony uses removable planters or furniture that traps water, your effective waterproofing requirement increases because you’re creating repeated wetting cycles.
– If you’re over a structural slab that already has waterproofing, your assembly may be trying to “add” a second waterproof layer—sometimes helpful, sometimes redundant, but always detail-dependent.
Verdict: a realistic recommendation (and who should skip it)
If your balcony has reliable drainage, you can build the correct layered system, and your engineered wood is explicitly allowed for this exposure, then waterproofing can work well enough to protect against typical rain exposure and splash-through risk. That said, if the product is “indoor only,” if you can’t guarantee no standing water, or if you’re not able to follow the floor/membrane manufacturers’ install details, it’s smarter to avoid DIY waterproofing and switch to a balcony-rated flooring approach instead.
A balcony waterproofing assembly succeeds when it manages liquid water, not just humidity—especially around seams and penetrations.
If you can’t meet slope/drainage expectations, engineered wood waterproofing becomes a recurring maintenance risk rather than protection.
When in doubt, match engineered wood install requirements to the membrane system’s approved details instead of mixing components.
Scan-and-save checklist + FAQ
Use this checklist to reduce “missed detail” risk—where most balcony waterproofing failures actually start.
The quickest way to protect engineered wood on a balcony is to verify waterproof-layer compatibility before you open the first box.
If you follow membrane overlap and upstand instructions exactly, you prevent the most common under-board leak routes.
Quick checklist (before you start)
| Step | What to confirm | Common miss |
|---|---|---|
| Verify product limits | Engineered wood allows balcony/outdoor moisture exposure | Assumes “engineered = waterproof” |
| Check drainage/slope | No standing water after rain | Pools at edges or low spots |
| Choose exterior membrane | Waterproof, exterior-rated, compatible system | Using indoor vapor barrier/coating |
| Install carefully | Seam taping/overlaps/upstands per instructions | Punctures not repaired |
| Seal only the right areas | Joints/edges/perimeter/penetrations per spec | Rigidly sealing expansion gaps |
| Inspect after exposure | Look for lifted edges, failed seams, or slow seepage | Waiting until boards swell |
Frequently Asked Questions
What’s the best way to waterproof engineered wood floors on a balcony?
The most reliable approach is to use a complete waterproof system: a vapor/waterproof underlayment plus a compatible waterproof sealant or topcoat on the engineered wood edges and joints. Because balconies are exposed to moisture cycles, make sure the floor is installed with a plan that prevents water from reaching the subfloor. Also verify your engineered wood’s warranty for outdoor or balcony use, since many products require specific waterproofing systems.
How can I waterproof the edges and joints of engineered wood flooring on a balcony?
Start by sealing the plank edges and tongue-and-groove joints with a manufacturer-approved waterproof wood flooring sealant or joint filler. After installation, apply sealant along perimeter gaps, transitions, and around any penetrations (posts, drains, or door thresholds). Use a flexible sealant rated for exterior exposure so expansion and contraction don’t open up new pathways for water.
How do I waterproof engineered wood floors on a balcony without trapping moisture underneath?
Waterproofing should be layered so liquid water is blocked while any trapped vapor can’t damage the system. Choose an underlayment designed for balcony or exterior installations and ensure proper subfloor preparation, including leveling and appropriate moisture barriers. If your balcony has direct wetting risk (rain splash or puddling), avoid fully sealing every layer in a way that traps moisture—follow the flooring and underlayment manufacturer’s installation instructions.
Which materials and products are best for waterproofing an engineered wood balcony floor?
Look for a waterproof underlayment system, exterior-rated perimeter flashing or skirting, and a sealant specifically approved for engineered wood and outdoor exposure. Common options include waterproof membranes/underlayments, exterior-grade silicone or polyurethane perimeter sealants, and compatible waterproof coatings for edges if the flooring system allows it. Always match product compatibility (sealant-to-wood, underlayment-to-subfloor) to reduce bubbling, delamination, or seal failure over time.
Why does balcony moisture cause engineered wood to swell, and how can waterproofing prevent it?
Engineered wood can swell when water infiltrates joints, perimeter gaps, or fastener/shoe areas and reaches the layers beneath the surface. On balconies, repeated rain, condensation, and temperature swings increase the chance of small leaks turning into continuous moisture exposure. By waterproofing seams, sealing edges, using a proper waterproof underlayment, and maintaining drainage so water doesn’t pool, you significantly reduce the likelihood of cupping, swelling, and joint separation.
📅 Last Updated: October 20, 2026 | Topic: How to waterproof a engineered wood floors with balcony? | Content verified for accuracy and freshness.
References
- Waterproofing
- Vapor barrier
- Engineered wood
- Deck
- Balcony
- Sealant
- Wood preservation
- https://scholar.google.com/scholar?q=engineered+wood+waterproof+balcony+floor Google Scholar
- https://scholar.google.com/scholar?q=waterproofing+membrane+over+wood+deck+floor Google Scholar
- https://scholar.google.com/scholar?q=wood+subfloor+waterproofing+exterior+balcony+system Google Scholar


