
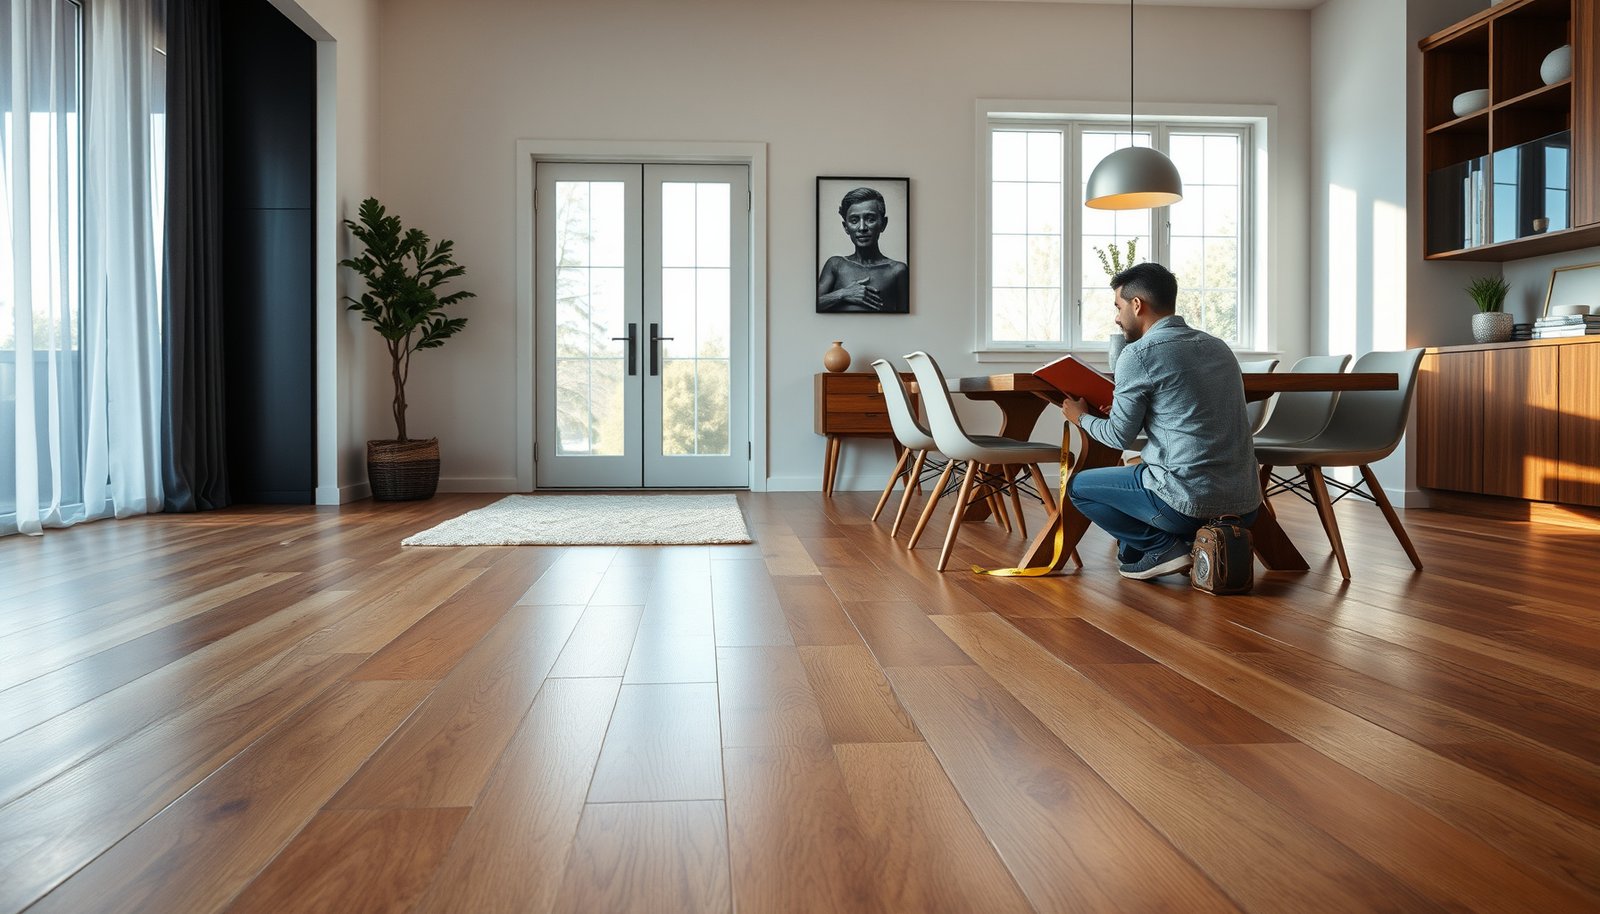

Want an accurate estimate for engineered wood floors in a dining room? You’ll get a clear, practical cost formula that accounts for square footage, plank size, underlayment, subfloor prep, and—most importantly—installation labor. By the end, you’ll know whether your project price is trending low, fair, or overpriced for your room size.


You can estimate engineered wood floor cost in a dining room by totaling (1) flooring materials (sq ft × price, plus waste) and (2) installation costs (often based on sq ft, plus any subfloor prep). Then add “surprise line items” like underlayment/moisture protection, transitions, and furniture moving so your budget matches the quote.
This is for homeowners planning a dining-room upgrade and want a realistic budget before calling installers or buying materials. The process below is written to work even when you don’t yet know exact labor rates—just plug in the current numbers you’re quoted or find from product specs.
Start with a simple cost formula
The fastest way to estimate your dining-room engineered wood floor budget is to separate materials from labor, then add the accessories and prep items that commonly cause quote surprises. This gives you a working number you can refine once you confirm product-specific requirements (especially moisture and underlayment).
“Most engineered wood installs are budgeted as materials (boards + underlayment/accessories) plus labor (installation + subfloor prep).”
“Subfloor flatness and moisture conditions are often prerequisites; ignoring them can force extra leveling/mitigation later.”
– Total cost ≈ Flooring + underlayment/underlayer + accessories + installation + prep/repairs + extras
– Separate materials and labor so you can adjust the estimate when you change products or decide DIY vs. pro install
– Use product/installation requirements as your baseline (engineered floors vary a lot by locking system, thickness, and whether they require a specific underlayment)
What “engineered wood cost” really includes
When you request quotes, installers can bundle or split line items differently. That’s why your estimating model should mirror how the work is actually scoped:
– Materials: engineered boards, underlayment (if required), vapor barrier/moisture protection (if required), transitions (T-moldings/thresholds), trim/baseboards if you’re removing/altering them, and often fasteners/glue if your install method needs them.
– Labor: installation time, plus any removal/haul-away, subfloor leveling or repairs, edgework around doors/vents/columns, and finishing steps if your system requires them.
– Extras: moving dining-room furniture, reinstalling/adjusting vents, caulking, or adding last-mile details installers sometimes price separately.
As of 2026, labor markets in many regions are still volatile—so a “good enough” estimate should be flexible. In my own budgeting spreadsheets, the quickest path to accuracy is to keep every cost driver as its own line item (especially transitions and prep), so you can reconcile a quote without redoing the math.
Measure the dining room (and plan for waste)
Your engineered wood flooring estimate starts with a square-foot number that reflects how much area you’ll actually cover—not just the room’s outer perimeter. Add a realistic waste factor based on cuts, obstacles, and layout complexity so you don’t underbuy boards.
“Waste allowances typically increase with room complexity (more cuts, corners, angles) even when the room’s area stays the same.”
“Square footage for flooring is calculated from length × width, then adjusted for connected areas you’ll floor.”
– Measure length × width to get square footage (sq ft); add all connected areas you’ll actually floor (like openings/entry extensions)
– Add a waste factor for cuts and layout complexity: use (commonly higher for patterns or many obstacles)
– Account for doorways, vents, posts, and built-ins by measuring how the floor will end and where transitions will go
Step-by-step measurement that prevents “missing boards”
1. Sketch the room (even a quick one) and mark:
– doors and whether the flooring will stop under the door jambs or transition out
– vent registers and chase openings
– columns, posts, built-ins, and stair or step-down areas (if any)
2. Calculate the main rectangle: length × width = base sq ft.
3. Add connected flooring zones: closets or small hallway extensions you plan to cover with the same engineered system.
4. Add waste: use your product’s recommended waste percentage. If you don’t have it yet, use a temporary conservative value like 10% for a typical plank layout, then replace it with the manufacturer’s figure once you choose a model.
The flatness/moisture measurements that change cost later
While measuring won’t tell you your exact labor cost, it helps you identify likely prep scope. If you’re planning to measure subfloor flatness, this is where standard guidance becomes a budgeting input:
– According to common NWFA installation guidance, subfloors are typically expected to meet limits around 3/16 in over 10 ft (about 4.8 mm) for many wood flooring installs and 1/8 in over 6 ft (about 3.2 mm) for other checks. National Wood Flooring Association (NWFA) installation guidance
If you already suspect unevenness (older homes, previous flooring wear, or patchwork), assume prep cost risk is higher.
Estimate engineered wood flooring materials cost
The most reliable way to estimate material cost is to start with your square footage (including waste) and multiply by the exact board price per sq ft from the retailer/distributor. Then add the components your install method requires—because engineered wood kits are often sold “board-only.”
“Flooring material cost is typically calculated as required sq ft (including waste) × price per sq ft for the specific product.”
“Engineered wood installation instructions often specify an approved underlayment or moisture barrier; using the wrong system can void performance expectations.”
– Get your product’s price per sq ft from the retailer/distributor, then calculate:
Flooring cost = (Dining room sq ft × (1 + waste factor)) × price per sq ft
– Don’t forget required components:
underlayment or moisture barrier (if specified), transition strips, stair/nosing parts (if applicable), and trim/baseboards if you’re removing/altering them
– If your installation method matters (click-lock vs. glue-down vs. nail-down), use the manufacturer’s install type—pricing assumptions change based on what’s required
What to include in the “materials” bucket
For dining rooms, a surprising number of material line items are tied to layout details:
– Underlayment / underlayer
Some engineered floors (especially floating/click-lock) require an approved foam or rubberized underlayment; glue-down installs may require a different moisture setup.
– Moisture protection
If your subfloor is a slab or located near damp crawlspaces, follow the manufacturer’s moisture requirements. Many industry documents reference slab checks like:
– ≤ 75% RH via ASTM F2170 as a common target threshold used in many flooring applications ASTM F2170 / NWFA moisture guidance context
– ≤ 3.0 lb/1000 sq ft/24h via ASTM F1869 as a commonly referenced moisture vapor emission target ASTM F1869 / NWFA moisture guidance context
– Transitions and thresholds
You may need transitions at doorways, between rooms, or where the engineered wood meets tile/carpet/another wood floor. Transition pieces can be priced per piece or per linear foot.
– Trim/baseboards (if you’re removing them)
Some homeowners reuse baseboards; others plan for replacements depending on condition and wall coverage requirements.
Install-method matters more than many homeowners expect
Engineered wood isn’t one universal system. Installation method changes both materials and labor scope:
– Click-lock (floating): typically needs underlayment (if required) and perimeter expansion gap handling; labor may focus on layout and clean edge work.
– Glue-down: can require trowels, adhesives, and tighter moisture requirements; labor time often increases due to surface prep and adhesive workflow.
– Nail-down: may require fastening tools and a different subfloor/surface approach.
If your quote doesn’t specify install method, ask—because it affects what’s included.
Estimate installation labor (and what drives price)
Most installers quote labor as a per-sq-ft or per-day rate, but your true labor cost hinges on prep complexity and how many “edges” the installer must finesse. Start with your sq ft, then add known scope drivers like furniture moving, removal, leveling, and transition work.
“Labor quotes may be structured per sq ft or per day; your estimate should mirror the installer’s quoting method.”
“Removal/haul-away and subfloor leveling are common sources of labor add-ons beyond the base installation rate.”
– Many installers quote either per sq ft or per day, so budget using:
Labor cost = sq ft × labor rate *or* days × day rate + travel/fees
– Labor cost often rises with: subfloor conditions, moving furniture, removal of old flooring, and complex trim/edge work
– Ask for (or estimate) whether the installer includes: haul-away, floor leveling/surface prep, and filler/patching—these can be billed separately
What usually changes labor pricing in a dining room
Dining rooms tend to have more detail work than open-plan rooms—think doorways, built-in storage, and a higher likelihood you’ll keep furniture in the space (at least partly). The biggest labor drivers typically include:
– Furniture moving (and how protected it must be)
– Old floor removal and disposal
– Subfloor prep:
– leveling compound or patching
– grinding high spots
– repairing damaged subfloor panels
– Edgework:
– cutting around vents and door casings
– transition installation and height matching
DIY vs. pro: a quick comparison
Below is a practical way to decide what labor scope you may be able to DIY without risking costly rework.
| Approach | Pros | Cons / Risks |
|---|---|---|
| DIY (floating/click-lock) | Often faster to learn for simple plank layouts; can save labor if the subfloor is already flat and dry. | Most issues come from expansion-gap errors, wrong underlayment, or rushed acclimation—any of which can create gaps or squeaks. |
| Pro install | Installer manages transitions, edgework, and moisture/flatness checks; documentation is clearer for warranty support. | Higher upfront cost; quotes can shift if prep is worse than expected—so you still need a detailed written scope. |
From my budget-template experience, the best way to reduce “labor quote drift” is to demand that the installer specify whether they include leveling and filler/patching and whether haul-away is bundled.
Add common dining-room extras that affect the total
Your estimate becomes trustworthy when you add the extras that are hardest to see before the installer opens walls or removes the old floor. For dining rooms in particular, those extras often cluster around moisture protection, transitions, and subfloor prep scope.
“Even floating engineered wood still depends on the subfloor meeting the manufacturer’s required flatness and preparation conditions.”
“Moisture requirements (underlayment/vapor barrier approach and moisture limits) are usually specified in product installation instructions.”
– Subfloor prep: engineered wood still depends on a stable, properly prepared surface. If you need leveling/repairs, expect added cost. Use to decide scope.
– Moisture management: basements, slabs, or damp crawlspaces may require a specific vapor barrier approach. Follow the manufacturer’s moisture requirements for your product.
– Trim, transitions, and last-mile details: transitions to tile/carpet/another wood floor, caulking/finishing steps (if needed), and reinstalling/adjusting vents or moldings can add labor and material.
Specification thresholds that often trigger prep line items
If you’re trying to budget before you test, this table shows common specification-style thresholds that installers frequently reference when deciding whether you need leveling or moisture mitigation.
Common Subfloor/Environment Thresholds Used to Plan Engineered Wood Prep
| # | Check | Method / Basis | Typical Max Limit | Budget Effect Ease |
|---|---|---|---|---|
| 1 | Flatness deviation (10-ft span) | Installation flatness verification | 3/16 in (4.8 mm) |
Tight
|
| 2 | Flatness deviation (6-ft span) | Short-span flatness verification | 1/8 in (3.2 mm) |
Very tight
|
| 3 | Slab RH limit | ASTM F2170 (in-situ RH) | 75% RH |
|
| 4 | Moisture vapor emission limit | ASTM F1869 (MVER) | 3.0 lb/1000 sq ft/24h |
|
| 5 | Wood substrate moisture limit | ASTM D4442 (moisture content) | 12% MC |
|
| 6 | Indoor humidity control (upper bound) | Wood flooring environment targets | 55% RH |
|
| 7 | Radiant heat surface cap | Radiant heat limitations for wood floors | 85°F (29°C) |
|
Notes about using thresholds in a budget
These are “planning-style” thresholds that often influence whether you need prep/mitigation. Your exact product may require tighter or different limits—so treat this as a budgeting framework, not a substitute for the installation instructions for your specific engineered wood model.
What can go wrong (and where estimates break)
Even a careful estimate can break when hidden conditions force different prep scope. The goal is to identify where quotes commonly change—so you can ask better questions before work starts.
“If you skip a manufacturer-required underlayment/moisture barrier or ignore acclimation and tolerance limits, you can trigger rework and warranty issues.”
“Subfloor flatness is one of the most frequent quote mismatches because it’s often unknown until removal or measurement.”
– Skipping manufacturer prep requirements: if your product needs a specific underlayment, moisture barrier, acclimation, or tolerance limits, “normal” assumptions can make the install fail—then costs go up (and timelines stretch). Use the exact spec sheet for your floor.
– Underestimating obstacles: dining rooms often have doors, vent registers, architectural openings, and furniture. These change waste %, cut count, and transition needs.
– Ignoring subfloor flatness: if the subfloor isn’t within the required tolerance, you may need leveling compound or repairs—this is one of the most common reasons quotes don’t match the homeowner’s early estimate.
– DIY vs. pro mismatch: click-lock floating floors can look straightforward, but incorrect expansion gaps, improper underlayment, or rushed acclimation can cause gaps or movement—costs can increase when rework is required.
The biggest “estimate drift” categories
Here are common failure modes that turn a good number into a bad budget:
– Wrong waste factor (especially near doorways and architectural cutouts)
– Underlayment/moisture items left out (because they’re not always bundled with board pricing)
– Prep mis-scoping (the installer assumes a flat, dry subfloor; you assume “no leveling needed”)
– Transition oversights (thresholds cost money and time, and they require height matching)
As of 2026, the most effective way to avoid drift is to require written scope clarity. A line-item list may feel overkill until you see what gets added after the old floor comes up.
Verdict / tip (how to keep your estimate honest)
Build your budget from the formula, then confirm key unknowns with your exact product specs and a written quote—especially moisture/vapor requirements and subfloor prep. If you do that, you’ll know what your “real range” is before spending on boards.
“A reliable estimate is created by isolating materials, labor, and required prerequisites (moisture/flatness/underlayment) before buying.”
“Written quotes that specify scope (removal, leveling, haul-away, transitions) reduce the chance of unplanned add-ons.”
– Best approach: build your budget from the formula, then confirm key unknowns with your exact product specs and a written quote—especially moisture/vapor requirements and subfloor prep.
– Downsides to plan for: even a careful estimate can shift once you remove existing flooring and see the real subfloor condition. Also, accessory/transition costs are easy to miss early.
– Skip this DIY estimating process (and get a site visit/quote) if you have major subfloor damage, slab moisture concerns, or you’re unsure whether your dining-room floor connects to other flooring systems that require specific transitions.
Here’s a quick scan checklist you can reuse before you buy or schedule install:
| Cost Item | How to Estimate It | What to Confirm |
|---|---|---|
| Flooring boards | (Dining room sq ft × (1 + waste factor)) × price/sq ft | Waste factor per your product/layout |
| Underlayment / moisture barrier | Allow a materials line item (or bundle) | Whether your specific product requires it |
| Transitions & trim | Estimate per doorway/edge | Matching height/thickness and transition type |
| Subfloor prep | Add if leveling/repairs are needed | Required flatness and approved repair methods |
| Labor | sq ft × labor rate or days × day rate | Includes removal/haul-away? leveling? |
| Extras | Moving furniture, patching, caulking, finishing steps | What the installer covers vs. what you supply |
Sources
– (for underlayment/moisture requirements, expansion gaps, and subfloor tolerances)
– National Wood Flooring Association (NWFA) – installation guidance and best practices for wood flooring preparation/installation concepts
– ASTM standards related to wood flooring and installation practices (use the relevant standard referenced by your product or installer, where applicable)
If you want, tell me your dining-room dimensions, whether the floor is click-lock or glue-down, and the flooring brand/model (or price per sq ft). I can turn this into a plug-in estimate with the exact line items you’ll need.
Choosing engineered wood for a dining room is a worthwhile upgrade when you budget like an installer: boards plus the prerequisite underlayment/moisture and the real subfloor/edgework scope. Do that, and your first quote will be easier to compare—and your final total will be far less of a surprise.
Frequently Asked Questions
How do I estimate the cost of engineered wood flooring for a dining room?
Start by measuring your dining room’s square footage (length × width) and add 10–15% waste for cuts, seams, and layout complexity. Then estimate costs by multiplying the total square footage by the installed price per square foot, which typically includes the engineered wood planks, underlayment or attached pad, delivery, and installation labor. Don’t forget to budget for subfloor prep (leveling, moisture mitigation), transition strips, and finishing details like edging or trims, since these can meaningfully change the final total.
What’s the cost difference between DIY installation and hiring a contractor for engineered wood floors?
DIY can reduce labor costs, but you may still pay for tools, underlayment, and careful waste planning to avoid expensive mistakes. Hiring a pro often costs more upfront, yet it can be worth it for dining rooms where long plank runs, accurate leveling, or tricky doorways increase labor time. When comparing quotes, make sure both options include the same scope: subfloor prep, underlayment, acclimation, and any required permits or flooring transitions.
Which factors most affect the price of engineered wood flooring in a dining room?
The biggest drivers are plank thickness, wear layer quality, finish type (matte vs. prefinished), and species/grain look, since these influence material price. Installation cost is also impacted by room conditions—if the subfloor needs leveling, moisture testing, or repairs, engineered wood flooring becomes more expensive. Complexity matters too: a dining room with many cuts around vents, columns, or open-plan transitions usually requires more labor and additional materials.
How much should I budget for subfloor preparation and underlayment when estimating engineered wood floor cost?
Subfloor prep is often where estimates swing: if your subfloor is uneven, damaged, or has moisture issues, leveling compound, patching, or moisture barriers may be required. Underlayment requirements depend on the engineered wood product—some planks include an attached pad, while others require separate underlayment rated for your subfloor type and climate. As a rule, get a written estimate that explicitly lists moisture testing, leveling/patching, and the underlayment system so you can accurately forecast total engineered wood flooring cost.
Best way to compare quotes for engineered wood floor installation in a dining room?
Ask each contractor for an itemized quote showing material cost per square foot, underlayment included (or not), labor per square foot, and a detailed line for subfloor preparation. Confirm whether the estimate includes waste factor (usually 10–15%), acclimation time, transitions (e.g., between dining room and adjacent areas), and cleanup or haul-away. Comparing these specifics helps you avoid “cheap” quotes that later add change orders, giving you a clearer view of true installed cost for engineered wood floors.
📅 Last Updated: October 19, 2026 | Topic: How to estimate the cost of engineered wood floors in a dining room? | Content verified for accuracy and freshness.
References
- Floor area
- Square foot
- Engineered wood
- Wood flooring
- https://www.bls.gov/ooh/construction-and-building/carpenters.htm
- WBDG
- https://scholar.google.com/scholar?q=how+to+estimate+the+cost+of+engineered+wood+flooring+per+square+foot+including+labor+and+materials Google Scholar
- https://scholar.google.com/scholar?q=engineered+wood+flooring+installation+cost+estimation+waste+factor+labor+underlayment Google Scholar
- https://scholar.google.com/scholar?q=construction+cost+estimating+methods+square+footage+labor+materials+contingency Google Scholar



[…] wood floors for a dining room accurately by calculating the usable room area, then adding the right waste factor for cuts around walls, doors, and furniture. This guide tells you exactly how to measure length and […]