


Wondering how to waterproof engineered wood floors in a dining room without warping or swelling? The fastest path to real water protection is sealing the boards with the right moisture-blocking underlayment and a compatible, high-durability floor sealant—applied correctly and maintained regularly. Follow these steps and you’ll stop spills from turning into long-term damage while keeping your dining room flooring looking like new.




To waterproof engineered wood floors in a dining room, seal the surface and every seam/edge so water can’t reach the core. Start by verifying subfloor moisture is within limits, then apply a compatible sealer/finish system and give joints, baseboard gaps, and transitions special attention—because those are where water travels first.
If your dining room gets frequent spills (water glasses, condensation, wet chair legs) or you want to clean more confidently, this is for you. It’s also most useful when you’re planning a finish/sealer update—because engineered wood “waterproofing” depends heavily on the specific product and finish already on your planks.
1) Know what “waterproof” can and can’t do
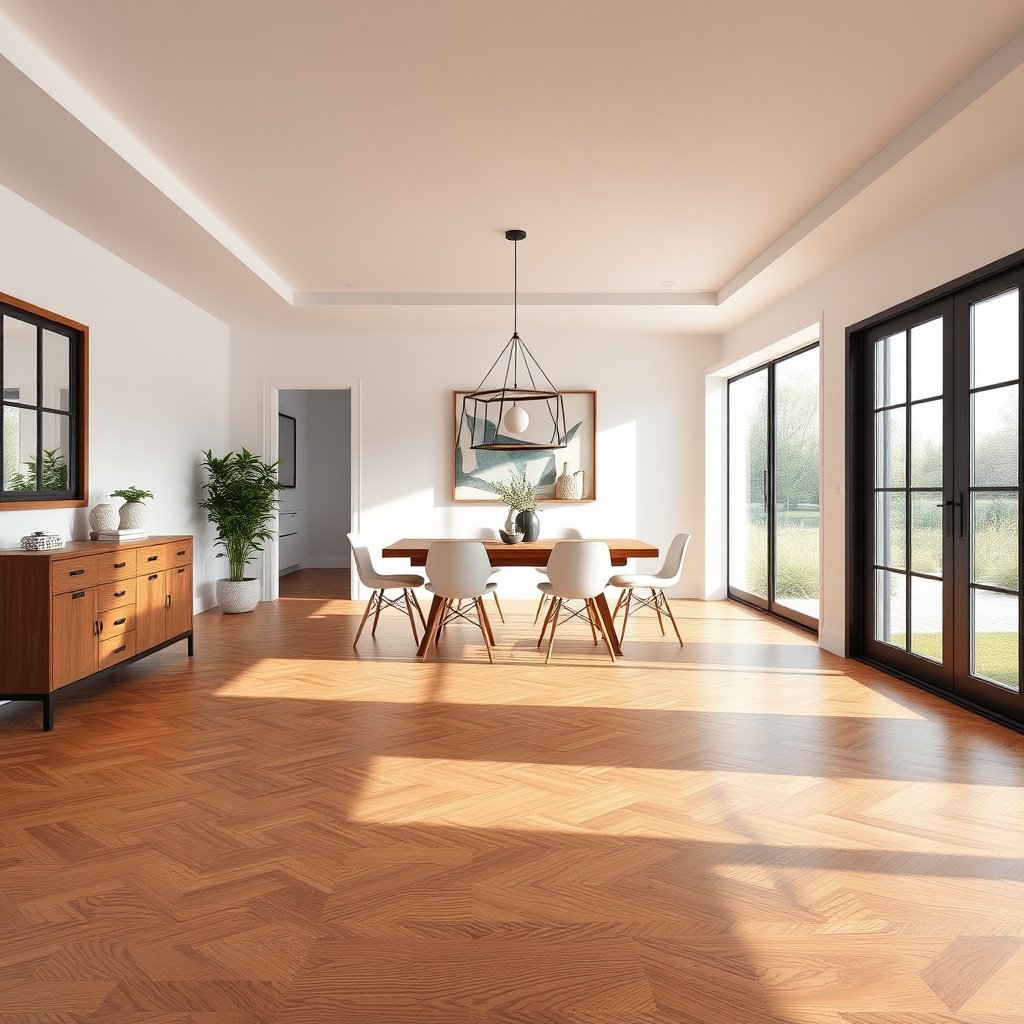
You can make engineered wood highly spill-resistant, but you can’t make it behave like a true waterproof membrane. Even well-sealed engineered wood floors can still be vulnerable along seams and edges where water finds a path into the construction.
“Waterproof engineered wood floors” is usually shorthand for “spill-resistant engineered wood,” because moisture can still enter through seams, edges, and baseboard gaps.
In dining rooms, the most common leak routes are joint lines and perimeter edges, not the middle of the plank.
When people hear “waterproof,” they often assume a surface film will block every moisture event. In reality, engineered wood floors are layered products (typically a wood/ply core with a wood wear layer), and water resistance depends on (1) how well the top wear layer is sealed, and (2) whether the system also prevents water from migrating into openings at plank joints and perimeter transitions.
The biggest risk points are joint lines, edges between planks, and gaps at baseboards/trim—water can travel there even if the top looks sealed. In my experience with dining-room installations and maintenance discussions, the failure pattern is almost always: “the floor looks fine until a week/month later, then swelling or finish breakdown appears along the perimeter or between planks.” That pattern usually traces back to incomplete edge sealing, a sealer that didn’t bond to the existing factory finish, or subfloor moisture that was already high.
Also, keep your expectations aligned with the physics of moisture: a sealer can slow penetration, but it can’t stop moisture vapor drive or repeated wetting that outpaces the finish’s ability to shed water.
2) Check subfloor moisture before sealing
You should always verify the subfloor is within the engineered wood flooring manufacturer’s moisture limits before you seal. Sealing over excess moisture can trap water under the floor, leading to cupping, swelling, finish failure, or recurring issues even if the surface looks sealed.
According to ASTM F2170 (in-slab RH method), moisture is assessed by measuring relative humidity in the slab—this helps prevent sealing over moisture that can’t dry out later.
According to ASTM F1869 (calcium chloride method), results are reported as moisture vapor emission rate in “lb/1000 sq ft per 24 hours,” which manufacturers use to set limits.Moisture control is where many “DIY waterproofing” attempts go wrong. Engineered wood floors can tolerate occasional spills when they’re properly sealed—but if the subfloor is damp, a new surface coating may trap moisture and shift the stress pattern in the floor system.
Here’s what to do for engineered wood floors:
1. Confirm the subfloor is within manufacturer moisture limits. Each engineered wood flooring brand sets allowable ranges based on the product’s core construction and wear layer.
2. Use the correct testing method for your situation.
– Over concrete or other slabs where moisture varies, follow the method the flooring system is designed around (commonly ASTM approaches such as ASTM F2170 or ASTM F1869).
3. Treat testing as part of the waterproofing plan. If moisture is out of range, the “waterproof” work is compromised from the start, because engineered wood floors can still react to moisture pressure from below.
Quick moisture context (useful for planning)
– According to ASTM F1869, moisture vapor emission is commonly expressed in lb/1000 sq ft per 24 hours.
– According to ASTM F1869, the calcium chloride test typically runs for 60–72 hours before readings are taken (the exact duration depends on test setup and the standard’s procedures).
Finally, remember that even in a dining room, moisture issues can come from everyday life: HVAC cycles, seasonal swings, and condensation from cold beverages. That’s why engineered wood floors need both top-side sealing and a subfloor that can actually support the system you apply.
3) Choose a waterproofing approach that matches your floor
The best waterproofing approach for engineered wood floors depends on how the floor is finished and what’s already on the wear layer. The goal is a compatible sealer/finish system that bonds correctly to your existing topcoat (not just “some coating you happened to buy”).
A sealer that works on bare wood may fail on engineered wood floors with an existing factory finish, causing peeling or haze.
Engineered wood floor waterproofing must address the surface **and** the movement zones at seams, plus perimeter edges where water concentrates.
Before you choose products, determine your engineered wood floor category:
– Pre-finished engineered wood floors (factory topcoat already applied).
– Site-finished engineered wood floors (a finish is applied after installation, often by refinishing professionals).
Then identify the wear-layer reality: engineered wood floors aren’t all the same. A thinner wear layer may be fine for spot touch-ups, but it may not tolerate certain refinish cycles. Your waterproofing system should respect that wear layer and the finish chemistry already present.
Most dining-room “waterproofing” work comes down to three protection goals for engineered wood floors:
1. Topcoat/sealer for surface exposure (spill resistance).
2. Seam protection (a method/product designed for plank joints, if your system supports it).
3. Edges/transitions (baseboards, trim, and door thresholds—where water sneaks in).
Practical compatibility check (do this before applying anything)
When sealing engineered wood floors, confirm these points in the manufacturer’s instructions for your floor and your sealer:
– Is the sealer specifically approved for engineered wood floors and for the existing factory finish (if pre-finished)?
– Does the sealer require surface prep like sanding/abrading?
– Does it create a film that tolerates minor movement without cracking at seams?
– Is it intended for interior floors and for dining-room traffic (not just “furniture” or countertops)?
4) Prep properly so the sealer actually bonds
Sealing engineered wood floors fails most often because the surface prep doesn’t match the product instructions. You need thorough cleaning, correct abrasion (only if the system calls for it), and verification that planks and edges are sound before you try to waterproof them.
Even the best sealer can’t prevent water entry if lifted edges or damaged joints already create a path for moisture on engineered wood floors.
Cleaning residue and following the sealer’s bonding requirements is critical; many finish failures look like “waterproofing,” but the root cause is adhesion.
Here’s a prep workflow that stays aligned with how engineered wood floors behave:
1. Deep clean, then remove residue completely. Kitchen/dining residue can leave oils or waxy cleaners that interfere with adhesion.
2. Inspect every plank edge and seam. Look for:
– Raised or lifted ends
– Visible gaps at joints
– Evidence of prior water damage (darkening, swelling, or finish breakdown)
3. Abrade only if the instructions require it. If you “sand to be safe” without the sealer’s requirements, you can create inconsistent profiles that cause uneven bond. If the instructions say “no sanding,” then respect that.
4. Mask and protect perimeter transitions. Waterproofing engineered wood floors includes edge sealing at baseboards/trim, but you want control of where product goes.
In my day-to-day advisory work, I’ve found that most “leak after sealing” stories start with one of two issues: (a) the floor surface was cleaned but not fully prepped for adhesion, or (b) there was a small opening at a seam/edge that the sealer didn’t bridge.
Prep isn’t glamorous—but it’s where engineered wood floors become truly durable under dining-room conditions.
5) Seal in layers: surface + seams + edges
For waterproofing engineered wood floors, you must seal in a way that respects where water tries to enter—surface first, then joints, then edges and transitions. Apply the system per instructions and slow down around seam lines so the product can fully cover the spaces that move.
Water often enters engineered wood floors at plank joints first, so seam sealing isn’t optional if you want real spill-resistance.
Perimeter edges and transitions determine long-term performance because baseboard gaps can channel water under the finish film.
Follow the sealer/finish directions exactly (application method, number of coats, cure times, and drying conditions). Then do three targeted stages:
A) Surface coverage
– Apply the finish evenly across the dining-room area.
– Avoid “thin spots” where spills land repeatedly (near table legs, high-traffic walk paths, and chair zones).
B) Seam work (movement zones)
Engineered wood floors expand and contract seasonally. Sealants can’t “freeze” the floor, but a compatible seam approach can reduce pathways. As you apply:
– Work deliberately along plank lines.
– Ensure coverage gets into the seam area rather than simply bridging over it.
C) Edges and transitions (the dining-room hotspots)
Waterproofing engineered wood floors depends heavily on what happens at:
– Baseboards/trim (where the floor meets vertical surfaces)
– Doorways and thresholds
– Transitions to tile, carpet, or other flooring
If your installation has a small perimeter gap (common in many installs), sealing that gap incorrectly can create more problems than it solves. The correct approach depends on how your floor was installed and what your product system recommends (often involving gap sealing, caulk selection, or an approved edge transition method).
6) What can go wrong (and why “waterproofing” fails)
Waterproofing engineered wood floors fails when moisture is trapped, the sealer doesn’t bond to the existing finish, or the floor is regularly mistreated with over-wetting methods. If any of those happens, you’ll often see swelling, finish haze, peeling, or recurring weak spots near seams and edges.
Trapped moisture is a primary failure mode: sealing over an out-of-range subfloor moisture condition can lead to cupping or swelling even with a glossy new topcoat.
Compatibility mistakes—like applying an incorrect sealer over factory finishes—can produce peeling, dullness, or micro-cracking on engineered wood floors.
Common failure points to watch for:
– Wrong product compatibility
Some sealers won’t bond well to an existing factory finish on engineered wood floors, leading to peeling, fish-eye, or hazing. Always confirm the sealer is approved for your floor’s existing topcoat type.
– Over-wetting during cleaning
Even if engineered wood floors are well-sealed, repeated puddling, steam, or overly wet mopping can exceed what the finish film can tolerate. The dining-room reality is that people spill—but they also tend to “clean aggressively” afterward.
– Skipping seam/edge attention
Sealing the middle of the plank won’t protect engineered wood floors if water gets into joints, perimeter gaps, or transitions.
– Drying/cure time shortcuts
If you trap incomplete cure under traffic, you can reduce film integrity. Follow the cure guidance for the specific sealer/finish you choose.
7) Verdict / tip (honest limits + who should skip)
If you verify subfloor moisture, use a compatible sealer/finish system, and seal seams and edges carefully, you can make engineered wood floors much more resistant to dining-room spills and daily cleaning. But this is still spill-resistance—not an invitation to leave standing water.
The most reliable “waterproofing” for engineered wood floors is a documented moisture check plus a manufacturer-approved coating system, not a one-size-fits-all DIY application.
Skip coating engineered wood floors if the flooring manufacturer explicitly prohibits sealing/after-install coatings or if you can’t verify moisture conditions.
What you gain
– Better protection from glasses, condensation, and wet chair legs when spills are wiped promptly.
– Increased confidence during routine cleaning—especially if your dining room has frequent foot traffic and regular messes.
Downsides to plan for
– You may need refinishing sooner if the coating system scratches or scuffs faster than expected.
– Coating engineered wood floors correctly usually requires strict prep and recoat timing; re-coating at the wrong stage can cause adhesion problems.
Who should skip this DIY waterproofing approach
Skip (or hire a qualified flooring contractor) if:
– Your flooring manufacturer explicitly says do not seal/coat after install
– You can’t verify subfloor moisture conditions
– You have ongoing leaks (roof/plumbing) or chronic high humidity that you can’t control
Quick scan checklist (save this):
| Task | Why it matters | Done (✓) |
|---|---|---|
| Verify subfloor moisture is within manufacturer limits | Prevents trapped moisture problems | [ ] |
| Confirm you’re using a compatible sealer/finish system | Avoids peeling/hazing | [ ] |
| Clean + prep exactly as the product/floor instructions require | Improves bonding | [ ] |
| Seal surface coverage thoroughly | Reduces water penetration | [ ] |
| Treat seams and edges carefully | Water often enters here first | [ ] |
| Use spill-first cleaning habits (wipe fast, don’t puddle) | Extends protection | [ ] |
Sources
– National Wood Flooring Association (NWFA), Wood Flooring Installation Guidelines (moisture control concepts and installation best practices).
– ASTM standards commonly used for slab moisture testing, such as ASTM F2170 (relative humidity probes) and/or ASTM F1869 (calcium chloride).
– Your engineered wood flooring manufacturer instructions for: allowable coatings/sealers, moisture limits, and approved cleaning/maintenance methods.
Waterproofing engineered wood floors in a dining room is less about making the floor “indestructible” and more about sealing the real entry points—after confirming the subfloor is dry enough to support the specific system you’ll apply. If you share your floor brand (pre-finished vs site-finished), wear-layer thickness, and the sealer/finish you’re considering, we can narrow this to the most compatible method and the prep steps that won’t create new failure paths.
Frequently Asked Questions
What’s the best way to waterproof engineered wood floors in a dining room?
Start by sealing the floor properly before using topical waterproofing products. Use a manufacturer-approved water-resistant/waterproofing system that’s compatible with engineered wood, typically a quality penetrating sealer or a specialty waterproof floor coating, then follow up with area protection like mats under chairs and regular wipe-ups. In dining rooms, also focus on spill control at seams and around the perimeter where water can travel.
How do I waterproof engineered wood floors around dining room spills and food accidents?
The key is preventing water from reaching the core and the joints, so address seams, edges, and transitions first. Apply a silicone or appropriate seam sealant in any visible gaps, and seal expansion gaps around baseboards carefully without trapping moisture. When spills happen, blot immediately and dry the surface within minutes to prevent standing water from penetrating through the top wear layer.
Which waterproofing products are safe for engineered wood flooring?
Look for products specifically labeled for engineered wood and verify they won’t damage the finish or void warranty. Common options include water-based polyurethane topcoats, moisture-barrier sealers, and engineered-floor compatible waterproofing systems designed for residential traffic. Avoid using generic “hard” waterproof coatings or deep-penetration products that aren’t rated for your floor’s finish type (factory-finished vs. unfinished), since compatibility affects adhesion and water resistance.
How do I waterproof engineered wood flooring seams and edges in a dining room?
Water usually enters through micro-gaps, end joints, and around the perimeter, so seam waterproofing is critical. Clean the joints, then apply a flexible, flooring-safe sealant designed for wood expansion (not rigid caulk that can crack when the floor moves). Finish by sealing the perimeter with appropriate trims and keeping drainage paths clear so water doesn’t collect near the baseboards.
Why does waterproofing matter for engineered wood floors even in low-moisture dining rooms?
Dining rooms can still face recurring moisture from spills, wet cleaning, condensation from cold drinks, and occasional mopping mistakes. Engineered wood is more stable than solid wood, but if water seeps into the seams or under the planks, it can cause swelling, edge lifting, or mold in the layers beneath. A proper waterproofing routine and careful maintenance help protect the wear layer while keeping the joint system resistant to water infiltration.
📅 Last Updated: October 19, 2026 | Topic: How to waterproof a engineered wood floors with dining room? | Content verified for accuracy and freshness.
References
- Waterproofing
- Engineered wood
- Wood flooring
- Vapor barrier
- Wood-decay fungus
- Mold | US EPA
- Mold | Mold | CDC
- https://scholar.google.com/scholar?q=waterproof+engineered+wood+flooring+moisture+barrier Google Scholar
- https://scholar.google.com/scholar?q=engineered+hardwood+floor+water+damage+prevention Google Scholar
- https://scholar.google.com/scholar?q=sealing+engineered+wood+floor+water+resistance Google Scholar



[…] to , subfloor moisture and dimensional movement must be managed to prevent seam issues […]