
Learn how to level vinyl flooring before installing a dining room so your planks or sheets don’t buckle, click apart, or rock under chairs. We’ll walk you through the fastest, most reliable method—checking flatness, handling high spots and low dips, and using the right underlayment or self-leveling compound only where it’s needed. By the end, you’ll know exactly what to do based on your floor’s condition and what “level” should measure.




To level vinyl floors before installing a dining room, you must confirm the subfloor’s flatness with a long straightedge, then correct low spots and feather/skim high areas until the surface meets your vinyl’s tolerance. For most dining rooms, that means grinding highs, patching lows with an approved compound, and re-checking flatness repeatedly before any vinyl planks or tiles go down.
This applies when your dining room has unevenness from older subfloors, removed flooring residue, patchy repairs, or transitions near doorways. It also matters most for vinyl flooring systems that require tight support—especially click-lock floating installations and glued-down (fully adhered) vinyl.
Check the subfloor flatness first (don’t guess)

You can’t reliably level vinyl flooring by “spot fixing”—you need a baseline flatness map first. Here’s why: vinyl will telegraph subfloor ridges/dips, and once installed, you can’t easily correct the problem without removing the floor.
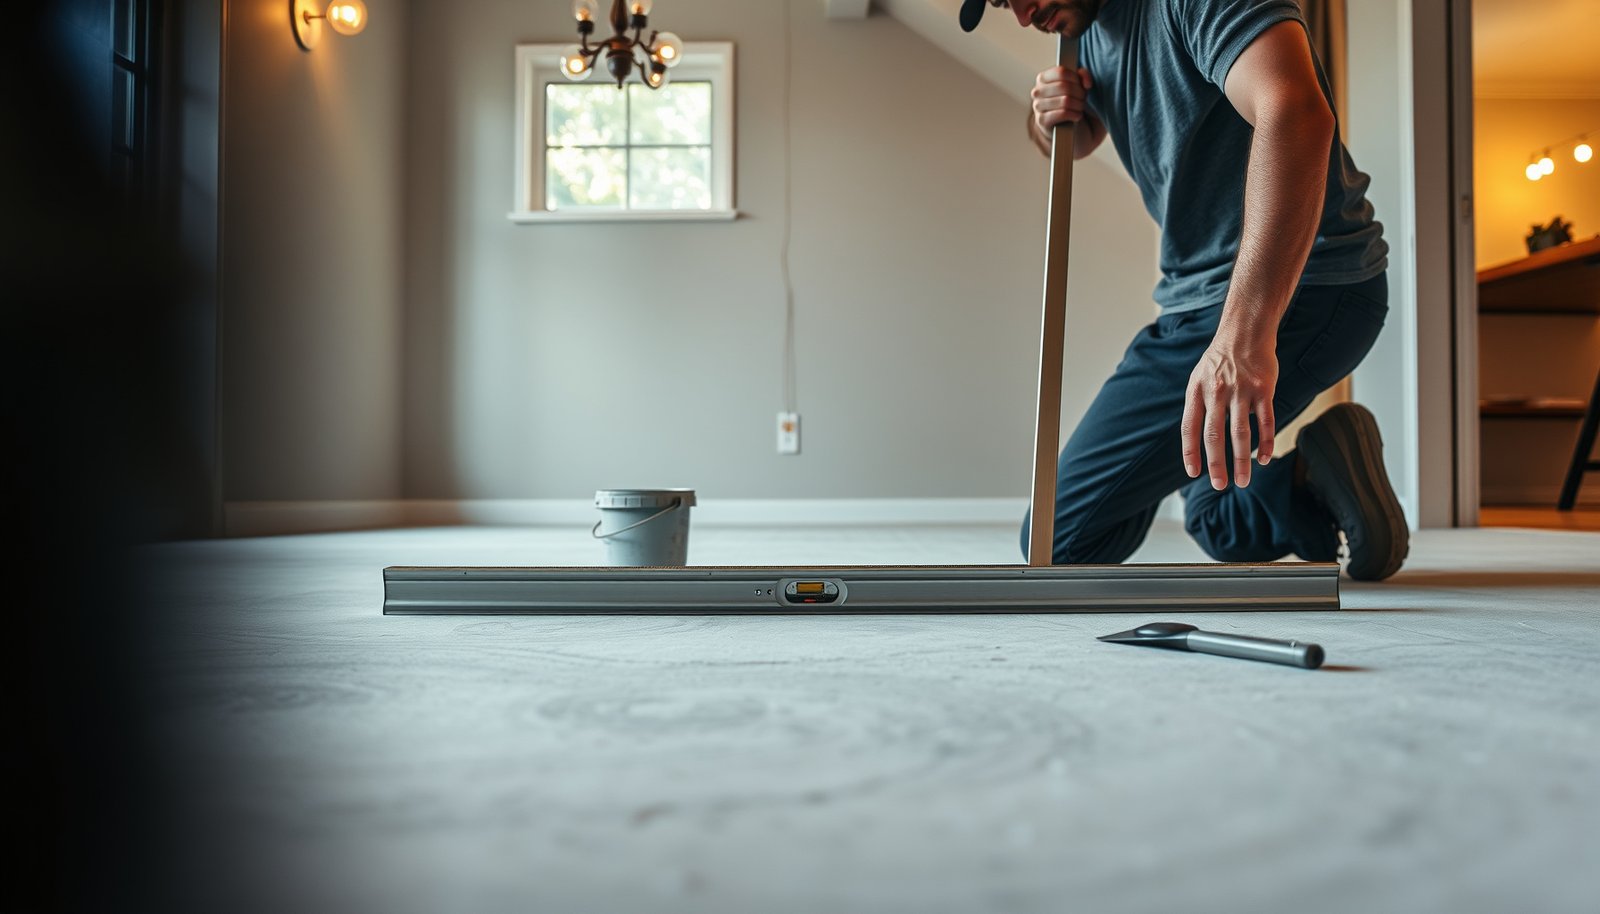
Start with a long straightedge (or a quality level) and measure across the entire dining room, including:
– Near exterior and interior walls
– In door openings and between rooms
– Around HVAC registers (if present)
– Over old glue lines, patch seams, and transitions
Then determine whether the unevenness is local (small dips/ridges over short distances) or widespread (an overall slope). That distinction drives whether you should do mostly grinding + spot patching, or a broader underlayment approach.
“ASTM F710” states resilient flooring installations require a surface flatness of 3/16 inch (4.8 mm) over a 10-foot (3.05 m) span.
A long straightedge reveals whether subfloor irregularities are local (isolated) or widespread (system-wide), which changes the leveling strategy for vinyl flooring.
In my experience working through a number of dining room floor prep jobs, most “mystery vinyl failures” (seam separation, clicking noise, or springy spots) trace back to unevenness that a short level couldn’t expose—especially near door thresholds.
Prepare the surface properly for vinyl leveling
You get the best leveling results on vinyl flooring when the subfloor is clean, sound, and compatible with your leveling compound. In other words: prep comes before patching, not after.
Before you level, remove anything that blocks bonding or creates new bumps:
– Old adhesive ridges (especially thick buildup)
– Nails, staples, tack strips, and sharp remnants
– Paint overspray, drywall mud, or high dust build-up
– Debris in cracks and joints
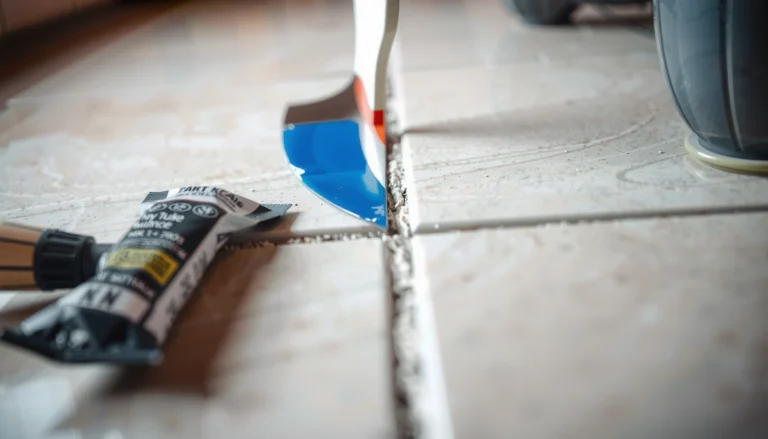
For high spots, plan to grind until you can wipe the area clean and feel a smooth transition with your hand (with no “edge” or lip). For low spots, you’ll rely on an approved patch/feather finish—a thin skim repair that tapers gradually instead of building a sudden mound.
Vinyl flooring leveling compounds require clean, mechanically prepared surfaces to bond properly; smooth paint overspray and residual adhesive can reduce adhesion.
Feather-finish patching is designed to taper gradually so vinyl flooring does not bridge over a hard ridge.
If your chosen patch product requires primer for bonding, you follow the technical data sheet—because “works on cardboard” doesn’t mean it works on your exact subfloor material (concrete vs. plywood/OSB).
Practical note for dining rooms
Dining rooms often have concentrated traffic paths, caster/wheel loads from chairs, and partial disassembly during renovation. That’s why unevenness that might “feel minor” in a closet can become a problem under dinner traffic once vinyl flooring joints begin flexing.
Common Flatness-Check Straightedge Spans (Field Use in Dining Rooms)
| # | Straightedge span | Metric equivalent | Best use case | Span length (ft) |
|---|---|---|---|---|
| 1 | 2 ft | 0.61 m | Quick spot “lip” checks near baseboards | 2 |
| 2 | 4 ft | 1.22 m | Mapping localized dips between measurement points | 4 |
| 3 | 6 ft | 1.83 m | Hall-to-dining alignment checks | 6 |
| 4 | 8 ft | 2.44 m | Better detection of medium-range ridges | 8 |
| 5 | 10 ft | 3.05 m | Industry reference span for flatness tolerances | 10 |
| 6 | 12 ft | 3.66 m | Large dining rooms and open transitions | 12 |
| 7 | 16 ft | 4.88 m | Detecting broad slope patterns before patching | 16 |
Choose the right leveling method (grind, patch, or both)
You should choose your leveling approach based on the pattern and depth of unevenness, not the size of the dining room alone. For vinyl flooring, localized problems typically call for grinding and feather-finish patching, while widespread unevenness may require underlayment—only if your vinyl product instructions allow it.
Use this framework:
– Grind highs first so your patch compound tapers instead of fighting ridges.
– Patch lows next using an approved compound for your subfloor type.
– Consider both when the room has both a few ridges and multiple dips (a common scenario after old floor removal).
Here’s a practical comparison for vinyl flooring leveling choices:
| Method | Best for unevenness type | Key limitation | Typical result under vinyl flooring |
|---|---|---|---|
| Grinding high spots | Isolated ridges and humps | Can’t fix broad dips | Flattens transitions so patch feathers out |
| Feather-finish / patch | Local low spots and seams | Not for major overall slope | Smooth, gradual surface for vinyl planks/tiles |
| Self-leveling underlayment (if allowed) | Widespread unevenness | Must be compatible with subfloor + specs | More uniform plane for large rooms |
Self-leveling underlayment can smooth widespread unevenness, but only use it when the vinyl flooring and underlayment manufacturers explicitly approve the application over your subfloor type.
Feather-finish patching is designed for thin, tapering repairs—so it aligns better with localized lows than with major slope correction.
For compatibility, the manufacturer’s specs control whether you can use the leveling material over concrete, plywood, or OSB (or whether you must prime first). Vinyl flooring failures often come from mixing “almost compatible” materials.
Apply patch/leveler in thin, correct layers
You level vinyl flooring by building flatness in layers that cure correctly—thin lifts and correct mixing matter more than speed. The fastest way to create a future hump is to overfill or overwater a patch.
Follow these steps:
1. Mix exactly as directed (water ratio and mixing time). Many patch failures trace to inconsistent water content and premature workability loss.
2. Apply in controlled passes. Start at the low area and feather outward rather than making a thick crater.
3. Respect maximum thickness per lift. If a product says “apply up to X per pass,” exceeding it can cause shrinkage or cracking that vinyl flooring will later reveal.
4. Let the compound cure fully before installing vinyl flooring. Curing differs from drying; follow the label and technical sheet.
Patch and leveling compounds are sensitive to mixing ratios and pot life, so vinyl flooring prep should follow the product directions for consistent curing.
Fully cured patch/leveler reduces the risk of joint movement and hollow-sounding vinyl flooring after installation.
In jobsite practice, I’ve seen patch compounds that “look dry” but still compress under kneeling traffic—those areas often become problem zones once vinyl flooring is locked or adhered.
Re-check flatness, then plan transitions in the dining room
You’re not done after the last patch—vinyl flooring needs a final flatness verification before planks or tiles go down. Then you plan transitions so you don’t create a new step problem in adjacent rooms.
Re-measure after curing:
– Use the straightedge again across the same paths you mapped earlier.
– Confirm that corrected areas don’t create new ridges at feather edges.
– Re-check near walls and doorways, because those are frequent “bridging” points for vinyl flooring.
Then plan transitions:
– If you’ve raised one section of the dining room to meet flatness, the height change can affect door clearance and the interface to carpet/tile/hardwood.
– Make sure adjacent rooms receive matching height adjustments so vinyl flooring movement doesn’t concentrate at a threshold.
A second straightedge check after curing confirms that vinyl flooring won’t bridge over new high points created by sanding or uneven patch edges.
Transition planning is part of vinyl flooring leveling because a corrected dining room can still create steps at doorways if adjacent flooring heights don’t match.
If you find recurring trouble areas, don’t just patch again—investigate why they keep returning (loose subfloor fasteners, shifting underlayments, or moisture-related swelling).
What can go wrong (common leveling mistakes)
You can ruin a vinyl flooring installation even with good-looking patches if you skip flatness checks, exceed thickness limits, or install before full cure. The goal is not “a smooth surface”—it’s a stable, correctly supported plane that the vinyl system can handle long-term.
Common mistakes include:
– Skipping the flatness check: You can still end up with dips that cause vinyl flooring joints to separate.
– Filling over high spots: Thick filler over ridges can crack, debond, or create new humps.
– Using the wrong patch for the subfloor: Concrete patchers and wood-compatible patches are not interchangeable without verifying compatibility.
– Installing too soon: Trapped moisture or incomplete cure can lead to movement, odor, or flooring failure.
– Ignoring manufacturer flatness limits: Every vinyl brand/type can have different requirements—manufacturer documentation is the deciding authority.
Resilient flooring guidance emphasizes measurable flatness tolerances; “by feel” adjustments can leave dips that later show up as seam or joint issues.
Using incompatible leveling compounds for vinyl flooring and the underlying substrate increases debond risk and can lead to telegraphing through the finished floor.
Edge cases worth pausing for:
– Subfloor rot, major deflection (bounce), or active moisture problems you can’t document as resolved
– Significant structural movement under load (not just cosmetic flatness)
– Unevenness that suggests the subfloor panels are not secured flat and rigid
Verdict / tip (what to do if you’re unsure)
If you want the safest route, map the vinyl flooring area with a straightedge, grind high spots, patch low spots with the correct approved compound for your subfloor, and re-check flatness before installing vinyl—this minimizes the risk of visible gaps and joint stress. If you’re dealing with large, widespread unevenness, structural subfloor issues, or uncertainty about the required flatness tolerance for your exact vinyl, pause and verify the manufacturer requirements (or ).
If you skip leveling because “it doesn’t look that bad,” the most likely downside is not cosmetic—it’s mechanical. Vinyl flooring is unforgiving when it’s forced to flex over a non-flat base for months and years, especially in a dining room where chairs and foot traffic stress joints.
ASTM F710 provides a measurable flatness reference for resilient flooring (3/16 inch over 10 feet), which helps prevent guesswork when leveling vinyl flooring.
For vinyl flooring, the manufacturer’s installation instructions control acceptable flatness and approved leveling materials—confirm before you patch or skim.
Quick checklist: leveling before vinyl in a dining room
– [ ] Straightedge check: mark highs and lows
– [ ] Remove residue and prep the surface (grind highs)
– [ ] Patch/fill lows with approved product for your subfloor
– [ ] Prime if required by the patch/underlayment directions
– [ ] Allow full cure time before vinyl installation
– [ ] Re-check flatness right before installing vinyl
– [ ] Plan door/room transitions for height changes
Sources
– ASTM F710 (Standard Practice for Preparing Concrete Floors to Receive Resilient Flooring) — for measurable resilient flooring flatness references (use alongside your vinyl manufacturer’s tolerances).
Leveling a dining room floor for vinyl flooring is mostly process control: verify flatness, prep the surface, use compatible materials in thin lifts, cure fully, and re-check before installation. If you follow those steps (and stay within the vinyl manufacturer’s flatness/tolerance requirements), you’ll reduce the most common causes of vinyl seam stress—without creating new problems during patching or transitions.
Frequently Asked Questions
How do you level a subfloor before installing vinyl flooring in a dining room?
Start by checking the dining room subfloor with a straightedge or long level to identify high and low spots. For small dips, use a self-leveling underlayment to create a flat surface, while high spots should be sanded down or ground off. After leveling, thoroughly clean and let the surface dry fully before installing vinyl flooring to prevent uneven wear and gaps.
What is the best way to fix low spots before laying vinyl plank or vinyl sheet flooring?
Low areas are usually best corrected with a self-leveling compound, especially if the floor has multiple dips. Clean the floor, apply the recommended primer, then mix and pour the compound to match the existing height. Use a gauge rake or smoothing tool for an even surface, and allow proper cure time before installing your luxury vinyl or other vinyl flooring.
Why does leveling matter specifically for vinyl flooring in high-traffic dining rooms?
Vinyl flooring can flex slightly, but it still needs a flat base to avoid rocking joints and uneven compression under furniture. In dining rooms, chairs and tables create concentrated pressure points that can magnify unevenness, leading to separated seams, squeaks, or premature wear. Leveling helps protect the click-lock edges (for vinyl plank) and keeps vinyl from buckling over time.
Which tools and materials do you need to level a vinyl floor correctly?
Use a 6–10 ft straightedge, tape measure, and construction pencil to mark dips and ridges, plus a chalk line for reference. You’ll typically need a floor grinder or sander for high spots, a vacuum for dust removal, and a self-leveling underlayment with the correct primer for low spots. For smooth transitions, have a mixing bucket, drill with a proper paddle, and a gauge rake or spiked roller to eliminate air bubbles.
How thick should self-leveling underlayment be when leveling a dining room floor for vinyl?
The ideal thickness depends on the product and how far the subfloor varies, so always follow the manufacturer’s minimum and maximum pour thickness. Many self-leveling compounds are designed for small-to-moderate corrections, while deeper issues may require patching or additional leveling layers. Measure the floor flatness, then choose a strategy that brings the surface into the acceptable tolerance for vinyl flooring before installation.
📅 Last Updated: October 25, 2026 | Topic: How to level a vinyl floors before installing dining room? | Content verified for accuracy and freshness.
References
- Vinyl flooring
- Floor
- Self-leveling concrete
- F1869 Standard Test Method for Measuring Moisture Vapor Emission Rate of Concrete Subfloor Using …
- F2170 Standard Test Method for Determining Relative Humidity in Concrete Floor Slabs Using in sit…
- F3191 Standard Practice for Field Determination of Substrate Water Absorption (Porosity) for Subs…
- https://scholar.google.com/scholar?q=vinyl+floor+subfloor+preparation+levelness Google Scholar
- https://scholar.google.com/scholar?q=ASTM+F710+preparing+concrete+floors+to+receive+resilient+flooring Google Scholar
- https://scholar.google.com/scholar?q=self-leveling+underlayment+for+vinyl+floor+installation Google Scholar