
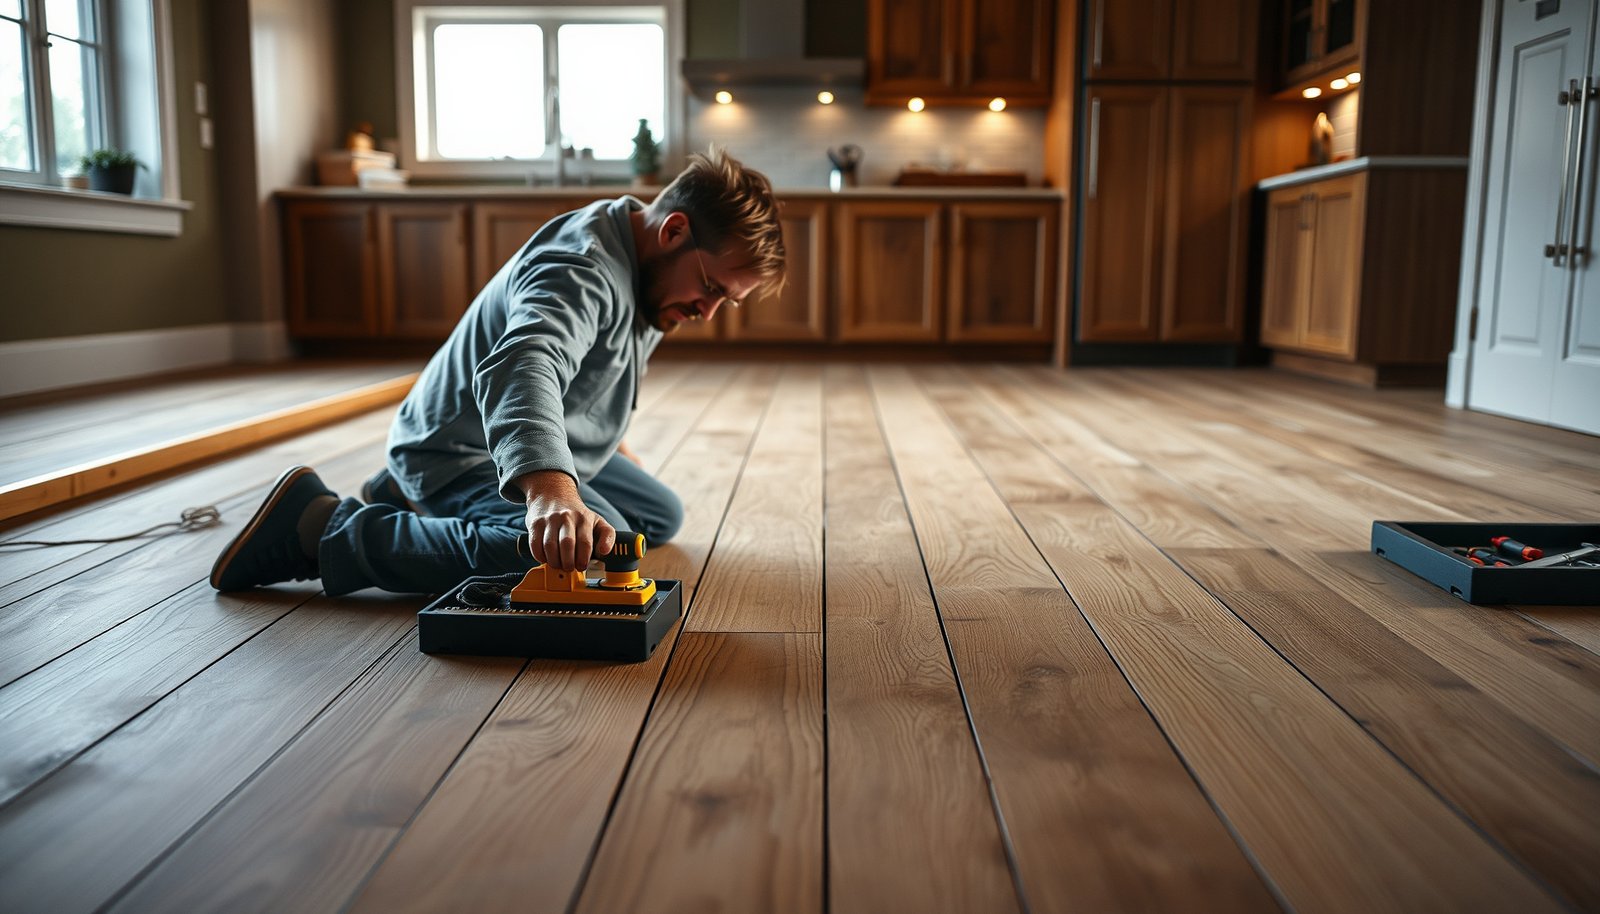

How to install engineered wood floors in a kitchen—step by step—without warping, gapping, or moisture issues. You’ll get a clear, practical walkthrough from subfloor prep and underlayment selection to acclimation, layout, fastening, and finishing, with the kitchen-specific checkpoints that matter most. Follow it, and you’ll know exactly what to do at every stage.
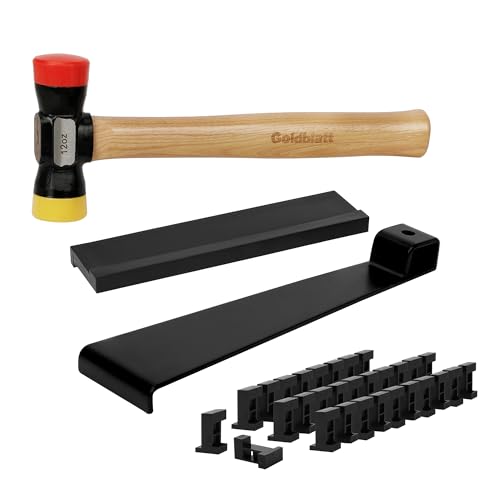



Install engineered wood flooring in a kitchen by nailing/gluing (or floating) it over a properly prepped, level subfloor—and by controlling moisture first. Start with moisture checks and acclimation, then follow the flooring manufacturer’s method (nail-down, glue-down, or click/float) so the boards expand/contract correctly near kitchen humidity and spills.
Engineered wood flooring performs well in kitchens when the subfloor is flat, the room moisture swing is managed, and the installation method matches your product’s requirements. In practice, the “how to” isn’t just fastening—it’s verifying moisture conditions up front, planning expansion gaps around walls and fixed cabinets, and using the right transition details at doorways. Get those basics right and the kitchen becomes a controlled environment instead of a persistent source of cupping, gapping, and lock-joint stress.
Who this is for (and when it applies)
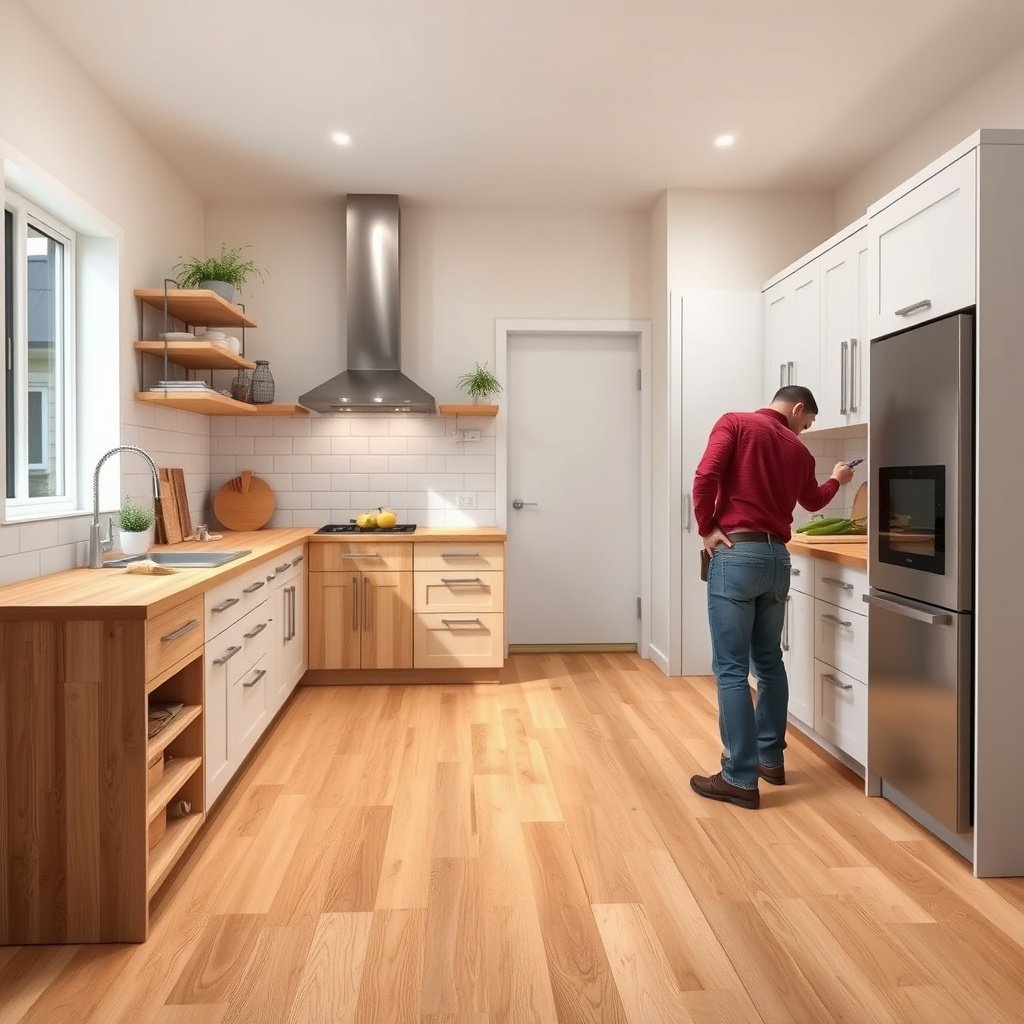
This guide is for homeowners and contractors installing engineered wood flooring in an interior kitchen with an appropriate subfloor. It’s also ideal when you want to understand why moisture testing and expansion planning matter more in kitchens than in most other rooms.
– Works best if you’re installing engineered wood over plywood/OSB (or another manufacturer-approved subfloor) in an interior kitchen.
– The steps assume you’ll follow your specific product’s installation guide for thickness, underlayment (if floating), and fastening pattern.
– If your kitchen has frequent standing water risk (e.g., active leaks) or very uneven subfloors, you’ll want to address those first before laying any flooring.
Engineered wood flooring still requires a stable, properly prepared subfloor; even a “floating” install depends on flatness for joint longevity.
Kitchen humidity swings make moisture compliance part of the installation process—not an afterthought—because engineered wood expands and contracts across its entire service life.
Prep the subfloor (this matters more in kitchens)
A solid install starts with a flat, clean subfloor; engineered wood can’t compensate for bumps or debris. If the base isn’t level, you’ll typically see squeaks, nail failures, or premature click-lock wear in the finished floor.
In my work planning installs, the most predictable failures come from the same root cause: subfloor irregularities that get “locked in” once the engineered wood flooring is fastened or clicked down. Before you touch a plank, treat subfloor prep as part of the flooring system, not a step you can shortcut.
What “good prep” looks like
– Verify flatness and fix high/low spots: engineered wood still needs a stable, even base to prevent movement and squeaks.
– Remove everything down to the subfloor (old flooring, tack strips, adhesive ridges) and clean it thoroughly so adhesives and fasteners perform as intended.
– Plan your layout: dry-fit a couple of rows to confirm board direction, seams, and where you’ll place cut pieces so you don’t end up with narrow strips at the far wall.
For nail-down engineered wood, the subfloor must be suitable for fastening; otherwise you risk loose boards and joint separation under normal traffic.
For glue-down engineered wood flooring, adhesive performance depends on a clean surface; contaminants and ridges can reduce bond strength.
Kitchen-specific prep tips
– Check around the sink run and dishwasher opening: these areas often have past repairs, patching, or minor settlement.
– Avoid “feathering” over loose edges: engineered wood flooring needs firm support across joists/subfloor panels.
– Vacuum twice: once before the final scrape, once after—especially before glue-down installs.
Check moisture and protect against kitchen humidity
Moisture control is the deciding step for engineered wood flooring in kitchens. Before installation, test the subfloor (and concrete slab, if applicable) and ensure conditions fall within your product’s approved limits.Kitchens aren’t uniform environments: you have HVAC drying, cooking steam, dishwashing humidity, and occasional spills. That swing is exactly what engineered wood flooring is designed to tolerate—when the install method is correct and the starting moisture is within spec.
Measure moisture using the correct standard
– Measure moisture in the subfloor (and, if the manufacturer requires it, the concrete slab). Kitchens can swing between dry HVAC air and damp cooking/exhaust conditions.
– Follow the flooring brand’s moisture limits and testing method. If your subfloor is concrete, you may also need a vapor barrier or approved moisture mitigation system.
– Use a proper transition strategy at doorways and adjacent rooms to avoid trapping movement; kitchens are common “open-plan” areas where air and moisture vary room-to-room.
ASTM F2170 is the standard method for in-slab relative humidity (RH) testing using probes, and results are typically compared to flooring manufacturer limits.
For moisture vapor emission rate testing, ASTM F1869 measures results in lbs/1000 sq. ft./24 hours and is commonly used with flooring guidance limits.
Moisture limits you’ll see referenced in wood-flooring installs
Below is a quick, decision-oriented summary of widely used “go/mitigate” thresholds for wood flooring systems (always defer to your engineered wood manufacturer’s written limits).
Moisture Test Thresholds Commonly Used for Wood Flooring Decisions
| # | Moisture check | Test standard | Common “proceed” target | If above target | Install readiness |
|---|---|---|---|---|---|
| 1 | In-slab RH (probes) | ASTM F2170 | ≤ 75% RH | Mitigate or delay install | Proceed |
| 2 | In-slab RH (probes) | ASTM F2170 | > 75% to 80% RH | Mitigation often required | Caution / Mitigate |
| 3 | In-slab RH (probes) | ASTM F2170 | > 80% RH | Stop and mitigate | Do not install |
| 4 | Moisture vapor emission rate | ASTM F1869 | ≤ 3.0 lbs/1000 sq. ft./24h | Mitigate or delay | Proceed |
| 5 | Moisture vapor emission rate | ASTM F1869 | > 3.0 to 5.0 lbs | Mitigation commonly required | Caution / Mitigate |
| 6 | Moisture vapor emission rate | ASTM F1869 | > 5.0 lbs | Stop and mitigate | Do not install |
| 7 | Vapor barrier performance | ASTM E96 | Low-perm (commonly ~0.1 perm) | Choose floor-approved barrier | Proceed (if approved) |
Note: Flooring manufacturers can specify different limits than the “common targets” above; always compare your readings to your engineered wood flooring’s installation manual. and define testing methods and units.
Three anchoring facts to keep you honest
– According to , a commonly used in-slab RH target for wood flooring systems is ≤ 75% RH when measured via ASTM F2170.
– According to , a commonly used moisture vapor emission rate target is ≤ 3.0 lbs/1000 sq. ft./24h when measured via ASTM F1869.
– According to , vapor barrier performance is expressed using a “perm” rating derived from standard test procedures (used to choose barriers for concrete).
Choose the right installation method for your engineered wood
Choose the installation method that matches your engineered wood flooring’s design—and your kitchen’s risk profile. Nail-down, glue-down, and click/float all work, but each shifts the failure point to a different part of the system.
In a kitchen, the biggest practical difference isn’t comfort or appearance—it’s how the floor handles movement when humidity changes. Engineered wood flooring can expand/contract; your job is to allow that movement where the manufacturer expects it, and prevent it where you’re supposed to anchor.
Installation method comparison (what to expect)
– Nail-down: requires the subfloor to be suitable for fastening and the proper underlayment/underpad rules (if any) per the manufacturer.
– Glue-down: uses the manufacturer’s recommended adhesive and trowel/coverage; kitchens can amplify adhesive failures if the subfloor isn’t cleaned and conditioned properly.
– Floating/click-lock: typically uses underlayment only if approved for your product, and still requires correct expansion gaps at walls and fixed cabinets.
Nail-down engineered wood flooring transfers loads through fasteners, so subfloor flatness and fastening suitability directly affect squeaks and joint stability.
Glue-down engineered wood flooring depends on correct adhesive type, surface readiness, and full coverage—kitchen moisture can expose installation mistakes more quickly.
| Method | Best fit | Main sensitivity in kitchens | Common mistake | What to verify first |
|---|---|---|---|---|
| Nail-down | Interior kitchens on fastening-ready subfloors | Flatness + fastener engagement | Bad subfloor prep causing squeaks/gaps | Manufacturer fastening pattern + flatness |
| Glue-down | When you can meet adhesive requirements precisely | Bond failure from surface issues/moisture | Wrong trowel/coverage or dirty slab/subfloor | Surface prep + adhesive open time |
| Floating/click-lock | Kitchens where fastening is difficult or you want easier install logistics | Expansion gaps + underlayment compatibility | No/incorrect expansion gap near cabinets and doorways | Underlayment approval + gap details |
Install engineered wood flooring (general step-by-step)
Install engineered wood flooring by acclimating the planks, starting from a straight reference line, and using the manufacturer’s exact fastening or locking method. Then finish with transitions and baseboards in a way that preserves required movement around the kitchen perimeter.
The most “repeatable” success pattern is procedural: prep → verify moisture/conditions → acclimate → layout → install method → transitions. When engineered wood flooring is installed like a system, kitchen humidity becomes a variable you planned for—not an unpredictable threat.
– Acclimate the flooring per the manufacturer’s instructions (time and conditions), then stage boards so the room environment matches installation conditions.
– Start from the straightest reference line: lay the first rows carefully to keep long edges aligned; use spacers to maintain the required expansion gap.
– Fit boards with the approved technique (tapping/blocking for click-lock, controlled fastening for nail-down, adhesive spread for glue-down), and stagger end joints to your product’s recommended pattern.
– Work around kitchen constraints: include expansion gaps at cabinet toe-kick boundaries where required, and leave space around pipes with the correct trim/rosette method.
– Finish with transitions and baseboards: install trim to cover the gap where appropriate, but don’t glue or lock down areas that must be able to move.
Step sequence you can actually follow
Acclimation for engineered wood flooring is recommended by manufacturers so planks can equilibrate to the indoor temperature and humidity where they’ll be installed.
Expansion gaps near walls and fixed cabinetry are what allow engineered wood to expand/contract; hiding the gap with trim is different from eliminating it.
1) Set up the kitchen environment
– Run HVAC as you will during normal life. Kitchens with swings between “dry” and “humid” environments amplify seasonal movement.
– Maintain stable conditions long enough for acclimation. Use the manufacturer’s stated timeline for engineered wood flooring acclimation.
2) Layout and dry-fit before fastening/gluing
– Dry-fit a few rows and re-check:
– board direction,
– seam offsets,
– visibility of end joints near key sight lines (often the kitchen entry and sink run).
– Keep narrow pieces out of the last course whenever possible.
3) Install by method (the core rules)
– Nail-down engineered wood flooring
– Use the correct nail/staple type and spacing pattern.
– Avoid overdriving fasteners; it can create surface ridges that show at the joints.
– Glue-down engineered wood flooring
– Use the adhesive specified by the engineered wood flooring manufacturer and trowel size they require.
– Follow open time/flash time rules so the adhesive bonds within the window.
– Floating/click-lock engineered wood flooring
– Verify that the underlayment is approved for your specific click system and thickness.
– Keep the floor free to move: do not trap edges under fixed objects unless the manufacturer explicitly says to.
4) Handle kitchen “fixed obstacles”
– Cabinet boundaries: many engineered wood flooring instructions require a perimeter gap at cabinets or allow it only in specific toe-kick configurations. Follow your manual.
– Pipes and rosettes: leave the correct clearance so the engineered wood flooring can move without pinching.
– Doorways/transitions: use transitions designed for movement; don’t bridge the gap with rigid trim alone.
What can go wrong (common kitchen-specific issues)
Engineered wood flooring problems in kitchens usually trace back to moisture imbalance, insufficient expansion space, or an installation method mismatch. When something fails, the symptoms are often visible in gapping, peaking, squeaks, or edge cupping near wet zones.
Kitchens also introduce repeated spot exposure—steam, splashes, and occasional wet mops—so small installation errors can compound faster than they do in bedrooms or halls.
Common failure modes
– Gapping or peaking: usually comes from skipping acclimation, ignoring moisture limits, or using an incorrect expansion gap near walls.
– Squeaks and movement: often traced to an uneven subfloor, poor fastening (nail-down), inadequate glue coverage (glue-down), or an underlayment that isn’t approved.
– Edge failures near wet zones: areas by sinks/dishwashers or from slow leaks can cause cupping or finish breakdown—fix the moisture source first.
– Wrong underlayment for floating floors: click-lock floors can fail if the underlayment isn’t compatible with the flooring’s locking system and thickness requirements.
Click-lock engineered wood flooring is sensitive to expansion gap errors because tightening the perimeter can stress the locking joints as humidity rises.
Uneven subfloor conditions can cause engineered wood flooring to flex, which increases wear at seams and can lead to squeaks even when the fastening pattern is correct.
Pros/cons of being “extra careful” in kitchens
– Pros
– fewer callbacks for gapping and loose joints,
– better long-term appearance around sink and appliance lines,
– safer performance when household humidity changes.
– Cons
– more time spent verifying moisture and flatness,
– more planning for transitions and fixed cabinet boundaries,
– additional materials (approved vapor barriers/underlayment) may be required.
Verdict / tip (what I’d recommend—and who should skip DIY)
If your kitchen subfloor is flat and dry, and your engineered wood has clear installation instructions you can follow, a DIY install can work—especially with a method like floating/click-lock where fastening complexity is lower. That said, skip DIY (or at least pause and get help) if you discover active moisture issues, major subfloor unevenness, or you’re dealing with a glue-down system where surface prep and adhesive application must be precise.
Kitchens punish shortcuts because moisture exposure is frequent and traffic is constant. If you get moisture testing and expansion details right, engineered wood flooring typically behaves predictably; if you guess, the floor can “teach you” through failure symptoms months later.
Downsides to plan for:
– Kitchens demand extra moisture diligence; even small errors can show up as gapping later.
– Complex layouts (islands, multiple doorways, odd cabinet boundaries) can increase cut waste and alignment errors.
– If your product requires specific subfloor conditions, “good enough” prep can still lead to failure.
When moisture testing indicates out-of-spec conditions, installing engineered wood flooring anyway can increase risk of cupping and finish breakdown rather than “settling” over time.
Glue-down engineered wood installations are highly dependent on correct adhesive selection and coverage; redoing a failed bond often costs more than doing prep correctly the first time.
Quick checklist (save this before you start)
| Task | Yes/No |
|---|---|
| Confirm the engineered wood is rated/approved for kitchen interior use | |
| Read and follow the manufacturer’s installation method (nail/glue/float) | |
| Subfloor is clean, sound, and properly leveled/flat | |
| Moisture checks performed using the manufacturer-required method/limits | |
| Acclimated flooring per instructions | |
| Correct expansion gap planned at walls and fixed objects | |
| Layout dry-fit done (avoid narrow end pieces) | |
| Transitions and door thresholds planned | |
| Work completed with manufacturer-approved underlayment (if floating) |
Sources
– National Wood Flooring Association (NWFA) installation guidance for engineered wood and moisture considerations (use the specific NWFA guideline applicable to your installation method).
– ASTM standards commonly used for moisture testing in flooring applications: ASTM F2170 (in-slab moisture testing) and/or ASTM F1869 (RH probe and/or calcium chloride method, depending on your setup).
A successful kitchen engineered wood installation is mostly about system control: prep a flat subfloor, confirm moisture is within your flooring’s limits, acclimate properly, and install using the exact nail/glue/float method the manufacturer specifies. If you plan expansion gaps and transitions correctly—and don’t ignore slow moisture problems near sinks or appliances—engineered wood flooring can stay tight, stable, and good-looking for years.
Frequently Asked Questions
How do I prepare a kitchen subfloor before installing engineered wood floors?
Start by checking the subfloor flatness—most manufacturers require the surface to be within about 3/16 in. over 6 ft. Remove any old flooring, adhesive residue, and debris, then repair squeaks and damaged areas. For a concrete slab, ensure moisture is controlled (often using a recommended moisture barrier or testing method) before laying engineered hardwood. Finally, acclimate the planks in the kitchen for several days so the wood adapts to temperature and humidity.
What is the best underlayment for engineered wood flooring in a kitchen?
The best underlayment depends on your subfloor type and the engineered wood construction (click-lock floating vs. glue-down). For floating engineered wood, use an underlayment system specifically rated for engineered hardwood, considering moisture protection and sound control. On concrete, you typically need an underlayment with a vapor barrier if required by your floor manufacturer. Always follow the manufacturer’s installation instructions, because the wrong underlayment can affect warranty coverage and floor performance.
How do I install engineered wood floors in a kitchen that has plumbing and cabinets?
Plan your layout first, dry-lay a few rows to see how the boards will run around doorways and kitchen cabinets. Use a proper undercut method for door jambs and any fixed trim so the engineered planks slide underneath cleanly without gaps. Around plumbing lines, drill clearance holes slightly larger than the pipe diameter and leave the required expansion gap at walls. If you have base cabinets you won’t remove, you’ll usually need to install up to them and maintain expansion space along the perimeter as recommended for engineered wood flooring.
Why is an expansion gap important when installing engineered wood floors in a kitchen?
Wood naturally expands and contracts with changes in temperature and humidity, and kitchens can be especially variable due to cooking and dishwasher use. An expansion gap—commonly maintained along walls, thresholds, and fixed vertical surfaces—prevents buckling and cupping as the floor moves. Use spacers during installation and remove them after the planks are set, then cover the gap with trim or molding. Skipping this step is a common cause of engineered hardwood installation failures, including squeaks and seam separation.
Which installation method (click-lock floating, nail-down, or glue-down) is best for kitchen engineered hardwood?
Click-lock floating engineered wood is often the easiest DIY option for kitchens because it’s fast to install and doesn’t require adhesive over the entire floor. Nail-down can work well over suitable wood subfloors, offering a more stable feel, but it’s not typically recommended over concrete. Glue-down engineered hardwood may be best for minimizing movement and can be ideal over properly prepared subfloors, but it requires correct adhesive and careful moisture control. The best method is the one that matches your subfloor, moisture conditions, and the specific engineered wood flooring installation instructions provided by the manufacturer.
📅 Last Updated: October 19, 2026 | Topic: How to install engineered wood floors in a kitchen? | Content verified for accuracy and freshness.
References
- Engineered wood
- Wood flooring
- https://www.fpl.fs.fed.us/documnts/fplgtr/fplgtr189.pdf
- https://www.armstrongflooring.com/support/installation.html
- https://scholar.google.com/scholar?q=how+to+install+engineered+wood+flooring+in+kitchen+moisture Google Scholar
- https://scholar.google.com/scholar?q=engineered+wood+flooring+installation+guidelines+subfloor+flatness+acclimation Google Scholar
- https://scholar.google.com/scholar?q=engineered+wood+flooring+floating+floor+installation+steps+manufacturer+guidelines Google Scholar


