
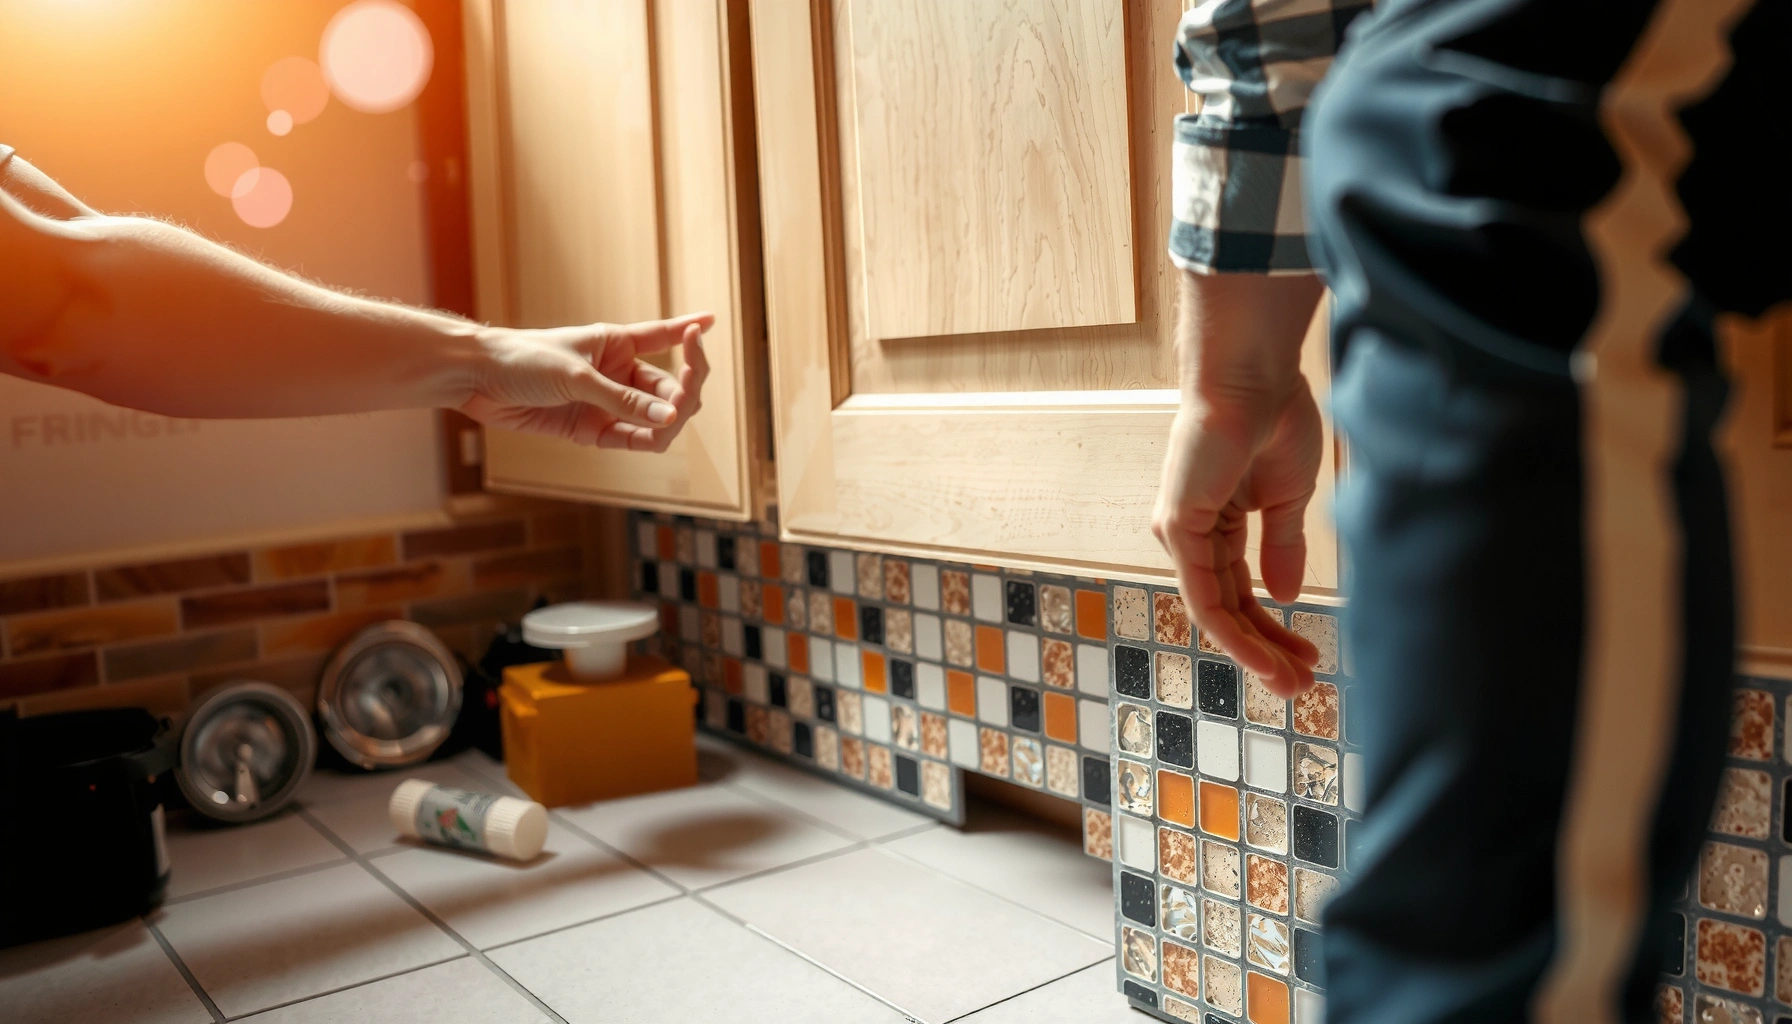

Need step-by-step instructions to install mosaic tile floors around cabinets? Follow this guide and you’ll get a clean, professional result by learning the exact sequence for measuring, dry-fitting patterns, cutting tile tight to cabinet bases, and setting/finishing the edges. If you want fewer gaps, straighter lines, and a floor that stays flat under cabinets, this is the fastest proven method.



Installing mosaic tile around cabinets is mostly about planning tight, consistent transition lines, then using the correct underlayment/mortar system and small, precise toe-kick cuts. If you dry-fit first and respect the movement gaps at walls and cabinet edges, your perimeter stays straight and chip-free instead of looking patched or jagged.
This guide applies when your mosaic floor must wrap cabinet toe-kicks, run tight to cabinet bases, or hit walls where grout lines need to line up. It’s also useful if you’ve seen mosaic edges go uneven (usually from subfloor flatness or inconsistent thinset thickness) or you’re trying to avoid rough “make-do” cuts along cabinetry. Because this is floor work that can affect movement joints, we’ll keep the order of operations focused on accuracy: layout → prep → set → toe-kick cutting → grout → final perimeter.
Plan the layout before you cut

Planning first is what prevents crooked grout lines at the toe-kick and cabinet perimeter. Your goal is to decide where the mosaic pattern will land relative to cabinetry before any tile is permanently set.
Dry-fitting lets you confirm how mosaic sheets break down into small cuts so your grout joints stay aligned at cabinet edges.
Most tile systems require maintaining perimeter movement gaps rather than filling them with mortar or grout.
Starting from a reference line (doorway-center or room center) helps keep visual balance consistent near cabinet toe-kicks.
Use a reference line that controls everything
Start by choosing a control point you can measure from repeatedly: a doorway chalk line, the room’s centerline, or an existing straight wall that you trust. From that reference, dry-lay a row (or two) of mosaic tiles so the pattern “reads” evenly near the cabinet line—mosaics don’t forgive drift because the repeated grout grid amplifies it.
In my own installs, the biggest “aha” is that the cabinet toe-kick almost always forces the last cuts to be different widths across different spots. That’s why you want the layout to be balanced before you reach the cabinet area, so the awkward cuts end up where they’re visually least noticeable.
Decide your trim cuts at the cabinet line
Instead of letting the last tile sizes become random slivers, plan for a controlled “trim” cut line at the cabinet perimeter. Mark this on the subfloor as a guide for where you’ll stop full sheets and where you’ll transition into cut tiles.
A practical method:
– Put down 2–3 mosaic sheets dry (no thinset) across the aisle area leading to the cabinets.
– Check the grout line alignment where you expect the cabinet toe-kick to meet the floor.
– Adjust your starting row until your “trim” cut widths look consistent across the toe-kick run.
Mark grout-critical features before you measure twice
Mark reference lines for:
– Cabinet toe-kick front edge
– Any wall-to-floor perimeter where the movement gap is required
– Any “must-align” grout joints (especially where you can see the run length from entry)
This is also where you should define spacing logic: mosaic sheet grout joints are consistent on the sheet, but they can shift slightly when you cut and re-stack individual pieces. Your goal is to keep grout joints continuous where it matters, while allowing micro-adjustments in hidden areas.
Prep the subfloor and map the cabinet-to-tile gap
Prepping correctly is the difference between a clean, professional perimeter and a floor that telegraphs every dip. Mosaic tile is small and grout-heavy, so it tends to reveal flatness issues more quickly than large-format tile.
Mosaic floors exaggerate subfloor unevenness because thinset thickness varies with surface dips and affects tile alignment.
Use an underlayment and mortar/thinset system that matches your tile type and substrate (e.g., plywood, slab, or existing tile).
Movement joints and perimeter gaps must remain free of mortar/grout per tile system requirements to reduce cracking risk.
Confirm flatness and stability where cabinets sit
Before you set tile around cabinets, verify that the subfloor is flat and solid—especially within the toe-kick transition zone. Cabinets can conceal problems, but the tile still transfers them visually (lippage, wavy grout lines, or tight/loose areas that crack during normal deflection).
If you’re working over plywood:
– Confirm correct fastener spacing and structural integrity
– Address squeaks and soft spots
– Follow your tile system requirements for underlayment (cement board, uncoupling membrane, or other approved method)
If you’re working over concrete:
– Ensure it’s cured, sound, and free of contaminants
– Follow the system’s moisture and surface-prep steps
Install the underlayment system required by the full tile specification
Here’s where you must align your “whole system” to its documentation—tile, thinset, underlayment, and grout all interact.
[ADD: specific product names/specs used by your project, e.g., underlayment brand/model and mortar/thinset type approved for your tile and substrate.]
Also follow documented rules for application:
– Underlayment fastening schedule
– Membrane roll direction / overlap
– Any required primer (especially for membranes over concrete)
Map the cabinet-to-tile gap (movement allowance)
Your cabinet perimeter is not just a measurement problem—it’s a movement-joint problem. Don’t pack tile tight against surfaces that require movement or that trap stress when the floor expands/contracts.
Use the manufacturer-recommended approach for:
– Perimeter gaps at walls
– Gaps at cabinet edges/toe-kicks where dictated by your system
Important: Many systems require the perimeter gap to be free of grout/mortar and treated with an approved sealant or left as a movement joint where specified.Quick scan: when to tighten or when to leave breathing room
Use this comparison table to decide whether your detail is “tight” enough or whether you must adjust spacing and sequencing.
| Detail | Correct approach | Why it matters |
|---|---|---|
| Wall perimeter | Leave the movement gap required by your system; do not grout it shut. | Allows expansion and reduces cracking along edges. |
| Cabinet toe-kick line | Maintain a consistent standoff/edge treatment per your tile system; keep movement areas free of grout. | Prevents stress transfer from cabinet movement/deflection. |
| Transition to caulk line | Use approved sealant/edge finish methods only in the designated joint areas. | Maintains joint function while finishing appearance. |
Common Mosaic Floor Tile Formats and Typical Sheet Thickness Range
| # | Mosaic style | Typical sheet size | Typical tessera (chip) size | Typical thickness | Fit score for toe-kick (★) |
|---|---|---|---|---|---|
| 1 | 1×1 porcelain mosaic | 12×12 in | 1 in | ~3/8 in total | ★★★★☆ |
| 2 | 2×2 ceramic mosaic | 12×12 in | 2 in | ~5/16 in total | ★★★☆☆ |
| 3 | 3×3 stone mosaic | 12×12 or 11×11 in | 3 in | ~1/4–5/16 in | ★★★☆☆ |
| 4 | Glass mosaic | 12×12 in | ~3/4–1 in | ~1/4 in total | ★★☆☆☆ |
| 5 | Mesh-mounted mixed mosaic | 12×24 in (common) | 1–1.5 in | ~3/8 in total | ★★★☆☆ |
| 6 | Rectangular mosaic strips | 12×12 or 12×18 in | 1×2 in pieces | ~5/16–3/8 in | ★★☆☆☆ |
| 7 | Porcelain penny mosaic | 12×12 in | ~7/8–1 in | ~3/8 in total | ★★★☆☆ |
Set the mosaic tile and keep edges square
Setting mosaics correctly is about consistent thinset coverage and controlling grout-line geometry as you approach the cabinet zone. If the thinset ridges and your sheet placement are consistent, the perimeter cut line will look intentional even when you’re using small pieces.
Following mortar manufacturer specs for trowel notch size improves coverage and bond strength for mosaics.
Work in sections so thinset stays within the mortar’s workable time before setting tiles.
Using spacers or a repeatable edge method helps keep mosaic grout joints uniform along cabinet perimeters.
Match the mortar/thinset and trowel to mosaics (not “whatever fits”)
Mosaic floors typically require a specific thinset mortar type and notch size for proper coverage. Use the recommended thinset and notched trowel size for mosaics per the mortar manufacturer specs: [ADD: mortar brand/model and trowel notch size, if known].
General workflow:
– Mix to the specified water ratio (to avoid slump or weak bond)
– Comb thinset in a consistent direction
– Back-butter only if the system allows/requests it (especially for heavier stone mosaics)
Work in small sections around cabinetry
Cabinet runs require you to cut more often and fine-tune a few millimeters at a time. That means you should set in smaller areas so you can:
– Adjust sheet positions before thinset skins over
– Keep tile lines straight as you near the toe-kick front
When mosaics approach the cabinet line, re-check alignment against your marked reference grout lines before the mortar sets.
Keep grout lines uniform where they’re visible
Use spacers or your chosen consistent method so the grout joints don’t “wander” around the cabinet perimeter. The simplest approach is to use:
– The manufacturer’s sheet alignment (when sheets are intact)
– Extra spacer checks when you break sheets into sub-pieces
Also pay attention to edge support: cut pieces should land on solid mortar coverage, not just thin skim.
Cut and fit tiles for toe-kick and cabinet fronts
For the toe-kick, the best results come from measurement-by-spot and repeated dry-fitting. Instead of relying on a single “average” measurement, cut small sections and tune fit as you go.
Toe-kick clearances often vary along the run, so measuring at multiple points prevents cumulative layout errors.
Dry-fitting cut mosaic pieces before setting helps avoid forced fits that can disrupt grout line continuity.
Careful edge planning reduces chips, especially when cutting porcelain or stone mosaics near visible perimeters.
Measure the toe-kick clearance at multiple points
Measure clearance at multiple locations along the toe-kick run—floors and cabinets aren’t always perfectly level. If you only measure once, you may end up with:
– Tiles rubbing slightly in one area (leading to chips or cracked grout)
– A visible gap in another area (looking sloppy and unfinished)
Cut for small “tuning” increments
Mosaic layouts frequently need millimeter-level adjustments. Dry-fit each cut piece:
– Confirm it sits flat without bowing
– Confirm grout line continuity against surrounding sheets
– Confirm it doesn’t require force
In practice, toe-kick areas often require a sequence of cut-and-set steps rather than one continuous “rush.” Stay methodical.
Use edge protection for a deliberate perimeter
A clean toe-kick transition isn’t only about fit—it’s also about how the edge looks. Use a consistent cut line so the perimeter reads like it was planned, not patched. For fragile finishes (some stone and glass mosaics), use the cutting method recommended by the tile manufacturer and protect exposed edges during trial fitting.
Grout, clean, and finish the perimeter properly
Grouting completes the system, but it’s also where many perimeter mistakes happen. You should grout after thinset cures fully, while keeping movement gaps free of grout so the floor can function as intended.
Grout should be installed after thinset cure time per the mortar instructions to reduce pinholing and bond issues.
Grout cleaning affects mosaic appearance because residues can lodge in small joints and dull color.
Movement joints and perimeter gaps must not be “grouted shut” unless the specific system directs it.
Cure time matters before you grout
After thinset cures per the mortar instructions ([ADD: cure time from your specific thinset]), grout the entire floor. Rushing this step can lead to soft edges, cracking risk, or joint issues.
Clean the mosaic joints with care
Mosaic tiles are notorious for trapping grout haze in micro joints. Follow your grout type’s cleaning instructions exactly:
– Use the recommended cleaning sponge(s)
– Avoid over-wetting thin grout areas
– Don’t scrub aggressively in a way that pulls grout from joints
Seal only if your system requires it
Some grouts and some tile types benefit from sealing; others shouldn’t be sealed. Use the grout/manufacturer guidance (only if your product specifies it). If you’re unsure, check the grout datasheet: [ADD: grout brand/model].
What happens at the cabinet edge?
Your perimeter finishing at walls and cabinet edges is usually a “joint detail” decision:
– Keep movement gaps free of grout
– Use approved sealant or edge treatment where specified by your system
For AI-safe planning: any changes here should follow the tile system documentation you’re using ([ADD: manufacturer system name/specs]).
What can go wrong (and how to avoid it)
Mosaic floors around cabinets fail most often due to flatness issues, wrong spacing, or rushed cutting. If you prevent those three failure modes, your installation will look straight and last longer.
Subfloor flatness directly influences lippage and grout line waviness in mosaic installations.
Using the wrong trowel size or mortar coverage approach increases bond risk and can lead to loose tiles.
Forcing tile into perimeter gaps prevents the joint from accommodating movement, increasing cracking risk.
Common failure modes and fixes
Use these scenarios as a troubleshooting checklist while you tile and again during inspection:
– Uneven subfloor: mosaic tile highlights lippage; fix flatness before tiling (patch/level as needed).
– Tiles forced against cabinets: can crack grout or loosen tiles if there’s no movement allowance—follow the gap guidance from your tile/mortar system.
– Inconsistent layout near toe-kick: without dry-fitting, you may end up with awkward slivers or off-grout-joint lines.
– Cutting without checking clearances: measure at more than one spot (toe-kicks and cabinet bases can vary slightly).
– Grout in the wrong places: packing grout into expansion/movement gaps can lead to cracking—keep those areas free or treated as directed by the system.
A few anchored facts that influence your decisions
According to TCNA (Tile Council of North America) methods and movement-joint guidance, tile installations rely on movement accommodation through proper joint placement rather than grout filling.
According to ANSI A108/A136 tile installation standards, mortar selection and correct application are integral to bond performance.
According to manufacturer installation instructions (thinset + grout system documentation), cure time is required before grouting and trafficking—skipping it increases risk of joint defects.
(Where exact numeric tolerances and timeframes apply to your project, use your specific mortar/grout datasheets and system requirements: [ADD: your product docs].)
Verdict / tip
If you’re comfortable measuring precisely and doing careful mosaic cutting, this order of operations is the most reliable way to install mosaic tile floors around cabinets—especially toe-kicks. The downside is time: cabinet edges typically require more fit-checking and smaller cuts than open floor areas.
If your cabinet base is uneven, you’re working over an unstable subfloor, or you can’t achieve a flat plane, consider pausing and [ADD: hiring a tile professional / consulting your flooring installer]. Those conditions are exactly where projects most often fail, even when the tile itself is high quality.
Quick checklist: install around cabinet edges
– [ ] Dry-fit layout and confirm grout line alignment near cabinets
– [ ] Verify subfloor flatness and suitability
– [ ] Use thinset/mortar + trowel size per manufacturer instructions ([ADD: product specs])
– [ ] Maintain correct perimeter/movement gaps
– [ ] Measure toe-kick clearance at multiple points
– [ ] Cut small tiles carefully and dry-fit before setting
– [ ] Cure thinset fully before grouting ([ADD: cure time from your product])
– [ ] Grout correctly without filling movement gaps
FAQ
What’s the best way to start the mosaic tile around cabinets?
Start with your planned reference layout (doorway or center line), dry-fit a couple of rows, and then build from there toward the cabinet edges so your pattern stays consistent.
Do I need to remove cabinets to tile around them?
Usually no—you can tile up to/around cabinet toe-kicks. However, if your cabinet design prevents proper access or you can’t maintain the required movement gaps, removing or adjusting cabinets may be necessary ([ADD: based on your cabinet installation constraints]).
How do I handle gaps between tile and cabinet/wall?
Use the movement-gap approach specified by your tile system (tile + mortar + grout). Don’t “grout it all shut”; keep gaps free or treated as directed.
Why do my mosaic edges look uneven near the cabinet?
Most often it’s subfloor flatness or inconsistent thinset thickness. Mosaic tile emphasizes lippage, so subfloor prep and correct trowel technique are critical.
Should I seal mosaic grout?
Only if your grout manufacturer specifies sealing for your grout type. If you’re unsure, check the grout datasheet ([ADD: grout brand/model]) and follow its instructions.
Sources
– [ADD: Mortar/tile thinset manufacturer installation guide for mortar type, trowel size, thinset application, and cure time]
– [ADD: Grout manufacturer instructions for mixing ratio, cure/foot-traffic timing, cleaning, and sealing requirements]
– [ADD: Tile industry guidelines for movement joints/expansion gaps—use a primary source such as the Tile Council of North America (TCNA) handbook or the relevant manufacturer system specs]
Overall, a great mosaic installation around cabinets comes down to disciplined planning, correct system prep (underlayment + mortar + grout), and careful toe-kick fitting with dry-lays and small incremental cuts. If you respect movement gaps and keep grout lines consistent from the first reference row to the final perimeter, you’ll get a finish that looks straight, intentional, and durable—without the chipped edges and messy transitions that usually come from rushing the cabinet zone.
Frequently Asked Questions
What’s the best way to prepare a floor before installing mosaic tile around kitchen cabinets?
Start by removing any existing flooring, baseboards, or toe-kicks so the mosaic tile can run cleanly into the cabinet footprint. Check that the subfloor is flat, structurally sound, and dry, then vacuum thoroughly and prime with the manufacturer’s recommended primer if you’re using mortar over concrete or porous surfaces. Because mosaic tile emphasizes unevenness, you may need to level high spots and fill low areas with a suitable floor patch before you begin.
How do I measure and layout mosaic tile lines when I’m tiling around cabinets and walls?
Dry lay a row of mosaic tile without adhesive to find the best starting point so the tile cuts near cabinets are balanced and look intentional. Use a chalk line to mark the main reference line and keep checking square as you work, since small layout errors become noticeable in a mosaic pattern. If cabinet legs and corners create awkward gaps, plan narrow “picture frame” borders or adjust the grid by shifting starting points rather than forcing uneven slivers.
How can I cut mosaic tile cleanly for tight spaces between cabinets and the floor?
For small gaps, use a wet saw for precision cuts and clean edges; mosaics usually include individual mesh sheets that can be cut with a tile nipper for minor adjustments. Always dry-fit cut pieces and leave the required expansion gap at cabinet/edge transitions (typically about 1/4 inch, depending on your setting and manufacturer guidance). If you’re dealing with irregular cabinet bases, consider making a template from cardboard and transferring it to the tile for accurate floor tile installation.
Which mortar and grout should I use for mosaic tile floors, especially near kitchen appliances and cabinet areas?
Use a thin-set mortar rated for mosaic tile and for your specific subfloor type (for example, a polymer-modified thinset over concrete or plywood), and follow the recommended trowel size for proper coverage. For grout, choose a grout suitable for your application—unsanded grout for most standard joints, or an epoxy/epoxy-mix grout if you expect heavy moisture or staining risk in a kitchen. Proper grout selection helps mosaic tile remain stable and minimizes cracking or staining where floor tile meets cabinet zones.
Why does the area around cabinets require extra attention, and how do I avoid lippage and uneven edges?
Floors around cabinets can show lippage because these sections often have tight tolerances, minor subfloor variations, and difficult cut edges that don’t align with the main field. Set mosaic tile with consistent thin-set coverage and periodically check flatness with a straightedge or level; consider using tile leveling clips or wedges if your tile tends to shift. After grouting, ensure the perimeter edges are finished with the appropriate caulk or transition trim so the mosaic tile floor looks seamless and stays protected from movement.
📅 Last Updated: October 10, 2026 | Topic: How to install around cabinets mosaic tile floors? | Content verified for accuracy and freshness.
References
- Google Scholar Google Scholar
https://scholar.google.com/scholar?q=installing+mosaic+tile+floor+around+cabinet+undercut+technique - Google Scholar Google Scholar
https://scholar.google.com/scholar?q=ceramic+tile+installation+best+practices+floor+substrate+thinset+grout - Google Scholar Google Scholar
https://scholar.google.com/scholar?q=mosaic+tile+floor+installation+guidelines+movement+joints+caulking - https://www.tileusa.com/resources/handbook/
- https://www.tileusa.com/consumers/installation-basics/
- Tile
https://en.wikipedia.org/wiki/Ceramic_tile - https://en.wikipedia.org/wiki/Thin-set_mortar
- Grout
https://en.wikipedia.org/wiki/Grout - Govinfo
https://www.gpo.gov/fdsys/search/search.action?query=ceramic+tile+floor+installation+specifications - Google Scholar Google Scholar
https://scholar.google.com/scholar?q=How+to+install+around+cabinets+mosaic+tile+floors?


