
Want to waterproof hardwood floors in an apartment without ruining the finish? For most renters, the best winning approach is sealing the boards with a moisture-blocking floor sealer plus a compatible water-resistant topcoat, then maintaining tight control around spills and humidity. Follow these steps and you’ll protect against everyday apartment moisture while keeping the look of real wood. If you’re dealing with frequent standing-water risk, you’ll need additional spot protection and stricter leak prevention to match the threat.


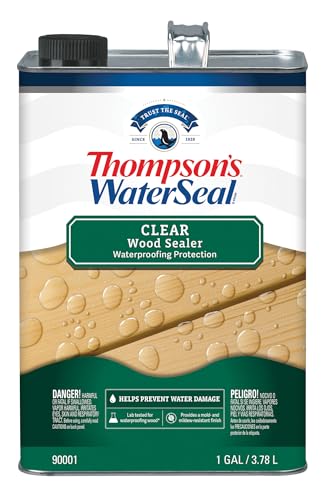

If you want to “waterproof” hardwood in an apartment, the practical answer is: seal the surface and lock out splashes at seams—not make the whole floor truly water-tight like tile. Start by using a moisture-resistant topcoat designed for wood floors, seal edges/transition gaps, and control indoor humidity so spills don’t soak into the finish gaps.
This applies if you have a rental and need a non-invasive way to reduce water damage from everyday risks (spills, wet mopping, tracked-in rain). It’s also most realistic for minimizing damage—not for standing-water situations.
You’re essentially building a “water-resistance system” that slows water down long enough for you to wipe it up, while also reducing the conditions that widen seams over time.
Is waterproofing hardwood in an apartment realistic?
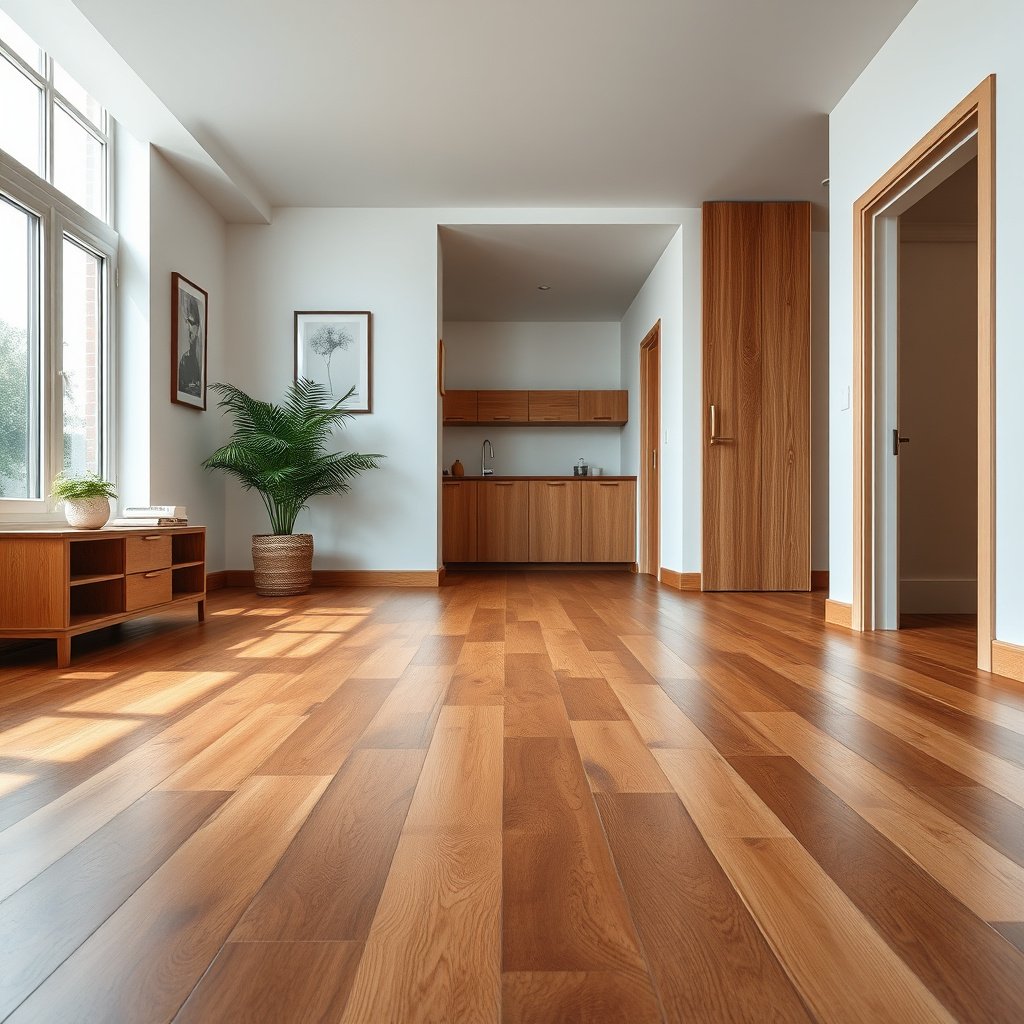
You can’t make most apartment hardwood truly waterproof, but you can make it substantially more water-resistant in a rental-friendly way. The key is understanding that wood finishes can protect the surface, yet seams, edges, and transitions are where water and moisture usually find a way in.
– Hardwood can be made water-resistant (better at handling spills), but full waterproofing is difficult, especially at seams and around edges.
– Your outcome depends on the floor type: unfinished vs prefinished, solid vs engineered, and how intact the current finish is.
– In an apartment, you’ll usually limit changes to what you can do without major demolition, and you should avoid approaches that trap moisture under the flooring.
A useful way to think about it (especially if you’ve ever seen a floor “look fine” until the next day) is that water damage often happens through paths, not through the board faces alone. Apartment realities—entryway tracking, occasional mopping, condensation from HVAC, and humidity swings—make those paths more likely.
Because water reaches wood primarily through seams, edges, and finish breaks, “waterproofing” hardwood in an apartment typically means sealing and managing exposure—not creating tile-like impermeability.
The National Wood Flooring Association (NWFA) emphasizes controlling indoor conditions because wood is hygroscopic (it absorbs and releases moisture with humidity), which affects seam stability over time.
What “realistic” looks like in 2026
As of 2026, apartment owners and renters typically aim for three outcomes:
1) surface protection that resists spills,
2) minimized water wicking at joints and perimeter gaps,
3) reduced likelihood of finish failure due to humidity and cleaning practices.
If you want a quick yardstick: surface sealing helps with “wet moments.” It does not reliably protect against “stays wet for hours” or “active leak under/behind the floor.”
Pick the right waterproofing approach (surface seal vs full barrier)
For most apartments, the best practical approach is a wood-floor-rated water-resistant topcoat/sealer plus thorough sealing at gaps and transitions. A full “barrier system” that blocks moisture everywhere is usually harder to do correctly in a rental—and can backfire if moisture is already present in the subfloor.
– For most apartments, the best route is a wood-floor topcoat/sealer that’s rated for household water exposure, plus careful sealing at gaps, edges, and transitions.
– If you’re seeing moisture from underneath (not just spills), a topcoat won’t fix the root issue—first address the moisture source (subfloor, plumbing leaks, HVAC humidity).
– Avoid DIY “plastic/epoxy” ideas unless the product is explicitly meant for wood flooring, because some systems can fail or create trapped-moisture problems.
A “barrier” mindset can be tempting because it sounds safer—yet wood flooring needs a balanced moisture environment. If you trap moisture beneath the flooring (or lock in an existing moisture problem), you can increase the risk of cupping, discoloration, and finish breakdown. The goal is protection without creating a new failure mode.
A practical comparison renters can apply
Below is a straightforward comparison of the two strategies in apartment conditions.
| Approach | What it protects best | Main risk / limitation | Best when… |
|---|---|---|---|
| **Surface seal + seam/edge sealing** | Spills, tracked rain, accidental damp mopping | Water can still travel through damaged seams/edges over time | You need non-invasive improvement and can maintain indoor humidity |
| **Full barrier (less ideal in rentals)** | Bulk water entry in theory | Potential trapped moisture; often requires deeper system changes | You have explicit product guidance for wood floors *and* confirmed subfloor dryness |
A topcoat is designed to protect the finish layer; it cannot correct water intrusion from underneath or persistent moisture migration—those require source control.
Wood floor care guidance consistently treats seams and perimeter areas as higher-risk zones because they concentrate movement, gaps, and finish edge failures.
Humidity control is part of “waterproofing,” too
Even the best topcoat works longer when indoor humidity stays closer to wood’s comfort zone. According to NWFA guidance, maintaining indoor relative humidity within a moderate band helps reduce excessive wood movement.
To make that actionable, use the table below as a quick “seam risk” guide when you’re planning how aggressively to seal and how careful you’ll be with moisture.
Apartment Indoor Humidity Bands and Wood “Seam Risk” (practical planning)
| # | Indoor Relative Humidity (RH) | Seam Movement Likelihood | Water Intrusion Risk If Spills Occur | Suggested Apartment Action |
|---|---|---|---|---|
| 1 | 20–25% RH | Very high | ★ ★ ★ ★ ★ | Run a humidifier to avoid shrink/open seams |
| 2 | 26–30% RH | High | ★ ★ ★ ★ | Target modest humidification; blot spills fast |
| 3 | 31–34% RH | Moderate | ★ ★ ★ | Use entrance mats; keep mopping damp-only |
| 4 | 35–55% RH | Low | ★ ★ | This is typically the “do less” zone for wood floors |
| 5 | 56–60% RH | Moderate | ★ ★ ★ | Use a dehumidifier if summers spike |
| 6 | 61–70% RH | High | ★ ★ ★ ★ | Increase ventilation; reduce indoor moisture sources |
| 7 | 71%+ RH | Very high | ★ ★ ★ ★ ★ | Prioritize moisture control before adding more sealant |
Prep the hardwood floor correctly (this matters more than the product)
You get far better water resistance from preparation than from “stronger chemistry.” In apartment conditions, the most common coating failures happen because prep leaves contaminants or because damaged finish edges weren’t repaired before sealing.
Clean thoroughly and remove residues that can block adhesion (use the cleaner recommended for your existing finish system).
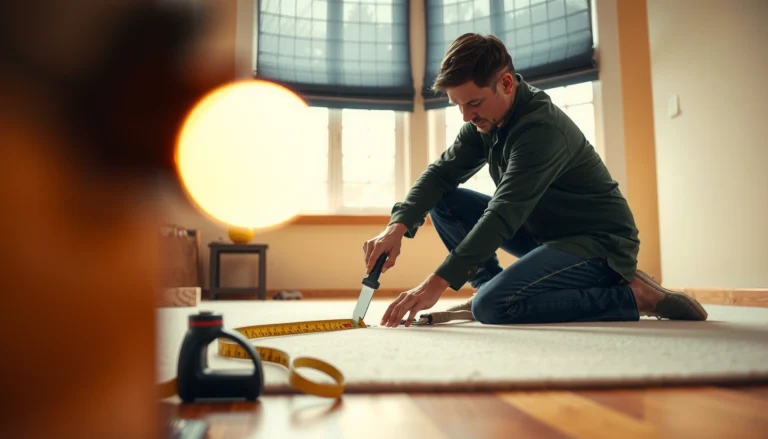
Repair what water can enter through: chips, dents, scratches, and especially gaps at seams; sand/level only as your floor and warranty allow.
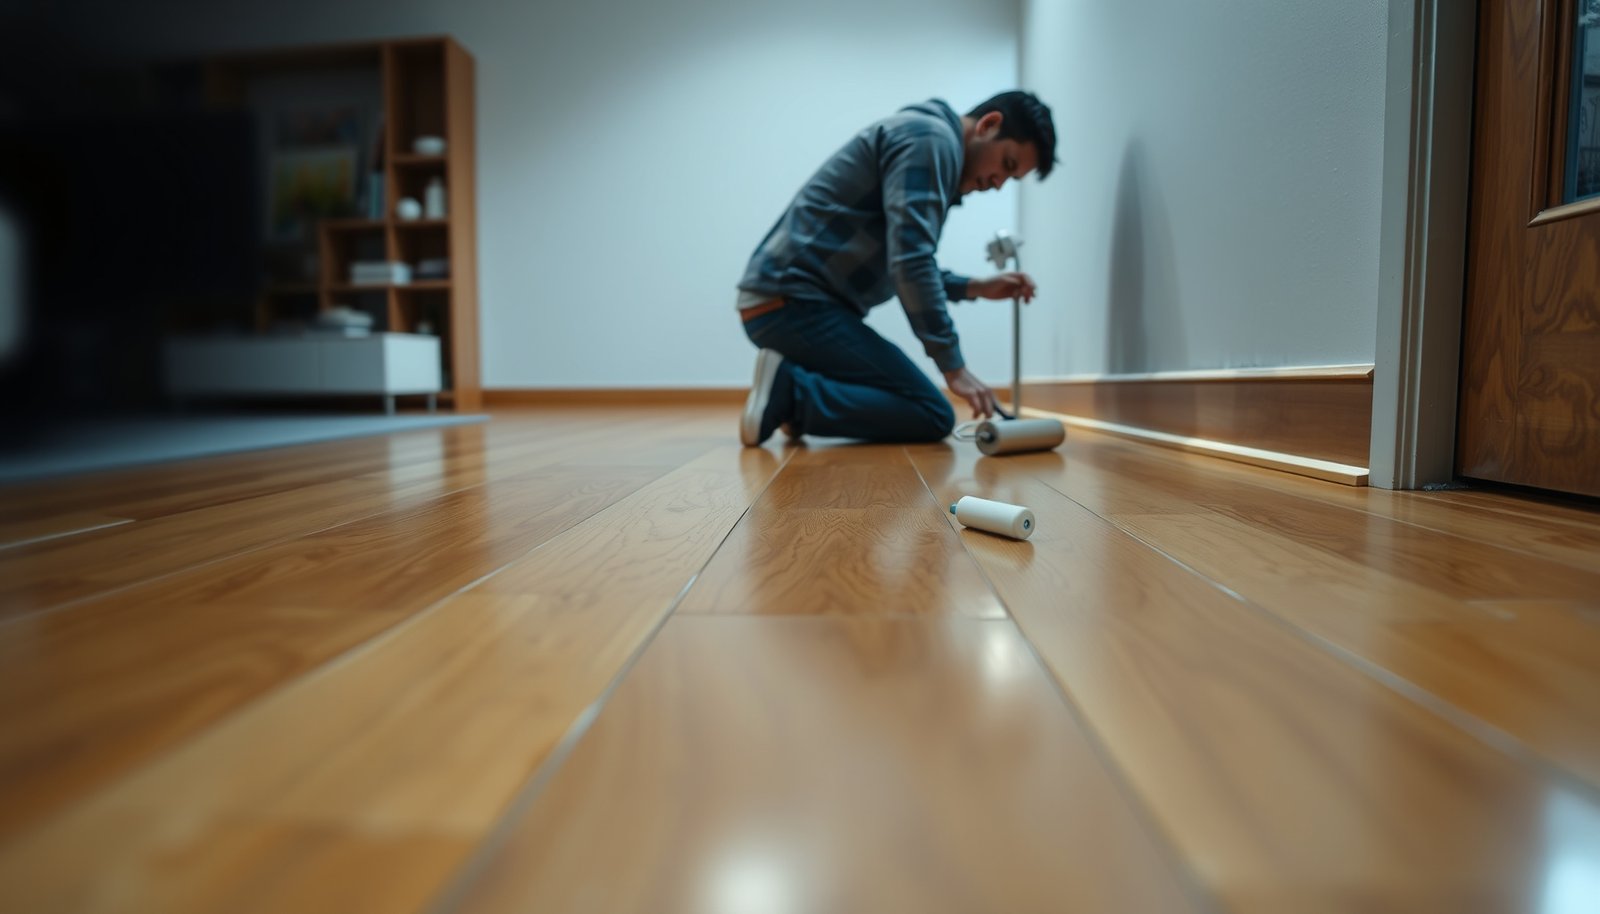
Mask and plan the application so you seal edges and transitions cleanly (baseboards, doorways, and between rooms), since those are common leak paths.
Why prep drives results
Water resistance is only as durable as the bond between the topcoat and the existing finish. If the surface is waxed, oily, or even lightly contaminated by cleaning products, sealers may haze, peel, or become vulnerable at the edges. That’s especially true around doorways, where movement and traffic stress the finish.
For wood floors, “adhesion” simply means the coating’s ability to stick to the substrate; poor adhesion is the fastest route to “it looked great for two weeks.”
If the existing finish is contaminated (wax, oils, wrong cleaner residue), a water-resistant topcoat can fail at the edges first, which defeats seam protection.
NWFA-style care guidance treats surface cleaning and prompt spill response as fundamental steps because water damage often starts before you notice visible swelling.
What to repair first (in the order that reduces risk)
1) Finish breaks at seams: don’t ignore tiny gaps; water can wick along those micro-channels.
2) Dents/chips: repair defects that expose raw wood or compromised finish layers.
3) Edges and transitions: seal where the floor meets baseboards, thresholds, and between rooms.
4) Pre-existing failure: if the finish is peeling/soft, a topcoat over bad adhesion may only postpone the problem.
> Apartment constraint reminder: avoid sanding that violates your lease or existing warranty. If you’re renting, confirm what the landlord allows before you start.
Apply water protection: seal the surface and lock seams
You should treat application like a “coverage and continuity” project: even coats plus meticulous seam/edge sealing. The right water-resistant topcoat won’t magically make damaged seams safe—your process has to protect the weak points where water enters.
– Use a wood-floor rated water-resistant/marine-grade wood sealer or topcoat (only follow the manufacturer’s prep + application instructions).
– Apply in thin, even coats, keeping consistent coverage and drying time exactly as the product specifies—thick coats often cure unevenly.
– Seal the “weak points”: where boards meet and where the floor meets trim/thresholds. Use a compatible filler/caulk system that’s designed for wood floors and can handle movement.
Coating selection basics that matter in apartments
When choosing a topcoat, confirm it’s explicitly rated for wood floors and for “household water exposure” (not just general durability). Also look for instructions about:
– whether it can be applied over your existing finish,
– ventilation and odor limits (important for apartment living),
– recoat windows and final cure time.
As of 2026, many apartment-safe products are water-based, which can reduce odor and speed recoat—but you still must follow the technical data sheet (TDS) for the exact system.
Apply coatings in thin, even layers per the TDS; uneven curing is one of the most common reasons water-resistant finishes underperform at seam lines.
Perimeter sealing is critical because baseboard and threshold areas experience both movement and water exposure (from mops and entryway splashes).
Seam and edge sealing: what “compatible” means
Compatibility is more than “same brand.” It means the filler/caulk can tolerate wood movement (expansion and contraction) and can bond to both:
– the floor finish system, and
– the trim/transition materials.
If you use a rigid caulk where movement occurs, it can crack, opening a path for water the next time the humidity shifts.
A “do-this-first” application workflow
1) Mask transitions (baseboards, door trim edges, floor-to-floor junctions).
2) Patch and fill defects compatible with your floor type (solid vs engineered) and finish system.
3) Seal edges/thresholds first where water will reach fastest.
4) Topcoat the main floor with consistent overlap and coverage.
5) Re-check for pinholes and missed edges after the first coat if the system requires multiple coats.
Protect it after sealing (apartment habits that prevent damage)
Sealing reduces risk, but your daily habits determine whether water ever has a chance to reach wood. In apartments, the goal is to eliminate long wet periods and avoid forcing water into seam gaps through improper mopping.
– Use felt pads, mats at entryways, and blot spills immediately—even the best coating can’t handle hours of standing water.
– Keep indoor humidity in a safer range for wood floors (dry winter air can shrink boards and open seams; overly humid air can swell them).
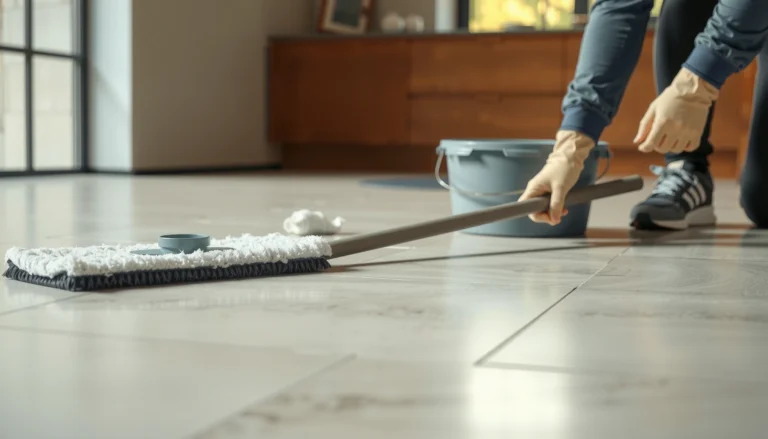
– Avoid soaking when mopping: use a damp (not wet) method and clean with products safe for your specific topcoat.
What “damp mopping” should look like
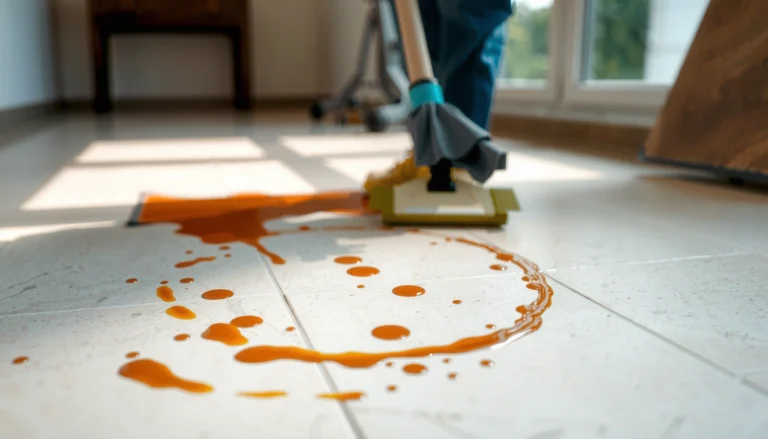
Damp means the floor is cleaned without pooling. If water puddles around edges or doesn’t disappear quickly, you’re introducing too much moisture for a wood floor system.
Also, avoid high-acid or harsh cleaners unless the manufacturer confirms compatibility with your specific topcoat. Many “floor cleaners” are designed for stone or resilient surfaces and can degrade film finishes.
Standing water is the fastest way to overwhelm a wood-floor finish system because moisture can travel through seams and finish edge failures over time.
Humidity management reduces seam widening; NWFA guidance commonly recommends maintaining indoor relative humidity in a moderate band to protect wood dimensional stability.
Apartment-specific exposure points you can manage
– Front door tracking: place a mat and a secondary scraper mat if possible.
– Kitchen sink splash zone: add a small runner with a non-staining backing.
– Bathroom door/condensation: keep doors closed only if ventilation is adequate; otherwise, increase exhaust rather than relying on sealing.
What can go wrong (common mistakes and edge cases)
Sealing can fail, and sometimes the failure isn’t the product—it’s the moisture source or the system setup. If water is coming from below (plumbing, slab moisture, HVAC condensation), a surface topcoat won’t solve it and may only delay visible symptoms.
– Assuming “waterproof” means “no water damage.” If water gets under or through the finish system at seams, it can still cause cupping, swelling, or discoloration.
– Skipping sanding/cleaning steps or using the wrong cleaner—adhesion problems can make coatings peel or cloud.
– Trapping moisture by applying an incompatible barrier over an existing finish (or over a moisture-problem subfloor).
– Rental/landlord constraints: heavy modifications (or leaving odor-heavy coatings) may violate lease terms—always confirm before you start.
– Edge case: if you have an active leak (above/below unit, plumbing, AC condensation), waterproofing will only be temporary—fix the leak first.
Three failure patterns to watch for immediately
1) Edge bubbling or peeling within weeks
Usually points to adhesion contamination, wrong surface prep, or incompatible chemistry.
2) Cupping or localized swelling despite sealing
Often indicates moisture intrusion from underneath or persistent high humidity.
3) Visible darkening along seams after wet events
Suggests water is penetrating through finish breaks or gaps faster than you can manage clean-up.
If swelling or cupping appears after normal wet events, it’s often a sign of moisture reaching the subfloor or beneath the finish system—topcoats aren’t a root-cause repair.
In rentals, lease rules and building ventilation can affect cure time and safety; always follow the product TDS and landlord requirements.
Quick checklist + honest verdict (and who should skip this)
Verdict: For apartments, you usually can’t truly waterproof hardwood, but you *can* significantly improve water resistance by sealing the surface and sealing seams properly, then changing how water is introduced (spill response, mopping method, humidity control). The downsides are time/effort, the risk of coating failure if prep isn’t right, and possible lease/warranty issues.
Skip this approach if:
– You suspect ongoing moisture from below (moisture readings, recurring dampness spots, musty smell) without addressing the cause.
– Your lease restricts alterations, or you can’t tolerate curing odors/drying time.
– Your floor finish is failing badly already (peeling/soft spots)—you’ll likely need a different repair plan.
Scan-and-save checklist
– ☐ Identify: solid vs engineered, and whether it’s prefinished or unfinished
– ☐ Inspect seams/edges for gaps, swelling, or damage
– ☐ Repair defects before coating (fill/sand as allowed by your floor type)
– ☐ Choose a wood-floor-rated water-resistant topcoat/sealer (follow TDS/specs)
– ☐ Seal transitions and edges with compatible materials
– ☐ Follow exact drying/recoat windows
– ☐ After sealing: use damp cleaning only, mats at entryways, blot spills fast
Frequently Asked Questions
What’s the safest way to waterproof hardwood floors in an apartment without damaging them?
In most apartments, the safest approach is to use a water-resistant barrier system rather than soaking the floor or applying thick coatings that can trap moisture. Start by checking for small gaps, then seal baseboards and trim to prevent spills from migrating under edges. Use a manufacturer-approved hardwood sealer or topcoat (often a water-based polyurethane) and add protective area rugs or mats in high-risk areas. This helps waterproof hardwood floors while still respecting the installation and warranty requirements typical in rentals.
How can I waterproof hardwood floors from spills if I can’t replace the flooring?
You can create spill protection by sealing the surface immediately and controlling where water goes. Clean the floor, then apply a waterproof or water-resistant finish compatible with hardwood (such as a marine-grade or high-durability polyurethane) to reduce penetration. For added protection, use a non-slip, washable rug pad under rugs—these prevent water and stains while keeping hardwood from absorbing moisture. Finally, promptly blot spills and avoid mopping with standing water, since even sealed hardwood can be damaged by prolonged exposure.
How do I waterproof hardwood floors around baseboards and edges in a rental apartment?
Edge and baseboard areas are common entry points for water, so sealing perimeter gaps is key. Caulk along the joints where baseboards meet the wall and where trim meets the floor using a paintable, low-moisture-transfer sealant (avoid heavy, permanent adhesives if you must maintain the ability to remove trim). If you have shoe molding, ensure it’s tight and sealed so water can’t creep underneath. This perimeter sealing, combined with a quality topcoat on the boards, provides better waterproofing for hardwood floors in apartments.
Which waterproofing products are best for apartment hardwood floors—polyurethane, sealers, or waterproof coatings?
The “best” option depends on your floor type and whether you need a rental-friendly approach. For most apartments, a durable polyurethane topcoat (water-based for low odor and easier indoor use) or a clear hardwood floor sealer can provide strong water resistance against everyday spills. If you want maximum spill protection, look for products marketed as waterproof or water-resistant specifically for hardwood floors, and follow the exact recoat times and coverage rates. Always test in an inconspicuous area first to confirm sheen, compatibility, and adhesion.
Why do hardwood floors still get damaged even after applying a water-resistant finish?
Hardwood can still swell or cup if water gets through seams, cracks, or the edges before the finish cures fully or if the finish is worn down. High humidity, repeated damp mopping, and standing water from leaks or wet shoes can overwhelm even a good waterproofing layer over time. Finish wear, improper prep, or applying the wrong product for your existing finish can also reduce protection. To maintain waterproof hardwood floor performance in an apartment, avoid excessive water, use floor protectors, and recoat when the surface starts to lose water beading.
📅 Last Updated: October 17, 2026 | Topic: How to waterproof a hardwood floors with apartment? | Content verified for accuracy and freshness.
References
- Wood flooring
- Varnish
- https://www.cdc.gov/mold/default.htm
- Mold | US EPA
- water repellent wood coatings – Search Results – PubMed
- https://www.sciencedirect.com/search?qs=water%20repellent%20wood%20coating
- water repellent wood coating | Nature Search Results
- https://scholar.google.com/scholar?q=hardwood+floor+waterproofing+moisture+barrier+sealant Google Scholar
- https://scholar.google.com/scholar?q=wood+flooring+water+damage+prevention+finish Google Scholar
- https://scholar.google.com/scholar?q=water+repellent+coatings+for+wood+review Google Scholar