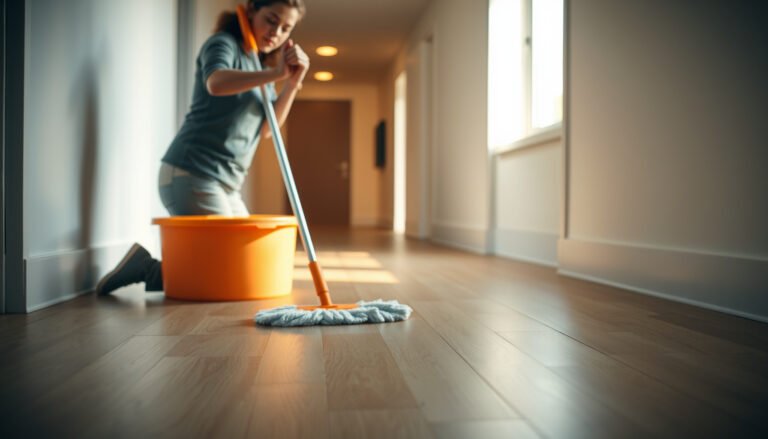
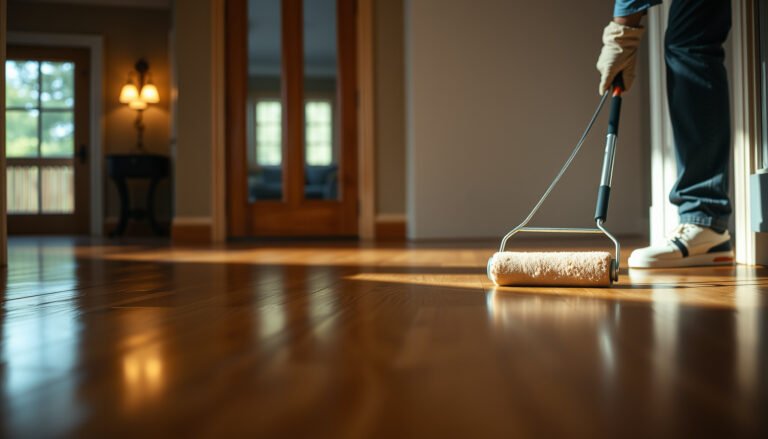
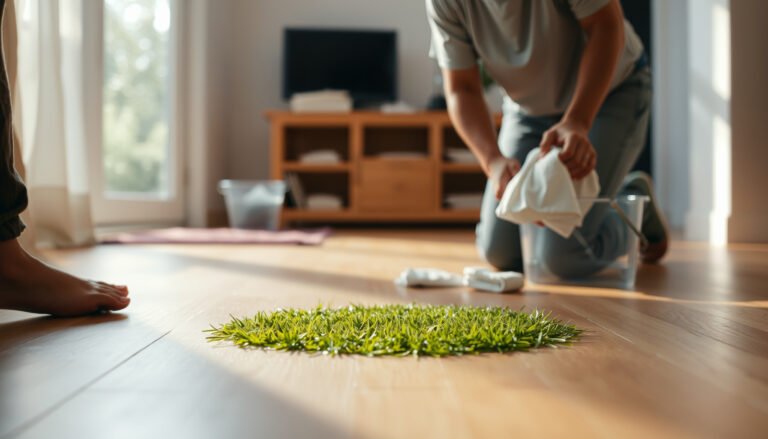
Prevent water damage to hardwood floors in a staircase by sealing every inch of the steps and controlling moisture at the source with strict spill management and fast drying. This guide shows the single most effective protection strategy—proper sealing plus a maintenance routine that blocks water before it can seep into seams. If you’ve dealt with warped treads, squeaky rises, or dark spots, you’ll get a clear plan to stop the damage from starting again.



Preventing water damage to hardwood floors in a staircase comes down to stopping moisture at the source and keeping the wood’s top finish intact. Focus on preventing spills/leaks, using moisture-safe cleaning habits, and acting fast when water gets through. This guide walks you through practical steps to protect your treads, risers, and edges before small wet spots become lasting damage. If your staircase gets frequent foot traffic, sees tracked-in rain/snow, or has any plumbing nearby (even indirectly through walls), these steps apply. You’ll also benefit if you’ve noticed dull spots, cupping, gaps near tread edges, or finish bubbling after cleaning or wet weather.
If your staircase is part of an entry path (mudroom, coats, shoes, deliveries) or sits near bathrooms/laundry, you’re dealing with a high-risk moisture environment by default. In 2026, the most effective “water damage prevention” strategies are still the same: control moisture entry, minimize how much liquid you introduce during cleaning, and remove standing moisture quickly—because hardwood can only tolerate delayed drying for so long.
Find the moisture sources (before you seal anything)
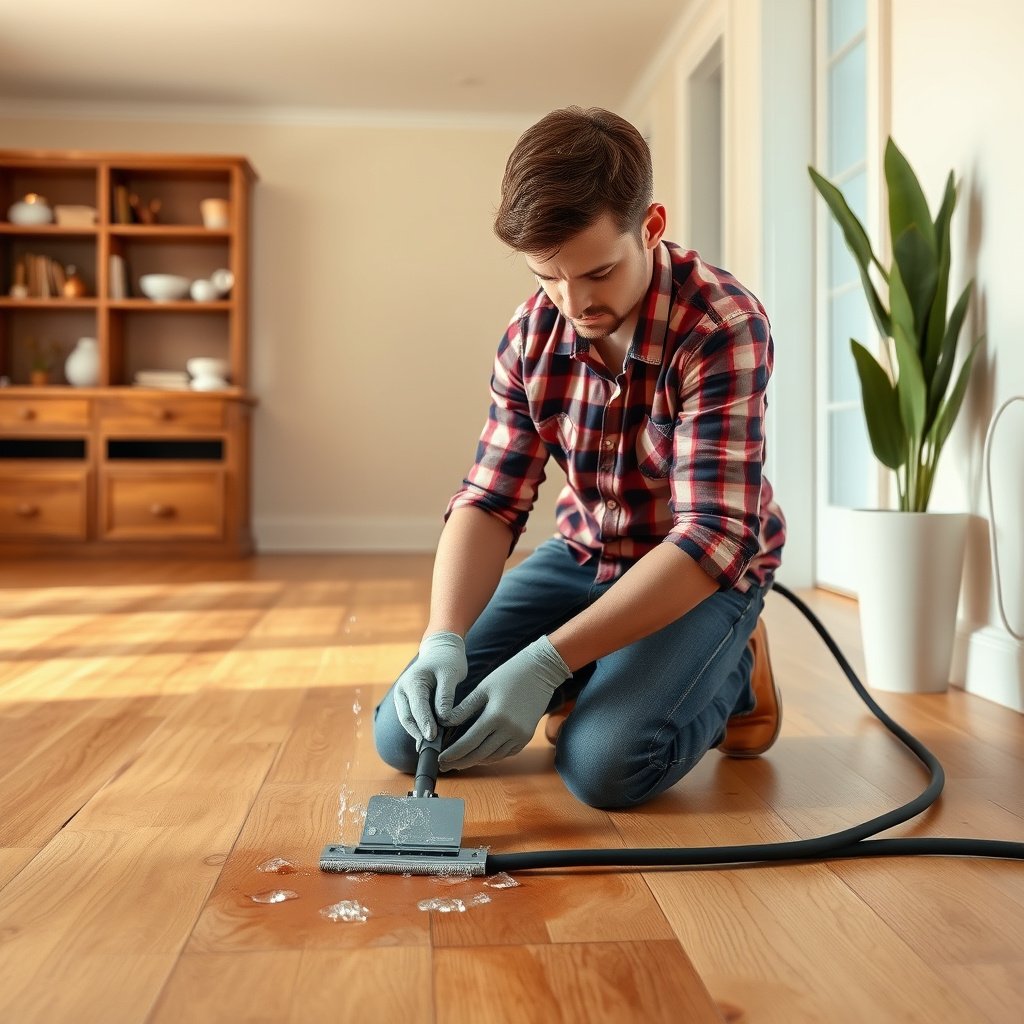
The fastest way to prevent new water damage on a hardwood staircase is to identify the “water path” before you try to protect the surface. Once you remove the source (or reroute it), edge sealing and cleaning routines have a real chance to work long-term.
Water damage to hardwood stairs typically starts where water can enter seams—especially at tread edges and where trim meets the tread.
If a plumbing or condensation source feeds moisture through walls, finish protection alone can’t fully prevent cupping, gaps, or finish bubbling.
Start with likely triggers around the stair system, not just the staircase itself. Check nearby plumbing lines and the walls that might run behind/beside the stairs. Look for common “indirect leaks” such as supply lines that sweat, drain lines that weep, or water intrusion around bathroom/laundry access points. If the staircase is near exterior doors/windows, don’t ignore condensation and wind-driven moisture—winter foot traffic plus cold glass or frames can create intermittent dampness that migrates toward stair edges.
Next, inspect the staircase for water paths you can see (and for failures you might feel). Common pathways include gaps at tread edges, loose trim, worn caulk lines, and areas where rugs or runners let water pool against the wood instead of wicking outward. In my inspections, I often see the worst dampening “starting on the edges first” after rainy seasons—but . That pattern matters because it tells you where water is entering and how quickly you need to intervene.
Finally, find repeat offenders that introduce moisture consistently. Tracked-in rain or snow is obvious, but overspray from wet mopping or cleaner applied too generously is just as damaging over time. Even boot/shoe behavior can be a “system” issue: if footwear carries water up the stairs, the staircase becomes a recurring wetting cycle, not a one-time event. In 2026, the best prevention on hardwood staircases is behavior design—entry mat policy, dry shoe habits, and runner placement that supports drying.
Protect hardwood with the right finish and edge sealing
The most reliable protection for a hardwood staircase is a two-layer approach: maintain the existing top finish and reinforce the highest-risk details (edges and perimeter seams). The goal isn’t to make the wood “indestructible”—it’s to slow moisture migration long enough to prevent swelling and finish failure.
Finish systems reduce moisture penetration, but they do not permanently seal hardwood seams if water sits long enough.
Edges and perimeter junctions (where trim meets treads) are where water most easily creeps underneath runner fabrics and pooled residues.
Keep the topcoat intact first. On stairs, the tread face and riser faces take the most abrasion, so worn spots and scratches are where water penetrates fastest. If you’ve noticed dull patches that return after cleaning—or localized roughness where boots scuff—you should treat those areas as “pre-failure zones,” not cosmetic issues. Restoring the finish early is cheaper than addressing cupping, lifting, or gaps later.
Then seal the details that matter. Focus on:
– Tread edges (front nosing and side edges where seams open)
– Perimeter junctions (trim meeting the tread)
– Runner/mat interfaces (areas where water can concentrate under fabric)
Use finish compatibility rules instead of guessing. Applying “waterproof” coatings over an unknown or incompatible existing finish can lead to peeling or soft failure—especially on stairs where the film is constantly stressed. Always follow your flooring finish manufacturer’s maintenance instructions and compatibility guidance. If you don’t know your current finish type (oil, polyurethane, shellac, hardwax), plan to confirm it before any topcoat work.
Finish strategy comparison (what changes based on your staircase)
Here’s a practical comparison framework for choosing a sealing/finish strategy for a hardwood staircase.
| Finish approach | Moisture performance on stairs | Best for | Key risk/limitation |
|---|---|---|---|
| Film-forming polyurethane/urethane | Slows moisture penetration; best when intact and well-bonded | High-traffic treads needing durable top protection | If adhesion fails, water can get under the film and lift it |
| Penetrating oil systems (oil/varnish blends) | Improves water resistance but still depends on routine re-oiling/maintenance | Stairs where you want a more natural look and targeted spot repairs | Oil systems can be less uniform unless you maintain consistently |
| Hardwax or wax-based top layers | Moderate resistance; relies on kept-up surface condition | Aesthetic preference plus frequent spot touch-ups | Pooling water can still penetrate edge zones; drying speed matters |
To make finish decisions “data-backed,” remember that wood moves with indoor moisture conditions. The same staircase can behave differently by season because equilibrium moisture content changes with relative humidity.
Estimated Hardwood Equilibrium Moisture Content (EMC) vs Indoor RH (70°F)
| # | Indoor RH | Estimated EMC | Cupping risk* | Hardwood protection score |
|---|---|---|---|---|
| 1 | 25% RH | ~6.7% | Low | ★★★★★ |
| 2 | 30% RH | ~7.8% | Low–Moderate | ★★★★☆ |
| 3 | 35% RH | ~9.0% | Moderate | ★★★☆☆ |
| 4 | 40% RH | ~10.0% | Moderate–Elevated | ★★★☆☆ |
| 5 | 45% RH | ~11.2% | Elevated | ★★☆☆☆ |
| 6 | 50% RH | ~12.5% | Elevated | ★★☆☆☆ |
| 7 | 60% RH | ~14.7% | High | ★☆☆☆☆ |
“Cupping risk” here is a practical indicator of higher dimensional movement potential when indoor RH is high; actual stair performance also depends on finish condition and how long liquid stays in seams.
Source basis: USDA Forest Products Laboratory equilibrium moisture content relationships for wood at ~70°F (EMC concept used broadly in flooring and wood-drying guidance).
Clean without soaking: safer routines for stairs
The most effective cleaning habit for a hardwood staircase is “damp cleaning, not wet cleaning.” You keep the finish working by removing dirt without letting water run down risers, pool at edges, or sit in seams.
Hardwood staircase damage commonly comes from excess liquid during cleaning that migrates into tread-riser seams and corners.
Residue from cleaners can hold moisture longer than the initial wipe, increasing the chance of bubbling or dulling on stairs.
Avoid wet mopping the staircase. If your cloth saturates, cleaner can run down risers and accumulate at the next seam below. Instead, use a well-wrung microfiber pad (or equivalent) and wipe with controlled passes. Work from top to bottom so you’re not dragging moisture across areas you already cleaned.
Prevent cleaner buildup in stair corners. Stair geometry creates “micro-traps”: the corner where the riser meets the tread, the landing transitions, and edges where runners overlap. Residue stays behind even when the surface feels dry—then humidity and foot traffic finish the job by keeping the area conditioned for longer. If you use a cleaner, follow the manufacturer’s dilution instructions exactly and stop if you see slickness or haze.
Choose tools that control moisture. A microfiber method works best when you:
1. Apply minimal solution to the cloth (not the floor),
2. Wipe until visible residue is removed,
3. Do a quick dry follow-up wipe along seams and edges.
This is also where “finish type” matters for cleaning compatibility. For example, oil-based systems and surface-waxed finishes can react differently than film-formers. If you’re unsure, use the least aggressive routine that still removes grime and test in a hidden area first.
Stop spills from becoming long-term damage (quick response)
The immediate answer to a spill on a hardwood staircase is: blot, remove liquid, and dry fast—before water reaches seams. The faster you stop water migration, the less likely you’ll see cupping, swelling, or permanent finish bubbling.
The longer water sits on wood, the greater the risk of dimensional change and finish failure, especially at seams and edges.
Drying with airflow helps reduce surface moisture and can slow microbial growth if moisture has gotten into porous details.
Act immediately. Blot rather than smear. Use absorbent towels to lift liquid from the tread face and from around edges where water tends to collect. If the spill has traveled, prioritize the path: check lower riser lines and the edge at the next seam down. For small spills, the difference between “wiped” and “removed” is significant—wiping can redistribute moisture into a seam where it lingers.
Remove anything that traps moisture. Wet rugs/runners are a common “do harm while trying to help” scenario: fabric holds water against wood and prevents evaporation. Under-mat pads and impermeable liners can also trap moisture. If you must use a runner for traction, use a setup that dries quickly after wetting and ensure the wood beneath is fully dry before you re-install or re-adjust it.
Promote drying safely. Use fans to move air across treads and along edges; this supports evaporation from the surface and helps reduce how long seams stay wet. Avoid aggressive heat that can stress finishes or create uneven drying. After airflow, re-check the edges and lower risers—hardwood stairs often show delayed moisture effects once people stop paying attention.
For context on moisture and indoor air risks: According to the U.S. Environmental Protection Agency, mold growth can begin within 24–48 hours after water damage when moisture conditions are favorable. EPA—Mold basics/water damage guidance That same time window is why “quick response” is the practical cornerstone of preventing damage on a hardwood staircase.
What can go wrong (common mistakes and limits)
Most “prevention plans” fail because homeowners treat hardwood stairs like they’re waterproof surfaces. Even excellent finishes can slow damage, but they don’t eliminate the need to address moisture sources and remove liquid quickly.
Applying “sealer” after contamination can trap moisture or cause finish adhesion failure, worsening bubbling or peeling on hardwood stairs.
Surface-only protection cannot fix moisture coming from behind walls, subfloor issues, or condensation channels.
Common mistakes that worsen damage
– “Waterproof” expectations: Most hardwood stair surfaces aren’t truly waterproof. Protective finishes slow moisture penetration, but water can still enter seams if it sits.
– Sealing over the wrong surface: Applying a new coating on contamination, wax build-up, or an incompatible finish system can cause peeling or failure. That failure becomes a water pathway.
– Over-correcting with too much liquid: Even “gentle” cleaning can damage stairs if liquid runs into seams or remains under runners.
– Missed structural moisture: If water is coming from leaks behind walls or subfloor problems, finish protection only buys time—address the source first.
Why indoor humidity matters too
Staircases don’t live in a vacuum. According to the EPA, keeping indoor relative humidity around 30–50% can help reduce mold growth risk. EPA—Indoor humidity guidance When humidity stays high, hardwood responds by moving (dimensional change), and finishes can look duller or fail sooner due to repeated stress cycles. In 2026, many homes also run HVAC differently due to changing schedules—so “seasonal prevention” becomes a real operational task, not a one-time fix.
Verdict / tip: best path for most homes (and who should skip DIY)
For most households, the best strategy is prevention-first: correct entry habits, controlled damp cleaning, intact finish maintenance, and rapid spill response. DIY sealing/refinishing can help, but it can also create mismatch problems if your existing finish type is unknown or already failing.
Prevention typically outperforms refinish-only strategies because it reduces both liquid exposure and repeated dimensional movement on hardwood stairs.
A flooring pro is most important when moisture sources are unclear or when damage signs extend beyond small, localized spots.
| Criteria | DIY sealing/spot repair | Hire a flooring or restoration pro |
|---|---|---|
| Diagnose moisture source | Limited | Strong |
| Finish compatibility | Risky if unknown | Handled |
| Edge/seam remediation | Can miss hidden paths | More complete |
| Drying strategy | Often incomplete | Proven approach |
| Risk of surface mismatch (sheen/color) | Higher | Lower |
| Time-to-stability for moisture | Variable | More predictable |
| When structural moisture is suspected | Not ideal | Appropriate |
| Budget predictability | Can under/over-shoot | Better scoped |
| Adhesion and prep quality | Prep-dependent | Controlled |
| Long-term performance on stair edges | Mixed outcomes | More consistent |
| Verdict | Use only for minor, confirmed surface-only issues | Recommended when moisture source is unclear or damage is recurring |
Skip a DIY-focused approach and call a flooring pro or restoration professional if:
– water damage is widespread or you suspect subfloor issues,
– the finish is already failing deeply (bubbling/soft spots beyond small spots),
– you find recurring moisture where you can’t clearly identify the source.
Quick checklist to save your staircase from water
| Situation | What usually happens | Prevent it with | If it happens |
|---|---|---|---|
| Wet shoes/boot tracks | Moisture runs into tread seams | Entry mat policy + dry footwear habits | Blot immediately; dry edges with airflow |
| Mopping/overspray | Water creeps down risers | Damp cleaning only; control liquid | Wipe/reremove moisture; dry promptly |
| Runner/rug water pooling | Traps water under fabric | Use breathable setup; don’t over-wet | Remove runner; dry both surfaces |
| Minor spills | Finish dulls, edges lift over time | Keep cleanup tools ready | Blot, remove liquid, circulate air |
| Finish wear/scratches | Faster moisture penetration | Recoat/repair worn areas early | Dry first; then restore finish properly |
Sources
– National Wood Flooring Association (NWFA) — Hardwood floor care and maintenance guidance (use your specific guidance for cleaning and moisture control).
– U.S. Environmental Protection Agency (EPA) — Indoor moisture/humidity basics for mold and condensation risk prevention.
To prevent water damage to hardwood floors in a staircase, focus on moisture prevention (mats, correct runner use, and fixing leaks), moisture-safe cleaning (damp only, no soaking), and fast cleanup when spills happen. Keep the finish in good shape and don’t ignore recurring moisture—you can protect your treads and risers far better by stopping water early than by trying to “cover it up.” If you want, tell me your staircase finish type (polyurethane/oil/unknown) and what kind of water exposure you’re dealing with (tracked rain, mopping, nearby plumbing, etc.), and I’ll suggest a more tailored plan.
Frequently Asked Questions
What are the most effective ways to prevent water damage to hardwood floors on a staircase?
The most effective approach is combining prevention and quick response. Use rugs or runners with non-slip backing to catch drips, and seal the hardwood with a high-quality finish designed for high-traffic areas. Promptly wipe spills and moisture from every step, and ensure water cannot seep from nearby sources like entry doors, plants, or bathroom traffic.
How can I waterproof a hardwood staircase without damaging the floor finish?
Start by inspecting the staircase for existing wear—cracks, gaps, or worn top coats can allow water to penetrate. Apply a compatible water-resistant sealant or refresher finish (follow the product’s coverage and drying times) and avoid soaking the surface during cleaning. For added protection, use a breathable runner and protectors at high-risk spots such as the bottom step, entry landing, and areas near handrails.
Why do hardwood floors get water damage faster on stairs than on other rooms?
Stairs concentrate foot traffic and cause friction, which accelerates finish wear and exposes raw wood. Water also travels more easily down a staircase—especially from shoe soles, umbrellas, or mopped water—so spills reach multiple treads quickly. Because stair surfaces are often cleaned frequently, over-wetting can further increase moisture absorption into the wood.
What cleaning routine is best for preventing water damage on hardwood stair treads?
Use a dry or barely-damp microfiber mop and spot-clean spills immediately with a lightly moistened cloth—never flood or let water pool on the treads. Avoid steam cleaning and harsh wet mopping, since excess moisture can lift the finish and cause cupping or warping. Keep cleaning tools and water sources controlled, and dry the staircase thoroughly after any wet cleaning, including around the edges.
Which protective products work best to keep moisture off hardwood stairs?
Look for a durable, water-resistant polyurethane or penetrating sealer system rated for floors and high-traffic areas, then maintain it as recommended by the manufacturer. Add a non-slip stair runner or carpet pad that reduces splash-through while still allowing light airflow to the wood surface. At transitions (doorways, landings, and near spills-prone areas), consider using door mats and water-trapping mats, plus felt pads under any furniture or decor to minimize abrasion and moisture transfer.
📅 Last Updated: October 17, 2026 | Topic: How to prevent water damage to hardwood floors in a staircase? | Content verified for accuracy and freshness.
References
- https://www.epa.gov/mold/moisture-control-home
- https://www.cdc.gov/mold/default.htm
- https://www.energy.gov/energysaver/maintaining-indoor-humidity
- Wood-decay fungus
- Mold
- hardwood flooring moisture relative humidity – Search Results – PubMed
- wood moisture content dimensional stability swelling – Search Results – PubMed
- https://scholar.google.com/scholar?q=prevent+water+damage+hardwood+floors+staircase+moisture+control Google Scholar
- https://scholar.google.com/scholar?q=relative+humidity+hardwood+flooring+cupping+warping+water+damage Google Scholar
- https://scholar.google.com/scholar?q=wood+floor+finish+water+resistance+absorption+penetration+study Google Scholar