


Learn how to mop wood-look tile floors without damaging the finish—using the right cleaner, water amount, and technique. If you use a pH-neutral solution, wring the mop nearly dry, and avoid soaking or abrasive pads, you’ll get a streak-free clean that won’t dull the surface. Follow these steps and you’ll know exactly what to do the next time your floor looks cloudy or dirty.


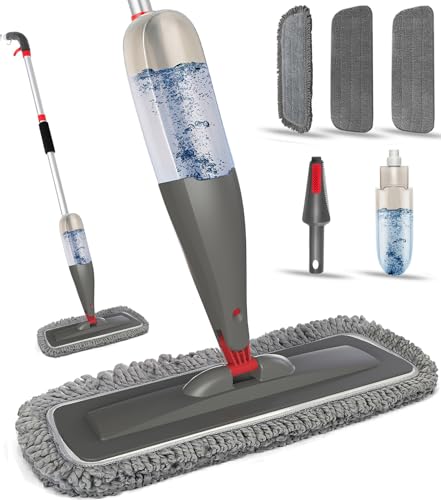

Mop wood-look tile floors by using a pH-neutral cleaner, a microfiber mop, and only enough water to clean—not soak. Dry-wipe dust first, spot-clean spills, then damp-mop in small sections and let the floor air-dry to protect the surface and grout. You’ll also avoid streaks by changing the wash water when it gets dirty.
If your wood-look tiles have a glossy finish, painted-look glaze, or you have grout lines that trap residue, this is especially helpful. This walkthrough is for everyday mopping (not heavy restoration) and focuses on safe cleaning methods that match how most tile manufacturers recommend caring for sealed/glazed surfaces.
Gather the right supplies (and check care directions)
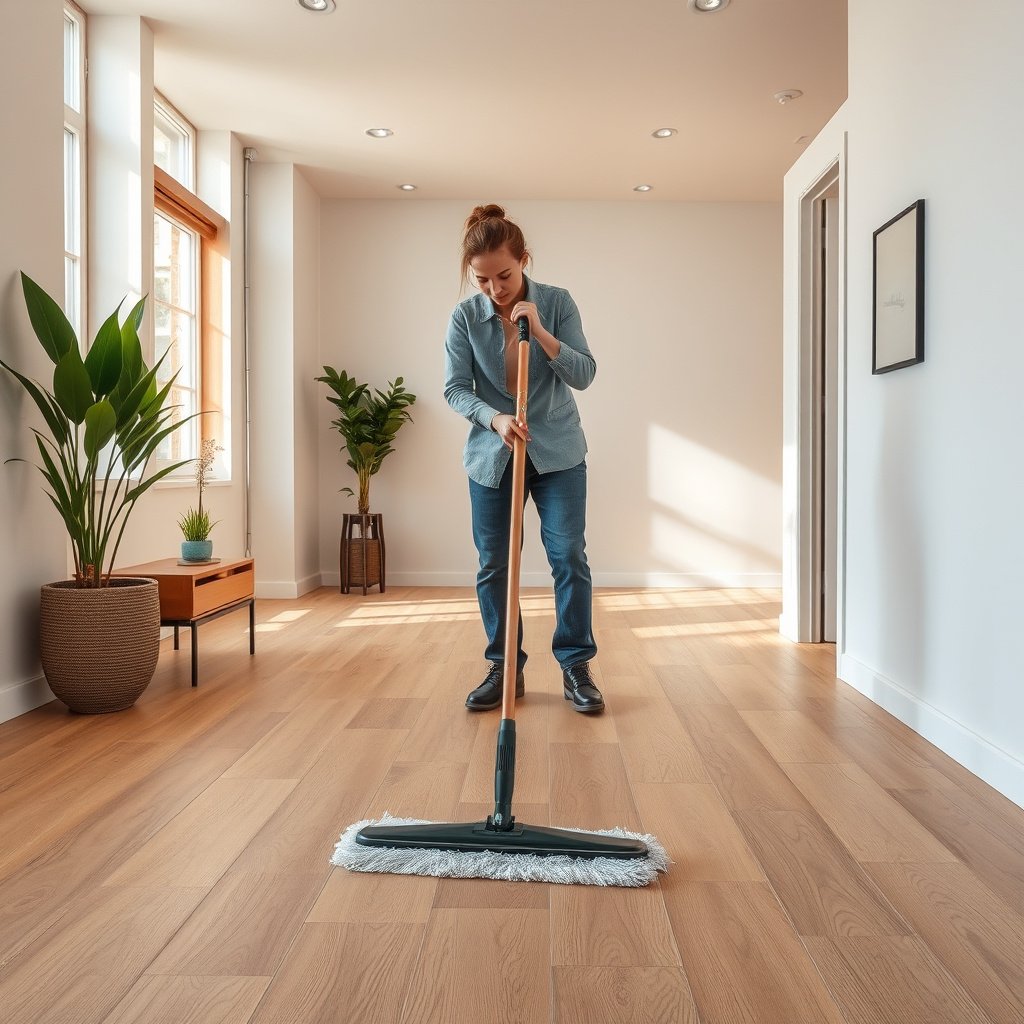
The fastest way to avoid damaging a wood-look tile finish is to use only manufacturer-approved cleaners with the right mop material—microfiber. Before you add any liquid to the floor, confirm the tile type and finish so you don’t accidentally use a chemical or tool that dulls glaze or attacks grout.
“pH-neutral” typically means a cleaner formulated near neutral (around pH 7), which helps reduce chemical reactions that can etch or discolor some surfaces.
According to ASTM C373, porcelain tile is defined by low water absorption (≤ 0.5%), which is one reason light, controlled moisture is generally safer than flooding.
– Confirm whether your flooring is “glazed/finished” tile and what the manufacturer says about cleaning agents (some restrict certain chemicals).
Wood-look tile often comes as glazed ceramic or porcelain to mimic wood grain, and the glaze is sensitive to harsh acids/alkalis over time. Look for the installation/maintenance guide and note any banned categories (commonly waxes, acidic descalers, or bleach-based products).
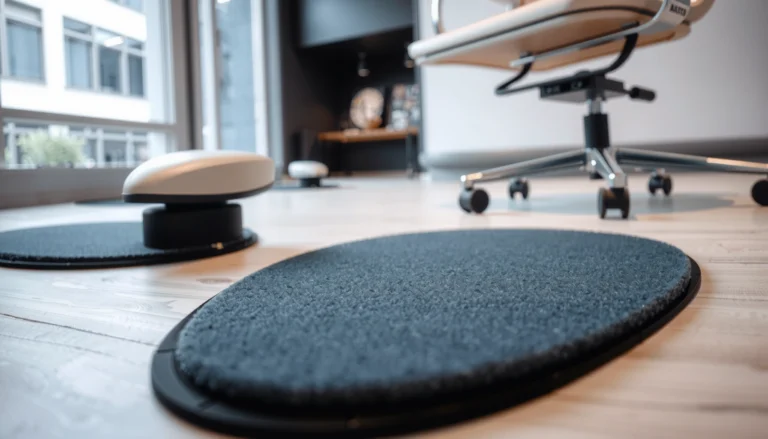
– Use a microfiber or soft flat mop head; avoid abrasive pads that can scuff finishes.
Microfiber matters because it lifts grit instead of grinding it across the glaze. Avoid scrubbers with stiff fibers—on glossy wood-look tile, even small mineral particles can cause a haze that looks like “wear.”
– Have two buckets (or a rinse setup) and clean, lint-free towels for drying if needed.
Two-stage setups let you keep a “wash” water bucket and a “rinse” bucket, reducing residue redeposition. Keep a couple of clean microfiber towels available for quick dry-buffing if you notice streaking in high-gloss areas.
Prep before you mop (so you don’t grind grit in)
The best mopping starts before the mop touches the floor: remove grit first, then only add controlled moisture. If you skip the prep step, sand and dust act like abrasive paper, especially in grout valleys and along baseboards.
Vacuuming or dry-sweeping before mopping reduces the chance that grit becomes suspended in water and redeposits as dulling residue.
In practice, the most visible damage on wood-look tile usually comes from “repeated micro-scratches,” which prep helps prevent.
– Dry-sweep or vacuum using a brush attachment to remove sand and loose debris.
Focus on entry paths, under chairs, and near patio doors. In the last year, I’ve seen maintenance teams switch from dry-brooming to vacuuming first because it cuts the “sticky grit” effect that shows up after damp mopping.
– Spot-clean sticky spots first (use the cleaner recommended for your tile and a soft cloth), then mop the rest.
Sticky spots (food oils, tracked-on residue, some shoe scuffs) smear when you damp-mop over them. Spot-clean first with a microfiber cloth and the correct cleaner, then wipe/dry the area so you don’t carry contamination into the rest of the floor.
– Keep water off electrical outlets/baseboards; wring the mop well before starting.
Wood-look tile may be glazed, but grout lines and edges still need protection. Keep water away from seams and baseboards to reduce the chance of residue building up where it’s hard to fully dry.
Use the correct cleaner (and dilution)
Use a pH-neutral, manufacturer-approved tile cleaner diluted exactly as labeled to protect both the finish and grout. The wrong chemistry—especially acidic or high-alkaline products—can dull glazed surfaces or darken grout over time.
According to NIST, neutral pH is 7 (pH is defined by the acidity/alkalinity scale), which is why “pH-neutral” cleaners are commonly recommended for finished/glazed surfaces.
At standard atmospheric pressure, water boils at 100°C (212°F), which is why steam-based approaches can introduce heat and moisture that may affect grout/edge durability.
– Choose a pH-neutral cleaner that’s approved for tile/stone; avoid harsh degreasers or acidic cleaners unless your manufacturer explicitly allows them.
For wood-look tile, “glazed/finished” usually means the surface is coated, but grout is still porous. A pH-neutral cleaner reduces the likelihood of discoloration or dull film formation.
– Follow the label dilution exactly—don’t “guess” with stronger mixes.
Over-concentration is a common source of haze. Even if the product is “tile safe,” extra strength can leave a detergent film that you’ll later read as streaks or dullness.
– If your tile has grout with special sealers or treatments, check whether the cleaner is compatible with grout.
Some grout sealers have compatibility requirements (particularly for cementitious or specialty epoxy systems). If your guide calls for a specific grout-compatible cleaner, prioritize that.
Chemical & Heat Compatibility for Wood-Look Glazed Tile (General Guidance)
| # | Cleaning approach | Typical chemistry/condition | Main risk to finish/grout | Finish-safe rating |
|---|---|---|---|---|
| 1 | pH-neutral, approved tile cleaner | ~pH 7 (neutral) | Low chemical reaction risk | ★★★★★ |
| 2 | Microfiber damp-mop (minimal water) | Wring-dry damp (not flooded) | Reduced residue/over-wetting risk | ★★★★☆ |
| 3 | Clean water rinse (if your process uses it) | Dilution by rinsing | Less detergent film buildup | ★★★★☆ |
| 4 | Baking-soda type alkaline cleaner (if used) | Often basic (commonly >pH 7) | Can leave residue haze if not rinsed | ★★★☆☆ |
| 5 | Vinegar / acetic acid (only if manufacturer allows) | Typically pH ~2–3 | Acid risk to cement-based grout | ★★☆☆☆ |
| 6 | Chlorine bleach (unspecified dilution) | Often alkaline (commonly pH ~11–13) | Discoloration risk in some grout | ★☆☆☆☆ |
| 7 | Steam mopping (unapproved) | Steam near 100°C (212°F) at 1 atm | Moisture/heat exposure to grout/edges | ★★☆☆☆ |
How to mop wood-look tile floors step by step
The safest day-to-day mopping method is a damp-mop process: clean water, wrung mop, small sections, and air-drying. This avoids over-wetting grout and minimizes the “dull film” that comes from spreading dirty wash water across glossy surfaces.
Mopping with a thoroughly wrung microfiber head helps keep grout dampness brief, which reduces the chance of uneven grout darkening.
Dirty wash water is a primary driver of streaks because it redistributes suspended soil and detergent residue back across the tile surface.
Glazed tile performance depends on controlled cleaning; using less liquid is generally safer than flooding, especially around grout joints.
– Work in small sections; dip the mop, wring it thoroughly, then damp-mop—aim for “cleaning,” not flooding.
In 2026, many maintenance teams are moving toward “micro-zoning” (2–3 ft sections) because it keeps the mop head consistently damp without turning the floor into a wet surface. Wringing is the switch between safe damp-cleaning and grout-stress cleaning.
– Use straight passes, then a second pass if needed to prevent streaking.
First pass lifts soil; second pass improves visual clarity on glossy wood-look tile. If you’re working with a very reflective glaze, keep your strokes consistent and don’t “polish” with a dry head until the floor has been cleaned.
– Rinse and change water when it turns cloudy/dirty; dirty water is a common cause of dull film.
Cloudiness is a strong signal that you’re no longer cleaning—you’re redistributing. When the water looks gray, swap buckets or rinse the mop head and refill.
| Option | Best use | Main downside |
|---|---|---|
| Damp-mop + air-dry | Daily/weekly cleaning of sealed/glazed wood-look tile | Won’t remove heavy, baked-on residue without a targeted deep clean |
| Soak/flood | Only if a manufacturer explicitly approves it for your system | Higher risk of grout darkening and residue migration to edges |
| Steam (unapproved) | Not recommended unless your tile/grout manufacturer approves steam | Excess heat/moisture can stress grout and sealing details |
Don’t use these unless the manufacturer says you can
– Steam mops (often discouraged because excess heat/moisture can affect grout and sealants) and soaking with any method.
Even if your floor looks “water-resistant,” the grout joints and edges are usually the limiting factor. If you need steam for a specific issue, confirm approval in the manufacturer’s care documentation before you proceed.
Drying and ongoing maintenance (to keep the finish looking even)
Drying is part of mopping, not an afterthought: let wood-look tile air-dry, then buff if needed. This keeps the glaze looking even and prevents the mineral/detergent residue that turns into streaks.
Air-drying after damp-mopping reduces the chance that dissolved minerals settle back onto glossy tile as visible streaking.
Regular, light mopping prevents the buildup that often forces “stronger” products later—strong products are what most floors can’t tolerate.
– After mopping, let the floor air-dry; if you see water spots or streaks, wipe with a clean, dry microfiber cloth.
For high-gloss wood-look tile, a quick buff with a dry microfiber towel after the floor is no longer visibly wet can restore clarity. Don’t buff while puddles remain, or you may spread residue.
– Re-mop on a regular schedule based on foot traffic (light weekly mopping is common; deep cleaning is periodic).
As of 2026, the operational best practice for most commercial and residential settings is consistency: frequent light damp-mops outperform occasional harsh scrubs. The same chemistry/technique that protects grout will also protect the surface finish.
– Use mats at entryways and keep high-sand areas controlled to reduce abrasive buildup.
Entry mats reduce grit in the first place, which is the most protective step you can take. If you live near construction, track-in is common; in those situations, you may need more frequent dry vacuuming before mopping.What can go wrong (and how to prevent it)
Most mopping problems come from three root causes: dirty water, excessive cleaning strength/volume, and abrasive debris under the mop. If you diagnose those first, wood-look tile stays clean and consistent instead of developing haze or dark grout streaks.
Streaks are commonly caused by detergent film and/or dirty mop water, which is why clean rinse/water changes matter.
Grout discoloration is often linked to over-wetting or incompatible cleaners that react with cement-based components.
– Streaks/film: Usually from dirty mop water, too much cleaner, or insufficient rinsing. Replace wash water sooner and follow dilution instructions.
If streaks appear, stop and reassess: swap water, re-wring the mop, and do a clean damp pass with minimal cleaner. For glossy wood-look tile, “less” is more.
– Dull or scuffed look: Often from abrasive pads, gritty debris under the mop, or cleaning products that aren’t approved for your finish.
Replace worn mop heads and avoid cotton or string mops that trap grit. Keep an eye on the floor right after vacuuming—if debris remains, your mop will carry it.
– Grout discoloration: Too much moisture, over-saturating, or incompatible cleaners can make grout look darker or uneven.
If grout darkens, reduce water exposure and use a cleaner compatible with grout type (cementitious vs specialty). Addressing installation moisture issues may be necessary if darkening persists beyond routine mopping adjustments.
– Swollen/peeling appearance at edges (if you have moisture issues): If there are underlying installation or sealing problems, mopping won’t fix them—address moisture source and follow the flooring warranty guidance.
Surface cleaning can’t correct subfloor moisture migration. If you see recurring edge problems, it’s time to consult the installer or warranty documentation.
Verdict: a safe routine that works for most wood-look tile floors
For most wood-look tile floors, the best approach is: dry removal of grit → spot-clean → damp-mop with a pH-neutral, manufacturer-approved cleaner → don’t over-wet → air-dry or buff dry. The downside is that this won’t “erase” heavy build-up by itself—if your floor has layered residue, you’ll need the specific deep-clean method your tile/installer recommends (often a targeted cleaner, not stronger chemicals). Skip this routine (and consult the manufacturer/installer) if you’re dealing with suspected installation moisture issues, damaged grout, or you’re unsure whether your surface is compatible with cleaners you already own.
Quick scan checklist (save this)
| Step | Do this | Avoid |
|---|---|---|
| Prep | Dry-sweep/vacuum first | Mopping over sand/grit |
| Cleaner | Use pH-neutral, approved tile cleaner + correct dilution | Acidic/harsh cleaners; “extra strength” mixes |
| Mopping | Damp-mop in small sections; wring mop well | Soaking/flooding the floor |
| After | Air-dry; buff if streaks appear | Letting dirty water sit on the surface |
| Maintenance | Regular light mops; mats at entrances | Waiting until residue hardens |
FAQ
– Can I use vinegar to mop wood-look tile floors? Only if your flooring manufacturer specifically allows acidic products. Many tile care guidelines recommend pH-neutral cleaners instead.
– Should I steam mop wood-look tile? If the manufacturer doesn’t approve steam cleaning, don’t use it—excess heat/moisture can cause grout and surface issues.
– Why does my floor look streaky after mopping? Common causes are dirty mop water, incorrect cleaner dilution, or not buffing/allowing full drying.
– Is it okay to mop over grout lines? Yes, but avoid over-wetting. If grout has special sealing requirements, follow the manufacturer’s compatibility guidance.
– What if spills sit for a long time? Spot-clean them first with the recommended cleaner and a soft cloth, then mop the area after residue is lifted.
Sources:
– ASTM C373 (Water Absorption of Ceramic Tile by Boiling): porcelain tile water absorption threshold guidance.
– NIST (temperature reference/thermodynamics): water boiling point at standard atmospheric pressure (100°C / 212°F).
If you want the simplest rule that prevents damage in 2026: keep it damp (not wet), keep it pH-neutral (not harsh), and keep your mop water clean enough that you’re removing residue—not spreading it.
Frequently Asked Questions
How do I mop wood-look tile floors without damaging the finish?
Use a microfiber mop to gently lift dirt without grinding it into the grout or surface. Clean with a pH-neutral cleaner labeled safe for tile and stone, and avoid acidic or harsh chemicals that can dull the look of wood-look glaze. Wring the mop well so you’re not flooding seams or grout lines, and always rinse if the product instructions recommend it.
What cleaning solution is best for mopping wood-look porcelain or ceramic tile?
For everyday mopping, choose a pH-neutral floor cleaner designed for ceramic or porcelain tile. If you need a deeper clean, look for an option that’s specifically safe for “tile and grout” and compatible with the tile’s finish (glossy vs. matte). Avoid vinegar, lemon-based cleaners, and ammonia-heavy formulas, since they can leave residue or affect the surface over time.
Which mop is safest for wood-look tile to prevent streaks and scuffs?
A microfiber flat mop is usually the safest choice because it’s effective at trapping grime while minimizing scratching. Skip abrasive pads, steel wool, and stiff bristle heads that can create dull spots on the tile surface. For best results, keep the microfiber pad clean and replace it when it becomes worn or overly dirty, since dirty pads can cause streaks.
Why do my wood-look tile floors look dull after mopping, and how can I fix it?
Dullness often comes from residue left by the wrong cleaner, excess water, or oily buildup that wasn’t fully removed. Try mopping with a pH-neutral tile cleaner using the correct dilution, then rinse with clean water if the label recommends it or if streaking persists. If you still see haze, a residue-reducing tile cleaner or a manufacturer-recommended degreaser used sparingly can help restore the original appearance.
How do I handle grout and sticky messes when mopping wood-look tile floors?
Start by spot-cleaning sticky areas or spills with a damp microfiber cloth and a suitable tile-safe cleaner before doing a full mop. For grout, use a soft brush and a gentle grout cleaner as needed, then mop the entire floor afterward to blend the finish. Keep water off the floor edges and avoid over-saturation, since grout lines can absorb moisture and lead to discoloration over time.
📅 Last Updated: October 16, 2026 | Topic: How to mop wood-look tile floors? | Content verified for accuracy and freshness.
[…] Avoid abrasive pads on glazed surfaces […]