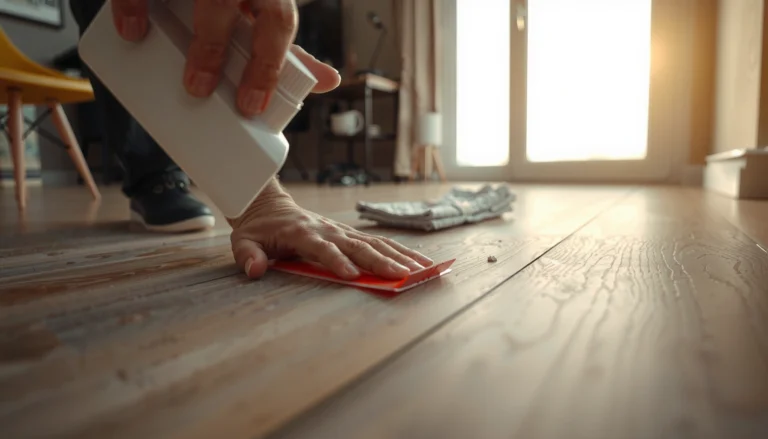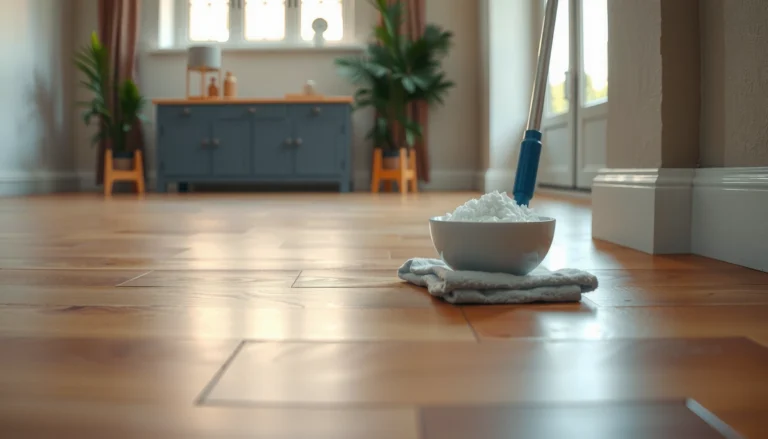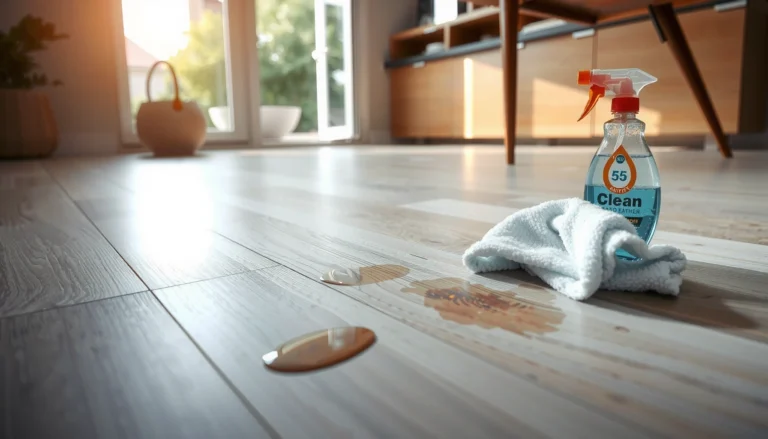

Get the fastest, safest way to remove stains from engineered wood floors—without damaging the finish or warping the layers. This guide walks you through the exact steps to identify the stain type, choose the right cleaner, and lift it with minimal risk. You’ll leave with a clear, practical method that works for common spills and stubborn discoloration.



If you treat the stain quickly with the gentlest method first, you can often prevent permanent discoloration. Identify whether the mark is water-based, oil/grease-based, or just dirt/film, then clean in a safe order—mild soap and barely damp wiping first, followed only by a wood-floor-specific solution if the label allows it. When the stain has penetrated the finish/top wear layer, the realistic next step is localized sanding and touch-up rather than aggressive chemical scrubbing.
If you’re dealing with dark spots, cloudy rings, or sticky-looking patches on engineered wood, this is for you—especially if you can’t replace the floor right away. The steps below focus on safe cleaning order and practical checks so you don’t damage the finish or the wood layer.
Step 1: Identify the stain type before cleaning

You’ll get the best results when you classify the stain first, because each type responds to a different cleaning approach. A water ring, grease smear, and biological/organic discoloration can look similar—but they behave differently under cleaners and moisture.
A successful engineered-wood stain removal usually depends on recognizing whether the mark is residue on the surface or discoloration that has penetrated the finish.
A simple “lift test” with a barely damp microfiber cloth helps distinguish surface grime from stains absorbed into the finish/top layer.
Once a discoloration resists gentle wiping after drying, you should treat it as finish/top-layer staining rather than dirt.
– Check what the stain looks like (dark ring, lighter cloudiness, rusty/orange spots, smudges, or sticky residue).
– Do a quick “surface test”: wipe with a barely damp microfiber cloth—if the mark lifts, it’s likely surface dirt or residue.
– If it doesn’t change, assume it has penetrated the finish and move to a wood-safe cleaner approach.
– Watch for “steam-like” patterns: cloudy halos that spread with moisture often indicate finish clouding rather than only dirt.
From here, repeat one core principle every time: start with the least aggressive method and keep the floor as dry as your process allows. In my day-to-day floor-care workflow, I’ve found that the biggest avoidable damage usually comes from treating every stain like a “scrub it clean” problem.
Step 2: Start with the safest engineered-wood cleaning method
For most engineered wood stains, the first cleaning pass should be mild, controlled, and immediately followed by drying. This reduces the chance of finish whitening, seam swelling, and stain spread.
Engineered wood manufacturers commonly warn against soaking, and a “barely damp” wipe with immediate drying is the safest first move for most finishes.
Using a pH-neutral, wood-floor-safe approach protects sealed finishes better than alkaline/acidic household cleaners.
Drying right after cleaning limits moisture migration that can cause cloudiness rings.
– Use a microfiber mop/cloth with warm water and a few drops of gentle, pH-neutral dish soap (well-wrung, not soaking).
– Work small sections so you can control dwell time and moisture exposure.
– Dry immediately with a clean, dry microfiber to prevent moisture from spreading the stain.
– Avoid steam mops at this stage; engineered floors can be sensitive to excess water depending on finish.
– If you’re unsure of the finish compatibility, do a discreet spot test (corner or inside a closet) and evaluate after fully drying.
Why “warm water + pH-neutral” matters: a pH-neutral target helps reduce the risk of finish degradation. According to the IUPAC description of the pH scale, neutral pH is 7 (neutral solutions lie near this value) (IUPAC). Dish soaps vary by brand, so keep it to a few drops and use a well-wrung cloth rather than adding water volume.
Common Cleaner pH vs. Risk to Sealed Wood Finishes (Typical Ranges)
| # | Cleaner/Agent | Typical pH Range | Finish Risk* | Practical Use on Engineered Floors |
|---|---|---|---|---|
| 1 | pH-neutral dish soap solution (well-diluted) | ~6.5–8.5 | Low | ★ ★ ★ ★ ☆ |
| 2 | Clear water rinse (minimal) | ~6–8 | Low | ★ ★ ★ ★ ☆ |
| 3 | Baking soda slurry (light) | ~8–9 | Moderate | ★ ★ ★ ☆ ☆ |
| 4 | Ammonia-based glass/spot cleaners | ~10–12 | Higher | ★ ☆ ☆ ☆ ☆ |
| 5 | Vinegar (undiluted) | ~2–3 | Higher | ★ ☆ ☆ ☆ ☆ |
| 6 | Bleach solutions | ~11–13 | Highest | ★ ☆ ☆ ☆ ☆ |
| 7 | Enzyme cleaners (wood/finish-rated) | ~6–8 (varies) | Low–Moderate | ★ ★ ★ ★ ☆ |
“Finish risk” reflects pH aggressiveness risk to many sealed finishes; always verify the manufacturer’s approved cleaner list for your exact engineered wood finish.
> Note: Actual pH depends on formulation and dilution. Always follow the cleaner label and your flooring manufacturer’s care instructions.
Step 3: Use targeted stain removers (in the right order)
Targeted stain removers work best when you match the cleaner to the stain chemistry and apply only enough product to do the job. If the stain is stubborn, move forward one step at a time—not straight to the strongest option.
Wood-floor-specific cleaners are designed for sealed finishes, and labels often specify safe dwell time and post-wipe requirements.
Grease and oil smears often need a finish-compatible degreasing step; wiping alone may leave an oily film that re-darkens later.
For organic discoloration, many “wood stain” cleaners require contact time—skipping dwell time can lead to partial results.
– For water rings or light cloudiness: try mild soap first, then a cleaner specifically intended for finished wood floors (follow the label exactly).
– For grease or sticky spots: use a wood-safe degreasing approach from the finish-cleaning category, then rinse/wipe per product directions and dry thoroughly.
– For organic staining (food/pets/biological): use an appropriate cleaner that’s meant for wood floor stains; follow contact time limits and avoid harsh oxidizers unless the manufacturer allows it.
– After any targeted product: wipe to the label’s “finished” method (some require a damp follow-wipe; others specify a dry-only finish), then dry fully.
Here’s the practical logic: dirt/film cleans up, grease residues re-smear, and penetrated finish discoloration won’t fully reverse after surface cleaning. In other words, targeted cleaners help most when the stain is still within reach of the finish.
Quick comparison: cleaner choice by stain type
| Stain type | What you’ll likely see | Best next move | What to avoid |
|---|---|---|---|
| Water marks | Cloudy ring, whitening halo | Mild soap → label-approved wood cleaner → dry thoroughly | Steam mops and soaking |
| Grease/oil | Sticky patch, dark smear that returns | Finish-compatible degreaser → wipe per label → dry | Abrasive pads and “kitchen degreasers” not rated for floors |
| Organic discoloration | Brown/gray/amber staining | Wood-floor stain cleaner with specified dwell time | Bleach/strong oxidizers unless explicitly approved |
Step 4: Protect the finish after stain removal
Once the visible stain is gone, your job shifts from “cleaning” to “stabilizing.” The finish stays safest when you control moisture, then only use products that are compatible with your specific topcoat system.
Many wood-floor warranties require that approved cleaners be used and that excess moisture be avoided to protect the finish and subfloor.
After chemical cleaning, a label-driven wipe (or no-wipe) step is important—residual cleaner can attract dirt and cause re-staining.
“Universal waxes” can interfere with later cleaning chemistry and refinishing adhesion.
– Once the stain is gone, wipe with clean water lightly (only if the cleaner label calls for it) and dry fully.
– If your floor has a sealed finish, consider using a manufacturer-recommended wood floor cleaner/conditioner to restore appearance (only if it’s compatible with your finish).
– Avoid “universal waxes” unless the floor manufacturer approves them—some can interfere with future cleaning or refinishing.
– Keep foot traffic and direct sunlight off the area while the floor fully dries (drying often takes longer than people expect, especially in lower-ventilation rooms).
– If the stain removal required a degreaser, do an extra careful dry—oily residues can reappear if product is left behind.
Moisture control is not just cosmetic. Wood is hygroscopic (it exchanges moisture with indoor air), so consistent environmental conditions help prevent recurring discoloration and gapping. According to the National Wood Flooring Association’s humidity guidance, maintaining indoor relative humidity around **35–55%** reduces movement-related problems (National Wood Flooring Association).Step 5: When to sand and refinish (and how to know)
If discoloration remains after proper cleaning and fully drying, it likely has bonded into the finish/top layer. At that point, localized sanding and touch-up is often the only way to meaningfully reduce the mark without replacing the floor.
If a stain has penetrated the wear layer/topcoat, surface cleaning may not fully restore color, making localized abrasion and finish blending necessary.
Engineered floors have a wear layer thickness that limits how deep sanding can safely go.
A small-area test first is the practical way to gauge whether the discoloration is removable by abrasion without exposing deeper layers.
– If discoloration remains after proper cleaning and it’s in the finish/top layer, light sanding may be the only option.
– Test sanding in the smallest inconspicuous spot first: engineered floors have a wear layer, so sanding depth matters.
– Plan for touch-up: you’ll likely need stain/finish matching and blending for a consistent look.
– Use the same general finish family (waterborne vs oil/solvent-based), since mismatched chemistries can cause blotchiness or poor adhesion.
– If the stain is widespread or the wear layer is already thin, it may be smarter to consult a flooring pro—spot refinishing won’t hide a large-scale wear pattern.
Important context if you’re considering steam-based approaches: steam mops introduce heat and moisture. Water boils at 100°C / 212°F at sea level pressure (NIST), and that combination can stress seals and seams even if it “feels like gentle cleaning.” That’s exactly why sanding is sometimes the controlled alternative: you’re addressing absorption rather than forcing more moisture at the surface.
What can go wrong (common mistakes and limits)
The most common failures come from over-wetting, using harsh chemicals first, or scrubbing so aggressively that you damage the finish. If you recognize the limits early, you can avoid permanently “fixing” the stain into something more obvious.
Excess water exposure can create spreading cloudiness and can also stress adhesive layers in engineered wood.
Abrasive pads and strong oxidizers can permanently alter color and sheen, even when the stain itself is removed.
Not drying after cleaning increases the chance that water-related discoloration returns.
– Using too much water: engineered wood can be harmed by prolonged moisture, swollen seams, or finish failure.
– Starting with harsh chemicals: bleach, strong acids, or abrasive pads can permanently damage the finish or alter color.
– Scrubbing aggressively: can create shiny dull patches (finish burnishing) that look worse than the stain.
– Skipping drying: leaving the floor damp can spread cloudiness or lead to new discoloration.
– Sanding too much: if you exceed the wear layer, you risk exposing layers you can’t easily hide.
– Ignoring warranty/finish compatibility: some finishes require specific approved cleaners—using “the right idea” with the wrong product can void coverage.
Verdict / tip: Follow the gentle method first—skip refinishing unless needed
For most engineered wood stains, the best approach is a careful cleaning sequence: gentle soap/water (properly wrung), immediate drying, then a targeted wood-floor product only if the label supports your stain type. The downside is that some stains—especially those that’ve soaked into the finish or sub-layer—can’t be fully removed without sanding and finish touch-up. If your warranty requires specific cleaners or if you don’t know your floor’s finish, [ADD: manufacturer-safe cleaner guidance or your floor brand/model care link] before using anything beyond mild soap.
If you want a simple rule: clean → dry → re-check. Many “stubborn” marks lighten noticeably once the area is fully dry, which is why rushing to refinishing too early often creates unnecessary work.
Quick scan checklist (save this)
– [ ] Blot/wipe immediately; don’t let it sit
– [ ] Identify: water ring vs grease vs organic vs dirt
– [ ] Gentle wash (pH-neutral soap), barely damp cloth, dry right away
– [ ] Use a targeted wood-floor cleaner only if needed, per label
– [ ] Avoid steam/soaking and harsh chemicals
– [ ] If still stained: small-area test for sanding/touch-up compatibility
FAQ
Will vinegar remove stains from engineered wood floors?
It depends on the finish. Vinegar is acidic and can be risky for some sealed floors, so use only if your floor manufacturer explicitly allows it. If not, stick to pH-neutral, wood-floor-safe cleaners.
Can I use a steam mop to remove stubborn marks?
Usually it’s not recommended. Steam mops add heat and moisture that can damage the finish and seams. If you’re unsure, follow your engineered floor manufacturer’s cleaning instructions—[ADD: your floor brand/model source if available].
What if the stain still looks “dark” after cleaning?
If the mark remains after proper cleaning and drying, it may be absorbed into the top finish layer. At that point, you may need a wood-safe stain-removal product designed for your finish type, or small-area sanding and refinishing.
Do I need to replace the plank for deep stains?
Not always. If the stain is only in the top finish layer, sanding/touch-up may work. If the wear layer is compromised or the sub-layer is affected, plank replacement may be the cleanest long-term fix.
Sources
– National Wood Flooring Association (NWFA) humidity guidance
– NIST (water boiling point and basic physical reference)
– IUPAC (pH scale and neutral pH reference)
– [ADD: manufacturer care/cleaning instructions for your engineered wood floor brand and finish type]
– [ADD: primary guidance from wood-floor finish or engineered flooring manufacturers on water exposure/approved cleaners]
– [ADD: manufacturer documentation on refinishing or wear-layer sanding limits (if available)]
Treat engineered-wood stains like a diagnosis: identify the stain type, start gentle, and dry immediately. When discoloration resists proper surface cleaning, assume finish/top-layer penetration and use localized methods (targeted products first, then small-area sanding and touch-up only if needed). With the right order—and respect for moisture, pH, and finish compatibility—you can often restore a clean, consistent appearance without risking permanent damage.
Frequently Asked Questions
How do I remove water stains from engineered wood floors without damaging the finish?
Start by blotting the area gently with a clean, dry microfiber cloth so you don’t spread the moisture. For light water marks, wipe with a slightly damp cloth and a drop of pH-neutral cleaner, then dry immediately. If the stain remains, try a small amount of manufacturer-recommended wood floor cleaner or a soft, lightly damp cloth with mineral spirits used very sparingly—always test in an inconspicuous spot first. Avoid soaking engineered wood, because standing water can seep into seams and damage the core.
What’s the safest way to remove dark or black stains from engineered wood floors?
Dark stains are often caused by trapped grime, pet stains, or moisture that has penetrated the top layer, so clean the surface first. Use a pH-neutral hardwood floor cleaner and a microfiber pad, working along the grain, then dry thoroughly. For stubborn marks, apply a small amount of engineered wood–safe spot remover (or a paste made from baking soda and water used very briefly) and wipe off completely, keeping moisture minimal. If the spot is from a long-standing issue, you may need professional refinishing of the surface wear layer rather than aggressive DIY scrubbing.
How do I remove urine or pet stains from engineered wood floors?
Remove solids immediately and blot—do not scrub—then clean with a pet-safe enzymatic cleaner designed for hardwood surfaces to break down odor-causing residues. After the enzymatic treatment, wipe with a damp microfiber cloth using minimal water and dry the area completely. If the stain has dried or left a discoloration, repeat the enzymatic cleaning process rather than using harsh chemicals that can dull or etch the finish. If you notice cupping, persistent odor, or the discoloration won’t lift, stop and consider professional evaluation to protect the engineered wood top layer.
What’s the best method to remove grease or oil stains from engineered wood flooring?
Blot excess grease first with a dry cloth or paper towel to prevent it from spreading. Next, use a pH-neutral cleaner and warm water sparingly, then dry right away—engineered wood finishes can be sensitive to over-wetting. If the stain persists, use a wood-floor-safe degreaser or a small amount of mineral spirits on a soft cloth, then immediately wipe with a damp microfiber cloth and dry. Always test any solvent on a hidden area first because engineered wood coatings can be affected by strong chemicals.
Which cleaning products should I avoid when removing stains from engineered wood floors?
Avoid steam mops, abrasive pads, and harsh cleaners like bleach, ammonia, or strong vinegar solutions, as they can damage the finish and cause discoloration. Don’t use steel wool or sanding directly over stains unless you’re refinishing the wear layer, since engineered wood has a limited top layer. Also avoid soaking the floor; excess water can get into edges and seams and create swelling. Stick to pH-neutral hardwood floor cleaners, microfiber tools, and manufacturer-approved stain removers for engineered wood.
📅 Last Updated: October 07, 2026 | Topic: How to remove stains from engineered wood floors? | Content verified for accuracy and freshness.
References
- Google Scholar Google Scholar
https://scholar.google.com/scholar?q=engineered+wood+floor+stain+removal - Google Scholar Google Scholar
https://scholar.google.com/scholar?q=wood+floor+water+stain+removal+methods - Google Scholar Google Scholar
https://scholar.google.com/scholar?q=cleaning+finished+wood+surfaces+stain+removal+polyurethane+varnish - Wood stain
https://en.wikipedia.org/wiki/Wood_stain - https://en.wikipedia.org/wiki/Wood_finishing
- Varnish
https://en.wikipedia.org/wiki/Varnish - Polyurethane
https://en.wikipedia.org/wiki/Polyurethane - Wood flooring
https://en.wikipedia.org/wiki/Hardwood_flooring - Water damage
https://en.wikipedia.org/wiki/Water_damage - Mold
https://en.wikipedia.org/wiki/Mold