
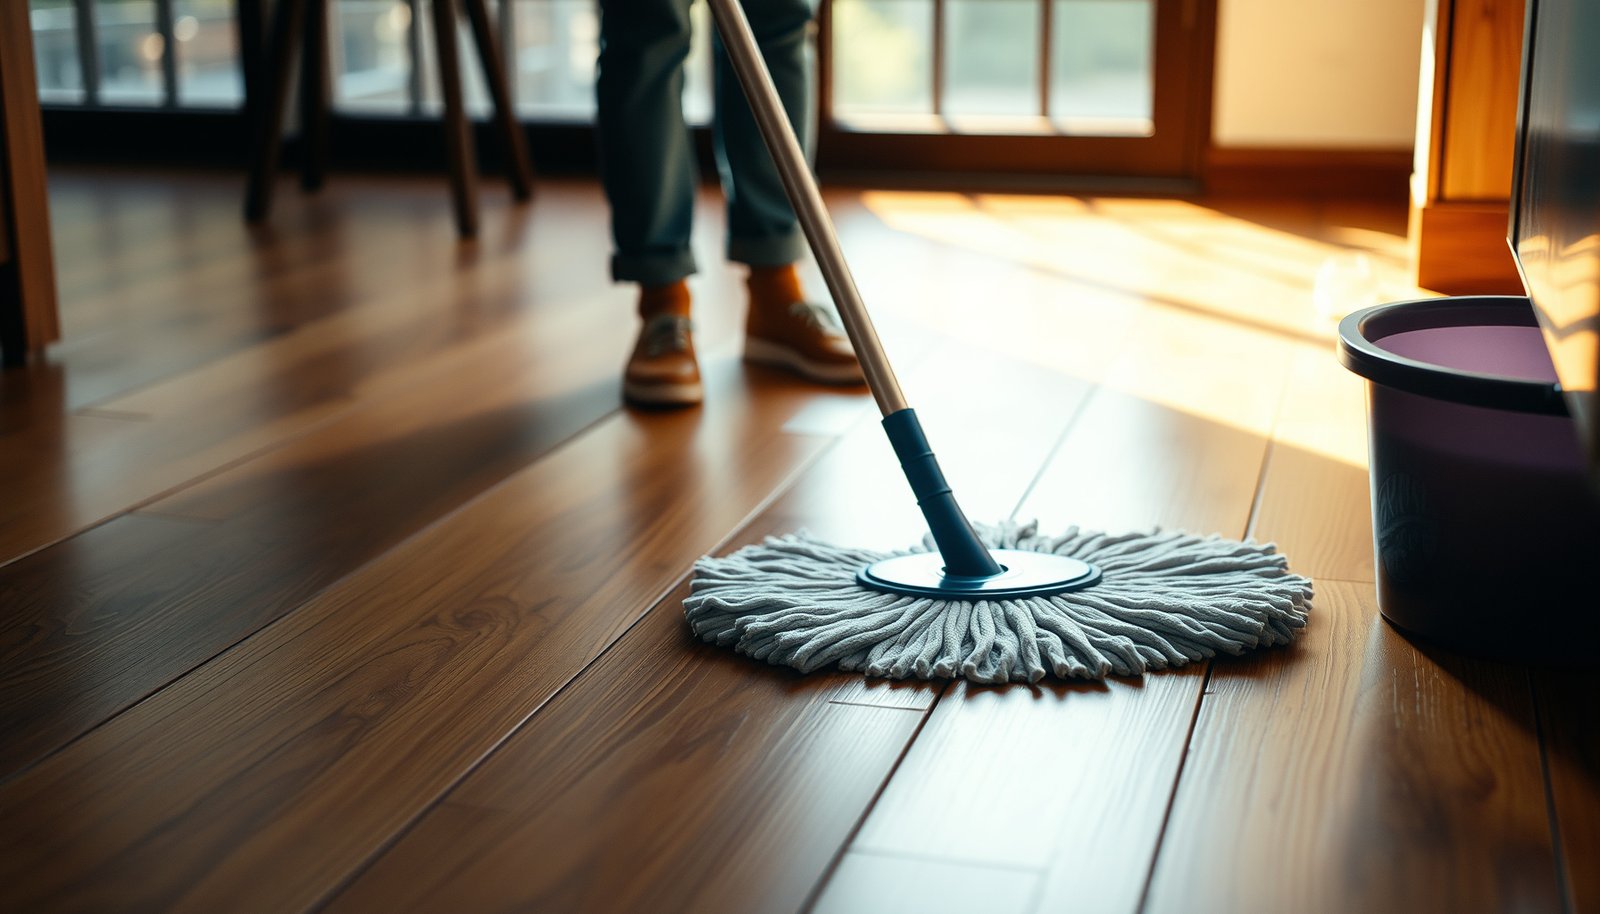

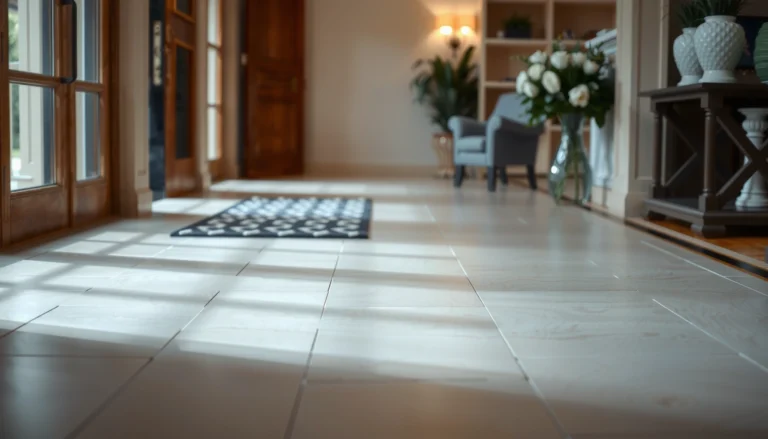
Learn how to deep clean wood-look tile floors step by step, and get the surfaces looking like new without damaging the finish. Follow the right sequence for lifting grime, targeting grout and seams, and using the proper cleaner so the wood-grain pattern stays crisp. If you’ve been battling dullness, sticky buildup, or dark grout, this method delivers a clear, durable win.
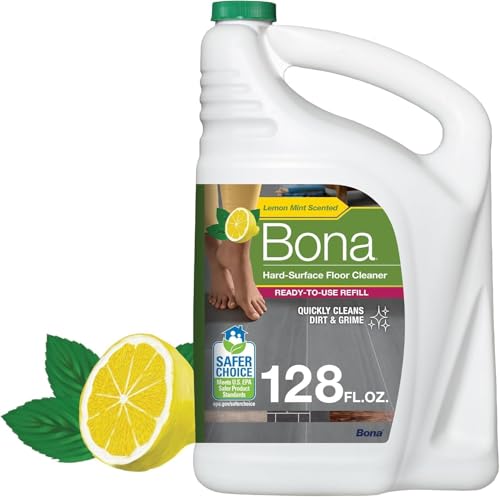

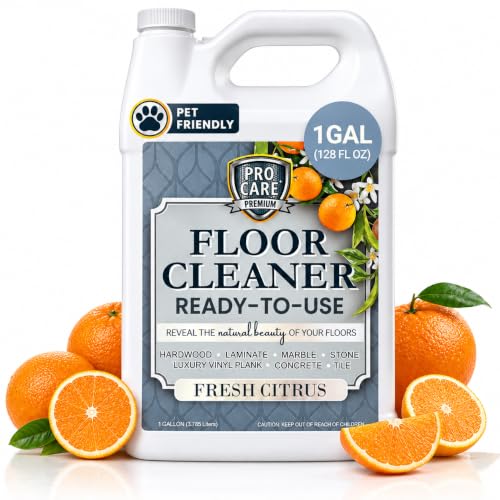

Deep cleaning wood-look tile floors usually comes down to loosening grime with the right cleaner and then fully removing residue so the surface doesn’t look dull. Start by dry-sweeping and vacuuming well, use a pH-neutral tile cleaner (not harsh acids/alkalis), scrub targeted areas, and rinse thoroughly before drying. This guide walks you through a practical routine for both the tile surface and the tricky grout lines.
If your floors have a “waxy,” hazy, or darkened look—especially around high-traffic areas—deep cleaning is the difference between a quick mop and a floor that actually looks restored. This is written for ceramic/porcelain wood-look tile floors (and typical grout types), not for hardwood or laminate.
Prep the floor before you start
Prep matters because you can’t “scrub your way out” of grit—grit acts like sandpaper and spreads film across tile and grout. Your goal in this first pass is to remove loose soil so the cleaner can do its job on residue and embedded dirt.
Dry sweeping and vacuuming first prevents grit from grinding into grout joints during scrubbing.
Crevice tools along baseboards and floor transitions remove the dust that usually becomes visible after deep cleaning.
Spotting heavily soiled grout areas before you start helps you choose the right scrubbing intensity and dwell time.
Remove grit first: dry sweep and vacuum
Wood-look tile traps a surprising amount of micro-debris along transitions—doorways, under radiators, and where shoes deposit dirt. Sweep, then vacuum thoroughly, using a crevice tool for:
– Edges where grout meets the wall
– Around floor vents and registers
– Corners and the “lip” where flooring meets another surface (like a threshold)
From a practical standpoint, this step is what most often prevents streaking and “new haze” after cleaning.
Clear the area and protect nearby surfaces
Before you introduce any cleaner, move furniture (even small items) so you’re not constantly working around legs and corners. Then protect:
– Baseboards (especially painted wood or caulked edges)
– Caulk lines at the perimeter
– Any nearby stone or painted trim that could be splashed
A common failure mode is letting cleaner splash onto baseboards/caulk seams, then seeing sticky residue later once everything dries.
Pre-check trouble spots
Walk the floor and mark (with low-tack painter’s tape if needed) areas with:
– Noticeable grout discoloration or shadowing
– Dark traction speckling (often from tracked-in residue)
– Zones that look “waxy” or hazy after mopping
This pre-check lets you target scrubbing and helps you avoid over-scrubbing the entire floor when the real issue is localized.
Choose the right cleaner (and avoid the wrong ones)
The best deep-clean results come from using chemistry that lifts film without attacking grout or dulling glazed tile. In practice, that means pH-neutral, tile-safe products—and a label you can actually follow.
pH-neutral cleaners are designed to be compatible with typical ceramic/porcelain tile and grout when used per dilution instructions.
Acidic or strongly alkaline cleaners can create long-term haze or grout deterioration depending on grout chemistry and finish.
For glazed wood-look tile, non-abrasive tools reduce the risk of dulling the tile face.
Use a pH-neutral, tile/grout-safe cleaner
Look for wording like “pH-neutral,” “safe for ceramic/porcelain,” or “safe for tile and grout,” and verify it against the product label. The chemistry goal is simple: your cleaner should be gentle enough to lift grime and residue without leaving a new film behind.
To ground the “pH” concept in something concrete: pH is a logarithmic scale of hydrogen ion activity, and a neutral solution is at pH 7 ().
That’s why “neutral” matters—your objective is to avoid pushing grout and coatings into acidic or high-alkaline conditions.
Avoid harsh chemicals
Avoid these unless your grout manufacturer explicitly approves them:
– Acidic cleaners (often used for mineral scale, but potentially risky for grout depending on chemistry)
– Heavy degreasers or alkaline strippers (can strip finishes/sealers or leave residue)
– Scouring products or abrasive pads that can dull glazed tile over repeated use
Glazed tile note: many wood-look tiles have a glazed face designed to resist stains, but that protection can be visually compromised if you scratch or abrade the finish.
Visual guide: cleaner chemistry categories that tend to cause problems
pH Chemistry Bands and Typical Tile/Grout Impact (General Compatibility)
| # | Cleaner chemistry band | Typical pH range | Main risk for grout/film | Deep-clean safety rating |
|---|---|---|---|---|
| 1 | Strong acid | 0–2 | Higher likelihood of affecting grout chemistry | ★ ★ |
| 2 | Mild acid | 3–5 | Can loosen/mineralize films but may leave haze or affect grout over time | ★ ★ ★ |
| 3 | Near-neutral | 6–8 | Lower risk to grout chemistry and finish when used per label | ★ ★ ★ ★ ★ |
| 4 | Mild alkaline | 9–10 | Can dissolve soils, but may leave residue if not rinsed well | ★ ★ ★ ★ |
| 5 | Strong alkaline | 11–13 | Greater risk to grout, sealers, and film formation if overused | ★ ★ |
| 6 | Oxidizing bleach-type products | ~10–13 (formulation-dependent) | May affect grout/sealers and can leave film if not rinsed | ★ ★ ★ |
| 7 | Unknown formulation / “degreaser” blends | Variable | Compatibility depends on pH + surfactant residue risk | ★ ★ |
Deep-clean method for wood-look tile
A reliable deep-clean routine loosens buildup on the tile face and then removes it completely so the finish looks even again. Do it by working in small sections: apply cleaner, scrub, rinse, and dry—without letting solutions dry in place.
Deep cleaning works best when you follow cleaner dilution and dwell time exactly as written on the label.
Haze after cleaning is commonly residue left behind from surfactants, minerals, or incomplete rinsing.
Drying fully reduces water spotting and helps you see whether grout lines truly cleaned up.
Apply cleaner correctly (dilution + dwell time)
Follow the label for:
– Dilution ratio (if concentrated)
– Dwell time (how long it must stay wet)
– Any surface temperature constraints
Work in sections that match your pace—often something like a few square yards at a time—so the cleaner doesn’t dry and leave streaks. If your floor is already “waxy” or hazy, undried dwell is essential to avoid turning film into stubborn residue.
Scrub, don’t just mop
Wood-look tile often needs agitation because grime clings to micro-texture around the printed/embossed pattern and to the tile’s grout-adjacent edges. Use:
– A soft brush or microfiber scrub pad for the tile face
– Gentle pressure on the glazed surface
– Extra focus where dirt tracks show (usually the perimeter of high-traffic paths)
I recommend keeping scrubbing controlled rather than maximal—over-agitation can spread film into grout joints or increase the hazy look if you don’t rinse right afterward.
Rinse properly (this step is non-negotiable)
After scrubbing, rinse with clean water as directed by the cleaner label (or use a damp microfiber approach if you don’t have an easy way to “flood rinse”). Residue is a primary reason wood-look tile ends up darker or duller after “deep cleaning,” because surfactants and dissolved grime redeposit as the water evaporates.
Dry fully
Drying is where you prevent the final, visual “film.” Use:
– Microfiber towels, or
– A squeegee + dry towel method
If your floor still looks hazy after it dries, that usually indicates incomplete rinsing or a chemical compatibility issue—meaning repeating the rinse is often better than repeating the scrubbing.
Tackle grout lines, edges, and low-spot buildup
Grout cleaning needs its own attention because it behaves differently than tile and tends to hold stains, minerals, and cleaner residue. The right approach is to target grout lines (and edges) without turning the tile surface into an abrasive project.
Grout brushes let you clean inside joints without excessively abrading the glazed tile surface next to them.
Edge cleaning matters because perimeter soil accumulates where airflow and foot traffic concentrate dirt.
Stained grout may require a stain-specific chemistry, not just deeper general cleaning.
For grout: use a grout brush and label-specific product use
Use grout brush tools sized for the joint width and apply cleaner per label. Key technique points:
– Keep the grout area wet for the required dwell time
– Avoid letting products sit longer than directed
– Work linearly so you can tell which sections are rinsed and which aren’t
For edges and corners: use smaller tools and control overspray
Run a small brush along:
– Baseboard bottoms (where allowed by the manufacturer guidance)
– Floor/wall caulk seams
– Transitions to other flooring types
Even small overspray at edges can create “ring” effects after drying, because residue concentrates where water pools.
If grout is stained, not just dirty
General deep cleaning can lift surface grime, but mineral stains and long-set discoloration sometimes require a grout-stain treatment compatible with your grout system (cementitious vs. epoxy-based, sealed vs. unsealed). If you’re not sure what grout type you have, treat this step as a “verification first” stage.
What can go wrong (common mistakes and limits)
Most deep-clean failures come from chemistry mismatch, incomplete rinsing, or abrasive tools that dull finishes. If you understand these failure points, you can avoid wasting time—and avoid making the floor look worse.
Skipping the rinse often leaves surfactant residue that looks like a “waxy” or hazy film.
Using strong acid or high-alkali cleaners can affect grout condition or finish consistency over repeated cycles.
Abrasive pads can reduce gloss on glazed tile and change how the wood-look pattern reflects light.
Common mistakes to watch for
– Using the wrong pH: acidic or high-alkaline cleaners can damage grout or affect finish over time.
– Skipping the rinse: leaving cleaner behind can create a dull film look.
– Over-scrubbing: stiff pads or abrasive brushes can dull glazed tile and wear grout surfaces.
– Letting solutions dry on the floor: dried residue is harder to remove and often shows up as streaking.
– Assuming all wood-look tile is the same: some floors use different coatings or grout systems—follow the manufacturer guidance for your specific materials.
– Sealer expectations: if your floor has sealer, some cleaners can break it down or change how it beads water—check sealer instructions first.
Comparison: what usually causes haze, and what fixes it
Limits you should respect
If you don’t know your grout or sealer type, you should pause before using anything outside a pH-neutral, tile-safe approach. Changing chemistry without confirmation is how floors end up with permanent dullness or patchy grout appearance.
For reference, pH “neutrality” is defined at pH 7 on a logarithmic scale (). Treat that as a reason to avoid guesswork on “natural acids” or DIY mixes that can drift into acidic/alkaline territory.
Verdict: a realistic deep-clean routine (plus a quick checklist)
If you want the most reliable results with the lowest risk, use a pH-neutral, tile-safe cleaner, scrub in sections, rinse thoroughly, and dry completely. The downside is it’s more labor than a standard mop, and heavily stained grout may not fully “reset” with cleaning alone.
For ceramic/porcelain wood-look tile, a pH-neutral cleaner plus thorough rinse is the safest default for restoring a uniform finish.
If haze persists after drying, it usually points to residue or mineral redeposition rather than “not scrubbing enough.”
Stain problems often require stain-specific chemistry compatible with your grout type (especially epoxy or sealed systems).
Skip this approach (or pause and confirm compatibility) if:
– You have epoxy grout or a specialty grout/sealer system and can’t verify cleaner compatibility.
– Your floors have unsealed/porous surfaces that you haven’t identified yet.
– You’re unsure whether the tile finish is sealed or coated—improper chemistry can dull or cloud finishes.
Scan-and-save checklist (deep clean)
| Step | What to do | Watch-outs |
|---|---|---|
| 1 | Dry sweep + vacuum thoroughly | Don’t spread grit with wet mops |
| 2 | Use pH-neutral, tile-safe cleaner | Don’t use acid/lye unless approved |
| 3 | Scrub tile + traffic areas | Avoid abrasive pads on glazed surfaces |
| 4 | Scrub grout lines | Don’t exceed cleaner dwell time |
| 5 | Rinse clean water as directed | Residue = haze/film |
| 6 | Dry fast | Prevents spotting and lingering odors |
Sources
Deep cleaning wood-look tile floors works when you treat it like a controlled chemical-and-mechanical process: lift grime safely, rinse residue completely, and dry so the finish looks even. If you follow the pH-neutral + sectioned scrubbing + thorough rinsing workflow above, you’ll avoid the most common “waxy haze” failure mode and get the restored look you’re aiming for.
Frequently Asked Questions
How do you deep clean wood-look tile floors without damaging the finish?
Start by dry sweeping or vacuuming with a soft brush to remove grit that can scratch the tile or dull the glaze. Use a pH-neutral cleaner made for tile and grout, and avoid harsh acids, ammonia, or abrasive scrub pads that can strip the protective finish. For stubborn spots, use a nylon brush and test the cleaner in an inconspicuous area first. Rinse with clean water if your product requires it, then dry with microfiber to prevent streaking.
What’s the best way to remove embedded dirt and grime from wood-look tile grout lines?
Mix a grout-safe cleaner according to label directions and apply it directly to grout lines to dwell for several minutes. Agitate with a soft grout brush or an old toothbrush, focusing on the seams where dirt collects most. If grime is heavy, use a steam cleaner on a low-to-medium setting, keeping the nozzle moving to avoid overheating or loosening sealants. Finish by wiping away residue and rinsing the surface so cleaner doesn’t leave a dull film.
Which cleaning solution works best for deep cleaning wood-look tile floors?
For routine-to-deep cleaning, a pH-neutral tile and grout cleaner is usually the safest choice for maintaining wood-look tile’s color and shine. If you have grease buildup from kitchens, a non-acid, degreasing tile cleaner can help lift residues without damaging grout or the tile glaze. For natural-looking “wood” tones, steer clear of bleach unless the grout is confirmed colorfast and labeled bleach-safe. Always follow label instructions and prioritize products specifically designed for ceramic or porcelain tile.
Why do my wood-look tile floors look dull after mopping, and how can I fix it?
Dullness is often caused by soap residue, hard-water minerals, or dirty water that redeposits grime. Deep clean by mopping with a correctly diluted pH-neutral cleaner, then rinse thoroughly with clean water and dry immediately. If residue buildup is stubborn, consider a tile floor cleaner designed for “no wax/no film” results and use microfiber pads that don’t scratch. For persistent dull grout, refresh with a grout cleaner and ensure grout is properly sealed if recommended for your floor.
What is the step-by-step process for deep cleaning wood-look tile floors the right way?
Begin with dry removal of dust and debris, then vacuum and spot-treat high-traffic areas like entrances and kitchen edges. Mop using a pH-neutral tile cleaner diluted correctly, scrubbing lightly with a microfiber mop pad or soft brush for textured areas. Next, clean grout lines using a grout-safe brush and cleaner, then rinse to remove any leftover residue. Finally, dry the entire floor with clean towels or a dry microfiber mop to minimize streaks and keep the wood-look tile crisp.
📅 Last Updated: October 16, 2026 | Topic: How to deep clean wood-look tile floors? | Content verified for accuracy and freshness.
[…] time. If you standardize this routine and train tenants (or your turnovers) to blot spills and avoid harsh chemicals, your floors stay presentable longer and require fewer expensive “fixes” down the […]