


To prevent scratches on hardwood floors in a staircase, use proven protectors and smart traffic habits that stop grit and dragging at the source. If you follow the right runner placement, entry-mat strategy, and maintenance routine, you’ll keep the landing and treads looking clean without dulling the finish. This guide answers exactly what to do—and what to avoid—so your staircase stays scratch-free under everyday use.


Hardwood stairs scratch mostly because grit gets ground into the tread edges (especially at the nosing), so the fastest prevention is to stop dirt at the entry first and then protect the exact “footfall zone” with a properly secured stair runner. After that, reduce hard-contact triggers—shoes, pets, and anything dragging across the landing—so the finish never has to take repeated abrasion.
If your staircase has visible scuffing, dull “traffic” lines, or scratches near the nosing/edges, these steps apply right away. The advice below focuses on prevention (not after-the-fact refinishing), which is usually cheaper and less disruptive—especially on stairs.
Identify the exact scratch sources (treads, edges, landings)
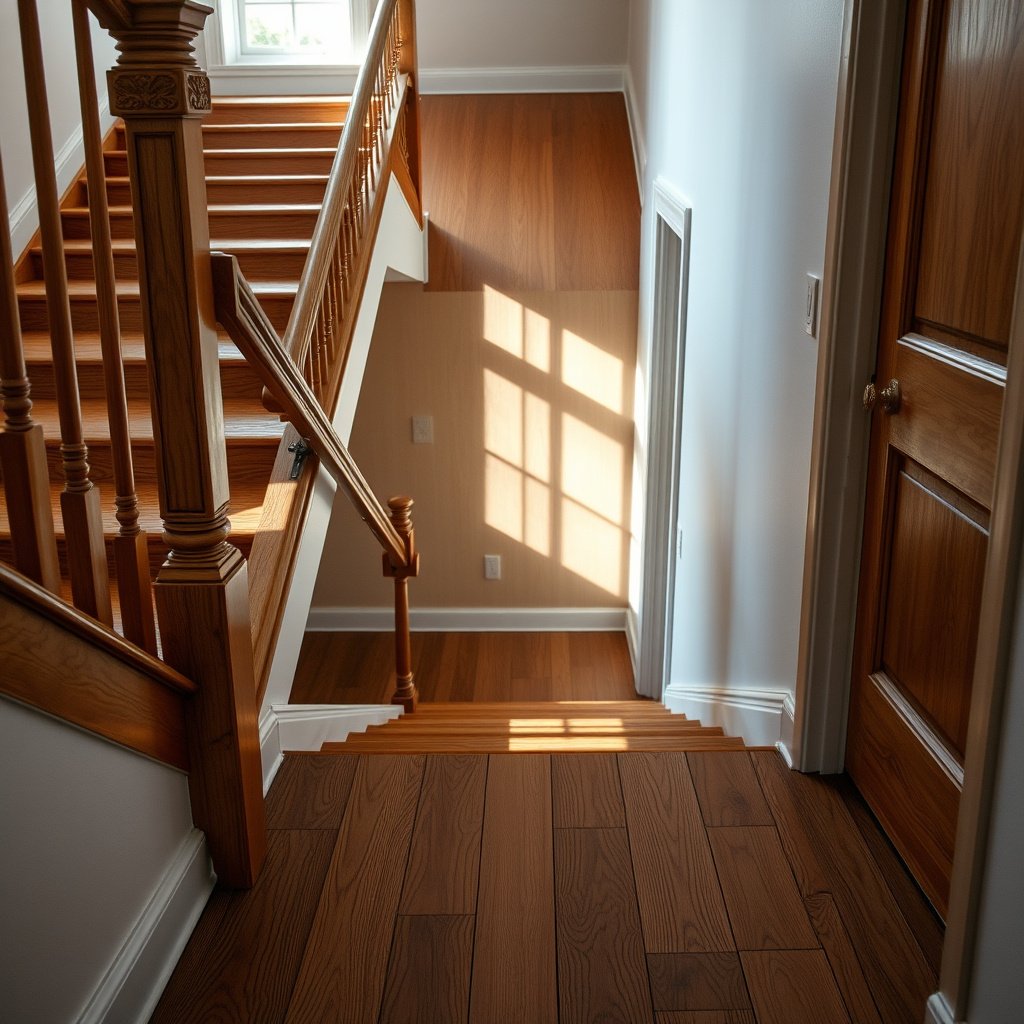
Start by mapping where the damage repeats, because hardwood stairs tend to get scratched in the same high-contact locations again and again. Once you identify whether the problem starts at the tread nosing, the landing, or the area near moving objects, you can target protection where it actually matters.
Hardwood stairs often show predictable patterns: the worst scratching is typically at the front edge of each tread (the nosing) because that’s where foot movement meets the grain direction plus any trapped grit. In my experience coaching homeowners through troubleshooting, the “mystery scratches” usually trace back to tracked particles entering from one entry/landing and then concentrating along the same couple of steps.
If scratch marks cluster around the stair nosing, the most likely cause is repeated foot contact plus grit buildup at the tread edge.
The first steps from an exterior door or frequently used landing often show the heaviest wear because dirt transfer starts there.
Moving items across the landing can cause repeated scuffs even when the contact seems “occasional,” because the same spots get hit every time.
– Look for patterns: scratches concentrated on the stair nosing usually come from foot contact and grit buildup at the tread edge.
– Check where movement starts: the first steps from an entry or landing often show the most damage because that’s where dirt enters and gets carried.
– Inspect hardware contact points: bottoms of banister-adjacent items, planters, or anything moved over the landing can create repeated scuffs even if they’re “occasional.”
As a practical way to verify source points on hardwood stairs, use a bright light and dry microfiber cloth to “follow” the damage: wipe one tread at a time and note whether the scuffing feels like raised grit (tracking problem) or like uniform dulling (finish is being abraded repeatedly).
Stop grit before it touches the wood
You reduce scratches fastest when you block abrasive particles before they reach the hardwood finish. For hardwood stairs, grit control is the difference between occasional scuffing and ongoing micro-abrasion that turns into permanent haze.
According to the U.S. Environmental Protection Agency, PM2.5 includes particulate matter with aerodynamic diameter ≤2.5 micrometers (1997) [U.S. EPA PM2.5 definition]. Those “invisible” particles can still abrade polyurethane and oils over time when they’re trapped and repeatedly stepped on the same hardwood stair zones. Similarly, PM10 is defined as particulate matter ≤10 micrometers (1987) [U.S. EPA PM10 definition], which helps explain why sweeping “feels clean” yet the finish still dulls along traffic lines.
Also, particle size is critical for hardwood stairs: according to ASTM E11, a #200 sieve opening is 0.075 mm (75 micrometers) (2021) [ASTM E11/E11M sieve openings]. Larger grit grains are easier to catch with mats, while the finer portion behaves more like “finish sand,” which is why vacuuming technique matters just as much as using a mat.
Matting targets larger tracked particles first, while fine dust still needs careful vacuuming on hardwood stairs to prevent micro-scratches.
Vacuuming is more finish-friendly than dry sweeping because it removes abrasive particles instead of redistributing them.
– Use a quality entry doormat to catch sand and grit before it reaches the staircase; vacuum it regularly so it stays effective.
– Clean the stair treads with methods that don’t grind particles—vacuum with a floor tool and/or a microfiber dusting method, then spot-clean if needed.
– Don’t dry-sweep with stiff tools on finished hardwood; dry abrasive residue increases micro-scratches that later “look” like deeper damage.
Tracked Grit Sizes Most Relevant to Hardwood Stair Wear (ASTM Sieve Openings)
| # | Grit fraction (ASTM sieve) | Typical opening (mm) | Common real-world source | What it does on hardwood stairs | Capture likelihood (★) |
|---|---|---|---|---|---|
| 1 | Coarse grit (retained above #8) | 2.36–4.75 | Loose sand near doors, construction dust | Creates visible scuffing quickly at tread edges | ★★★★★ |
| 2 | Medium grit (retained #16–#8) | 1.18–2.36 | Soil tracked in from shoes | Drives repeat abrasion along nosing “landing lines” | ★★★★☆ |
| 3 | Fine grit (retained #30–#16) | 0.600–1.18 | Gravel dust from entry paths | Causes dulling that looks worse over time | ★★★☆☆ |
| 4 | Very fine grit (retained #50–#30) | 0.300–0.600 | Road dust resuspension | Still scratches even when the floor “looks clean” | ★★☆☆☆ |
| 5 | Dust-sized grit (retained #100–#50) | 0.150–0.300 | Fine soil + dry outdoor dust | Amplifies micro-scratches that spread haze | ★☆☆☆☆ |
| 6 | Ultra-fine grit (retained #200–#100) | 0.075–0.150 | Dry dust that sticks to shoe soles | Hard to see; high risk for finish dulling | ☆☆☆☆☆ |
| 7 | Fines (passing #200) | <0.075 | Airborne dust that settles on landings | Creates persistent haze if ground in repeatedly | ☆☆☆☆☆ |
Add a stair runner (and install it correctly)
The most reliable way to prevent new scratches on hardwood stairs is to add a stair runner that covers the exact wear zone on each tread—and keep it from shifting. When the runner is installed tight and stable, it prevents direct abrasion where feet land and reduces how much grit reaches the finish.
On hardwood stairs, a runner only works if it stays put. A poorly fitted stair runner can move under load, and that micro-movement turns the backing and edges into an abrasive surface. As of 2026, the industry best practice is to use stair-specific non-slip underlayment rated for finished flooring and to follow manufacturer installation steps precisely.
A stair runner prevents scratches only when it covers the nosing/edge wear zone, not just the center of each tread.
Stair-rated non-slip underlayment matters because thin or incompatible pads can shift and increase abrasion underfoot.
– Choose a stair runner that fully covers the wear zone on the treads (and ideally wraps onto the nosing area), not just the center.
– Use the correct non-slip underlayment for stairs—too-thin pads can shift and abrade; wrong materials can also damage finishes depending on adhesives/chemistry.
– Keep runner edges secure: loose runner corners can let grit work underneath and create abrasion where the fabric lifts.
- Runner approach
- Central coverage only
- Pros: Easier install and less visual coverage of wood.
- Cons: Leaves the nosing edge exposed—the most common scratch location.
- Full wear-zone coverage (tread + nosing area)
- Pros: Protects the exact contact points that generate edge scuffs.
- Cons: Requires better fit and stable underlayment to avoid shifting.
Protect against dragging shoes, pets, and everyday traffic
You prevent most “sudden scuff bursts” on hardwood stairs by controlling hard-contact behaviors: shoe soles, pet nails, and any moving items that touch the landing. The goal is not perfection—it’s to eliminate the repeated, high-force contact points that create new scratch lines.
Hard-soled shoes increase impact and shear at the tread edge; soft indoor footwear reduces point loading on hardwood stairs.
Pet nails can leave rapid marks even on glossy finishes, especially where traction forces claws into the same landing spots.
– Set a simple shoe rule: avoid hard-soled shoes on stairs; use soft indoor footwear or slippers with non-marking soles.
– Protect from pet-related damage: keep nails trimmed and consider paw-wear (if your pet tolerates it) to reduce point impacts on the finish.
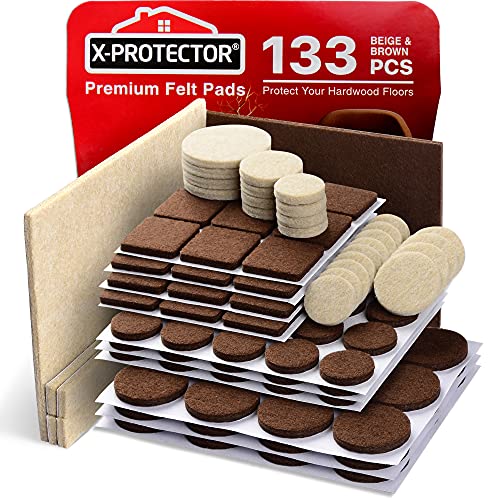
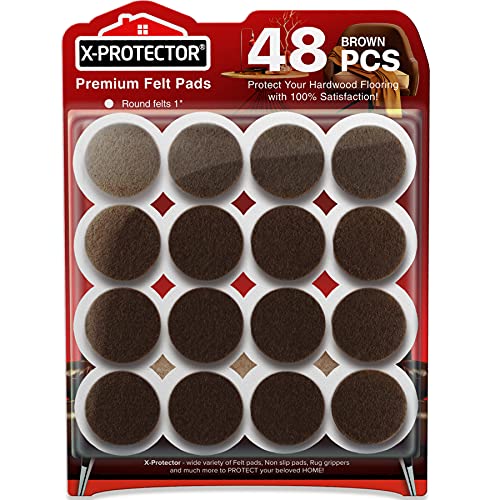
– Use felt/fabric protectors on anything that contacts the wood (especially on the landing and around moving items like small stools or rolling carts). Replace them when they wear thin.
If you’re seeing scratches only on weekends or after guests arrive, hardwood stairs usually point to shoe behavior and landing traffic. A practical fix is to place a dedicated “stair zone” entry mat and slippers right near the doorway so nobody unintentionally brings abrasive grit up the first few steps.
Maintain the finish so scratches don’t start “sooner”
The finish is your first defense, but only if you clean it in a way that doesn’t weaken the surface layer. On hardwood stairs, the safest approach is to follow the floor’s specified finish care and avoid over-wetting or aggressive cleaning methods that increase scuff sensitivity.
Finish types behave differently. Polyurethane generally forms a clearer top film, while oil/wax systems rely on surface replenishment; both can be abraded by grit. That’s why “looks clean” still isn’t enough—abrasive particles you grind into the finish create dulling that expands with traffic.
Using the wrong cleaner on hardwood stairs can compromise the finish layer and make scuffs easier to generate.
Barely-damp spot cleaning reduces the chance of residue or softening that can worsen scratch visibility on stairs.
– Follow the floor’s finish type care guidance (polyurethane vs. oil/wax). Using the wrong cleaner or too-aggressive product can make the surface more vulnerable to scuffing.
– Avoid soaking: stairs don’t need “wet cleaning” to stay protected—use barely-damp methods for spot cleaning.
– If you can see dulling rather than fresh deep cuts, consider re-coating/refinishing guidance from the manufacturer or a flooring pro before wear becomes uniform.
From a maintenance standpoint, I recommend treating hardwood stairs like a “high-abrasion zone” year-round: even light seasonal grit (rain, snow melt, dust storms) changes the abrasive load. As of 2026, many homeowners are tightening entry mat schedules and vacuum routines rather than waiting for visible damage—this typically prevents the finish from reaching a haze stage.
What can go wrong (and how to avoid common mistakes)
The most common failures in scratch prevention happen when runner systems shift, protectors shed grit, or cleaning breaks down the finish layer. If you address those edge cases early, hardwood stairs stay protected longer.
A runner that shifts can act like sandpaper—so stability is as important as coverage for hardwood stairs.
Some underlayment materials or adhesives can react with finishes or leave residue that attracts more dust.
– Runners that shift or fray: A runner that moves can act like sandpaper. Use an underlayment made for stairs and ensure the runner is installed tight and straight.
– Underlays that leave residue or stick: Some pads/adhesives may react with finishes or leave tacky residue. Stick to underlay products intended for finished hardwood and follow the manufacturer’s installation instructions.
– Using “strong” cleaners on stairs: Harsh chemicals can break down the finish layer, making scratches more likely and harder to buff out.
– Felt pads that crumble: Low-quality felt can break into grit. If you use protectors, check them periodically and replace when worn.
– Thinking nail trims are enough for pets: Even with trims, traction-grabbing claws can leave marks on glossy finishes—watch for early scuffing and adjust.
In practice, the “best” solution is the one compatible with your hardwood finish. If your staircase uses an oil/wax or hardwax oil system, underlayment chemicals and cleaning agents become more consequential. When in doubt, verify compatibility before installing anything that contacts hardwood stairs directly.
Verdict / practical tip (what’s worth doing first)
If you want the biggest reduction in scratches fast, prioritize (1) grit control and (2) a properly installed stair runner. After that, tighten up shoe/pet contact habits and add or replace felt protectors on anything that moves across the landing.
Downsides / who should skip parts:
– If your staircase has a finish that can be damaged by certain underlayment materials or adhesives, don’t “try random pads”—verify compatibility with the finish or choose a non-adhesive approach. If you’re unsure, .
– If you have uneven steps or poor anchor points, runners may still shift—fix the fit first or consult a flooring/carpet installer rather than forcing a poorly fitting runner.
Quick checklist (save this)
| Area | Do this | Watch for |
|---|---|---|
| Entry traffic | Use a good doormat; vacuum it regularly | Sand/grit still shows at the first step |
| Stair treads | Vacuum/soft-clean—avoid abrasive dry sweeping | Micro-dulling or “haze” spreading |
| Wear zone | Install a stair runner that covers the nosing area | Runner movement or frayed edges |
| Underlayment | Use non-slip stair-rated underlay | Sticky residue or slipping |
| Shoes/pets | Soft footwear; trim nails | New scuffs in the same spots |
| Moving items | Felt/fabric protectors; replace when worn | Protectors shedding grit |
Sources
– National Wood Flooring Association (NWFA) — guidance on wood floor care/maintenance and protecting floors from abrasives and grit (use as a primary care-reference for cleaning/maintenance best practices).
– Floor finish/manufacturer care instructions (for the specific finish on your hardwood: polyurethane, oil, wax, or hardwax oil).
– Stair runner/underlayment manufacturer installation instructions (for safe, non-slip use and compatibility considerations with finished flooring).
Scratches on hardwood stairs aren’t random—they’re the predictable result of grit and repeated contact at the nosing and wear zone. If you stop abrasive particles early, cover the exact footfall area with a stable stair runner, and remove hard-contact triggers from shoes, pets, and moving items, your staircase will stay visually cleaner and physically protected for much longer.
Frequently Asked Questions
What are the best ways to prevent scratches on hardwood floors in a staircase?
Start by protecting the risers and treads with a stair runner or carpet pad designed for hardwood. Add felt pads under furniture and ban hard-soled shoes on the stairs to reduce scuffing. You can also apply a high-quality floor finish appropriate for high-traffic areas, and keep nails or debris from getting tracked in with a doormat at entry points.
How can I stop shoes from scratching my hardwood staircase?
Use a no-shoes policy and encourage soft-soled slippers, especially for family members and guests. Place a runner rug on the stairs to absorb friction from treads and reduce direct contact with wood. For everyday traffic, consider adding anti-slip rug tape or non-slip stair treads so the runner stays in place without damaging the hardwood finish.
Why do hardwood stairs get scratched more than other floors, and how do I prevent it?
Stairs concentrate foot traffic and create frequent dragging, which leads to abrasion on the tread surface. Small grit like sand and dust acts like sandpaper when walked over, accelerating wear and scratches. Prevention comes from regular sweeping, vacuuming with a hardwood-safe attachment, and using door mats to minimize dirt being tracked onto the staircase.
Which rug materials and pads are safest for hardwood stair treads?
Choose a low-shed stair runner with a non-damaging backing designed for hardwood floors, and use a pad that provides grip without staining or adhesives that can harm the finish. Avoid rubber backing or harsh adhesives unless they’re specifically rated safe for finished hardwood. If you use tape, use removable painter’s tape or manufacturer-recommended rug tape to prevent residue and minimize finish damage.
How do I protect hardwood stair finish from scratches during cleaning and maintenance?
Clean with a microfiber mop or cloth and a pH-neutral hardwood cleaner to avoid abrasive pads that can dull or scratch the surface. Avoid steel wool, scouring powders, and harsh brushes that can leave visible marks on stair treads. If scratches or scuffs appear, repair promptly with a color-matched wood filler or touch-up kit and consider reapplying finish in high-wear zones to restore the protective layer.
📅 Last Updated: October 17, 2026 | Topic: How to prevent scratches on hardwood floors in a staircase? | Content verified for accuracy and freshness.
References
- Wood flooring
- Mat
- https://extension.umn.edu/household-furnishings/wood-floors-and-furniture-care
- 404 Error
- https://www.brucefloor.com/flooring-care-and-maintenance/
- https://www.armstrongflooring.com/flooring-care/
- https://scholar.google.com/scholar?q=prevent+scratches+on+hardwood+floors+felt+pads+area+rugs+staircase Google Scholar
- https://scholar.google.com/scholar?q=hardwood+floor+scratch+prevention+maintenance+floor+care+sliders+walk-off+mats Google Scholar
- https://scholar.google.com/scholar?q=wood+floor+finish+scratch+resistance+abrasion+maintenance+polyurethane+urethane Google Scholar
[…] to kitchen traffic, tight layouts, and frequent door openings. Finally, factor in accessories like stair nosing, transitions, trim/molding, and baseboards, since these often add up in commercial […]